Death Korps of Krieg 143rd Regiment
My way of painting my DKoK army. Mostly so I can check if I forget what I did.
Priming
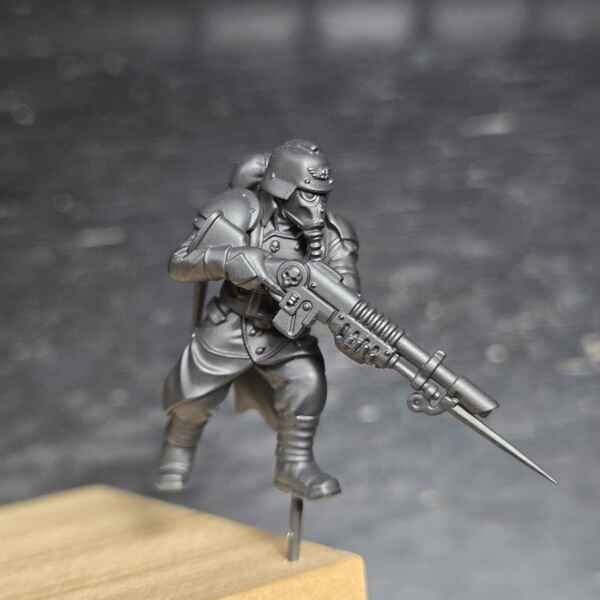 Prime with Black Primer
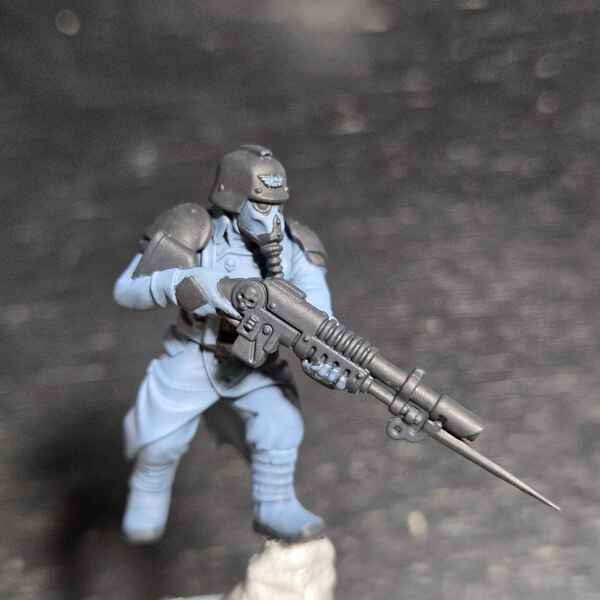
Coat
- Airbrush Dark Sea Blue
Cover most of the coat. Get the steel bits too. 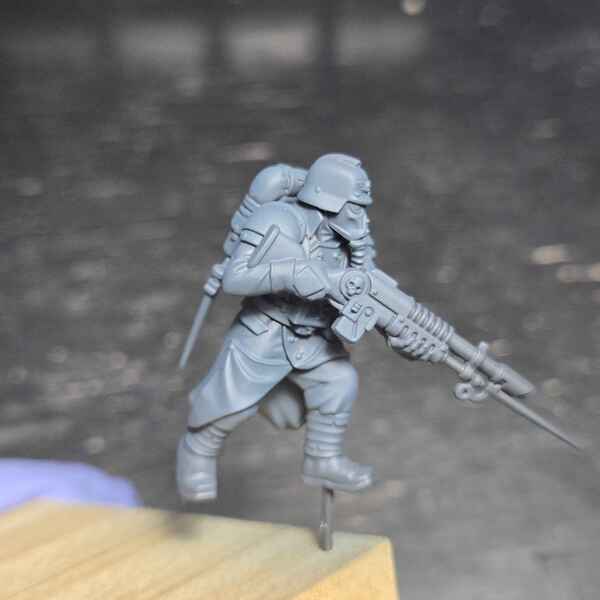 Airbrush Anthracite Grey
Aim only at the coat. This is the midtone.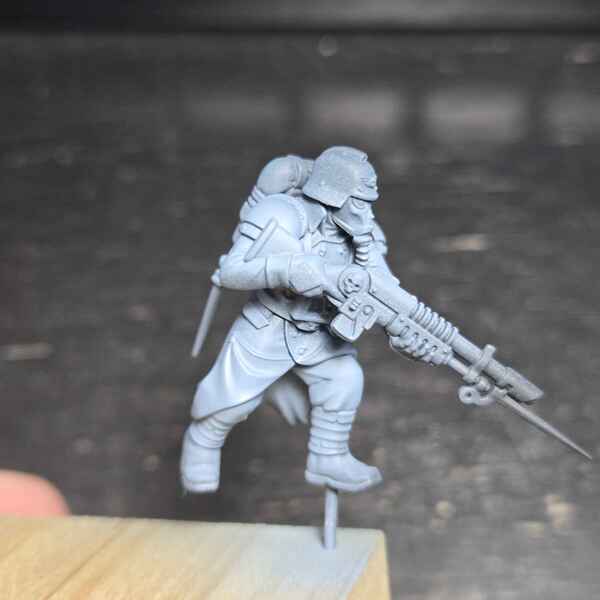 Airbrush Grey-Blue
Aim only at highlight areas. Not too thick; shouldn't get to be the actual color. Refer to photos taken after priming. Overdid it on the image. Will require glazing back in Anthracite Grey
Black Metal & Brass Ornaments
 Black
Black
Colorblock all the bits that will be black steel later. This includes helmet, gas mask respirator, gun, melee weapon and shoulder pads, backpack can, belt buckle, grenades and entrenching tool.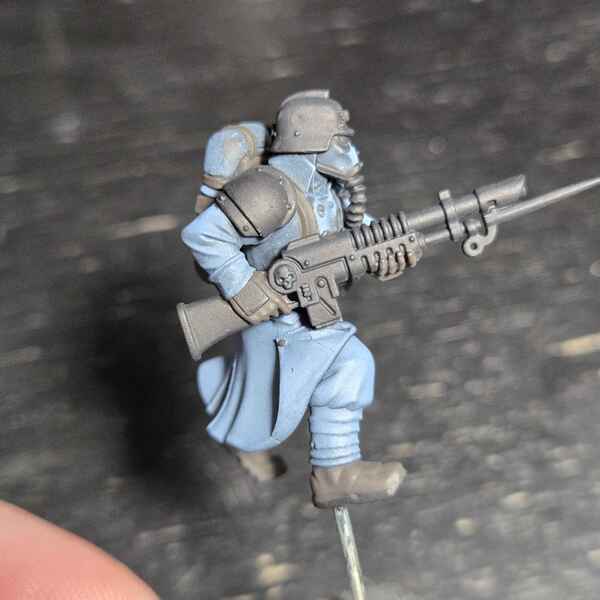 Grim Brown
Colorblock all the bits that will be brass later. This includes coat buttons, aquilas (helmet, belt buckle, backpack can), melee weapon handle, and skulls on the side of ranged weapons.
Leather
- Grim Brown
Stipple all the leather bits. This will include all straps, gloves, radiometer, belt pouches and boots. - Leather Brown
Stipple again, leaving shadows untouched. 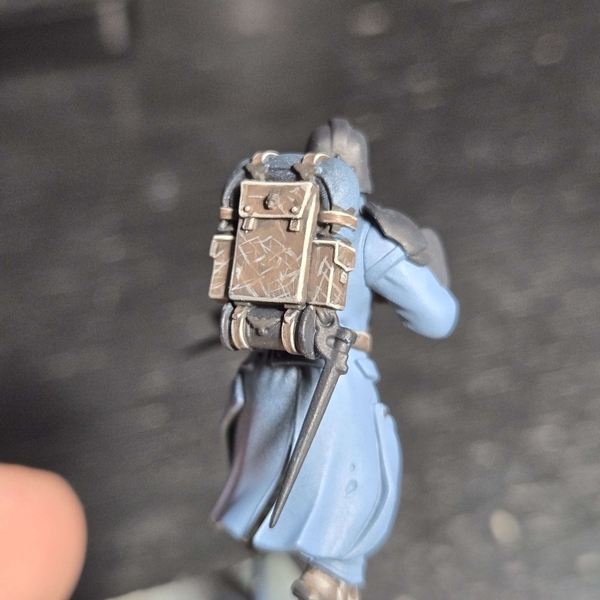 4:1 Leather Brown : Ice Yellow
Highlight as needed.- Grim Brown
Glaze as needed to bring everything back down. - 3:1 Leather Brown : Ice Yellow
Extreme highlight as needed.
Cloth
- Reddish Grey
Colorblock all the cloth bits. This will include the puttees, gas mask, and bed roll. - Warm Grey
Highlight roughly, as needed.
Oils
Use the oils in a controlled way, and sparingly. This is not a wash and rub off situation.
- Lamp Black
Add shadows to the coat. Refer to photos taken after priming. Use pure mineral spirits to sharpen edges and feather out blend lines. - Sepia
Add shadows to cloth and leather. Refer to photos taken after priming. Use pure mineral spirits to sharpen edges and feather out blend lines.
Coat Highlights
- Grey-Blue
Carefully layer up the folded bits, and any where else layers are needed. Then edge highlight with the same color.
Glowing Bits
- Bold Titanium White
Carefully paint all the bits that will be made to glow. This will include lenses, power weapon dongles, plasma coils.
Use White Ink to get the recesses in the case of plasma coils.
Steel
- Dark Sea Grey
Sketch out initial highlights. - Ash Grey
Bridge the gap, then blend. - Silver Grey
Sketch out second highlights. Less is more here. - Pale Grey
Bridge the gap and blend. - Anthracite Grey or Dark Sea Blue
Glaze into shadows for cold tint. - Bold Titanium White
Dot the extreme highlights.
Overall progression as follows: Black > Ash Grey > Dark Sea Grey > Pale Grey > Silver Grey > Bold Titanium White
Desaturated Gold
- Mud Brown
Sketch initial highlights, then blend. - Medium Sand
Sketch secondary highlights, then blend. - Ice Yellow
Sketch extreme highlights. Less is more here. Then blend. - Bold Titanium White
Dot the extreme highlights.
Overall progression as follows: Grim Brown > Mud Brown > Medium Sand > Ice Yellow > Bold Titanium White
Plasma
- Apply Liquitex Fluorescent Blue ink over Bold Titanium White
Slowly build up as desired. - Deep Blue
Darken the most outer parts of the coils. - Apply Snow White oil at base of oils. Use to blend. May take a couple of passes.
AK Interactive 3rd Generation Acrylics 16
Standard 14
- AK11006 Silver Grey
- AK11009 Warm Grey
- AK11013 Pale Grey
- AK11015 Dark Sea Grey
- AK11017 Reddish Grey
- AK11024 Ash Grey
- AK11034 Medium Sand
- AK11036 Ice Yellow
- AK11110 Leather Brown
- AK11112 Grim Brown
- AK11120 Mud Brown
- AK11165 Grey-Blue
- AK11167 Anthracite Grey
- AK11190 Dark Sea Blue
Intense 2
- AK11029 Black
- AK11182 Deep Blue
Badger Stynylrez
Base 1
- Black Primer
Monument Hobbies Pro Acryl
Base 1
- 001 Bold Titanium White