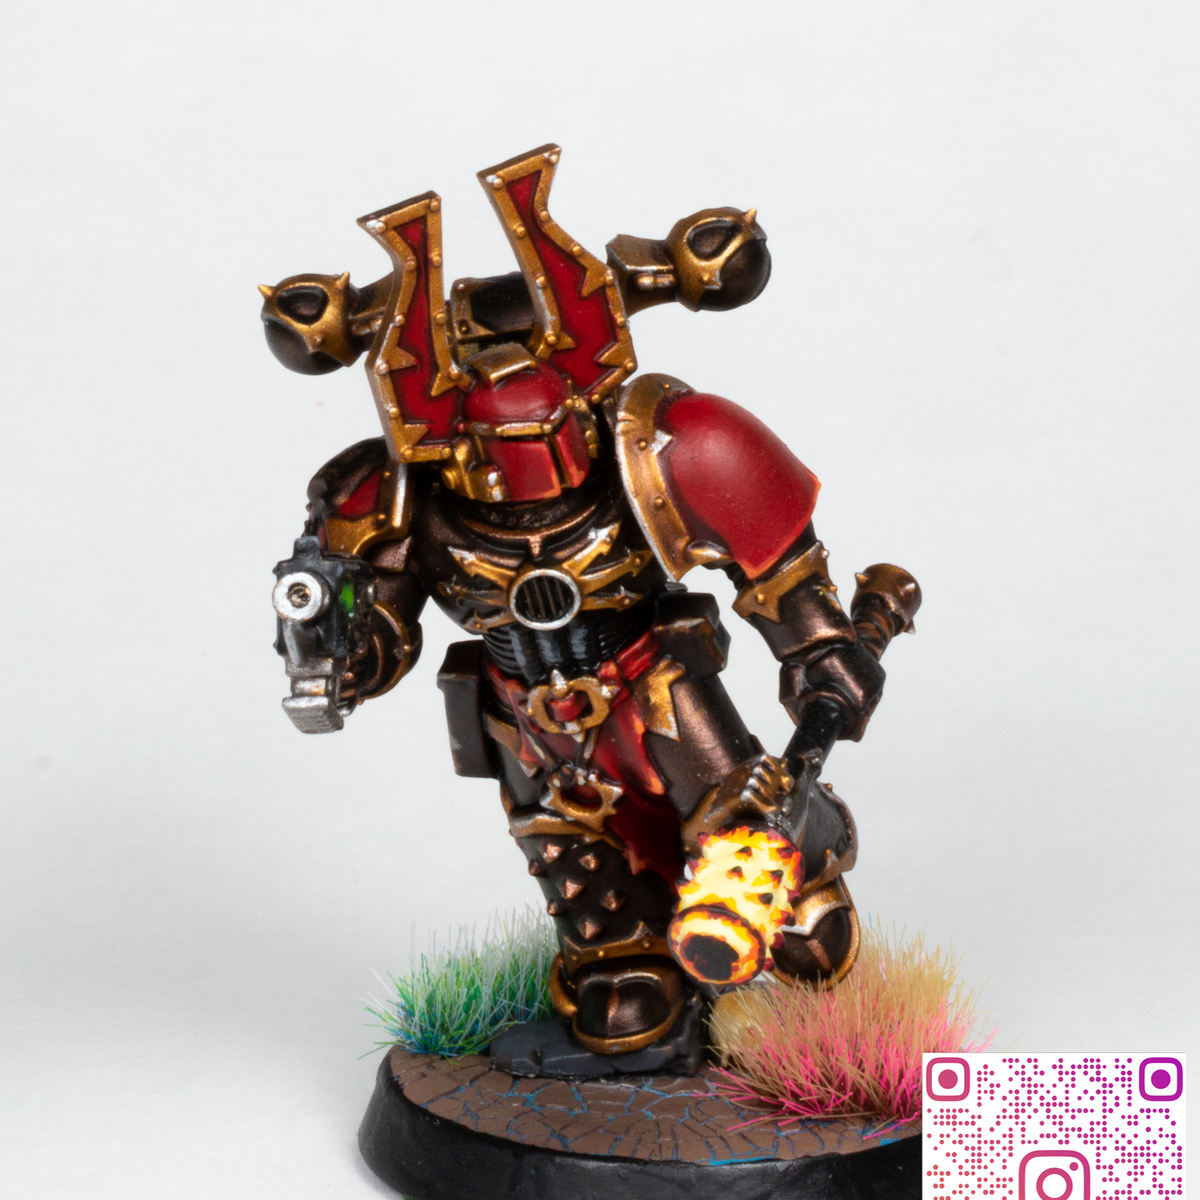
- Basecoat with Molten Bronze Apply a smooth, even layer of Molten Bronze over the areas intended to be copper. Ensure full coverage for a solid foundation.
- Use Brown Ink or Armor Wash to shade the recesses and add depth. For warmer shadows, mix in a touch of Bloodstone with the wash. Apply the wash selectively to control the intensity of the shading.
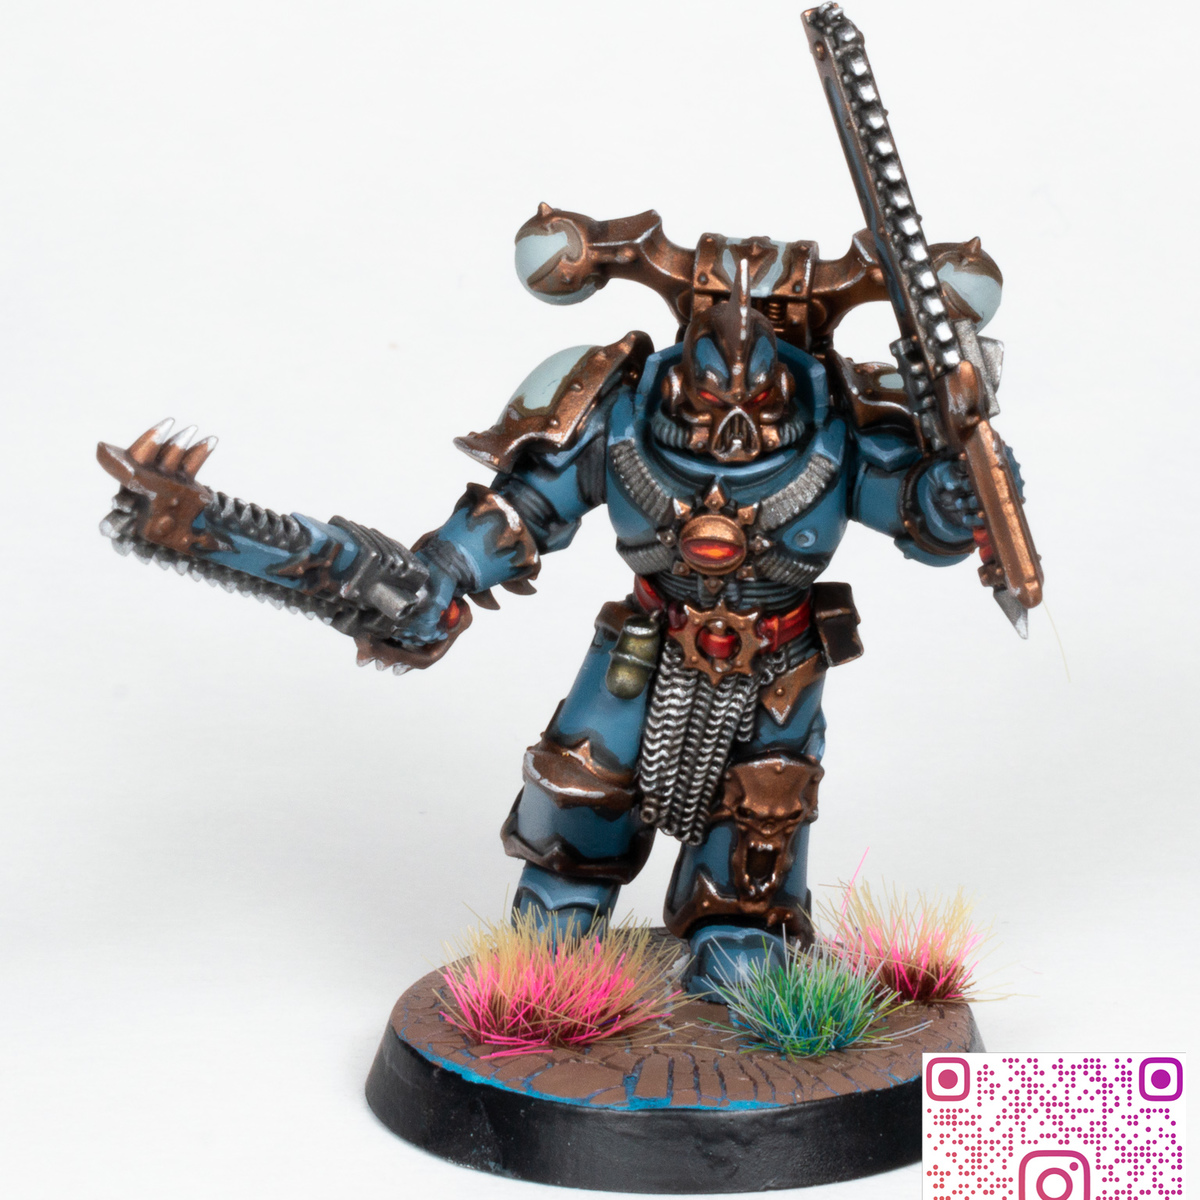
- Once the shading is dry, use Brass Balls to highlight raised areas and edges. This will bring out the metallic sheen and add dimension.
- For the brightest points, such as sharp edges or prominent details, apply Quick Silver sparingly to enhance contrast and realism.
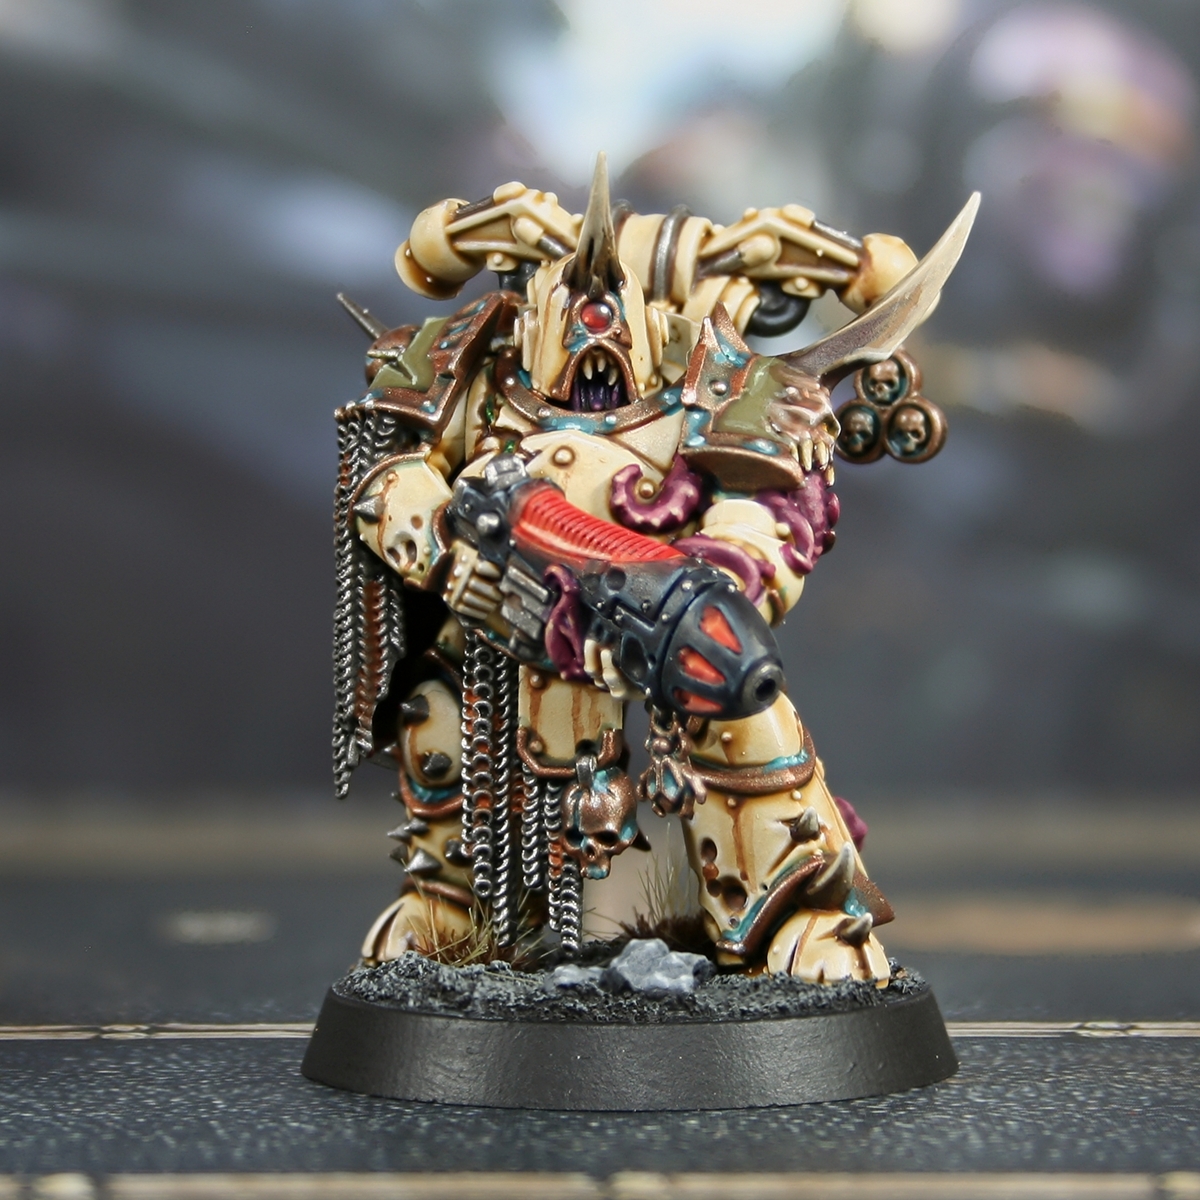
- Optional Weathering: To simulate aged copper, consider adding verdigris effects using a mix of green and turquoise paints. Apply this mix sparingly into crevices and recesses to mimic natural oxidation.