
How I painted the key elements of my Deathwatch Kill Team members.
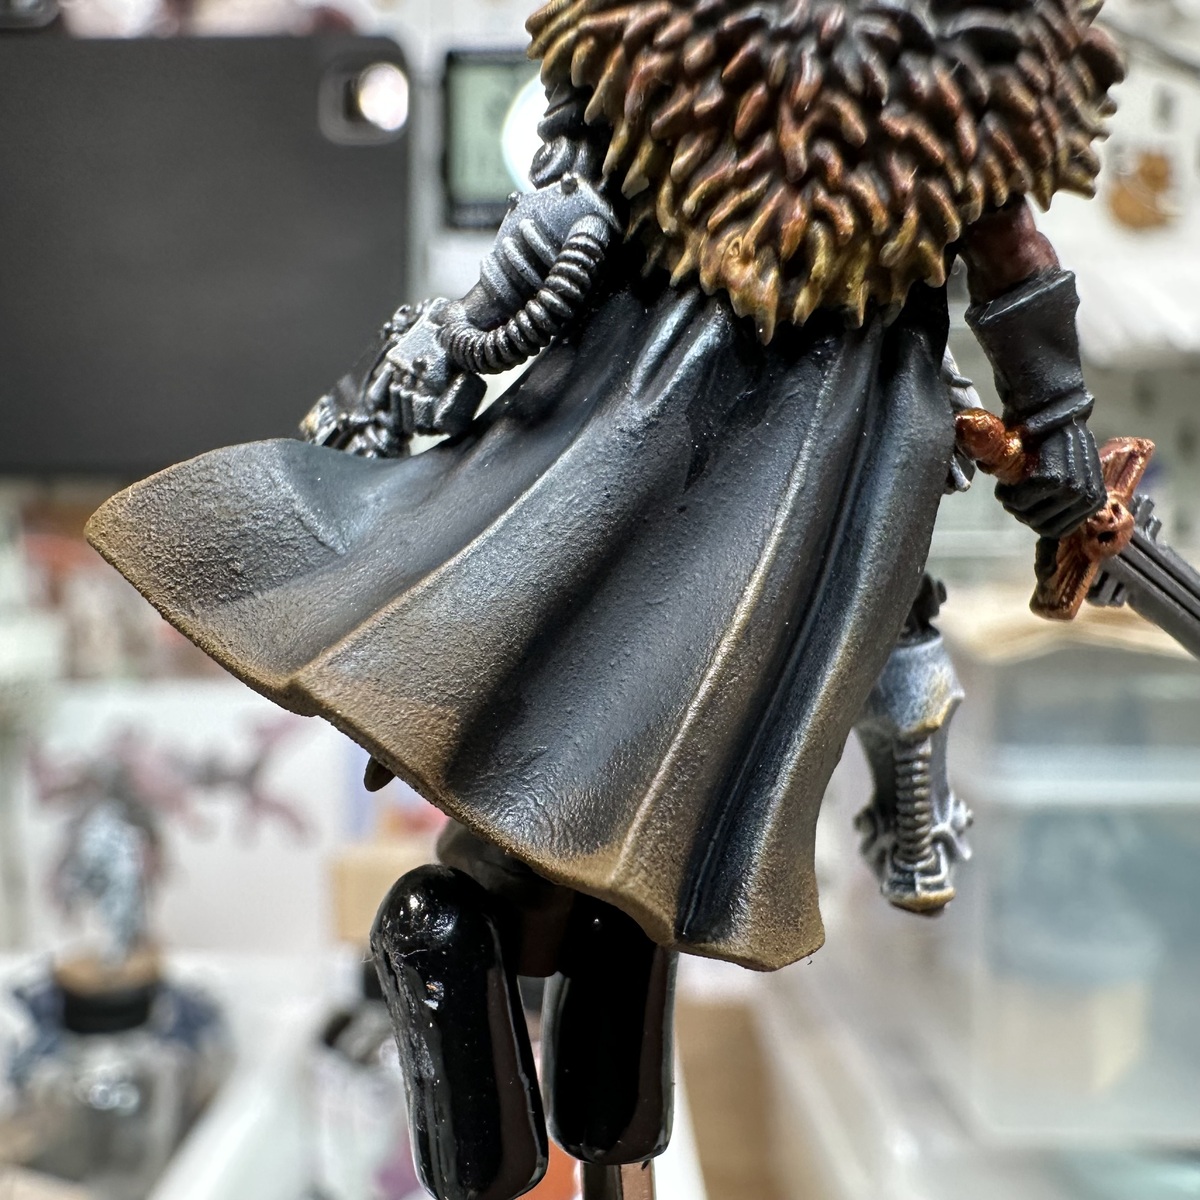
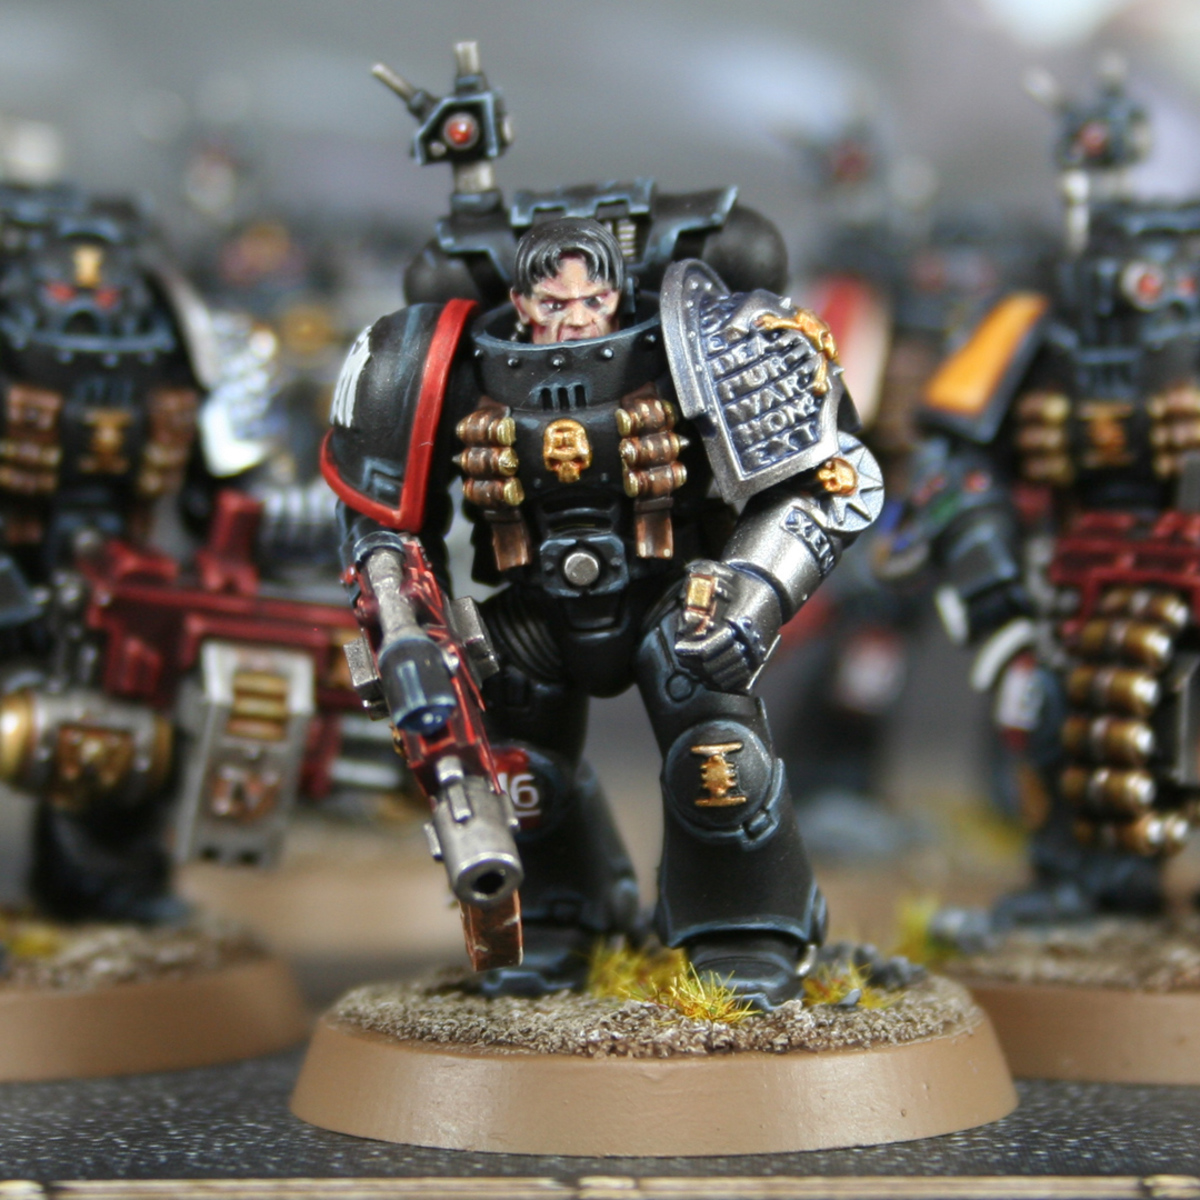
Black Armour
- Basecoat with Abaddon Black .
- Spray thinned Dark Reaper downwards as a zenethal highlight. Stick to around a 45 degree angle. This step is optional, but worth it in my opinion.
- Now recess shade any points hit by the zenethal highlight with Abaddon Black . This is to ensure the panels are still broken up nicely.
- Edge highlight everything with a thick line of Dark Reaper .
- Highlight everything again, this time with a thin line of Thunderhawk Blue .
- With Fenrisian Grey , selectively highlight upward facing edges, corners and prominent edges. Stick primarily to edges where the light would hit and always drag your brush towards the brightest point.
- Finally, edge add small highlights to the centre of the previous highlights with Blue Horror . Try to make them very small, dots if at all possible.
Battle Damage (Optional)
- For chipped and rusted looking patches, add in small clusters and lines of a dark brown like Mournfang Brown or Rhinox Hide .
- If you want the illusion of physical gouges on the edges of armour, paint a line of Abaddon Black over the previous highlights.
- Now underline your chipping and gouges with fine lines of Fenrisian Grey . I would recommend using both fluid lines and lines made up of a series of small dots, this is to maker it feel more natural. Feel free to also add in small scratches with a thin brush too.
- If you want to add further emphasis to this damage add in dots of Blue Horror to the lines of Fenrisian grey. I would recommend placing them near the centre or at the lowest point of rounded lines.
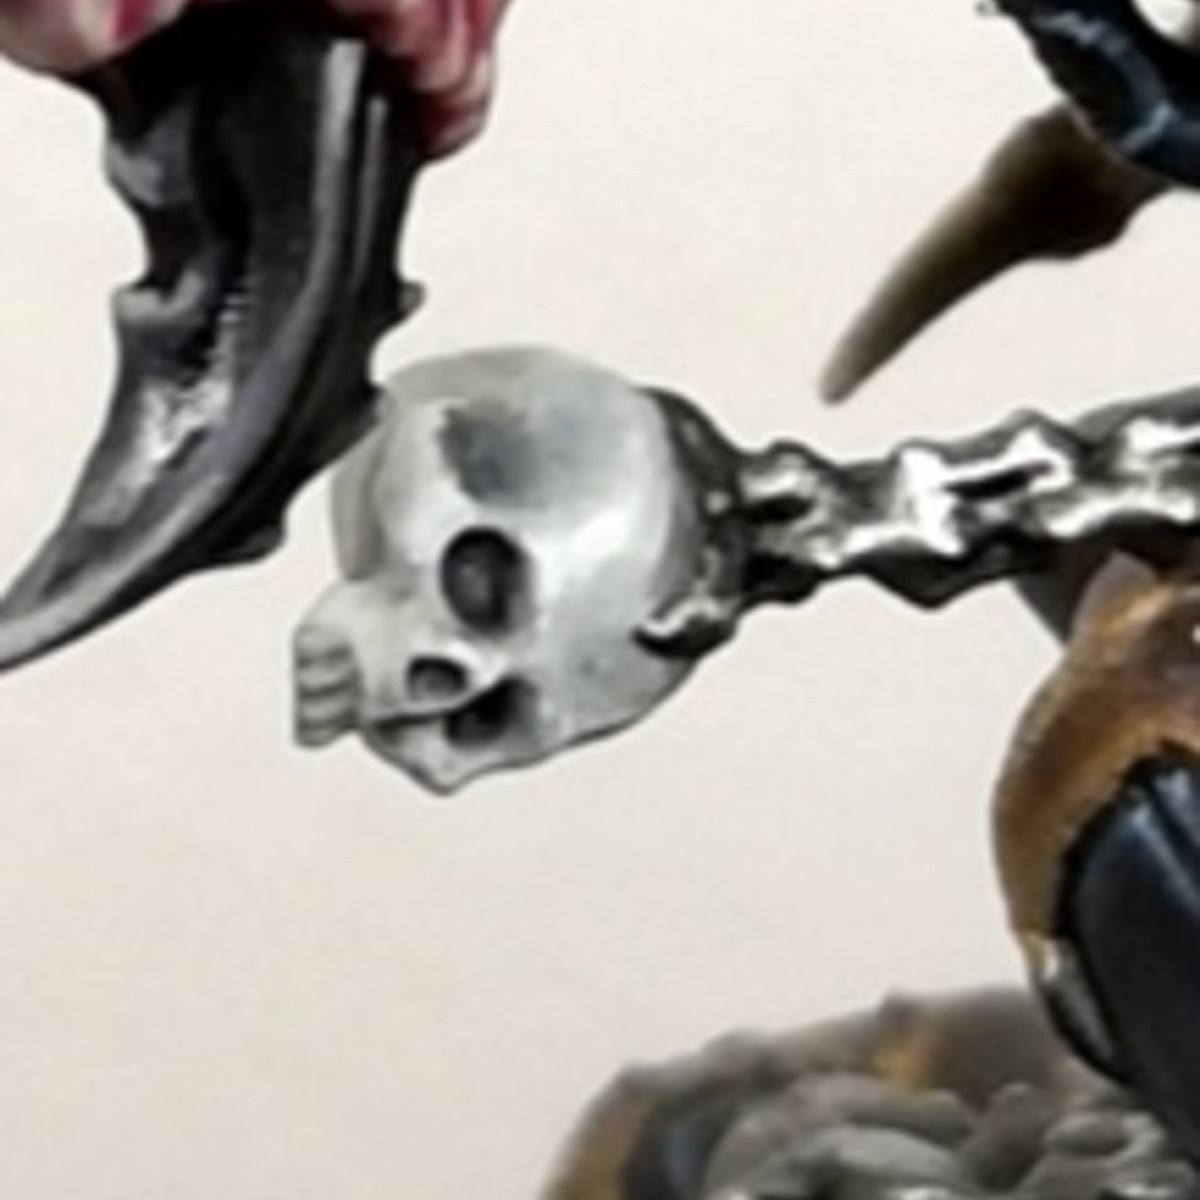
Blue Steel Armour
- Basecoat with Vallejo Metal Color Dark Aluminum .
- Spray Vallejo Metal Color Duraluminum down at a 45 degree angle, wherever light would hit.
- Spray Vallejo Metal Color White Aluminum almost entirely straight down from the top,, lightly and selectively. Only stray a few degrees as you turn the model.
- Wash all of the recesses and textured parts of the metal with Leviadon Blue and Contrast Medium , mixed 1:5. You can also glaze this into parts that you would like to be darker. Be sure to smooth out rough transitions with a damp brush before they dry.
- Pick out edges and detail that need brightening with pure White Aluminum . If you are struggling to get a fine highlight, try adding a small amount of Dead White to the mix to get a better consistency.

Rookie Brushes
RookieBrushes
Aspiring miniature painter and biscuit enthusiast. Here to share my hobby and help where I can.
Citadel Painting System 9
Base 3
- Abaddon Black
- Mournfang Brown
- Rhinox Hide
Layer 4
- Blue Horror
- Dark Reaper
- Fenrisian Grey
- Thunderhawk Blue
Technical 1
- Contrast Medium
Contrast 1
- Leviadon Blue
Vallejo Game Color
Base 1
- 72.001 Dead White
Vallejo Metal Color
Base 3
- 77.702 Duraluminum
- 77.703 Dark Aluminum
- 77.706 White Aluminum