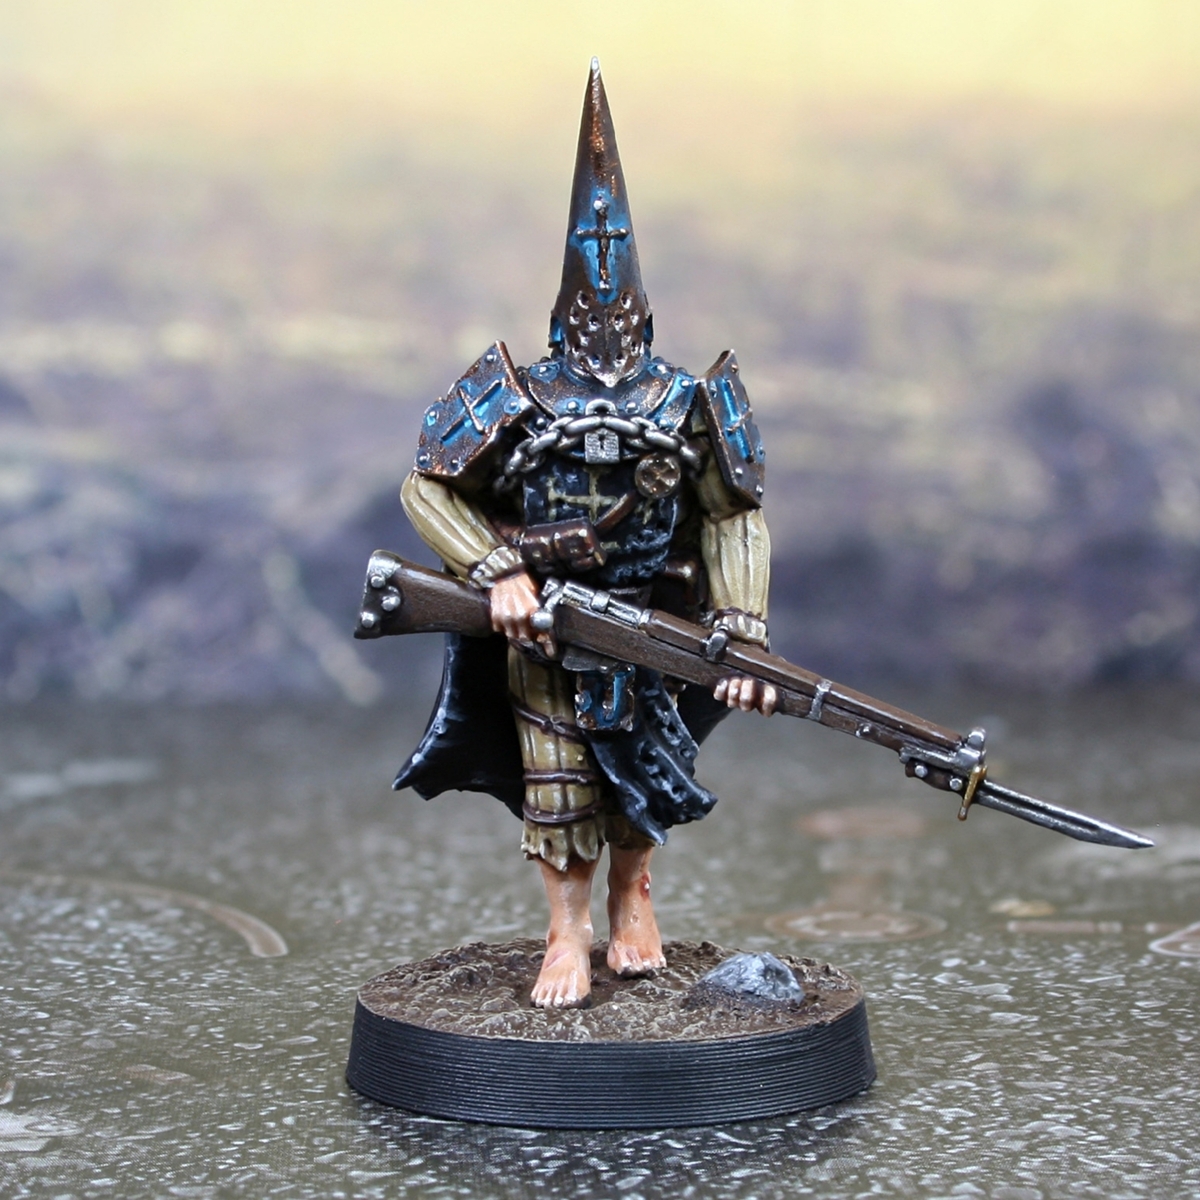

 Tan Cloth
- Basecoat with Tallarn Sand .
- Shade recesses with a 1:1 mix of Tallarn Sand and Rhinox Hide . I use this mostly for the recesses in the quilting and for gereral shading in darker areas.
- Further define recesses with small amounts of Rhinox Hide .
- Edge highlight with 1:1 Tallarn Sand and Screaming Skull . Go slightly heavier on elbows and more exposed points.
- Add selective highlights of Screaming Skull , using the previous stages chunkier highlights as a guide, but also adding specular highlights on corners.
While shading with the Rhinox Hide , ensure you separate the cord bindings from the quilted cloth. You will end up with some very deep brown cords. Pick them out with an edge highlight of Baneblade Brown , to make them stand out, before mixing in a little White and highlighting selectively.
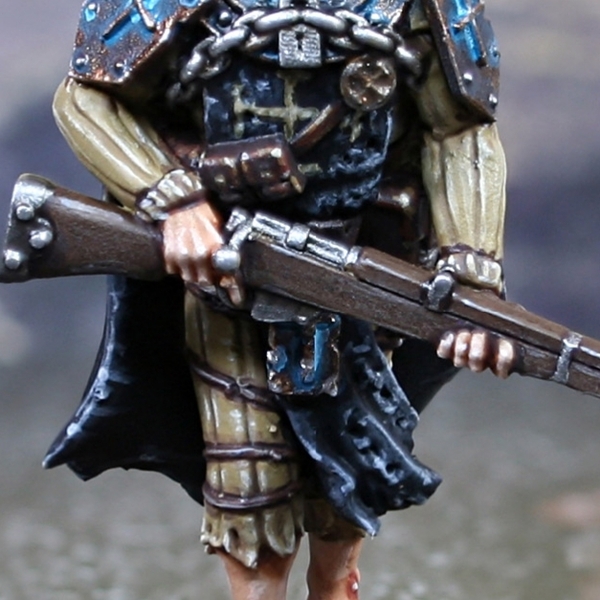
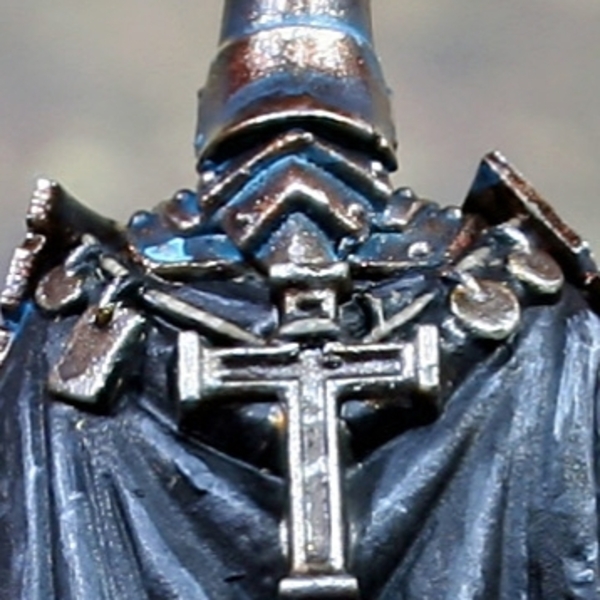
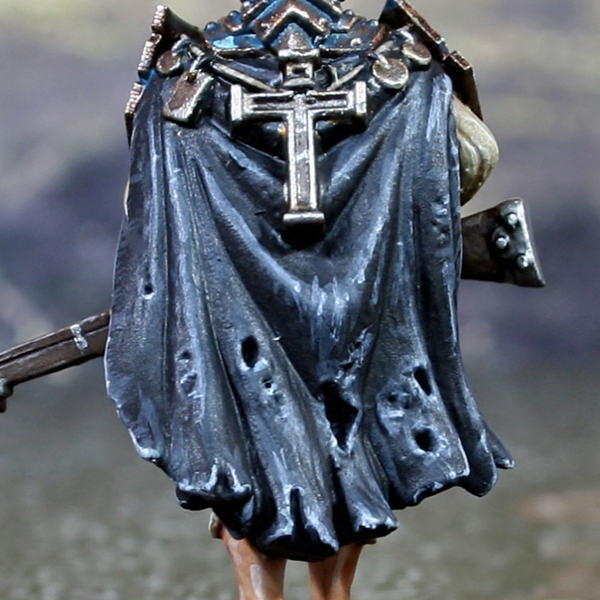 Black Cloth
- Basecoat with 4:1 Black and Kantor Blue .
- Add highlights with the base colour mixed 1:3 with Administratum Grey . These highlights are best applied as a series of scratchy lines.
- Edge highlight with Administratum Grey .
- Finish with very small/specular highlights of Grey Seer .
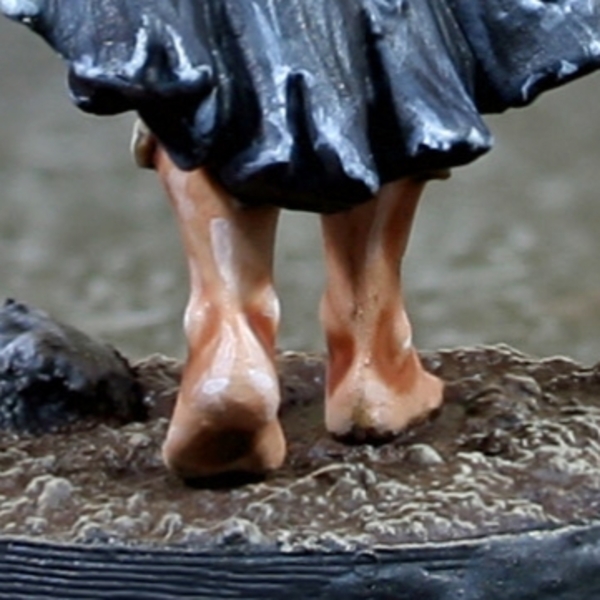 Pale Skin
- Basecoat with an equal parts mix of Cadian Fleshtone , Kislev Flesh and White .
- Wash with Reikland Fleshshade .
- Mix the base colour 2:1 with White , then add some highlights.
- Increase the amount of White again, so it is roughly 1:2 now. Use this for specular highlights.
 Wood
Wood
- Basecoat with Thondia Brown .
- Shade with thinned Rhinox Hide .
- Highlight with Thondia Brown & Steel Legion Drab mixed 2:1.
- Selectively highlight with the previous colour mixed 1:1 with Administratum Grey .
- Finish with specular highlights using pure Administratum Grey .
 Dark Brown Leather
- Basecoat with Rhinox Hide .
- Edge highlight with Doombull Brown , making them a little chunkier on corners and exposed areas.
- Selectively highlight with XV-88 on corners and exposed edges.
- Finish with specular highlights of Screaming Skull , where needed.
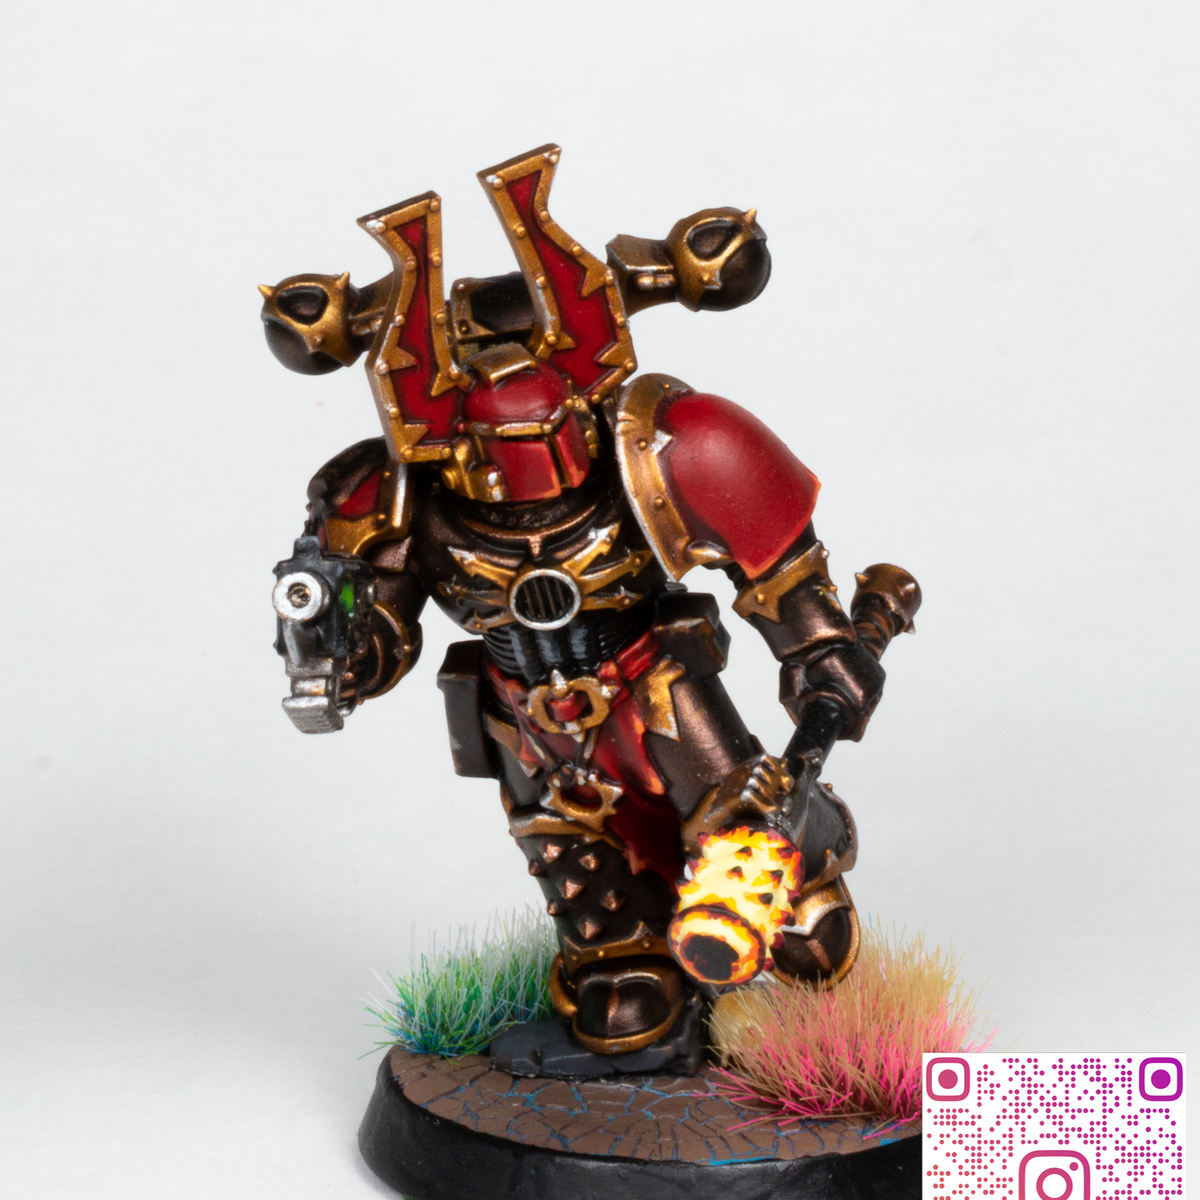
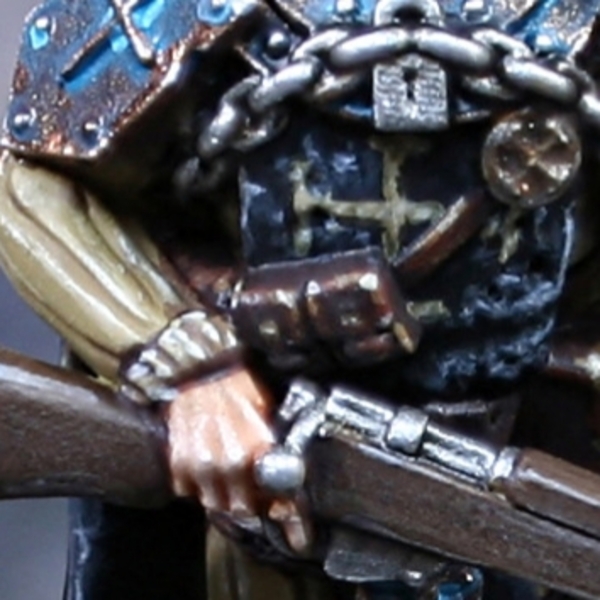
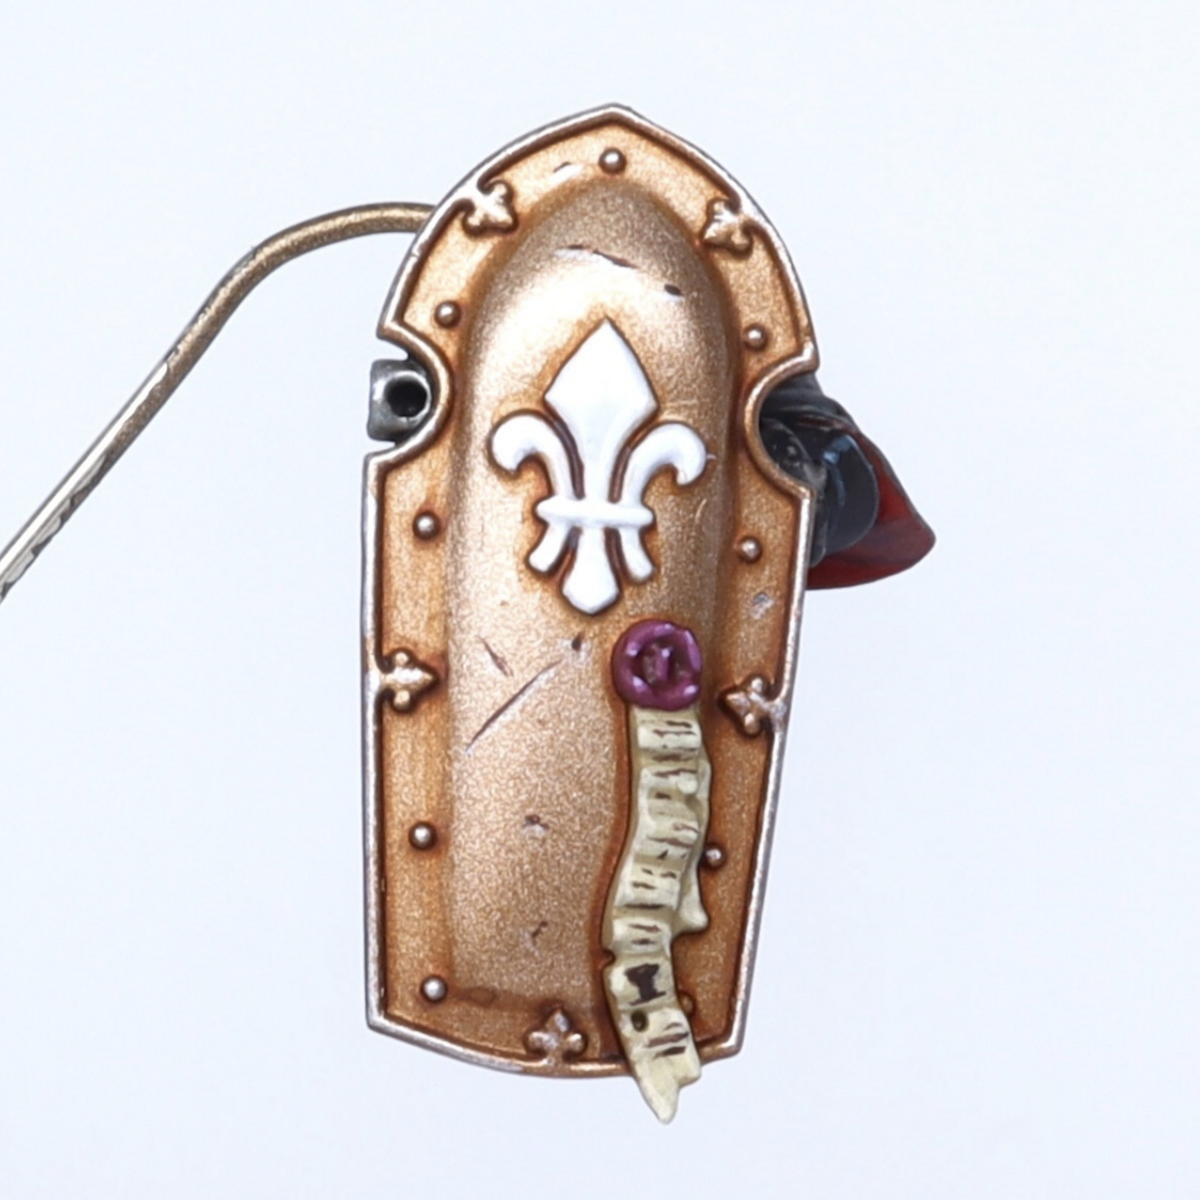
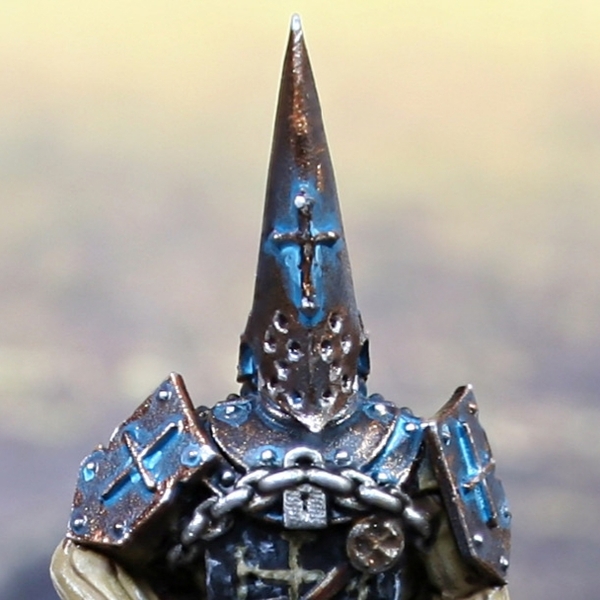 Oxidised Bronze
- Basecoat with Warplock Bronze .
- Thin some Sotek Green and glaze in weathering. Stick to recesses, damage and around rivets.
- Add some White into your Sotek Green and cover a smaller area to simulate heavier oxidisation.
- Highlight with Balthasar Gold .
- Mix the Balthasar Gold with a little Silver RLM01 Metallic , then highlight more selectively.
- Finish with specular highlights of pure Silver RLM01 Metallic .
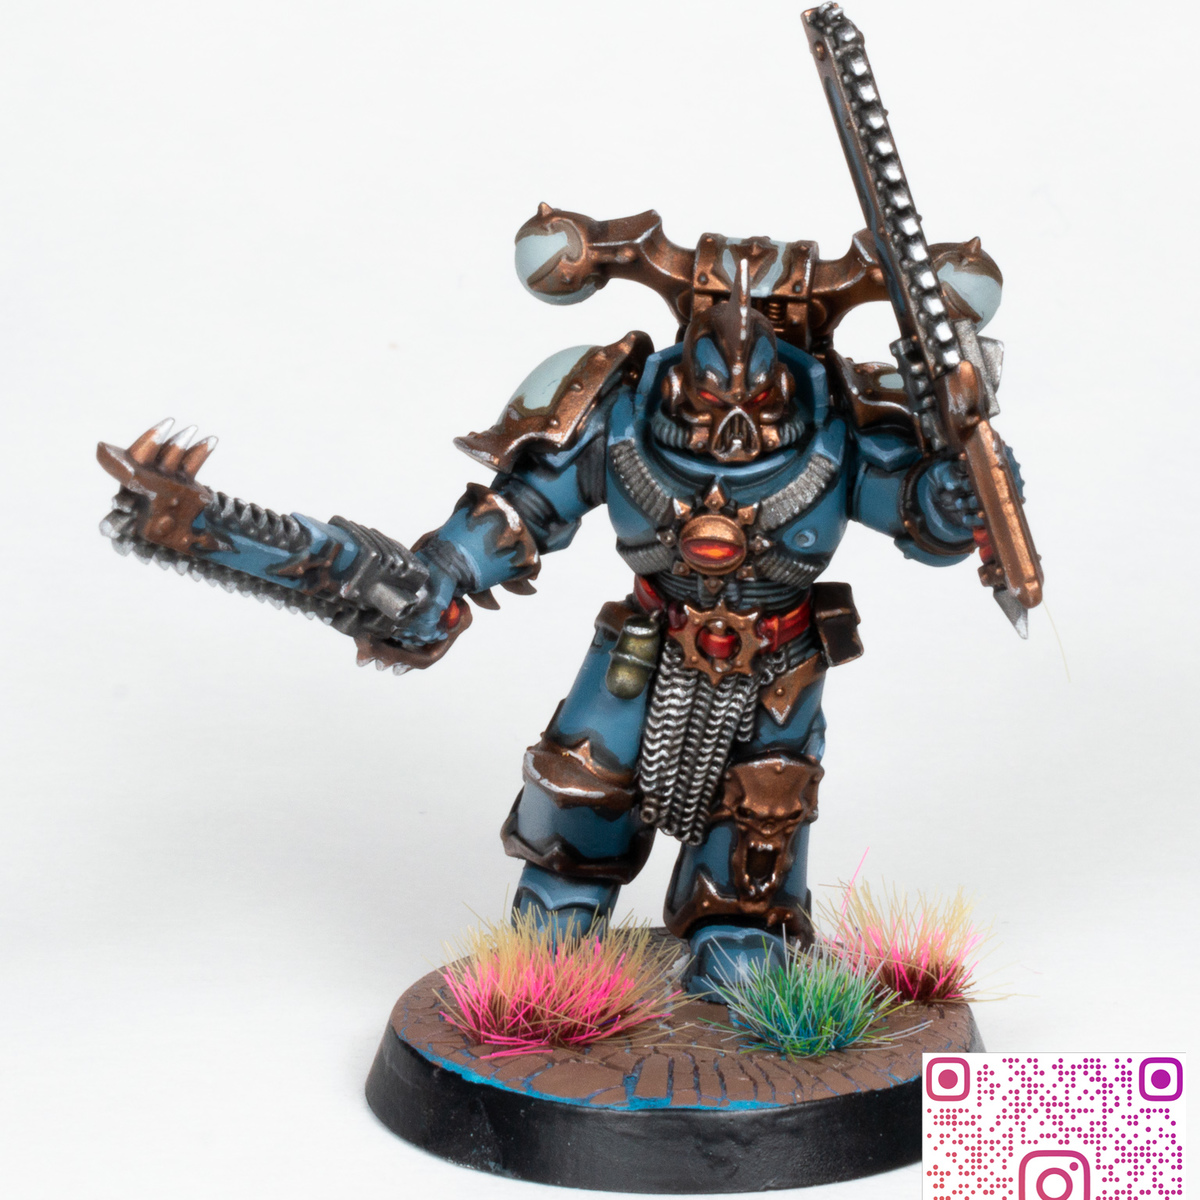
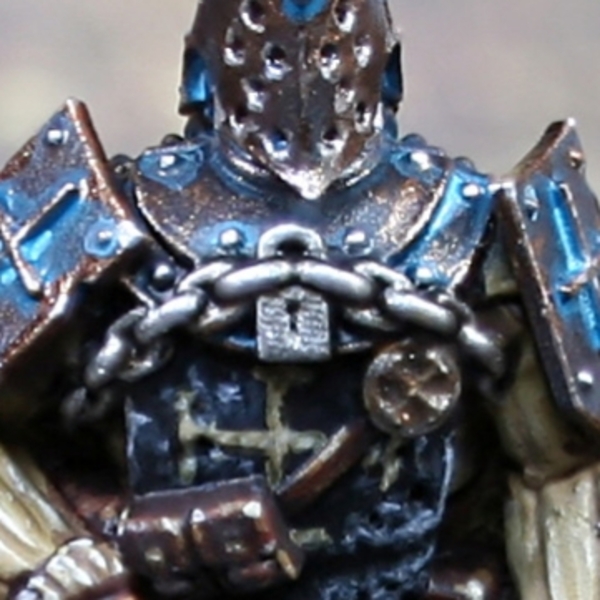 Steel
Steel
- Basecoat with Leadbelcher .
- Wash with Nuln Oil mixed with Agrax Earthshade . To make it look extra dirty, consider multiple passes or even adding some other browns and oranges to the mix to make the metal look rustier.
- Highlight with Ironbreaker .
- Finish with selective Silver RLM01 Metallic highlights.
 Cord
Cord
- Basecoat with Steel Legion Drab .
- Highlight with Karak Stone , covering most of the exposed edge.
- Mix a little White into the Karak Stone , then add a few dots within the last stages highlight.

Rookie Brushes
RookieBrushes
Aspiring miniature painter and biscuit enthusiast. Here to share my hobby and help where I can.
Citadel Painting System 22
Base 9
- Balthasar Gold
- Grey Seer
- Kantor Blue
- Leadbelcher
- Rhinox Hide
- Steel Legion Drab
- Thondia Brown
- Warplock Bronze
- XV-88
Shade 3
- Agrax Earthshade
- Nuln Oil
- Reikland Fleshshade
Layer 10
- Administratum Grey
- Baneblade Brown
- Cadian Fleshtone
- Doombull Brown
- Ironbreaker
- Karak Stone
- Kislev Flesh
- Screaming Skull
- Sotek Green
- Tallarn Sand
Vallejo Model Air
Base 1
- 71.063 Silver RLM01 Metallic
Vallejo Model Color
Base 2
- 70.950 Black
- 70.951 White


.jpg)