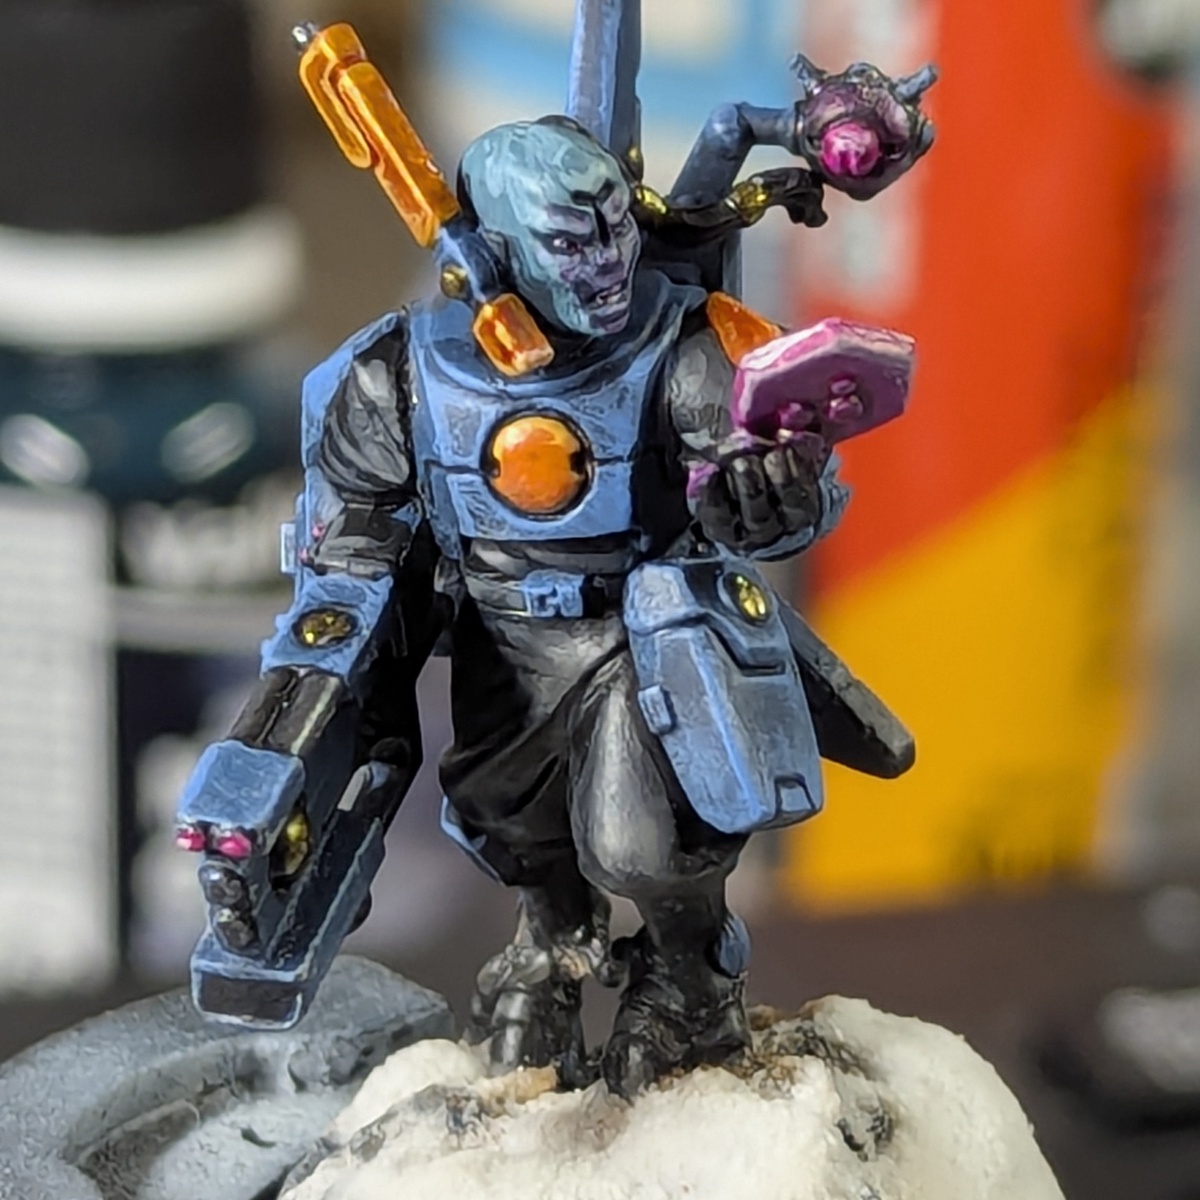
I couldn't find a decent tutorial for Sa'Cea Tau, in my opinion, the coolest colour scheme since the warm brown of the T'au sept (the white guys GW currently are rocking as the posterchild can go do one... imho)
2 paints are not included in PP's library, these are the Molotow range, they're great, in this scheme I use their colour, petrol as a base, and Liquitex Acrylic inks, I use their Magenta ink for effects. Feel free to sub these for something similar.
Lots of the listed paints are to provide alternatives to out-of-production colours I used, so if anyone wants to follow along, feel free to use those instead (main one being the Electric Blue I use as my drybrush pass on the armour. Any bright, saturated sky blue will do.
The same with whites, greys, blacks and metalics, just use what you have.
I wrote this while painting my test model for the scheme. I will update with pictures and effects as I get to them on different models
Paints I used
Armour
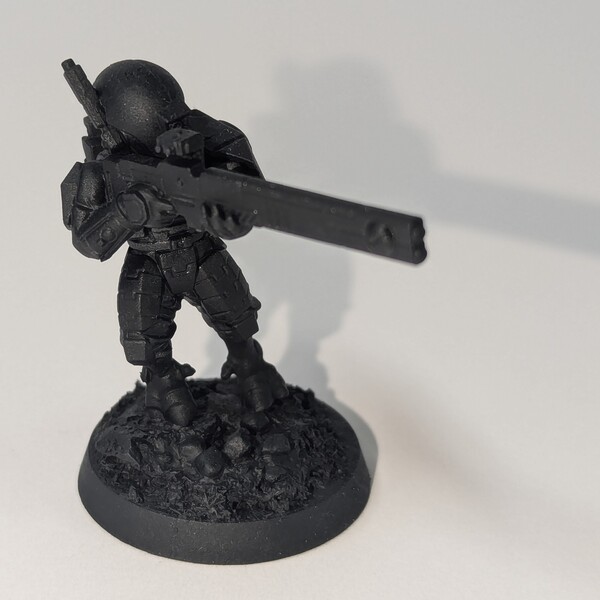 Prime black any old one will do I used Black
  zenithal with 027petrol , this is pretty much the midtone to, so don't worry if you go heavy.
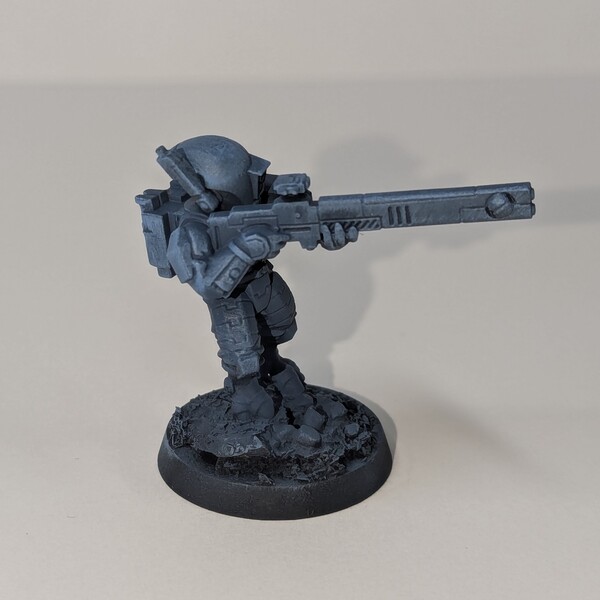 lightly dry brush with Electric Blue (or similar bright blue, as the range is discontinued Frost Blue or Baron Blue should be good alternatives) very lightly just to catch edges and brighten volumes. Again later steps will tidy this up, I usually get here with a whole force before moving into smaller batches for the rest of the steps.
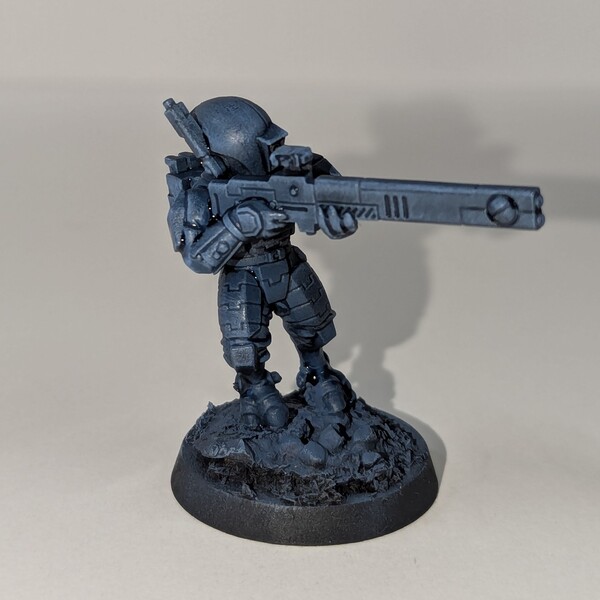 Cover armour panels with Runic Grey or Runic Grey whichever you have, either should work. On flat areas, like the little shoulder pads, encourage the paint to pool towards the lower edge of each face.
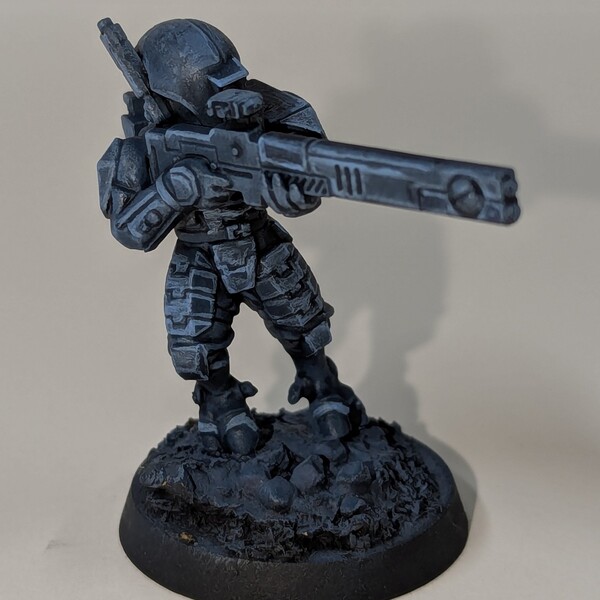 Go back in and highlight prominent edges with Electric Blue , you could do this with another dry brush pass if you're looking for speed, but I prefer to manually place them.
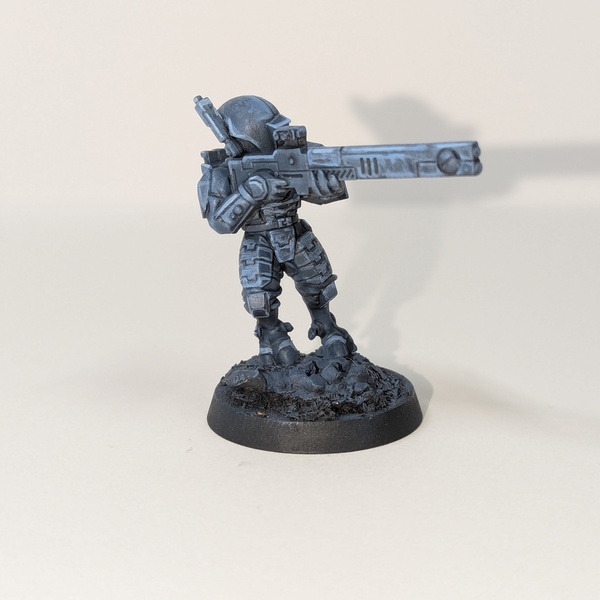 Mix in a little Off White to your Electric Blue and add some extreme highlights to the top parts of your model.
Sept Markings
I do most of these freehand, you could splurge on some custom decals, cut out some masks with masking tape or go for simpler patterns.
On my drones and tanks I did end up using some Tamiya masking tape for some of the markings to make them look sharper.
- Basecoat all areas that are going to be sept colour (i.e. orange) with Off White . At this stage, it's worth picking out the lenses, any screens or lights and the Tau symbol on the shoulder pad (see below), as all of these will be based this colour too.
- Cover all your off-white with a bright orange, i used Orange Fire but you could use something like Fire Dragon Bright . My coverage was awful as always with orange, so 2 to 3 thin coats were applied. You might get away with skipping this step, but I've not tested it... let me know!
- Shade it all with an orange speedpaint like Fire Giant Orange
- Highlight back up with your orange colour, then add a touch of Off White (mainly because it's already on my pallet) add some fine edge highlights.
Cloth & Black armour/gun bits
- Paint all with black speedpaint, I used Black Legion also paint any areas that will be metal with this.
- Highlight with a neutral grey, I used Mechanicus Standard Grey
- Add extreme highlights with Dawnstone or similar, or by adding an off white like Off White to the Mechanicus Grey.
- I left highlights on solid bits like the gun stark, and on any black cloth, I used a thinned coat of Black Legion (you coul use liquid skill Nuln Oil but why bother when a speed paint and water is already available?)
Skin
- Basecoat with Dark Sea Blue
- splodge on the eyes with Off White
- add a pupil if you're confident enough, i just re-used the Dark Sea Blue as it's pretty dark
- Finally paint around the eyes with your Dark Sea Blue to define the shape, much easier than painting tiny neat eyes. Paint the big easy negative space, not the hard fiddly bits!
- Mix in Off White for highlights for the skin. Go as close to pure off-white as you like. I feel that older tau should look dustier and paler, younger ones shold be more blue. I'll use the dark sea blue for blood effects when weathering.
Metalics
- Base all metallic areas with a base silver like Gunmetal
- Add gold accents with Bronze
- Wash all with diluted Black Legion , Nuln Oil or equivalent black wash.
- Highlight back up with Gunmetal : and Bronze respectively if needed
Lenses and Glowy-bits
- Base Off White
- wash with Magenta Acrylic Ink , some of the lenses I paint with Fluorescent Green
Stealth Effects
The Irritating Tau Symbol
Now, you could leave it black and paint the raised areas with your gold/bronze metalics, this would look cool and be easy. But I'm a glutton for punishment and decided to go with the oldskool black with white recessed lines. Now, if I could be bothered to get my oils out, I'd paint the whole area with my black bits, treat them as hard surfaces, then hit the recesses with a white oil panel lining. Job done. However, I have white and black on my palette, so I decided to punish myself and do it with normal acrylics.
- Paint all the recessed areas with Off White .
- Mix a little Off White into some Black to create a not-quite-black colour and cover the raised areas carefully. Use the side of your brush to avoid going into the recesses.
- Tidy up the outside ring with a little thined Runic Grey and reapply any highlights to the blue/orange of the shoulder pad.
- Finally, add a little more Off White to your "not-quite-black" to make it a little greyer, and ad some highlights to the symbol.
Citadel Painting System 5
Base 1
- Mechanicus Standard Grey
Shade 1
- Nuln Oil
Layer 2
- Dawnstone
- Fire Dragon Bright
Contrast 1
- Black Legion
The Army Painter Speedpaint 2.0
Speedpaint 2
- Fire Giant Orange
- Runic Grey
The Army Painter Warpaints Fanatic
Acrylic 2
- Baron Blue
- Frost Blue
Vallejo Game Air
Base 1
- 72.754 Gunmetal
Vallejo Model Color 4
Base 3
- 70.820 Off White
- 70.898 Dark Sea Blue
- 70.950 Black
Metallic 1
- 70.998 Bronze
Vallejo Surface Primer
Base 1
- 70.602 Black