Red Armour
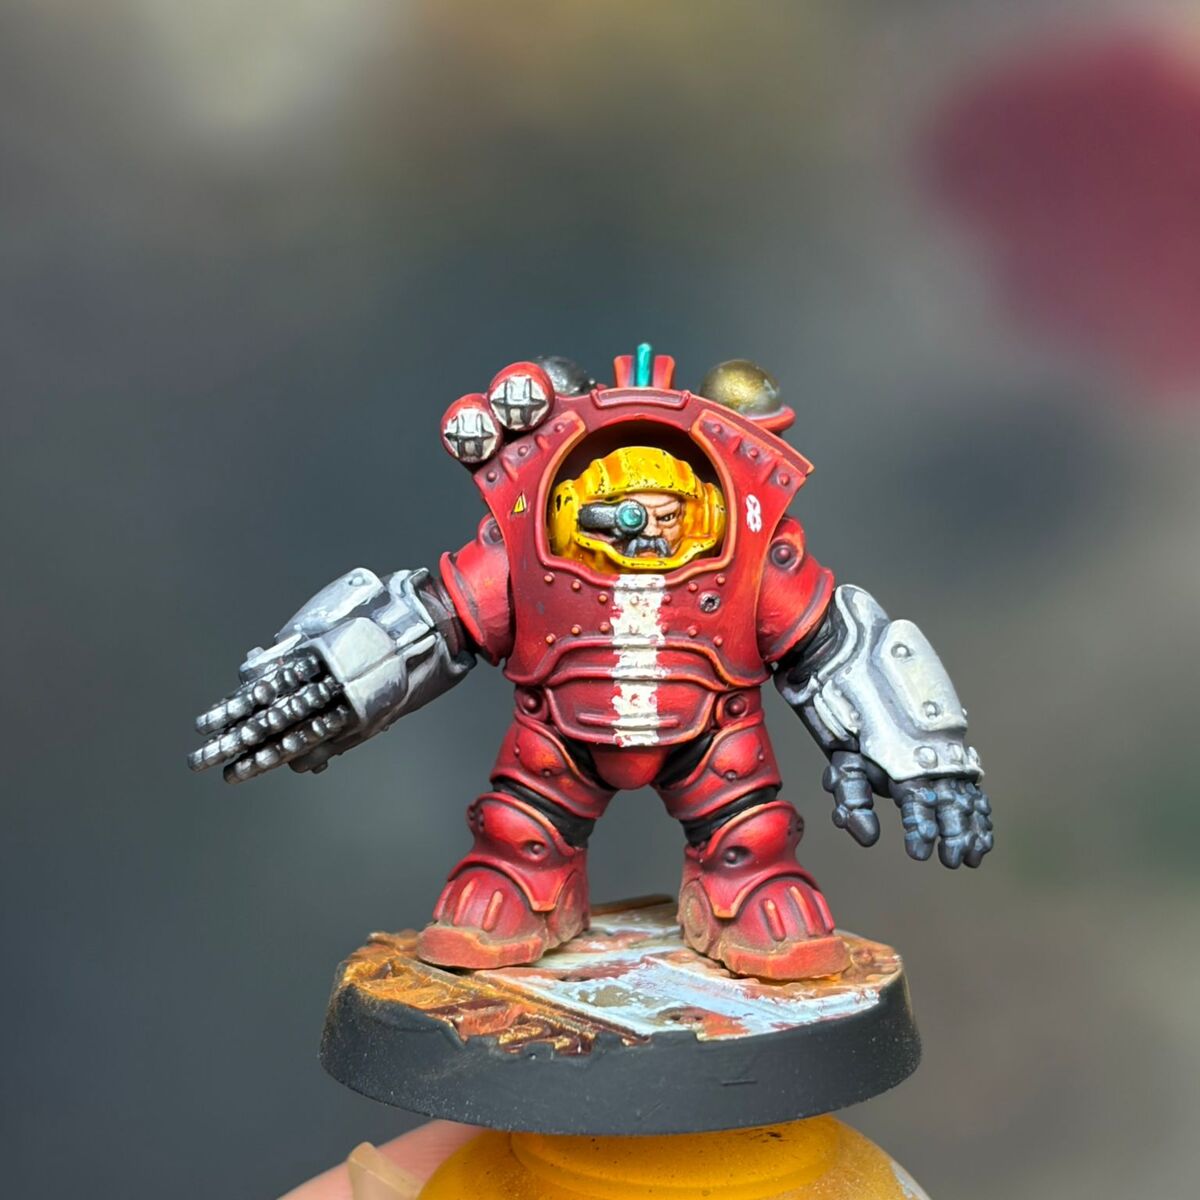
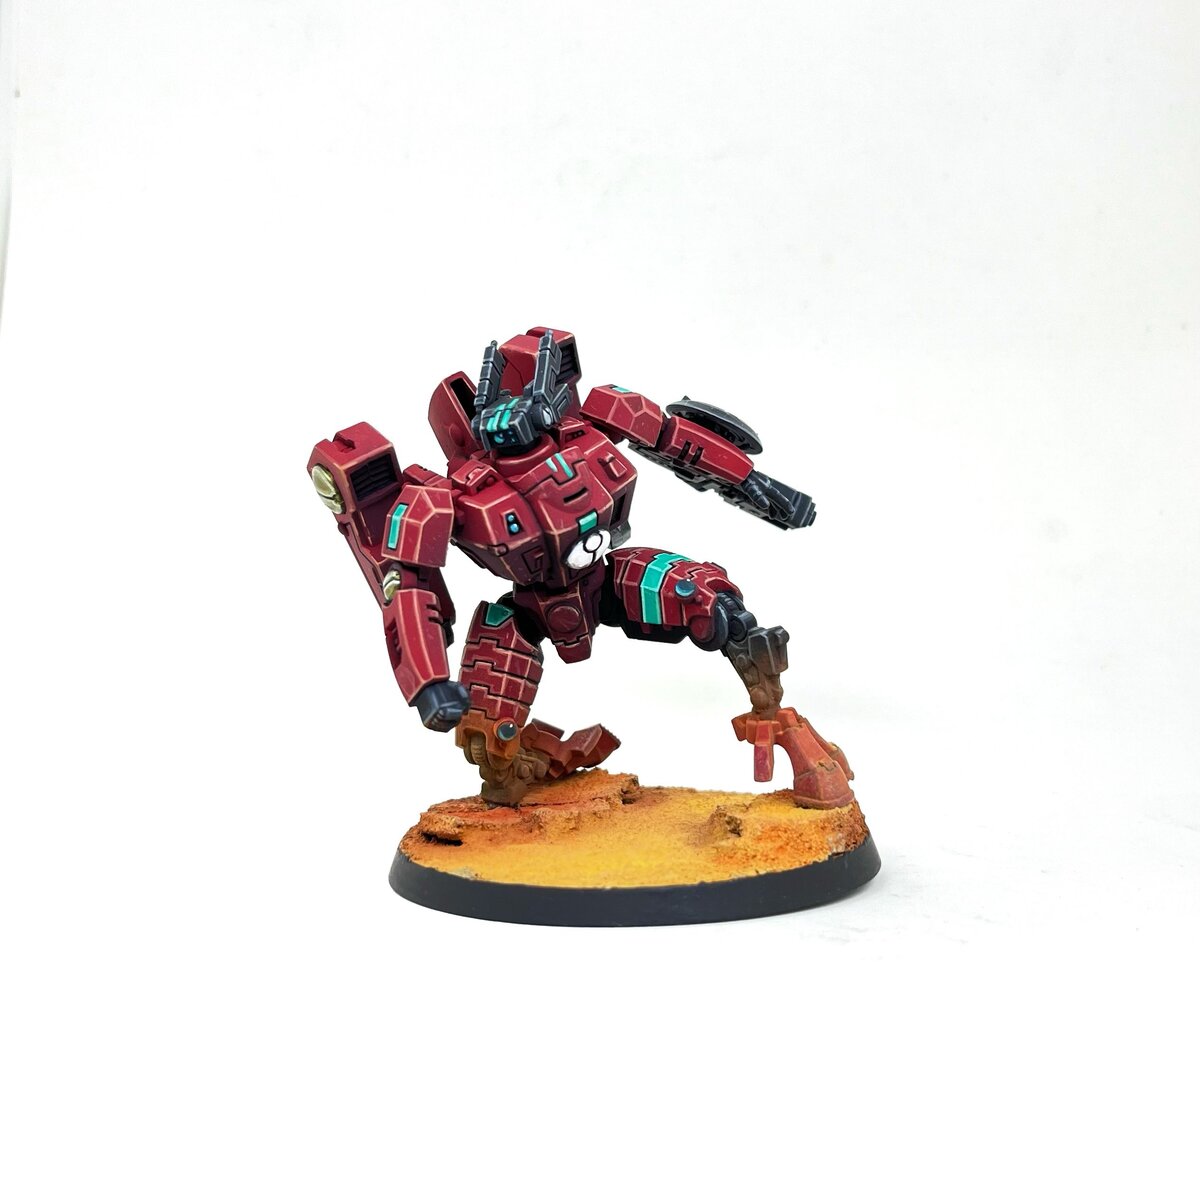
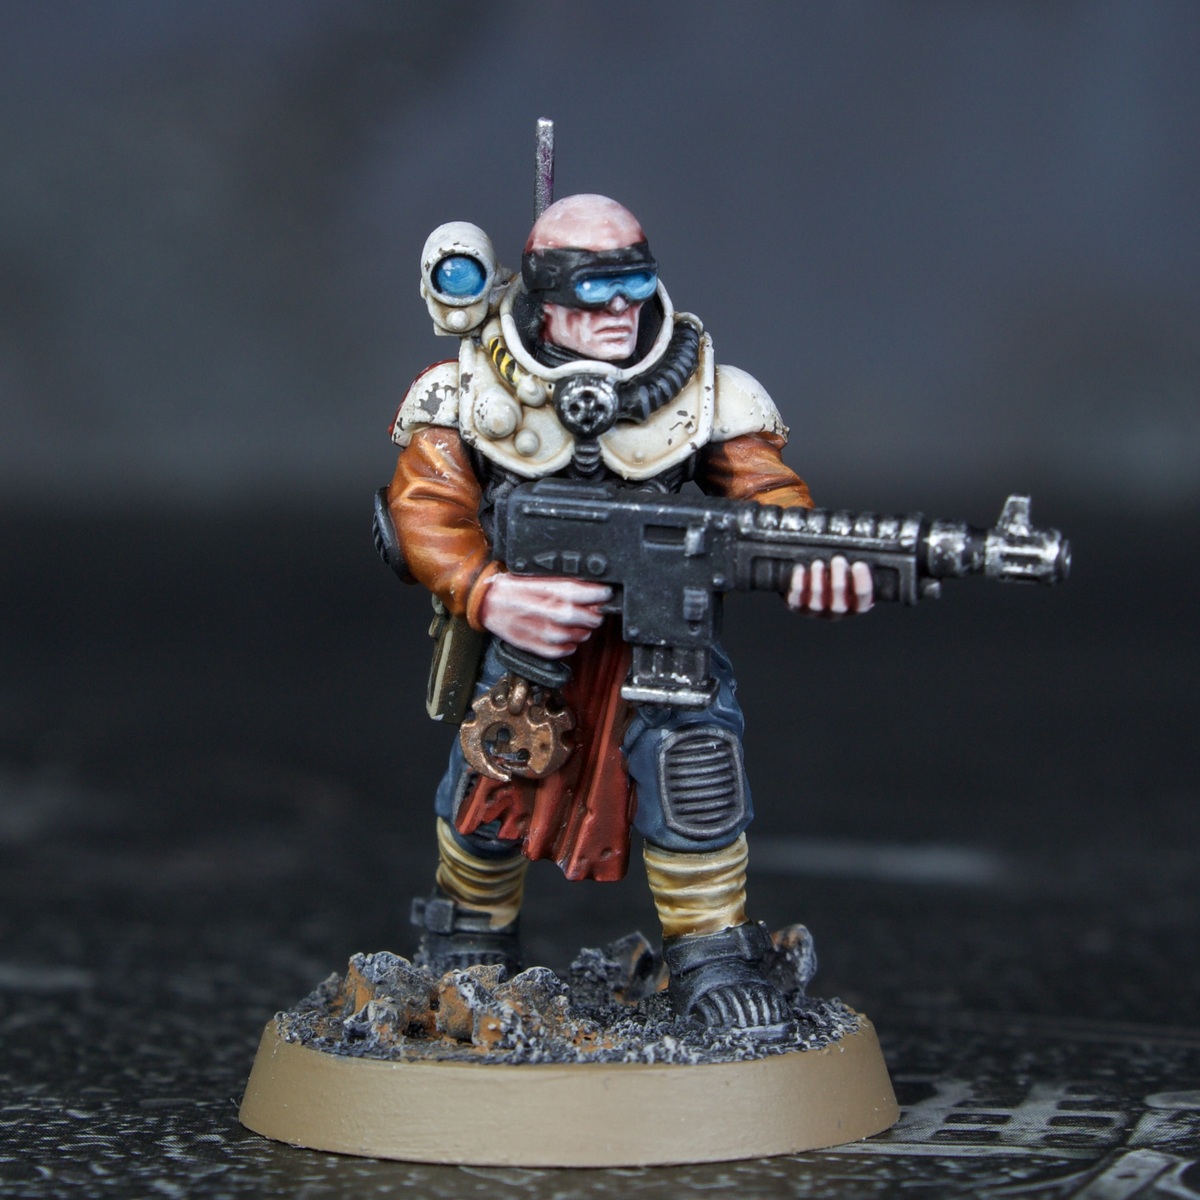
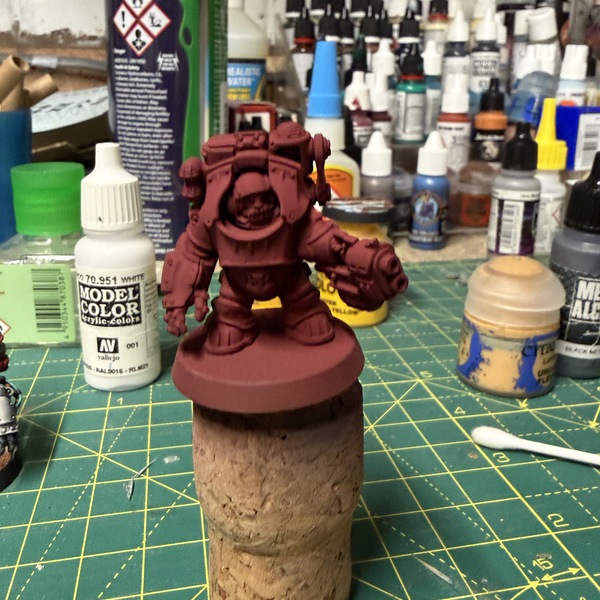 Spray with Red Primer German Red Brown
 - Layer with the first red Scarlet Red leaving some of the deepest recesses from the German Red Brown layer
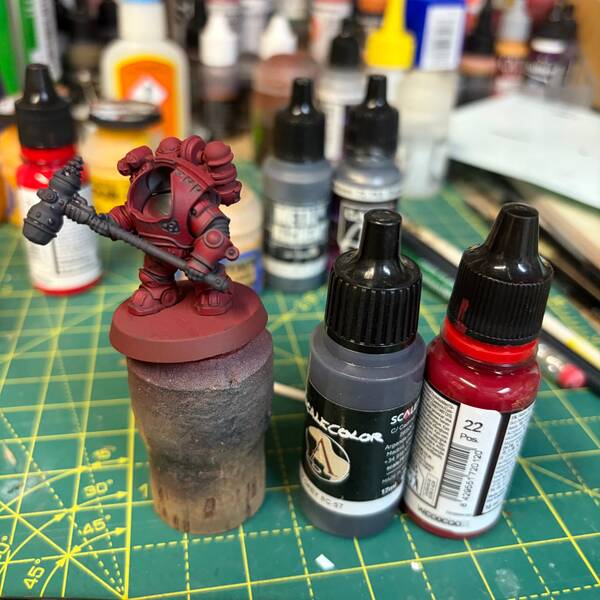 Shade with thinned down Petroleum Gray not quite a wash but thin so it runs nicely, this should cover most of the primer now.
- Mix 50% Scarlet Red and 50% Bloody Red and layer up again based on lighting - Pick the volumes from lighting doesn't have to be perfect.
- Layer with only Bloody Red making the areas smaller and smaller
- Highlight with 50% Bloody Red and Medium Orange same really small area this time.
- Highlight with a small amount of Medium Orange
- Final highlight with Ungor Flesh these are dots and tiny lines where you can.
White
- Basecoat with Petroleum Gray
- Add in some Heavy Warm White to the Petroleum Gray and highlight. All the way up to pure Heavy Warm White
- Add some White into the Heavy Warm White for final highlights
- Glaze back down with the Petroleum Gray - This is an odd step, it doesn't have to look perfect, as shown in the main picture just get the volumes right from about 1ft
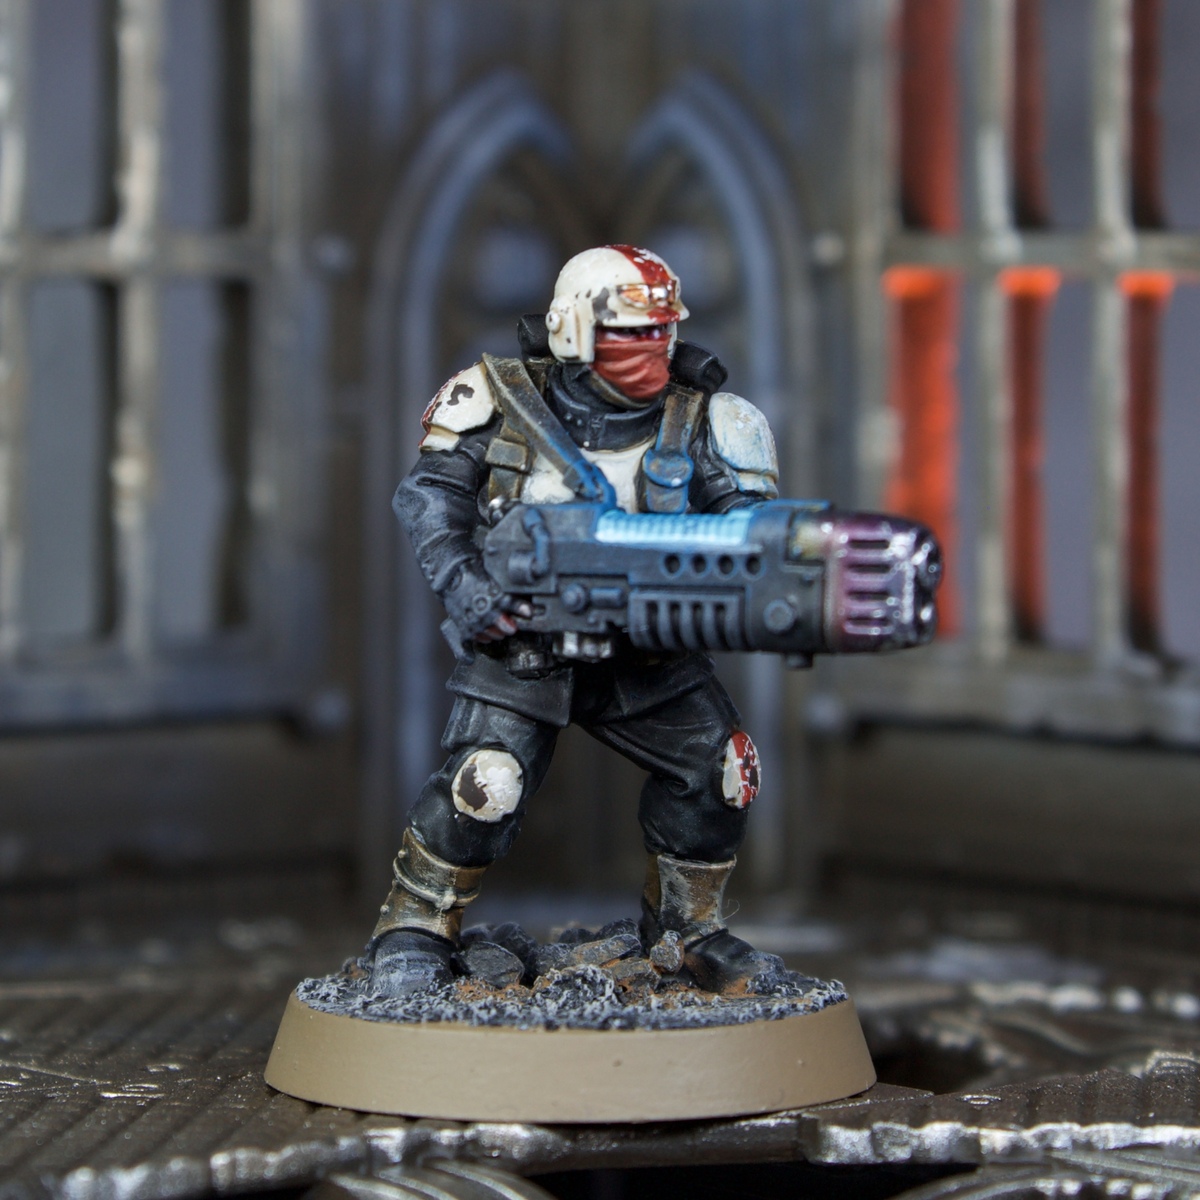
Yellow Helmet
- Basecoat with Heavy Warm White
- Layer over Imperial Fist contrast
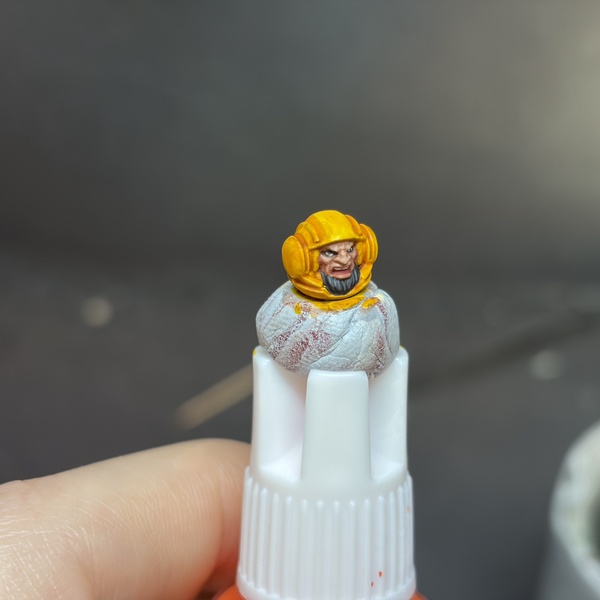 Wash with Reikland Fleshshade in the deepest recesses
- Highlight with Yriel Yellow
- Add in Ice Yellow to the Yriel Yellow and line highlight
- Add chips with the Petroleum Gray
Metals
- Basecoat the silver with Black Metal and the bronze areas with Decayed Metal
- I used some thinned Petroleum Gray to shade the Black Metal but you could use any black wash.
- Then Wash the Decayed Metal using a Green Oxide but Nihilakh Oxide or a Jade Green would also work here.
Skin
- This is easy! Advanced Flesh Tone as a base then keep adding in Heavy Warm White for highlights and done.
Lens
- Basecost with Dark Sea Ben or any deep sea blue.
- Add in some Green Oxide or any Jade into the blue and make a cresent shape.
- Keep adding in more Green Oxide and making the lines smaller
- Add in some White into the Green Oxide and repeat, leaving a dot of white on opposite sides of the lens.