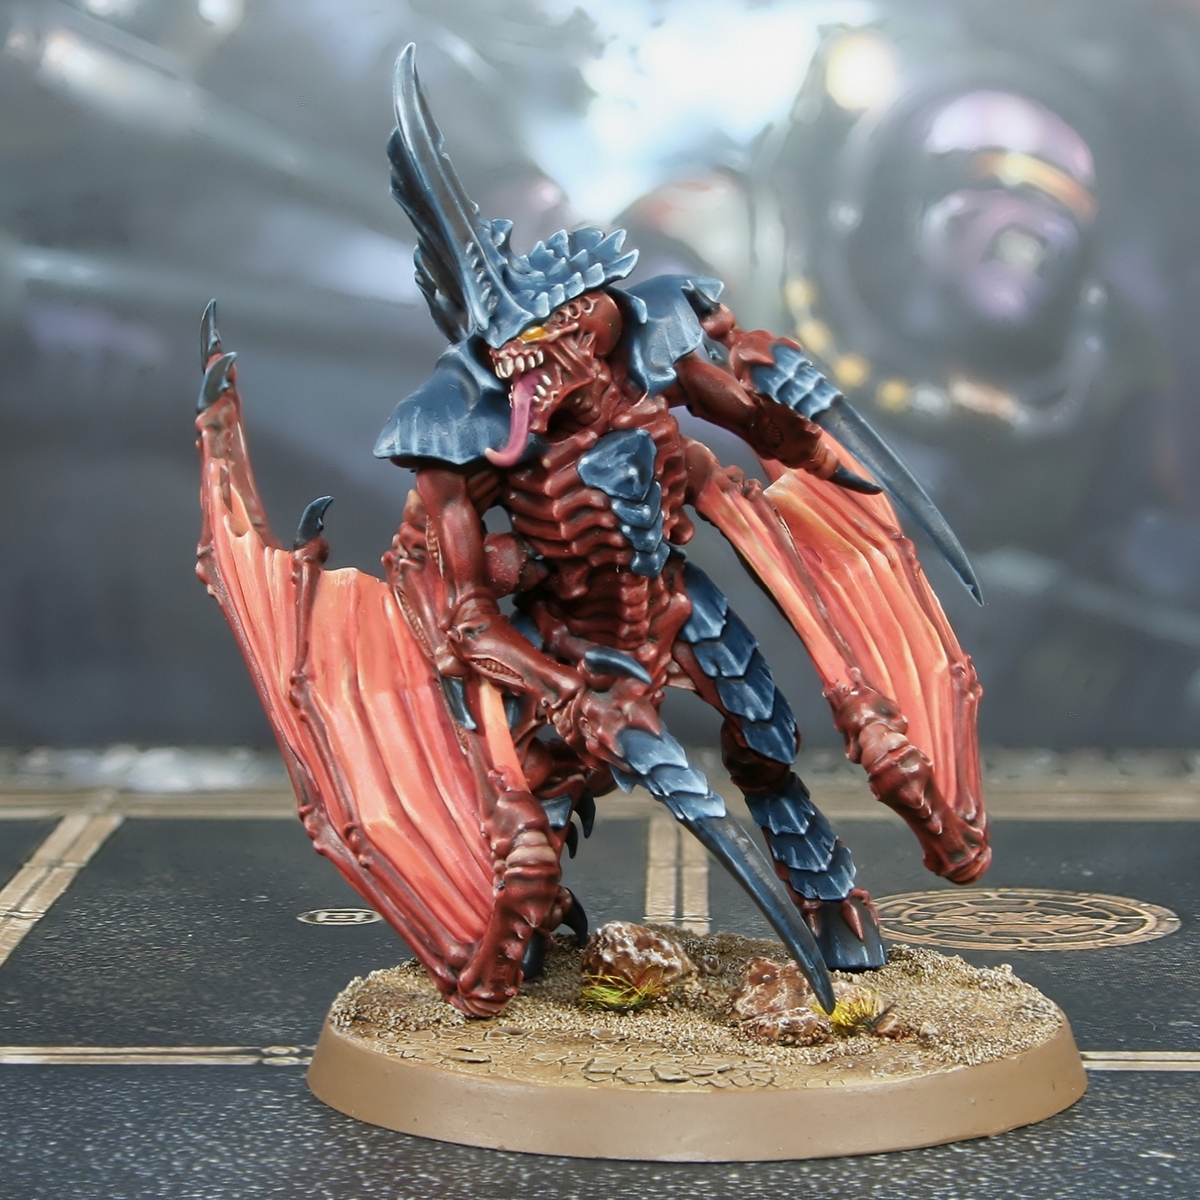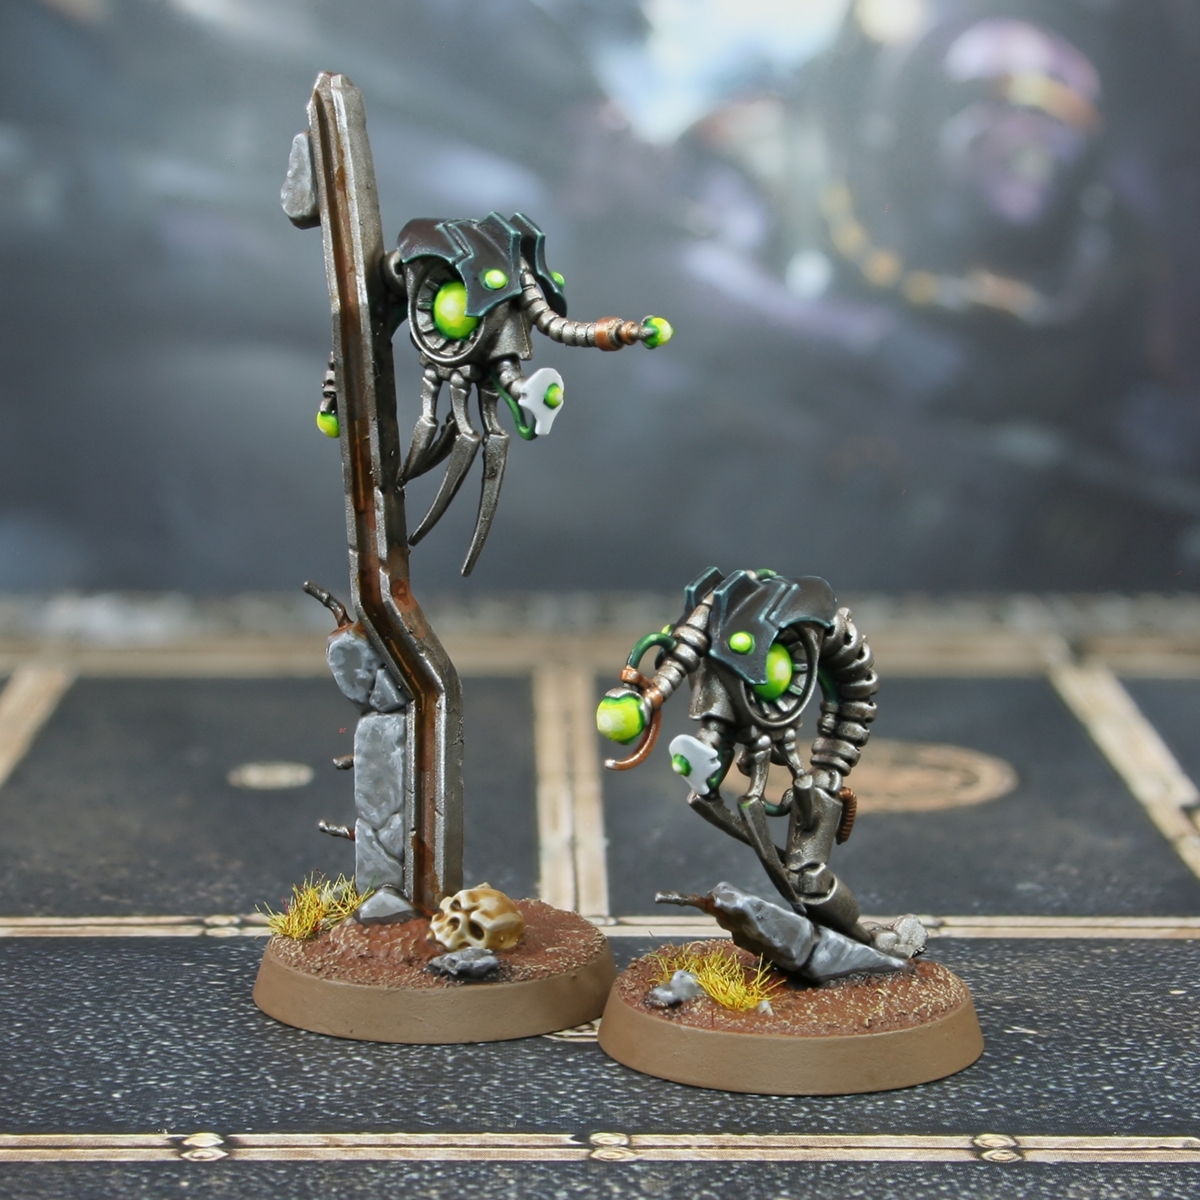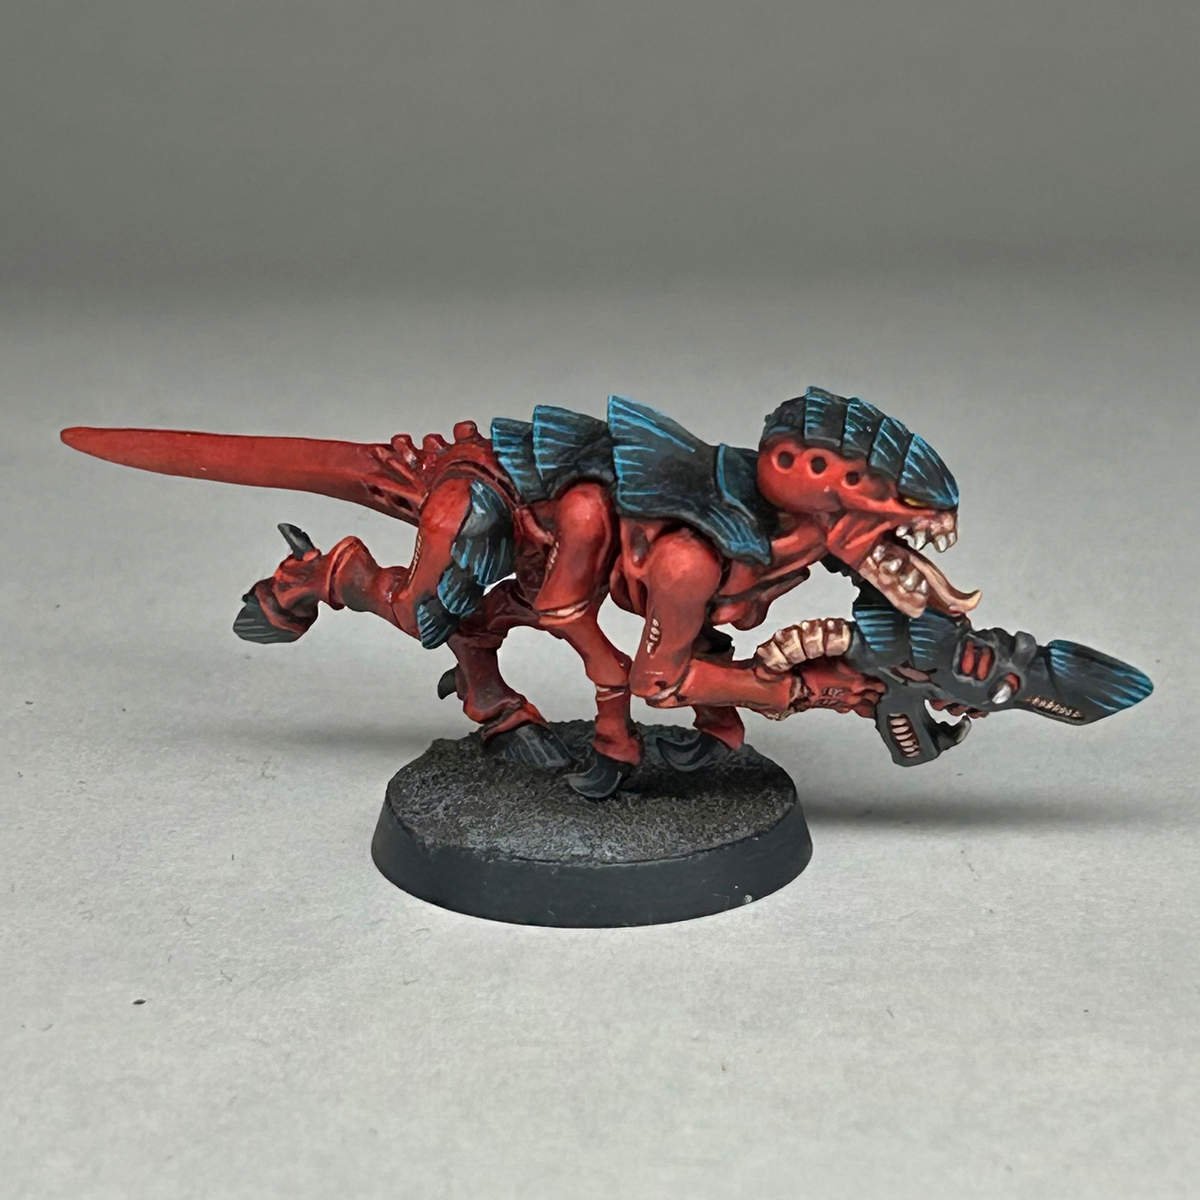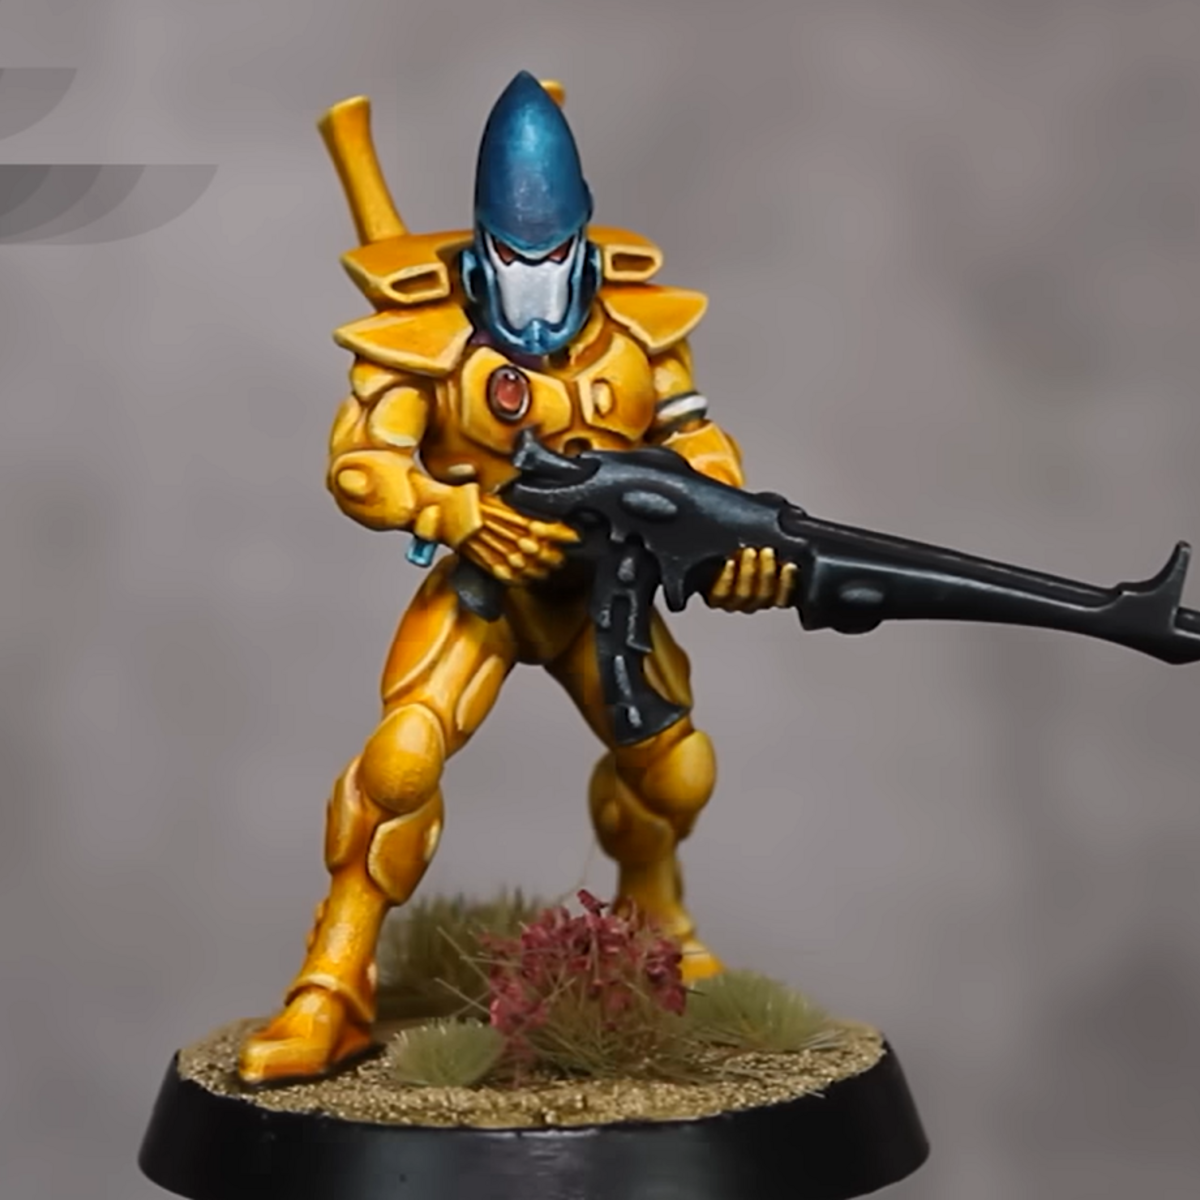

Adapted from Juan Hidalgo's Zero skill video.
The Priming (The Foundation)
- White Primer - Prime
Airbrush a perfectly smooth, solid white base over the entire model to preserve detail and set up the undercoat.
The Pink Pre-Shade (The Shadow Base)
Apply a smooth, all-over wash covering the entire body, head, and panels. Don't worry about hitting the guns or cloth here.
- Twilight Rose + Xpress Medium - (1:5) Wash
The Block-Outs (Before the Drybrush)
Paint these specific base colors so the upcoming white drybrush unifies the transitions across the entire model.
- Hospitallier Black - Block Out - Black Casings & Joint Ribs.
- Corax White - Block Out - Helmet Masks & Cloth/Robes.
The Unified Highlight (The Edge Pop)
Give the whole model a heavy drybrush to catch the edges, stippling slightly on the center of the forehead and knee caps.
- White - Drybrush
The Iyanden Yellow (The Armor Filter)
Apply a smooth, even layer over the armor panels, quickly pulling away any heavy pools with a damp brush.
- Dreadnought Yellow + Imperial Yellow - (1:1) Filter
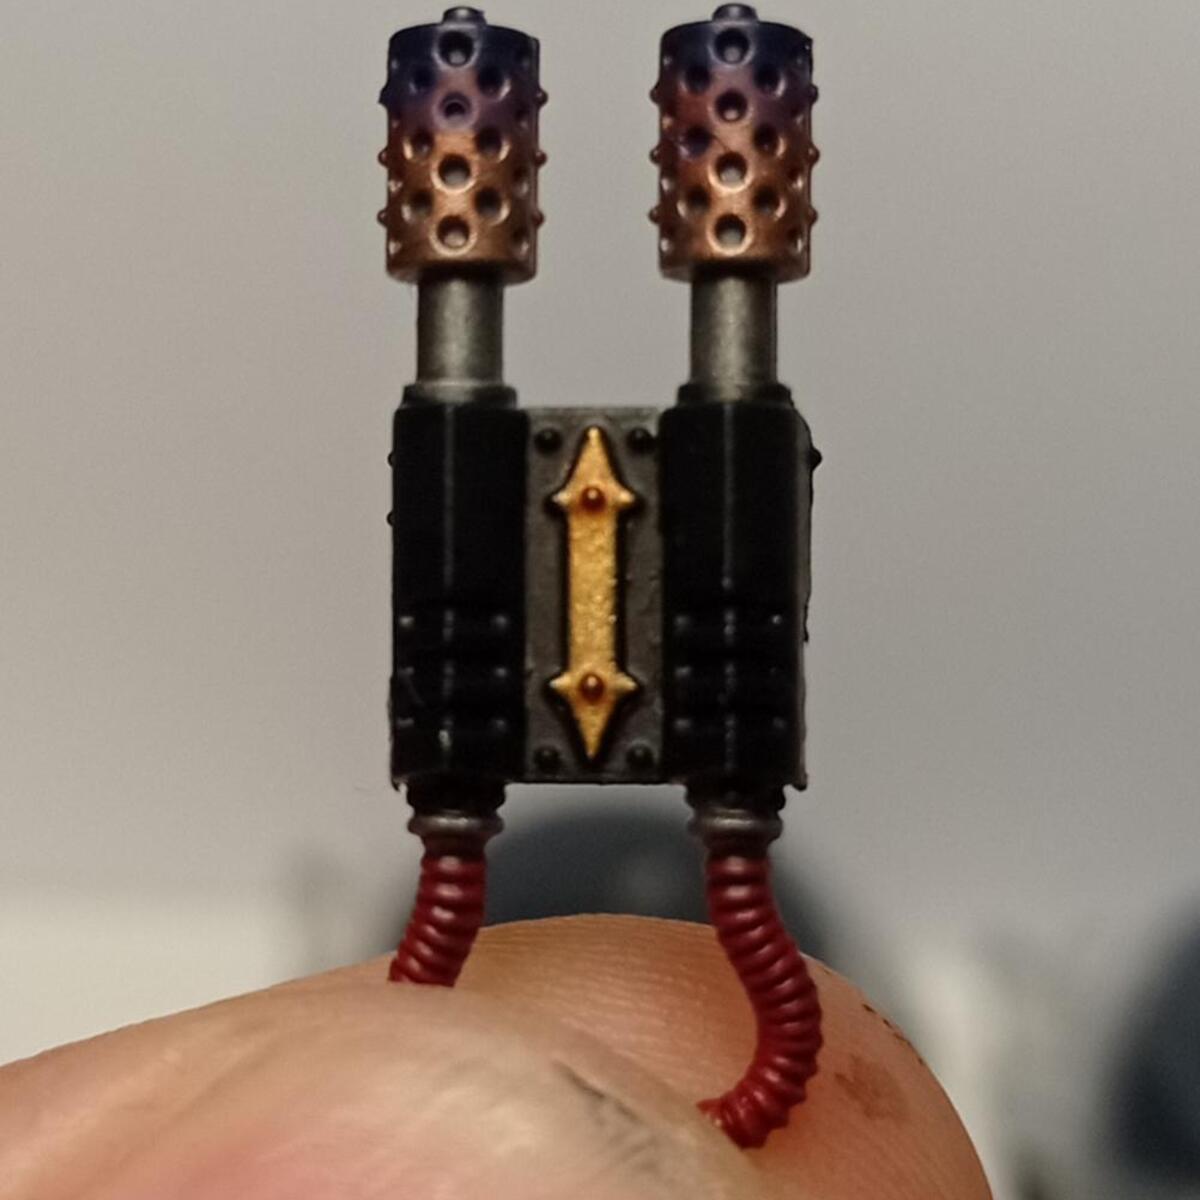
The Weapon Casing (The Contrast Steel)
Coat the gun and joints directly over the black block-out and white drybrush layers to instantly create crisp, high-contrast highlights.
- Black Lotus - Filter
The Navy Helmets (The Craftworld Accent)
Basecoat the helmet plates and hanging armor tassels smoothly, avoiding pooling on the flat faceplates.
- Mystic Blue + Hospitallier Black - (10:1) Base Coat
The White Panels (The Cloth Shading)
Apply a heavily thinned wash over the pre-blocked face masks and robes to softly tint the recesses.
- Space Grey + Xpress Medium - (1:10) Wash
The Armor Polish (Optional Detail)
Apply a crisp, selective edge highlight on the upper edges of the yellow armor and the knee cap curves.
- Lemon Yellow - Edge Highlight
The Volumetric Helmet (Optional Detail)
Apply a sharp edge highlight around the helmet details, then use a mix of stippling and glazing to build up the light transitions on the forehead before catching the sharpest corners.
- Turquoise + Aquamarine - (1:1) Edge Highlight & Forehead Stipple
- Aquamarine - Forehead Stipple
- Verdigris - Extreme Edge Highlight & Forehead Stipple
The Gold Trim
Paint the metallic settings around the gems.
- Imperial Gold - Base
- Imperial Gold - Shade
- Imperial Gold - Highlight
Spirit Stones and Lenses
Base coat, shade and layer to get a smooth transition with a final dot at the end.
- Corax White - Base
- Flesh Tearers Red - Base
- Wild Rider Red - Layer
- Fire Dragon Bright - Layer
- Lugganath Orange - Layer
- White - Dot
AK Interactive 3rd Generation Acrylics
Intense 1
- AK11001 White
AK Interactive Acrylics
Primer 1
- AK177 White Primer
Citadel Painting System 5
Base 1
- Corax White
Layer 3
- Fire Dragon Bright
- Lugganath Orange
- Wild Rider Red
Contrast 1
- Flesh Tearers Red
Vallejo Game Color
Base 3
- 72.024 Turquoise
- 72.096 Verdigris
- 72.119 Aquamarine
Vallejo Model Color
Base 1
- 70.952 Lemon Yellow
Vallejo True Metallic Metal 3
Light 1
- 77.103 Imperial Gold
Base 1
- 77.123 Imperial Gold
Shade 1
- 77.143 Imperial Gold
Vallejo Xpress 8
Xpress 6
- 72.403 Imperial Yellow
- 72.411 Mystic Blue
- 72.422 Space Grey
- 72.423 Black Lotus
- 72.448 Xpress Medium
- 72.460 Twilight Rose
Intense 2
- 72.477 Dreadnought Yellow
- 72.484 Hospitallier Black