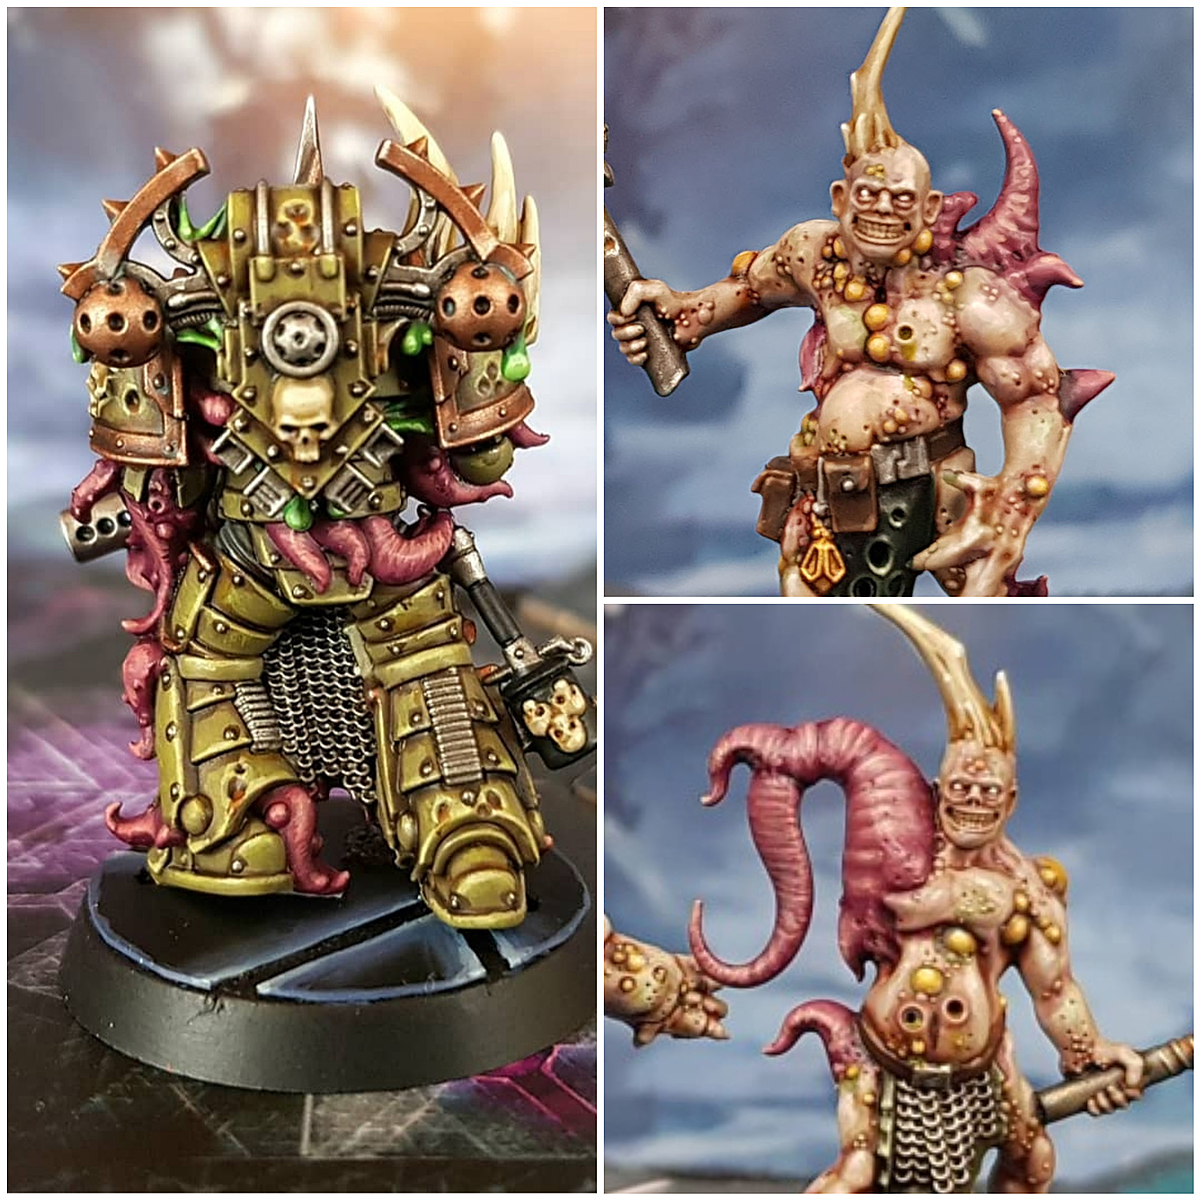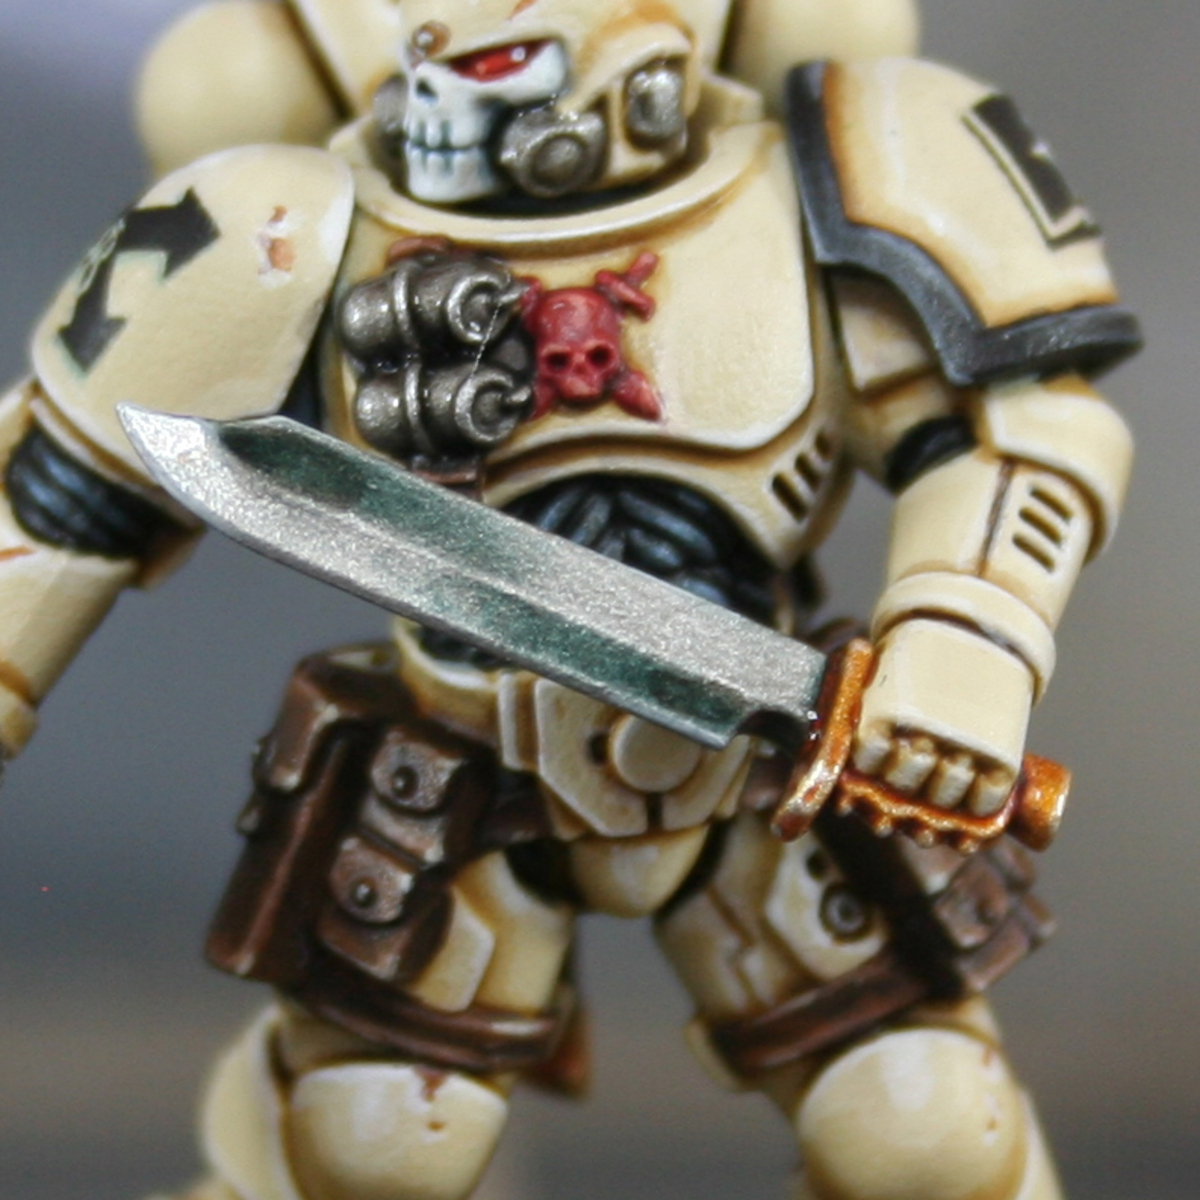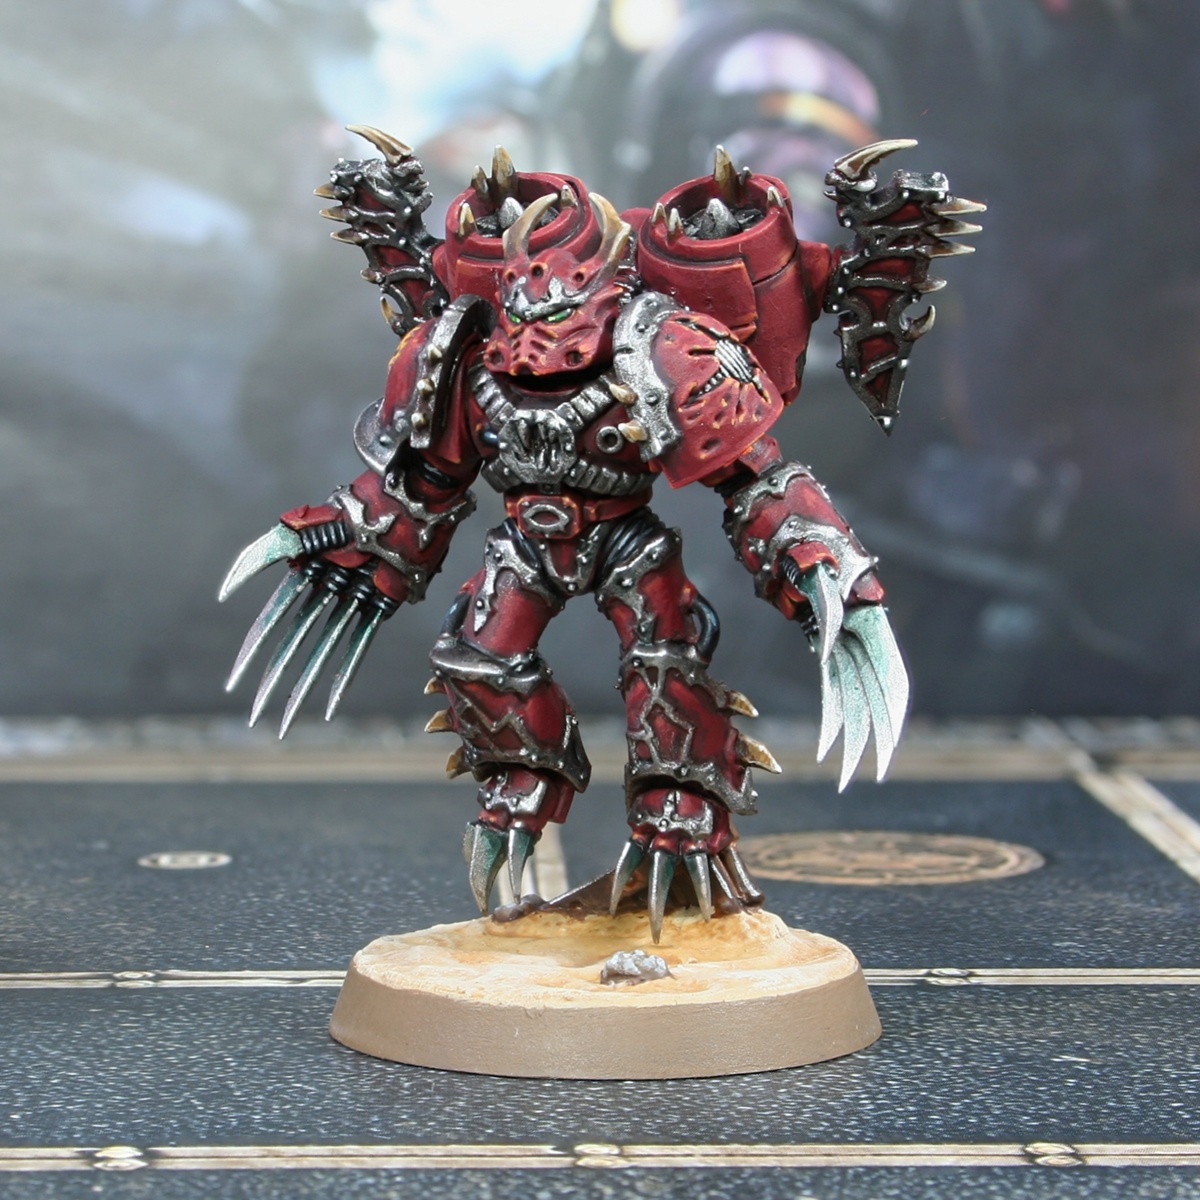

I primed with Sanguine Red to make painting the main colour of this model easier.
Red Armour
- Basecoat with Khorne Red .
- With 1:1 Khorne Red and Incubi Darkness shade all recesses.
- Mix your previous paint 1:1 with Abaddon Black and shade more selectively. Ensure you leave a thin line of this colour wherever it meets the trim.
- Highlight with Wazdakka Red .
- Now add fine highlights of 1:1 Wazdakka Red and Wild Rider Red , ensuring you get nice crisp edge highlights wherever possible.
- Selectively highlight with Wild Rider Red .
- Finish with a few specular highlights of Tau Light Ochre on corners. On very gradual curves, this may be too much of a jump. In these instances, consider a 1:1 mix of Wild Rider Red and Tau Light Ochre instead.
Armour Trim
- Basecoat with Steel (or Leadbelcher ).
- Glaze Gryph-charger Grey into recesses and around rivets.
- Mix a little Black into the Gryph-charger Grey then enhance recesses with more precise shading, where needed.
- Mix Silver RLM01 Metallic into your Steel then highlight raised portions.
- Finish with more selective highlights of pure Silver , ensureing you pick out rivets with specular highlights too.
Warp Claws
- Basecoat with Silver .
- Add a touch of Lupercal Green into some Nuln Oil and glaze the blades away from the point.
- Mix a little Abaddon Black into the above paint and enhance the shading where it meets other materials.
- Edge highlight with 1:1 Silver and Silver RLM01 Metallic , making them a little chunkier on the points.
- Finish with selective highlights of Silver RLM01 Metallic on the points.
Bone Spikes
- Basecoat with Rhinox Hide .
- Glaze Mournfang Brown towards the tip.
- Edge highlight with XV-88 and add a chunky highlight towards the tip.
- Selectively highlight with Ushabti Bone towards the tip.
- Add a small highlight of :screaming skull within the previous stage, again focusing on the tip.
- Finish with a specular highlight of White on the point at the end.
Eyes
- Basecoat with Caliban Green .
- Highlight with Warpstone Glow , leaving a patch furthest from the nose uncoverred.
- Selectively highlight close to the nose with Moot Green .
- Add a specular highlight of Ice Yellow next to the nose.
- Add a specular highlight of Ice Yellow next to the nose.
Undersuit
- basecoat with Black .
- Pick out ridges with Dawnstone .
- Highlight more selectively with Administratum Grey .
- Mix some White into your Administratum Grey and add a few very small/specular highlights where needed.
Black Tubing
- Basecoat with Black .
- Highlight everything with Dark Reaper .
- Highlight everything again, this time with fine highlights of Thunderhawk Blue .
- With Fenrisian Grey , selectively highlight upward facing edges, corners and prominent edges.
- Finally, edge add small highlights to the centre of the previous highlights and corners with Blue Horror . Try to make them very small, dots if at all possible.
Rusted Metal
- Basecoat with Rhinox Hide
- Build up the effect of rust in all tucked away areas and recesses with some thinned Mournfang Brown . Think of this like a targetted wash, but feel free to apply additional glazes where more interest is needed.
- Pick out most of the raised portion with a layyer of Warpstone Glow , pulling your brush towards the nose. I would recommend leaving some Caliban Green exposed at the furthest point away from the nose.
- Enhance with a more specific application of Skrag Brown with a thin brush.
- Edge highlight with Ironbreaker , applying smaller amounts of Silver RLM01 Metallic where needed.

Rookie Brushes
RookieBrushes
Aspiring miniature painter and biscuit enthusiast. Here to share my hobby and help where I can.
Citadel Painting System 25
Base 9
- Abaddon Black
- Caliban Green
- Incubi Darkness
- Khorne Red
- Leadbelcher
- Lupercal Green
- Mournfang Brown
- Rhinox Hide
- XV-88
Shade 1
- Nuln Oil
Layer 14
- Administratum Grey
- Blue Horror
- Dark Reaper
- Dawnstone
- Fenrisian Grey
- Ironbreaker
- Moot Green
- Skrag Brown
- Tau Light Ochre
- Thunderhawk Blue
- Ushabti Bone
- Warpstone Glow
- Wazdakka Red
- Wild Rider Red
Contrast 1
- Gryph-charger Grey
Colour Forge
Base 1
- Sanguine Red
Vallejo Metal Color
Base 2
- 77.712 Steel
- 77.724 Silver
Vallejo Model Air
Base 1
- 71.063 Silver RLM01 Metallic
Vallejo Model Color
Base 3
- 70.858 Ice Yellow
- 70.950 Black
- 70.951 White