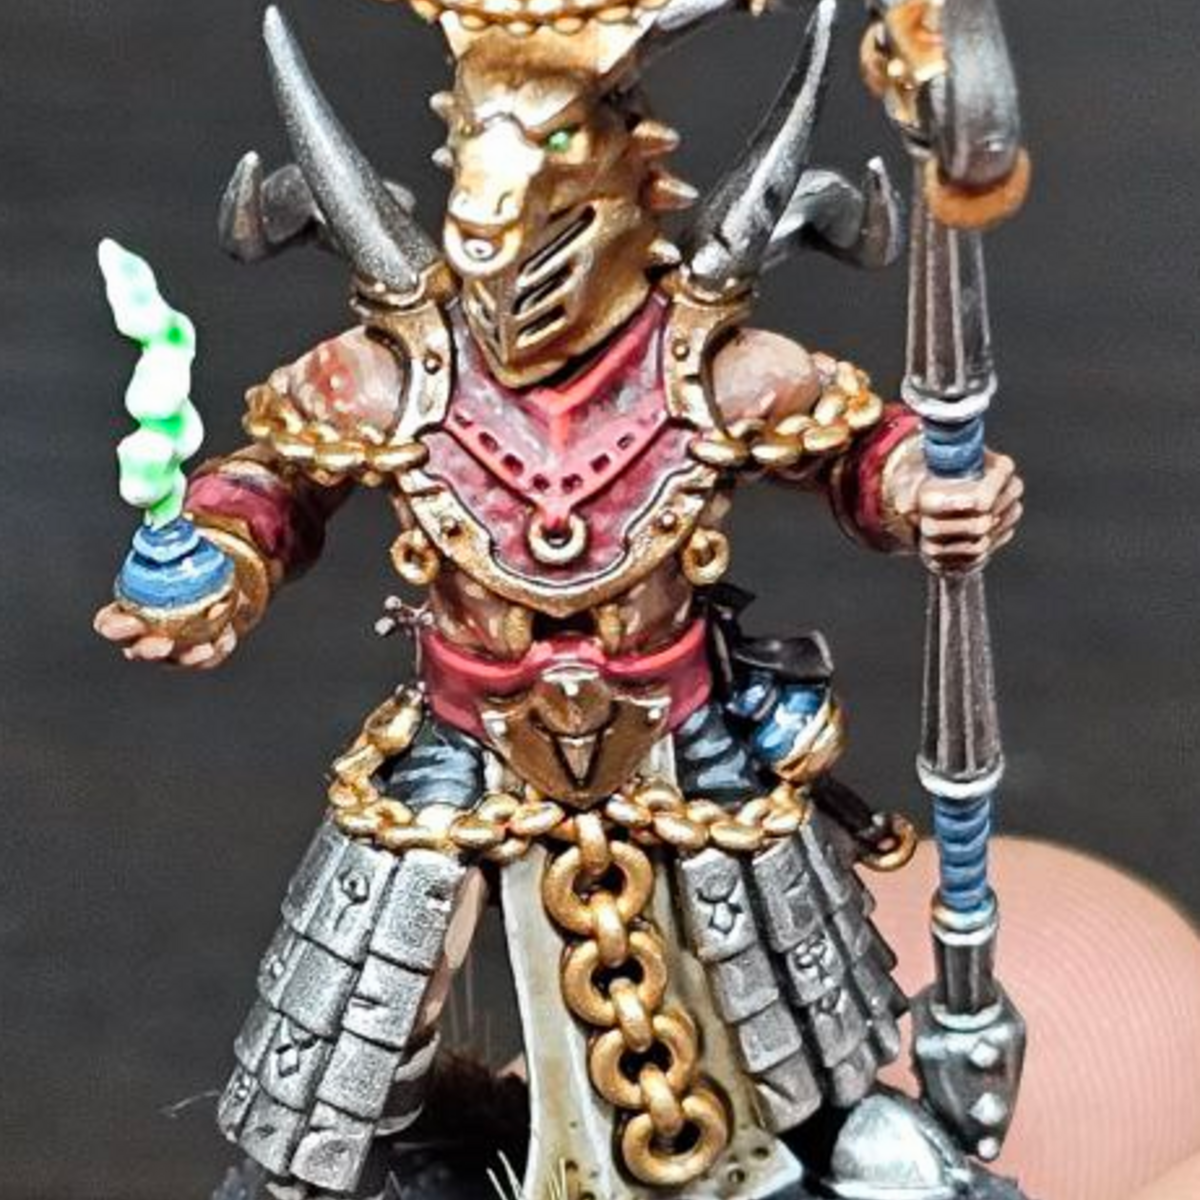
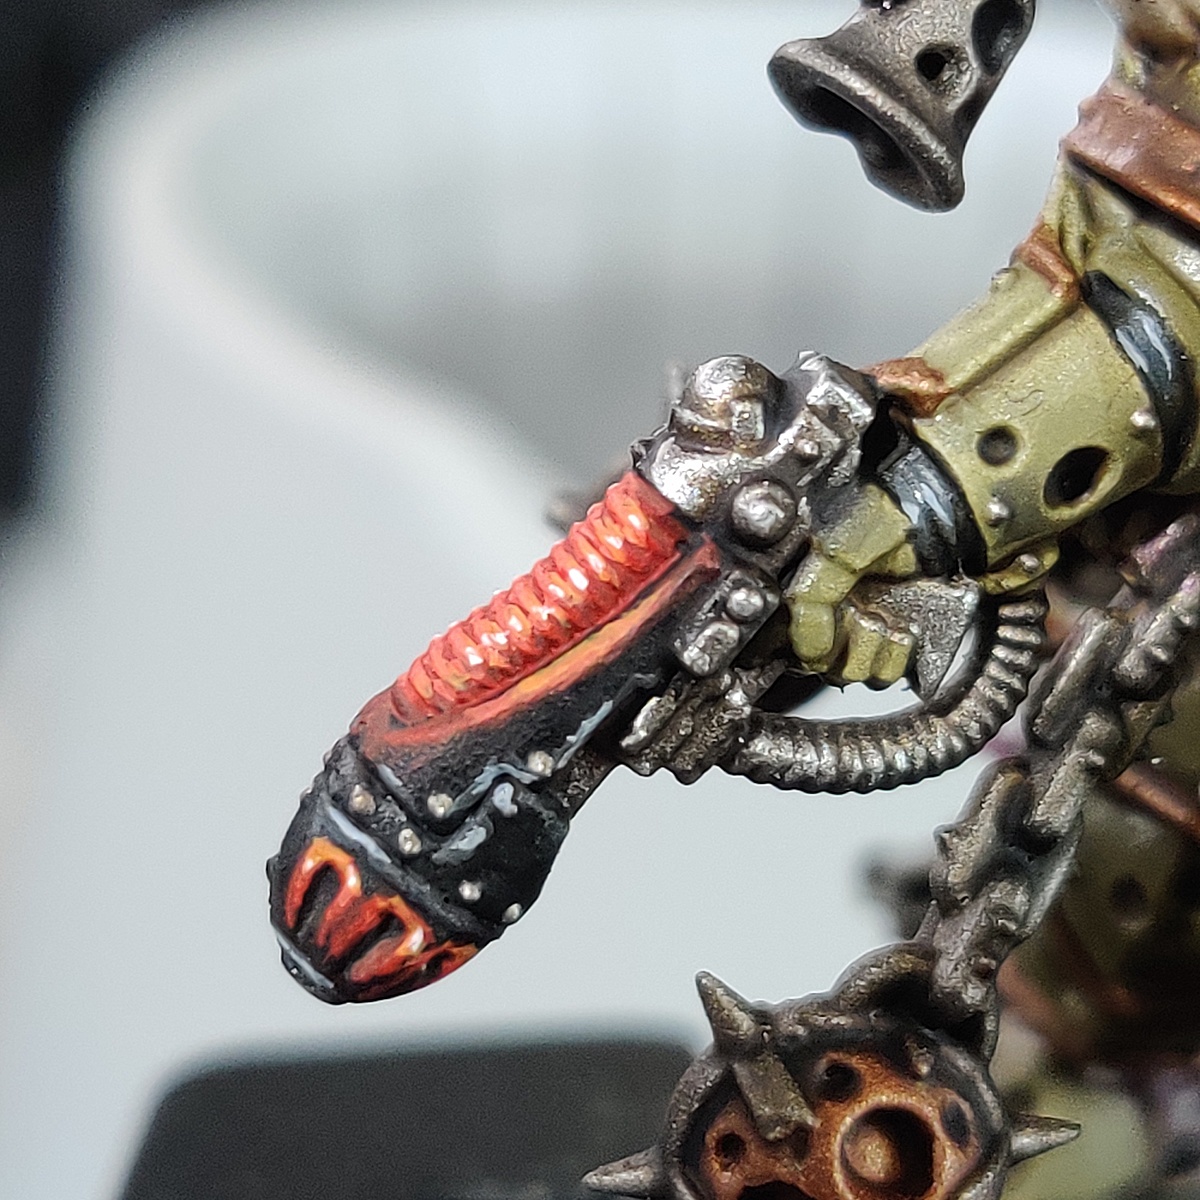
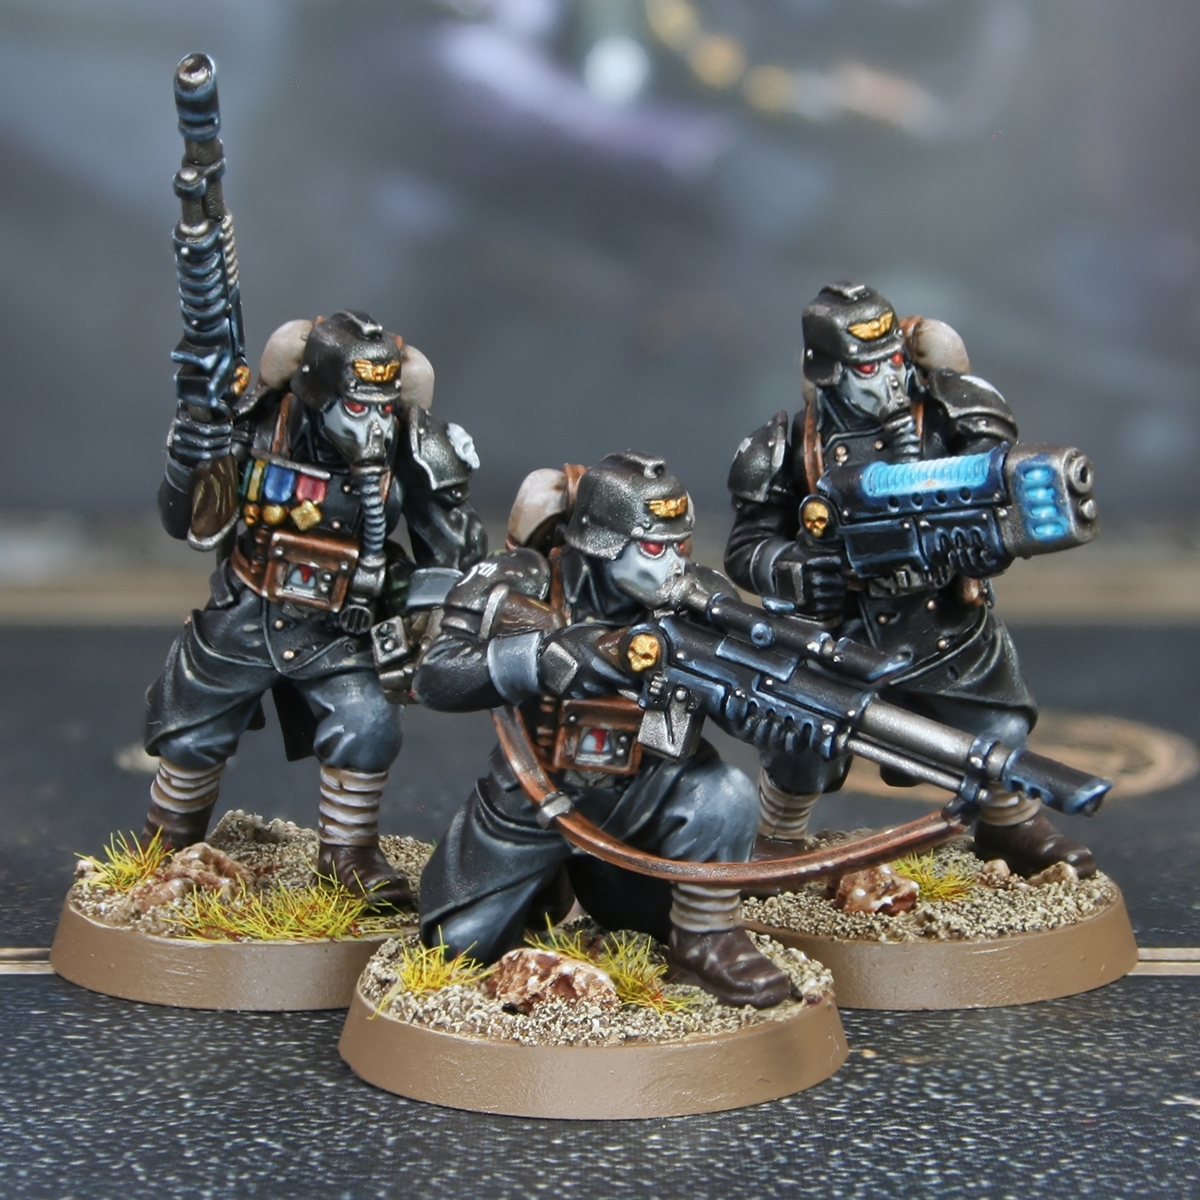
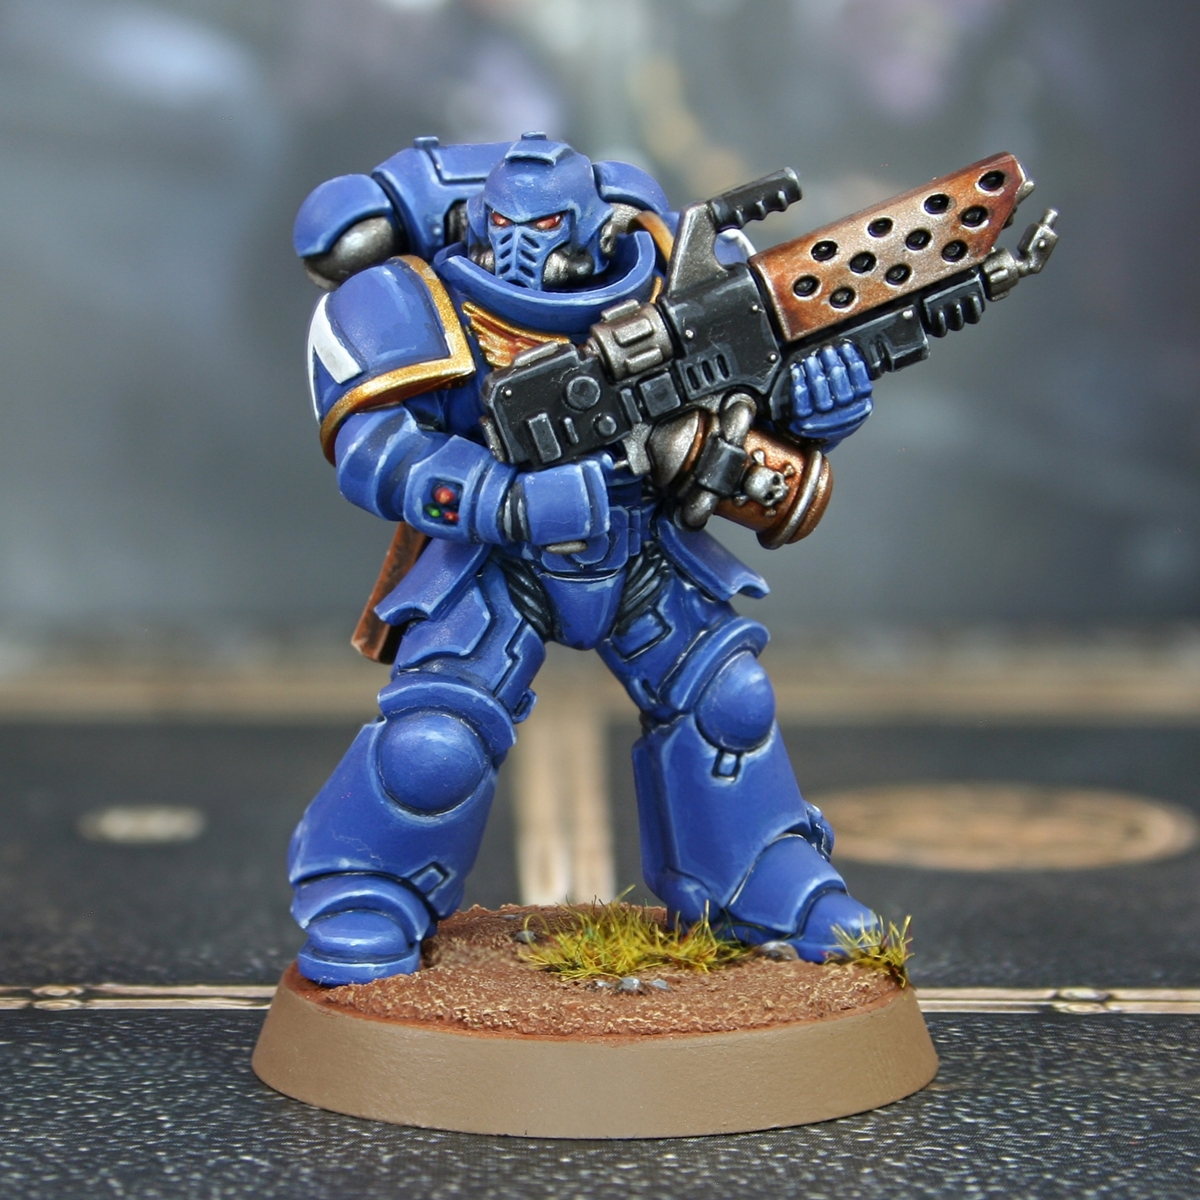
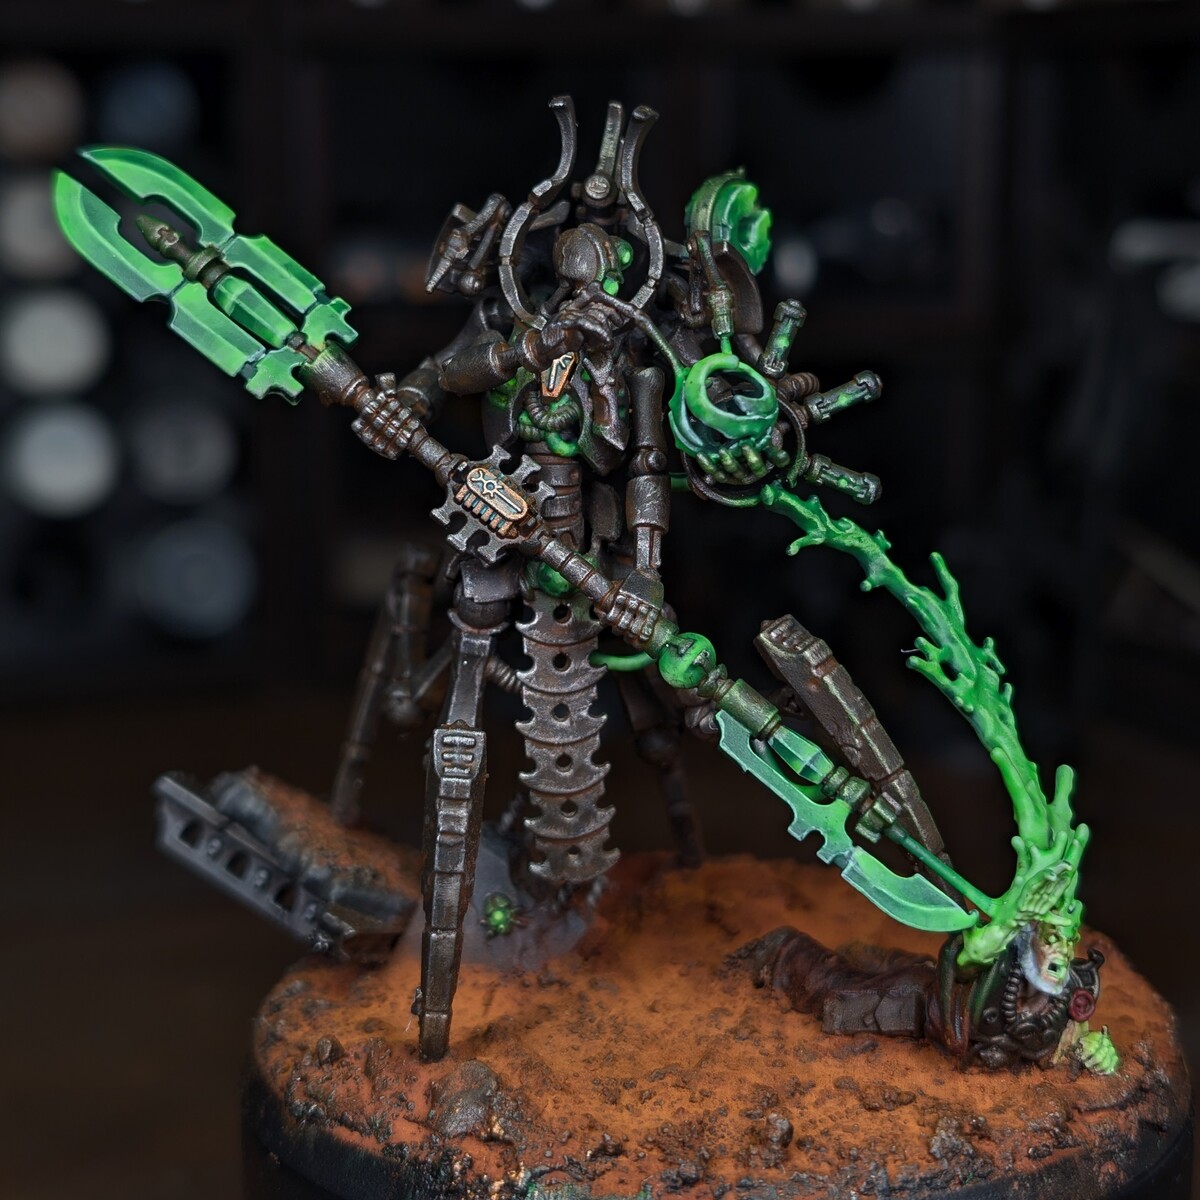
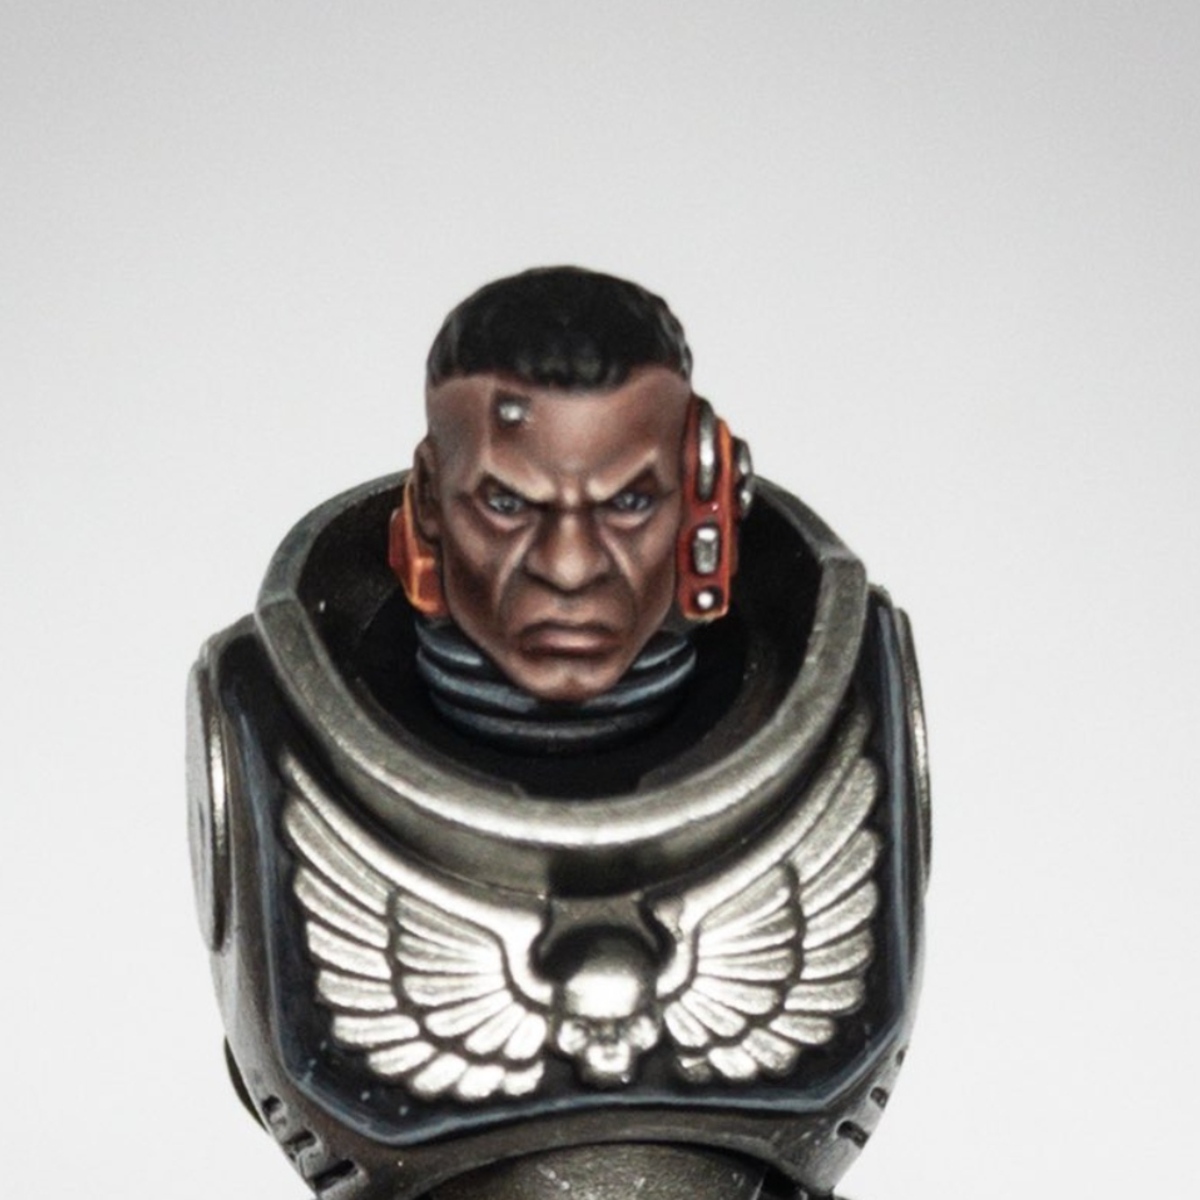
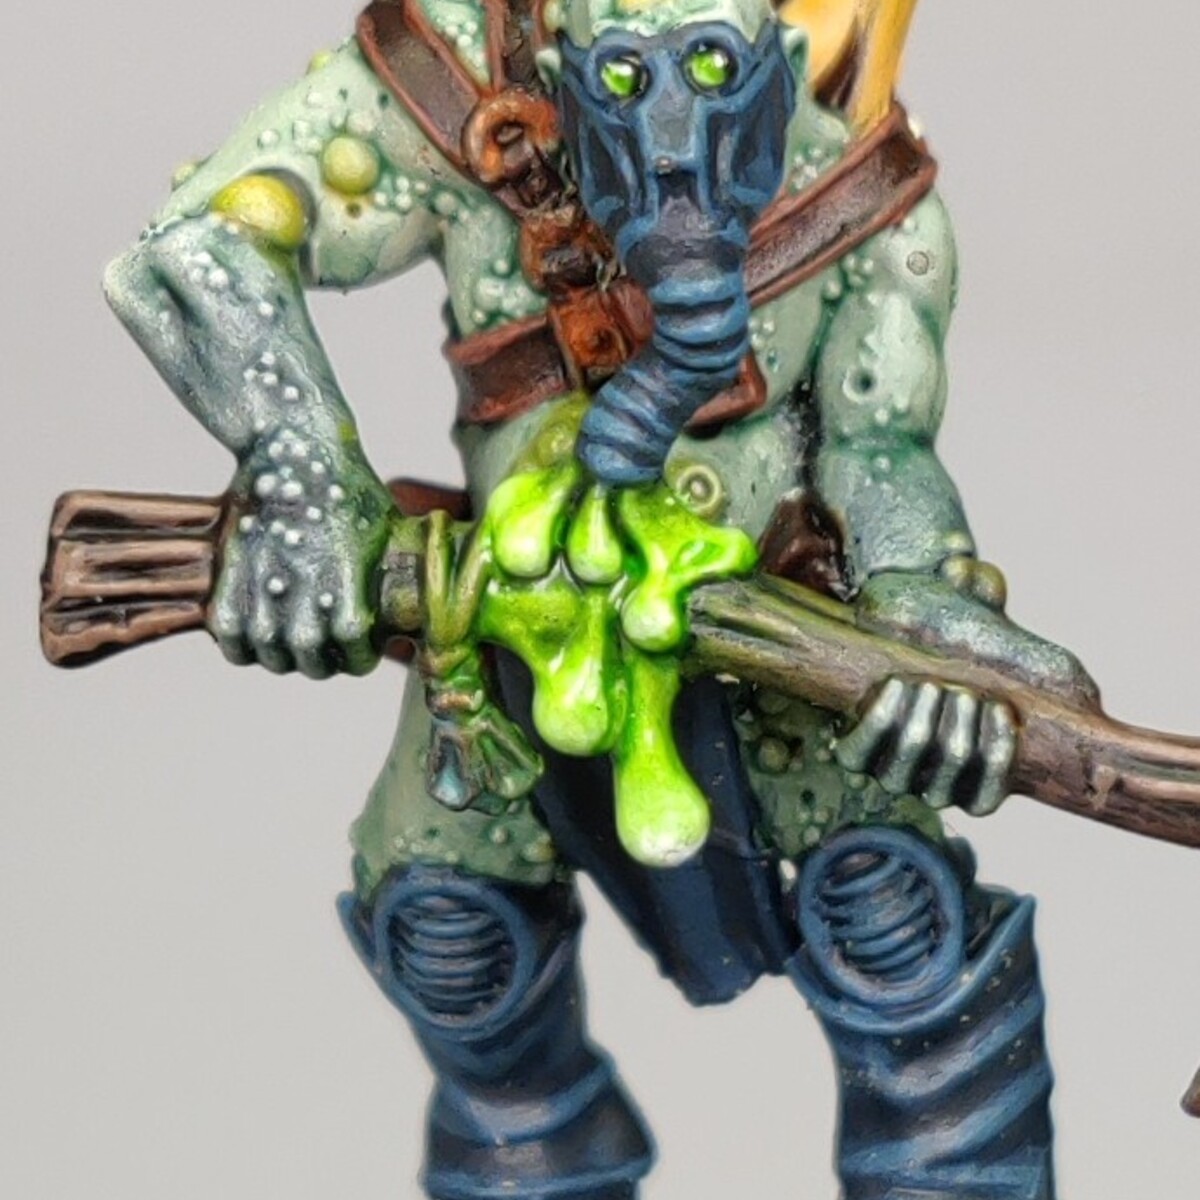
The Horns of Hashut are relentless enforcers of the Chaos Dwarf god, Hashut. They march into battle, clad in armor forged in the fires of their dark forges, adorned with symbols of dominance and destruction. This guide will help you capture the brutal, fiery aesthetic of the Horns of Hashut—whether it's the dark, burnt armor, glowing eyes, or the brass and copper embellishments that reflect their infernal power.
Follow these detailed steps to paint the models in a way that reflects their fearsome presence on the battlefield, bringing out the best in their dark and fiery design.
1. Preparation and Priming
- Prime: Start with a base coat of Chaos Black Spray Primer to provide a solid and uniform surface for painting.
2. Base Colors (Ordered for Efficient Application)
- Skin Variation 1:
Apply Knight-questor Flesh to all exposed skin areas. - Skin Variation 2:
Apply Knight-questor Flesh to all exposed skin areas. - Loincloth and Cloth Elements:
Use Rakarth Flesh for the loincloth and any other cloth elements, avoiding overpainting onto adjacent armor and skin areas. - Horns and Bone Elements:
Apply Screaming Skull to horns and bone decorations, painting these before the surrounding metallic and leather areas for easier cleanup of overpaints. - Shorts:
Use Abaddon Black for the shorts and bracers to create a dark foundation. - Red Armor Plates and Cloth:
Base with Khorne Red for chest armor, shield details, cloth and other red armor plates, which are often bordered by metallics. Painting them early helps manage mistakes before detailing the metals. - Weapon Handles:
Blue-Tinted Handles: Base weapon grips with The Fang .
Black Wooden Handles: For the dark wooden handles, use Abaddon Black as a base. - Metallic Armor:
Use Leadbelcher for helmets, shoulder guards, knee guards, weapon blades, and other metallic areas, applying metallics after cloth and skin to prevent metallic flakes from contaminating other areas. - Gold and Copper Details:
Paint chains, trims, and decorative helmet details with Hashut Copper , adding a warm, reddish-bronze look that aligns with the fiery theme. - Bronze Details (Armor Trim and Decorations):
Apply Balthasar Gold to all bronze details such as armor trim and small decorative elements. - Leather Straps, Boots, and Bracers:
Base these elements with Rhinox Hide last among the base coats, as these areas are often interspersed among other elements and can be detailed without affecting completed areas.
3. Shading
- Skin Variation 1:
Apply a wash of Reikland Fleshshade to add depth and warmth. - Skin Variation 2:
Highlight Before Shading: Use Cadian Fleshtone to highlight raised areas such as muscles and facial features before shading.
Apply a wash of Targor Rageshade thinned with Contrast Medium (1:1) to deepen the recesses and add warmth. Scars: Use a mix of Blood Angels Red and Contrast Medium (1:1) to glaze over scar areas for a slightly reddish tone. - Loincloth and Cloth Elements:
Apply Agrax Earthshade for natural shading. - Red Armor Plates and Cloth:
Apply Agrax Earthshade for a grimy look. - Bronze Details (Armor Trim and Decorations):
Apply Agrax Earthshade to all bronze details to darken the recesses and add an aged, worn effect. - Horns and Bones:
Apply Skeleton Horde to the horns and bones to add depth and shading.
Shade Spikes: Use Gore-grunta Fur on the spikes, pulling down from the tip towards the base to create a gradient effect.
Deepen Shadows on Spikes: Use Wyldwood on the spikes, pulling down from the tip towards the base to enhance shadows. - Blue Weapon Handles and bombs: Coelia Greenshade
- Metallics (Silver and Copper):
Use Nuln Oil for silver areas and Reikland Fleshshade for copper details to define and age the metals. - Leather:
Apply Nuln Oil for leather - Boots:
Shade with Nuln Oil to create depth and emphasize the contours. - Eye Slits in Helmets: Carefully fill in the eye slits with Wyldwood
4. Layering and Highlights
- Skin Variation 1:
Highlight: Use Knight-questor Flesh to highlight raised areas such as muscles and facial features. Add finer highlights with Cadian Fleshtone (or Bugman's Glow for a more subtle look). Scars: Use a mix of Blood Angels Red and Contrast Medium (1:1) to glaze over scar areas for a slightly reddish tone. - Skin Variation 2:
Additional Highlighting: After shading, use Cadian Fleshtone again if needed for additional highlights on the most raised areas to enhance contrast. - Cloth and Loincloths:
Highlight with Rakarth Flesh the Pallid Wych Flesh and White Scar for the brightest areas. - Bones and Horns:
Highlight: Use Screaming Skull to add lines up from the base of the horns and bones to emphasize edges and bring out the details. - Shorts:
Apply Eshin Grey to the raised edges of the shorts and bracers. For the final, light highlight, use Dawnstone sparingly on the most prominent areas to give the fabric a slightly worn appearance. - Wooden Handles:
Highlight with Eshin Grey along the edges and raised areas, followed by a very light touch of Dawnstone to emphasize the texture. - Red Armor Plates and Cloth:
Layer with Khorne Red to reestablish some of the colour, then Wazdakka Red and edge with Evil Sunz Scarlet - Metallics (Silver and Copper):
Highlight silver areas with Stormhost Silver and copper with Stormhost Silver mixed with Hashut Copper - Bronze Details (Armor Trim and Decorations):
Layer: Apply Sycorax Bronze to the bronze details to enhance the metallic sheen while keeping the aged appearance.
Highlight: Edge highlight with a mix of Sycorax Bronze and Stormhost Silver to create a fine, bright edge that contrasts with the darker tones. - Leather Straps and Boots:
Edge Highlight: Apply Gorthor Brown to the edges and raised areas.
Final Highlight: Use Baneblade Brown sparingly on the most prominent areas for a worn appearance. - Blue Weapon Handles:
Layer: Apply Thunderhawk Blue
Highlight: Use Fenrisian Grey to highlight the raised edges of the blue weapon grips, mimicking the appearance of worn blue leather or cord.
5. Detailing and Finishing Touches
- Eyes and Gems Variation 1:
Use Moot Green , followed by Gauss Blaster Green , and a final dot of White Scar . - Eyes and Gems Variation 2:
Basecoat: White Scar for the eyes.
Glaze: Use Aethermatic Blue or Hexwraith Flame : for a glowing effect.
Highlight: Add a dot of White Scar in the center to enhance the glow. - Rust and Weathering:
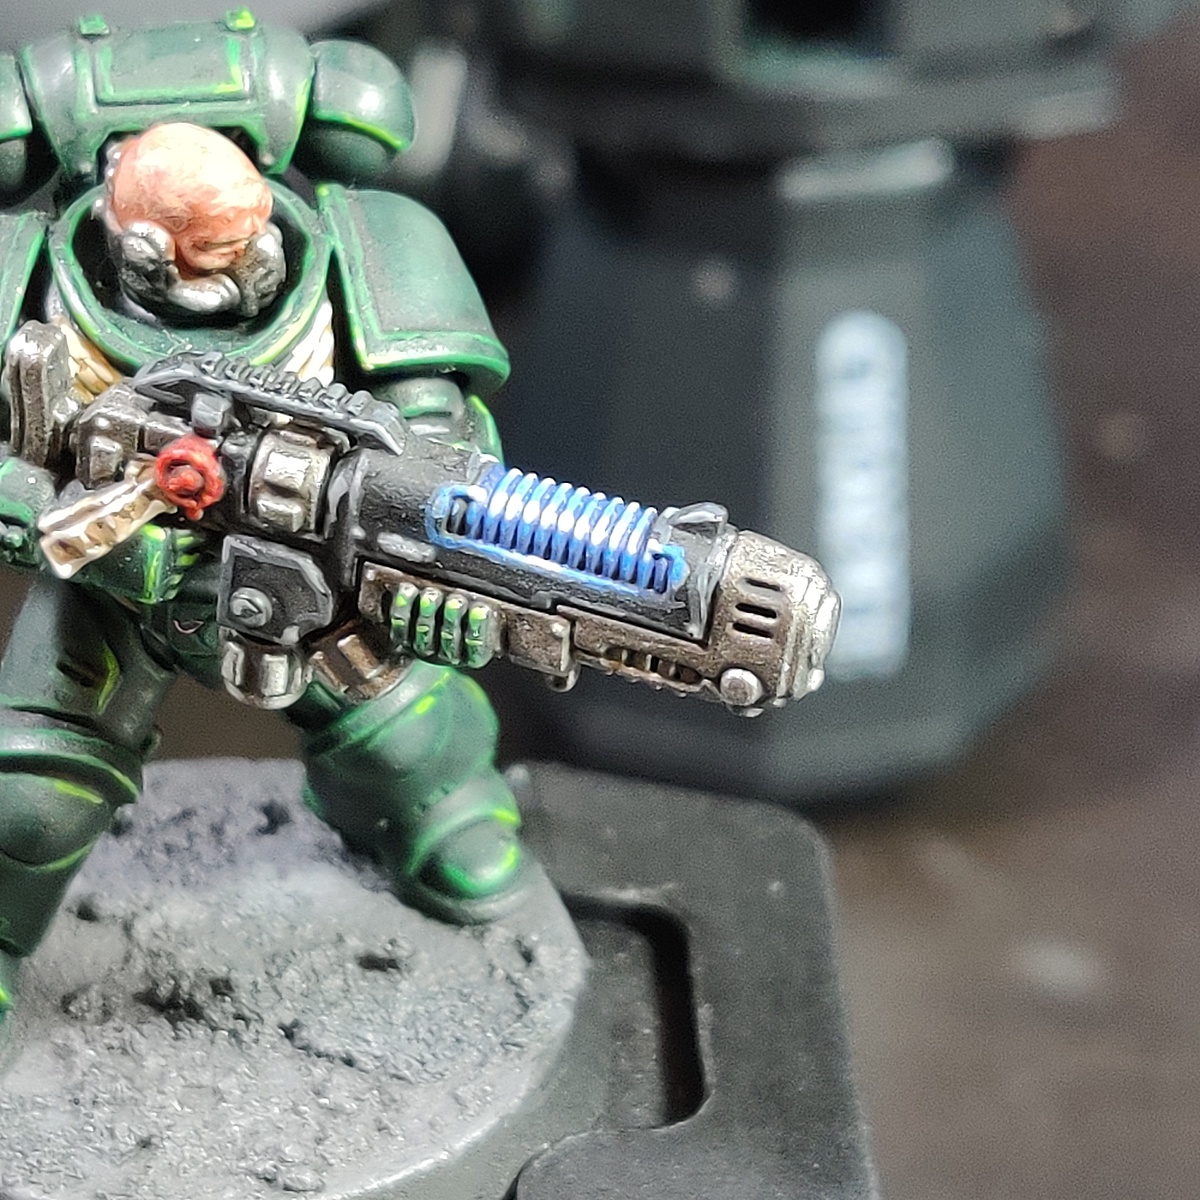
Apply Typhus Corrosion and lightly dry brush with Ryza Rust . - Magical Effects:
Base with Corax White , layer with Hexwraith Flame , and highlight with White Scar
6. Basing
- Base Texture:
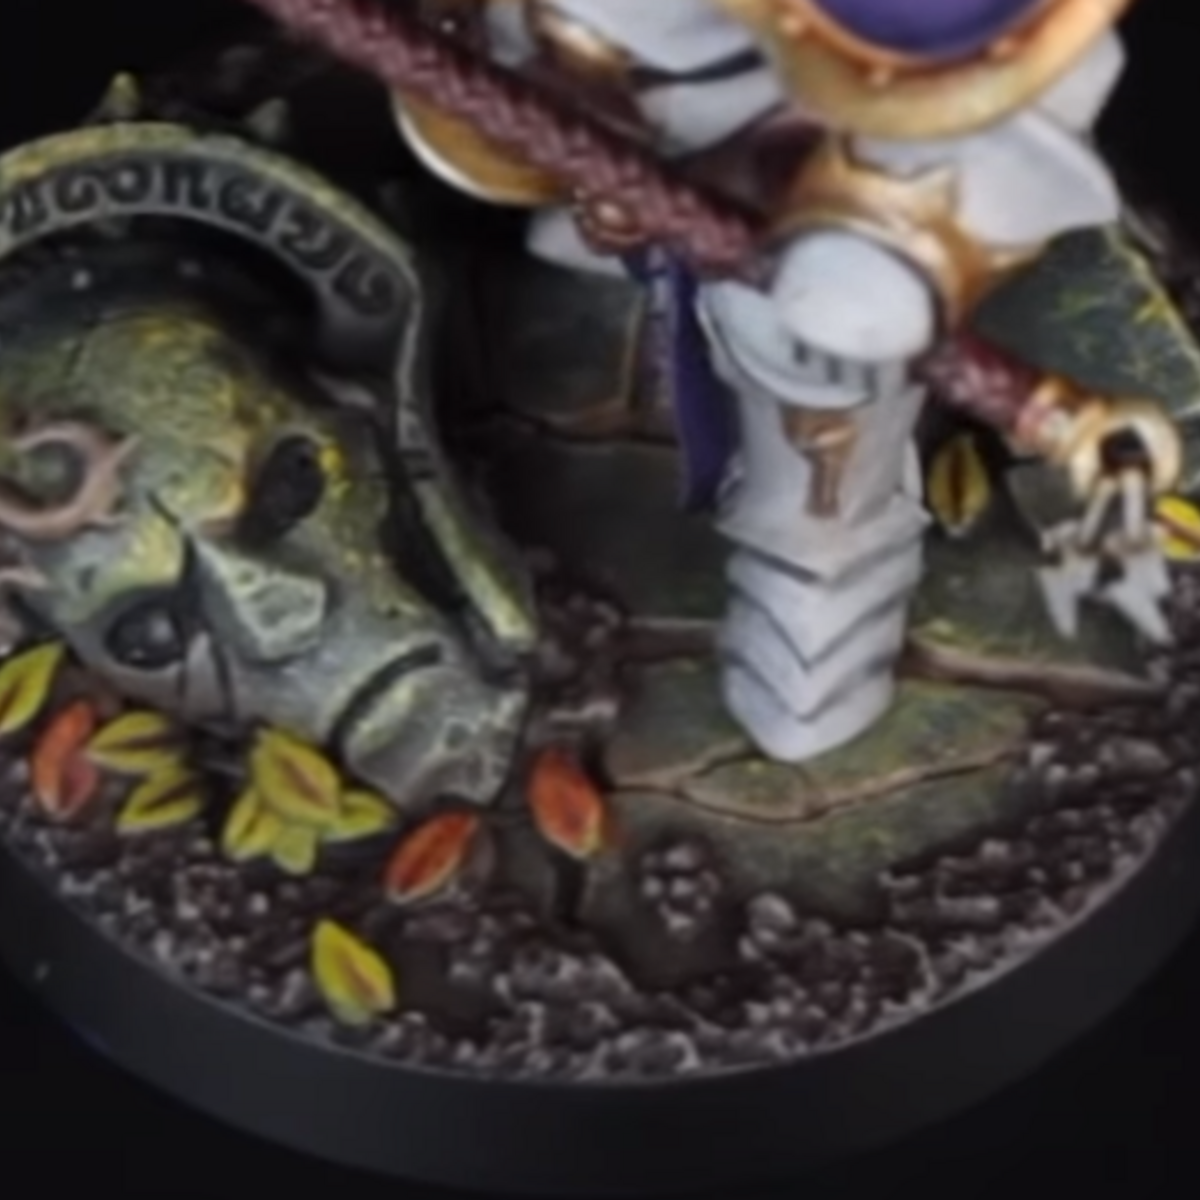
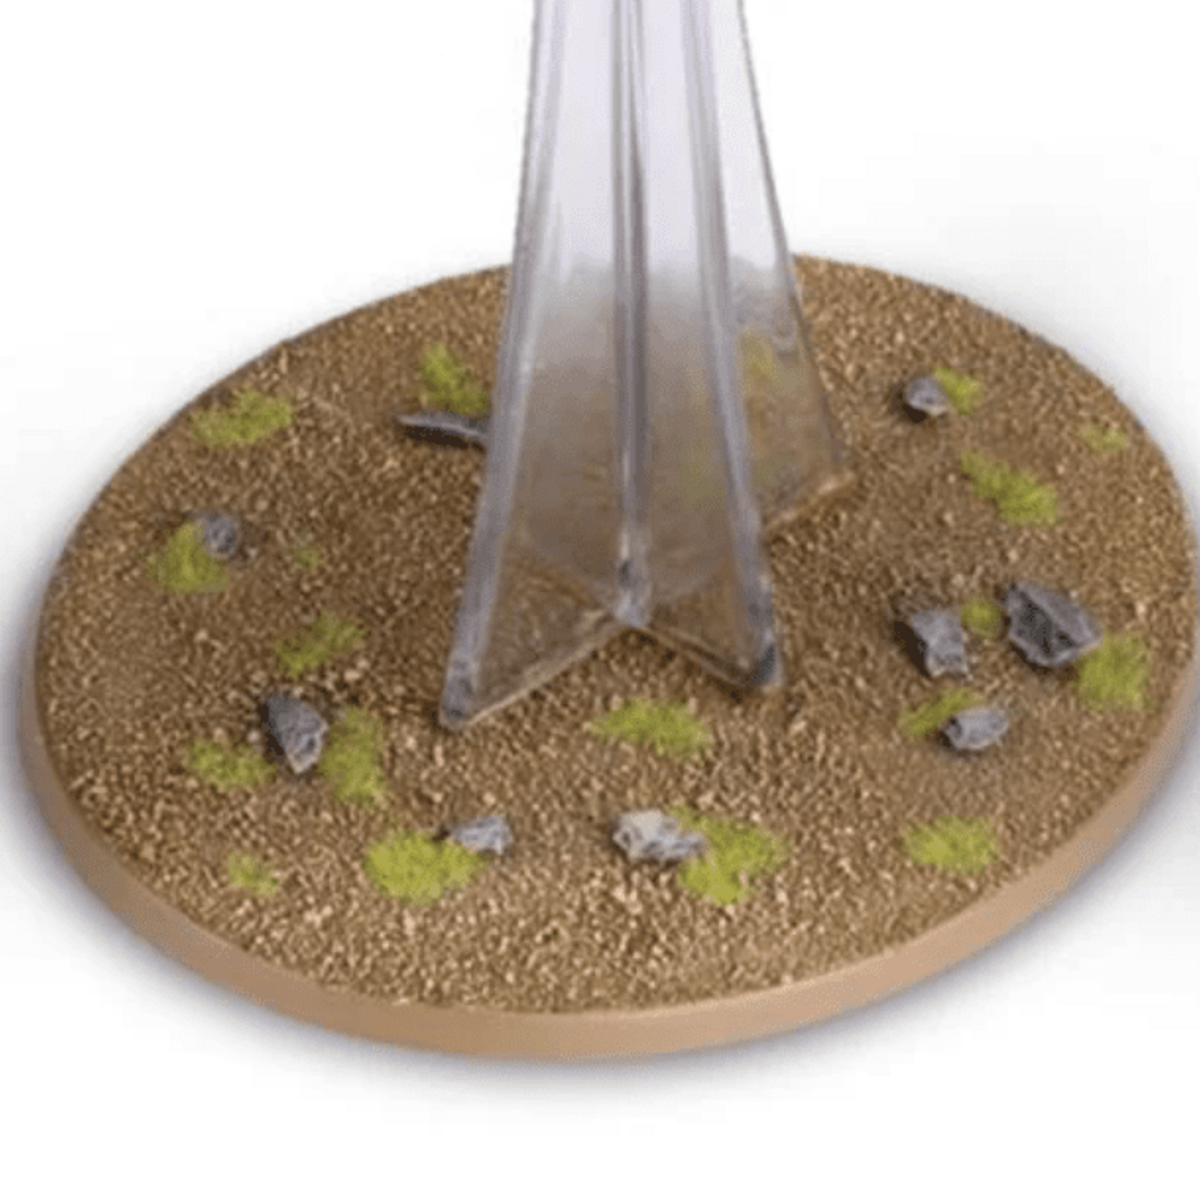
Apply Stirland Battlemire , add small rocks or debris, and optionally include lava effects with Mordant Earth over a base of progressively brighter reds to oranges. - In depth guide: https://paintpad.app/r/1ja
7. Sealing and Protection
- Seal the Model:
Use Munitorum Varnish for protection and to reduce shine, ensuring durability and a long-lasting appearance.
Charlie Biddle
CharlieBiddle
Citadel Painting System 45
Base 9
- Abaddon Black
- Balthasar Gold
- Bugman's Glow
- Corax White
- Khorne Red
- Leadbelcher
- Rakarth Flesh
- Rhinox Hide
- The Fang
Shade 5
- Agrax Earthshade
- Coelia Greenshade
- Nuln Oil
- Reikland Fleshshade
- Targor Rageshade
Layer 18
- Baneblade Brown
- Cadian Fleshtone
- Dawnstone
- Eshin Grey
- Evil Sunz Scarlet
- Fenrisian Grey
- Gauss Blaster Green
- Gorthor Brown
- Hashut Copper
- Knight-questor Flesh
- Moot Green
- Pallid Wych Flesh
- Screaming Skull
- Stormhost Silver
- Sycorax Bronze
- Thunderhawk Blue
- Wazdakka Red
- White Scar
Dry 1
- Ryza Rust
Technical 3
- Contrast Medium
- Mordant Earth
- Typhus Corrosion
Texture 1
- Stirland Battlemire
Spray 2
- Chaos Black
- Munitorum Varnish
Contrast 6
- Aethermatic Blue
- Blood Angels Red
- Gore-grunta Fur
- Hexwraith Flame
- Skeleton Horde
- Wyldwood
