The Heart of Ghur terrain pieces are a central part of the wild, untamed theme of Ghur, the Realm of Beasts, in Warhammer Age of Sigmar. These pieces are designed to evoke a savage, primal environment, with gnarled trees, ancient Seraphon ruins, and natural materials like bamboo and bone. This painting guide will walk you through the steps to bring out the earthy, wild aesthetic of Ghur using the reference provided. The focus will be on achieving the right textures and contrasts, ensuring your terrain pieces evoke the feeling of an ancient, dangerous wilderness.
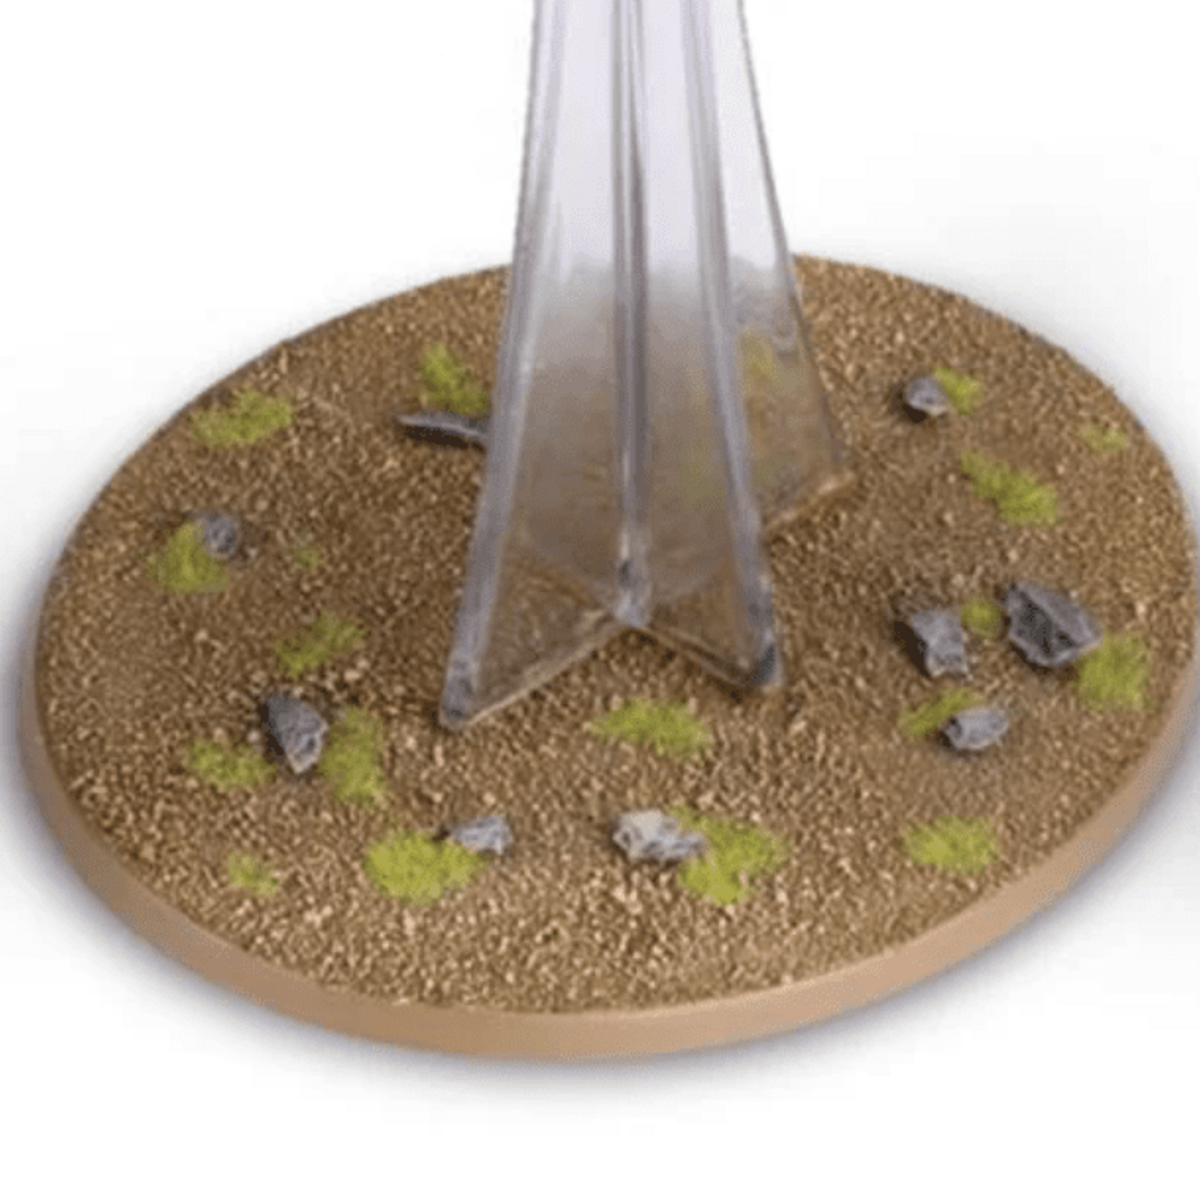
1. Base Ground
The base represents the earthy terrain of Ghur. It sets the foundation for the entire piece, so it’s best to start here.
- Basecoat: Use Deathclaw Brown to cover the entire base area. This rich, warm brown will form the foundation of the dry, cracked earth.
- Wash: Apply Agrax Earthshade generously over the base, allowing it to settle into the recesses and enhance the texture.
- Drybrush: Once the wash is dry, lightly drybrush the base with Jokaero Orange to simulate a dusty, sun-baked appearance.
- Highlight Drybrush: Apply a final light drybrush of Screaming Skull on the most raised areas to give the base a dry, cracked look.
2. Gnarloak Tree (The Gnarled, Twisted Trees)
These trees are iconic in Ghur, with their dark, twisted bark and eerie appearance. Painting the tree bark after the base ensures that it won’t affect your finished groundwork.
- Basecoat: Apply Abaddon Black over the entirety of the tree’s bark, covering all the deep crevices to create a solid, dark foundation.
- Drybrush: Use Barak-Nar Burgundy to drybrush the tree bark, focusing on bringing out the texture of the twisted branches and trunk.
- Drybrush (lighter): Use Khorne Red for another drybrush pass, adding warmth and depth to the tree’s bark.
- Drybrush (highlights): Apply Bugman's Glow on raised areas and edges, further enhancing the bark’s texture.
- Final Highlight: Lightly drybrush Kislev Flesh to the highest points for a final highlight.
- Wash: Mix Berserker Bloodshade with Contrast Medium and wash the bark, enriching the red tones while deepening the shadows.
- Shade (optional): Apply Leviathan Purple selectively into the deeper recesses to give an eerie, unnatural shadow effect.
3. Rocks
The rocks ground the tree and help balance the terrain with more natural, stony textures. Painting them after the tree ensures you can avoid drybrushing over finished areas.
- Basecoat: Paint the rocks with Dawnstone to create a neutral grey base.
- Wash: Shade the rocks with Agrax Earthshade , making sure to deepen the recesses for a weathered look.
- Drybrush: Once the wash has dried, drybrush with Screaming Skull to pick out the raised areas, giving the rocks a rugged, natural appearance.
4. Bamboo Platforms and Supports
The bamboo platforms contrast nicely with the darker bark and rocks, and painting them now will ensure you can easily work on these details without risking overlap onto the base or bark.
- Basecoat: Use Ogryn Camo to basecoat the bamboo sections. This light greenish shade will provide the right tone for weathered bamboo.
- Wash: Shade the bamboo with Agrax Earthshade , letting it flow into the crevices to add depth and weathering.
- Drybrush: Once the wash is dry, drybrush with Ogryn Camo to brighten up the raised areas.
- Highlight Drybrush: Finish with a light drybrush of Screaming Skull to give the bamboo a sun-bleached, worn appearance, especially on the tops and edges.
5. Bone Details
The bone details on the terrain are important small features that add an element of decay. Painting them now ensures that you can handle these details cleanly without disturbing the surrounding terrain elements.
- Basecoat: Start by basecoating all the bone sections with Wraithbone for a natural pale look.
- Wash: Use Skeleton Horde thinned with Contrast Medium to shade the bones, allowing the wash to settle into the recesses to darken the deeper parts.
- Drybrush: Apply Screaming Skull with a small drybrush to pick out the highlights and give the bone an aged, weathered appearance.
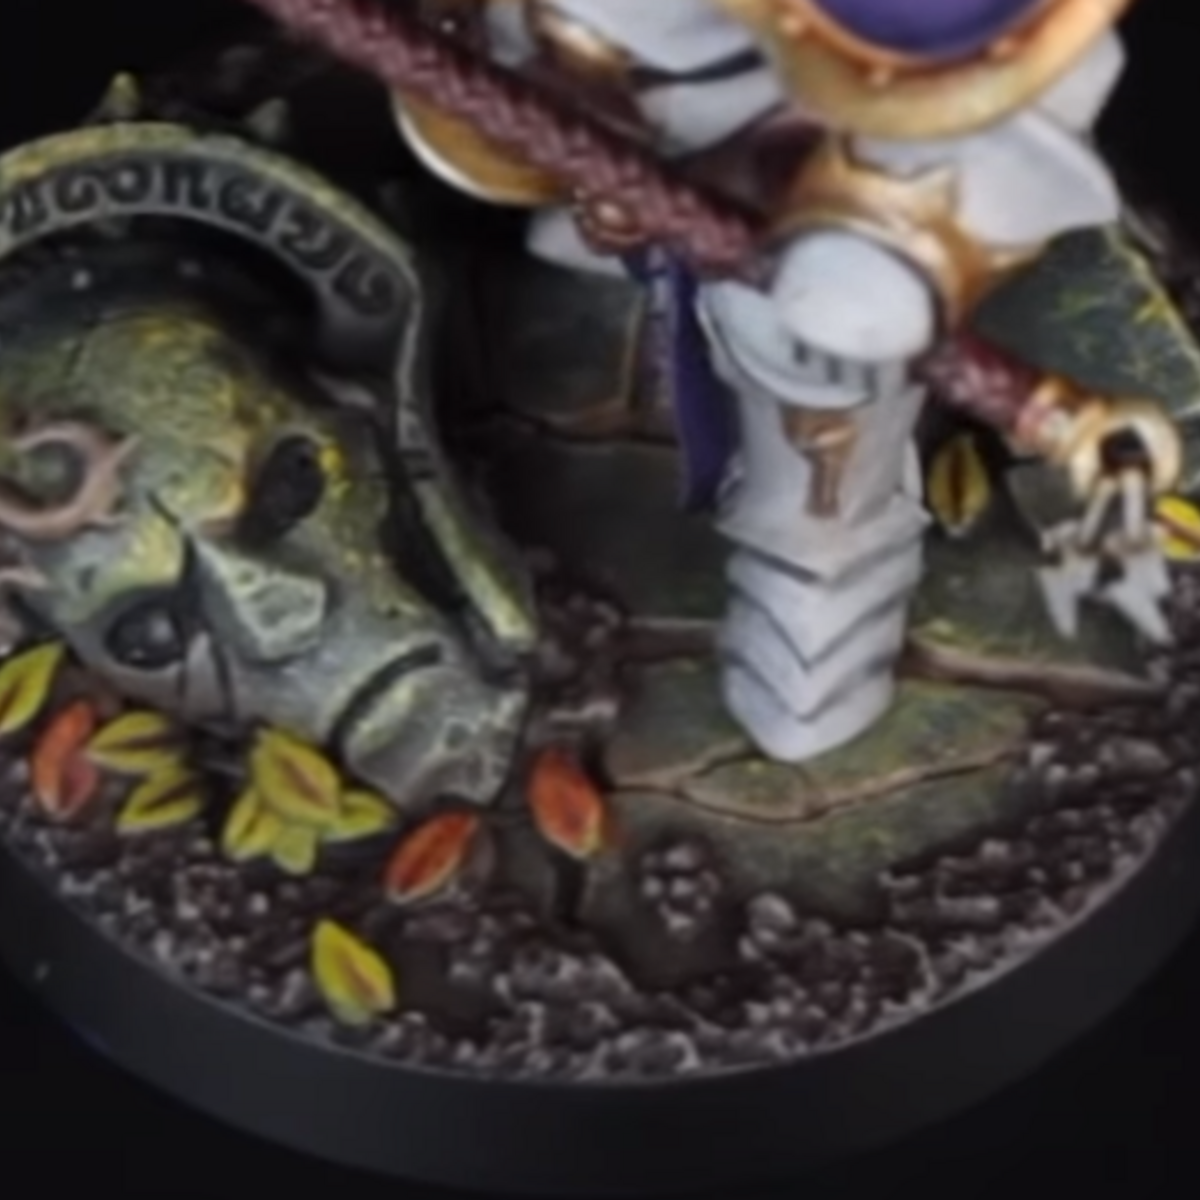
6. Seraphon Ruins
These ruins are mystical and ancient, and their teal coloring contrasts nicely with the earthier tones of the base and natural elements. Since they are intricate and involve careful detail, paint them last to avoid any mistakes on the finished terrain.
- Basecoat: Start with an Abaddon Black undercoat to establish a dark foundation.
- Main Color: Apply Sons of Horus Green over the ruins, ensuring an even coat to establish the iconic Seraphon teal.
- Wash: Use Agrax Earthshade to shade the ruins, allowing it to settle in the recessed areas to enhance the engraved patterns and details.
- Drybrush: Once dry, drybrush Sybarite Green over the raised edges and designs, bringing out the texture.
- Highlight Drybrush: Finish with a light drybrush of Screaming Skull over the highest points of the ruins to emphasize the worn, ancient look of the stone.
Final Touches
Once all the major elements are complete, take a step back and examine the piece for any areas that need touch-ups or additional detail. You may want to add:
- Additional Highlights on certain areas (like bark or bamboo) to enhance the contrast.
- Weathering Effects such as streaking grime or moss to emphasize age.
- Natural Detailing with additional drybrushing or glazes to blend the terrain pieces together, creating a more cohesive and realistic environment.
By following this guide, your Heart of Ghur Terrain will truly capture the essence of the Realm of Beasts, with rich textures, weathered details, and vibrant contrasts between the dark, gnarled trees and the mystical Seraphon ruins. The result will be a dynamic, atmospheric set that enhances the wild, primal feel of your games in Ghur!
Charlie Biddle
CharlieBiddle
Citadel Painting System 18
Base 6
- Abaddon Black
- Barak-Nar Burgundy
- Bugman's Glow
- Jokaero Orange
- Khorne Red
- Wraithbone
Shade 2
- Agrax Earthshade
- Berserker Bloodshade
Layer 7
- Dawnstone
- Deathclaw Brown
- Kislev Flesh
- Ogryn Camo
- Screaming Skull
- Sons of Horus Green
- Sybarite Green
Technical 1
- Contrast Medium
Contrast 2
- Leviathan Purple
- Skeleton Horde