BattleTech Traditional
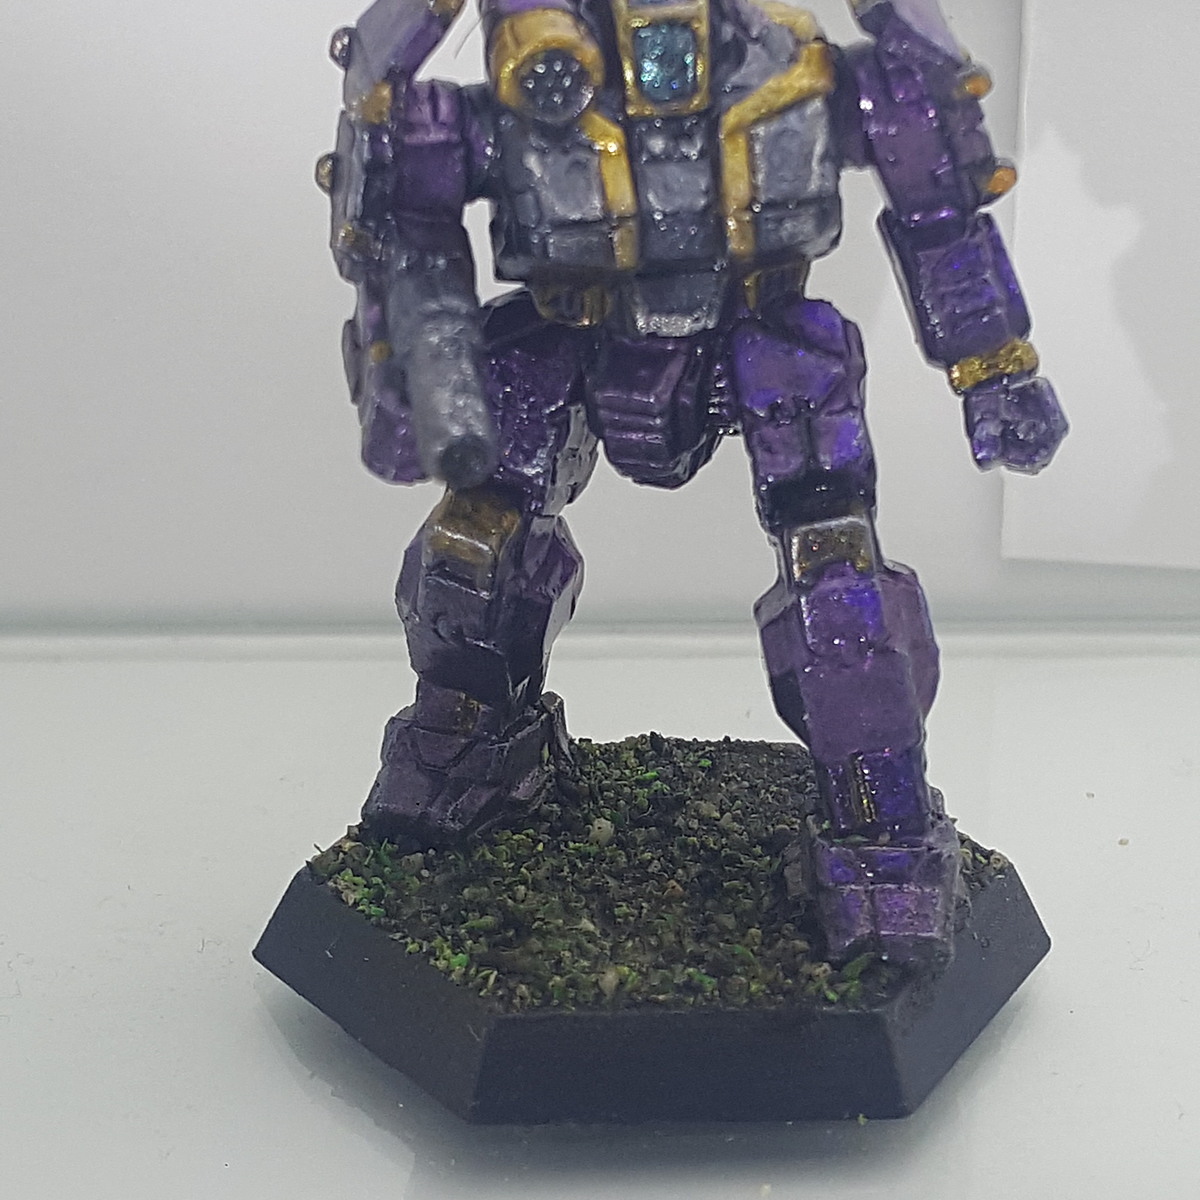
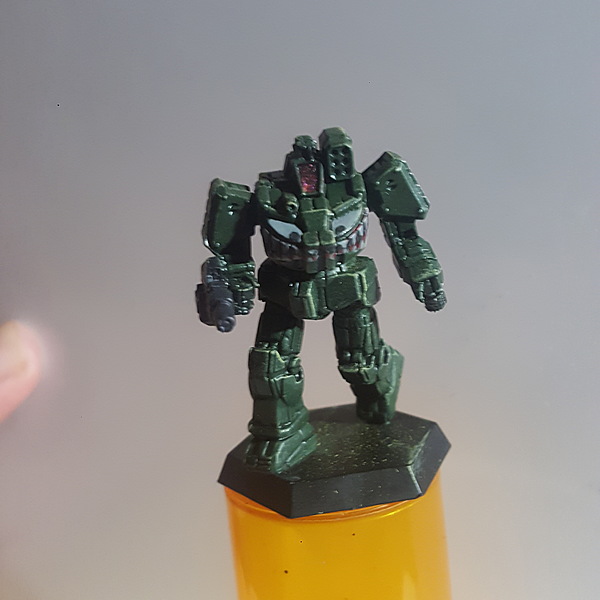
This recipe will detail how I painted the Wolverine from the BattleTech Beginner Box. It is done in a very traditional style, meant to evoke the aesthetics of the Periphery and more dieselpunk elements of the setting.
 Basic Prep and Prime
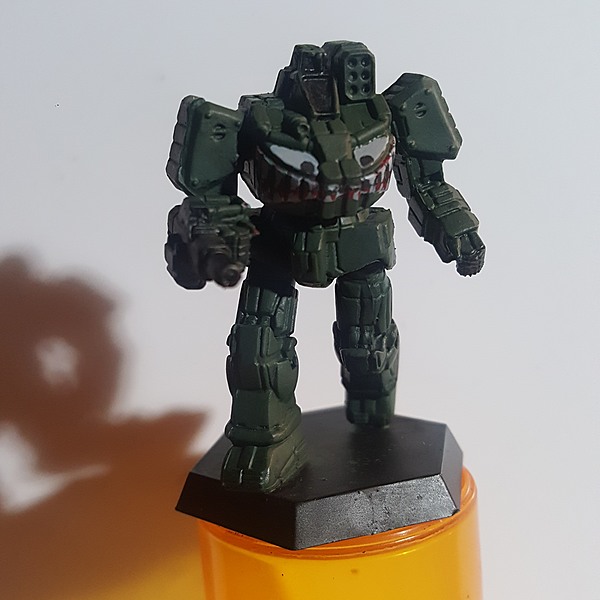
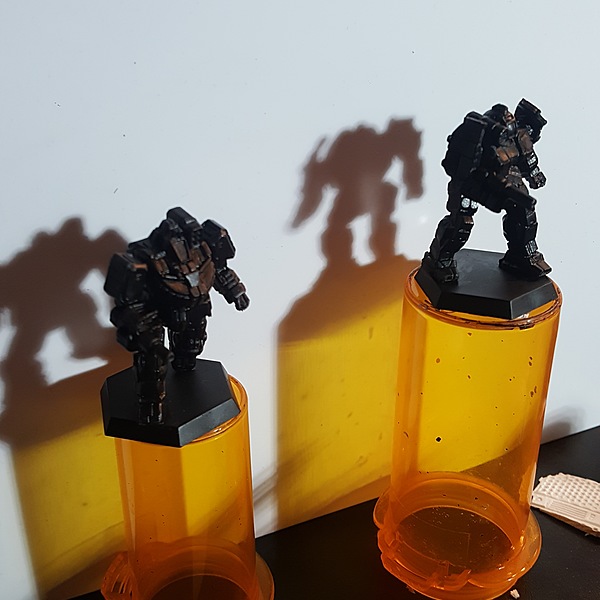 As usual, it's worth the time and effort to check the mini for mold lines and scrape them off, though at this scale and due to how blocky the sculpts of most mechs are, they aren't a huge concern. The minis were washed lightly with soap and water to remove any mold release agents that might have hindered paint adhesion. To avoid handling the minis were mounted on old pill bottles with poster tack. As the final step of preparation before painting properly, the minis were primed, though the color of the primer shouldn't overly impact the final result, this example was primed in black, specifically Black with a brush.
As you probably noticed, there are two mechs in the preceding steps. These minis were painted simultaneously, but specifically meant to contrast, and each represent vastly different aspects of the Battletech universe, and approaches to their paint schemes. The Wolverine, subject of this tutorial, is very similar in function to the Griffin, the other plastic mini. However, the Griffin, in most time periods of the Battletech universe has a reputation for being a superior machine, and therefore to contrast the two, got a much more flashy(and metallic) paint scheme, that will be detailed in another tutorial.
The Quick and Easy Part
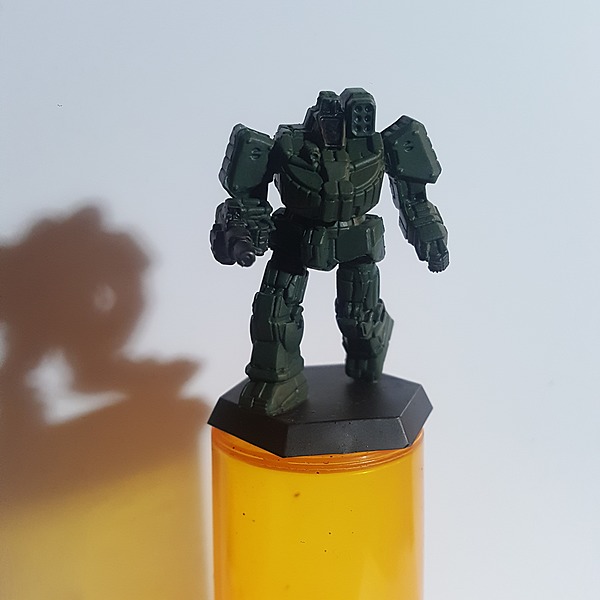 Base Coat To achieve a fast base coat in few layers, the entire mini, with the exception of the cockpit glass and the weapon held in the hand of the mech were painted Heavy Green .
 The Neither Quick Nor Easy Part
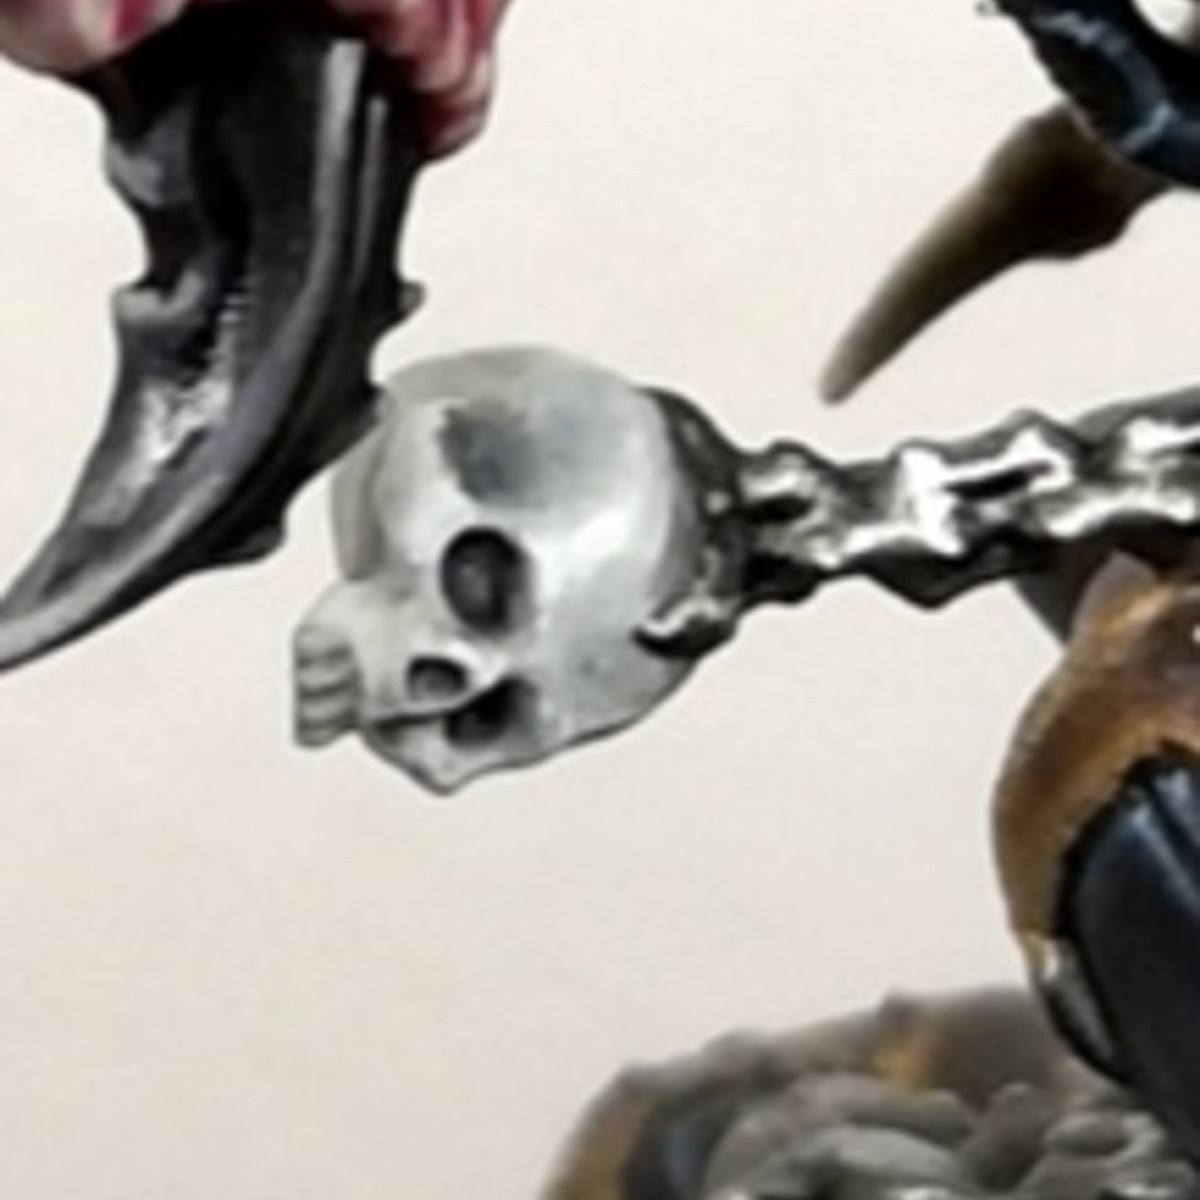
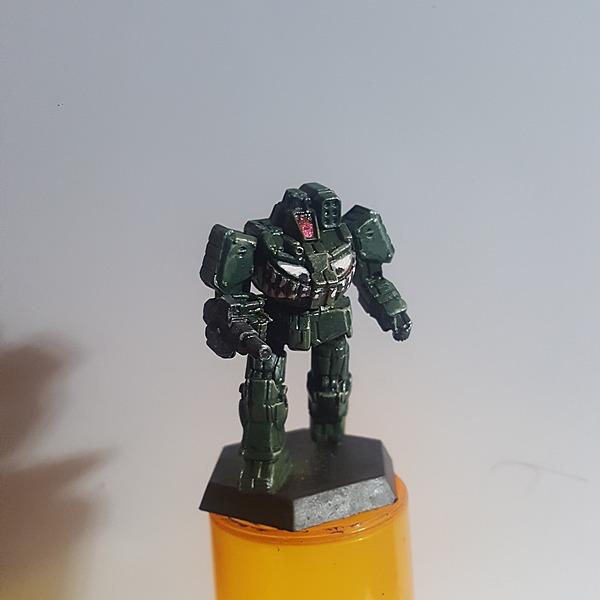
- The "eyes" and the "mouth" were both defined early with Heavy Bluegrey .
- The pupils of the eye, and the top row of teeth were defined with Heavy Charcoal generally circular shapes for the eyes, and triangles forming the gaps between teeth.
- the bottom row of the teeth were defined with Heavy Red again by creating triangles, and meeting the black of the top row with was neat a line as possible.
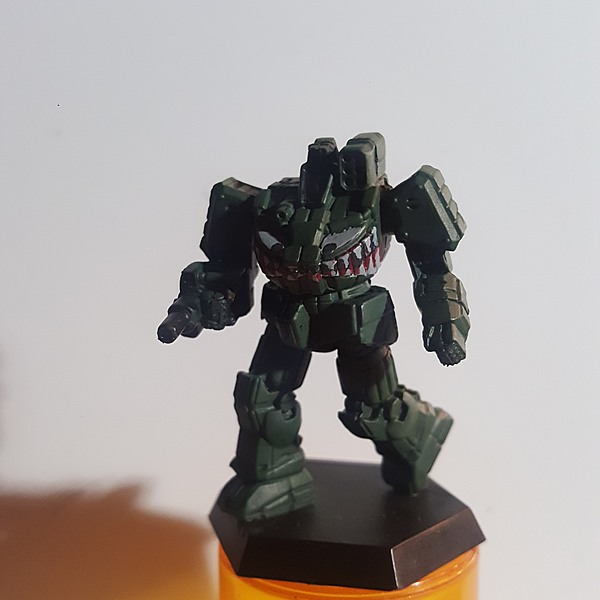 This is a process of push and pull, switching between the paints as necessary, refining the shapes slowly over time. Implementing the curve of the teeth by bulging the triangles towards the front of the design. This step took me a significant amount of time, and starting over at least twice. The final result, while far from perfect, I think is fine and re-enforces the character of the mini. This was done early in the paint scheme so that as we weather and shade the mini, the design will also be weathered and shaded. However, the design was also refined in later steps. Especially after the metallic dry brush, as the grey seemed to picked out particularly.
 Matters of Convenience
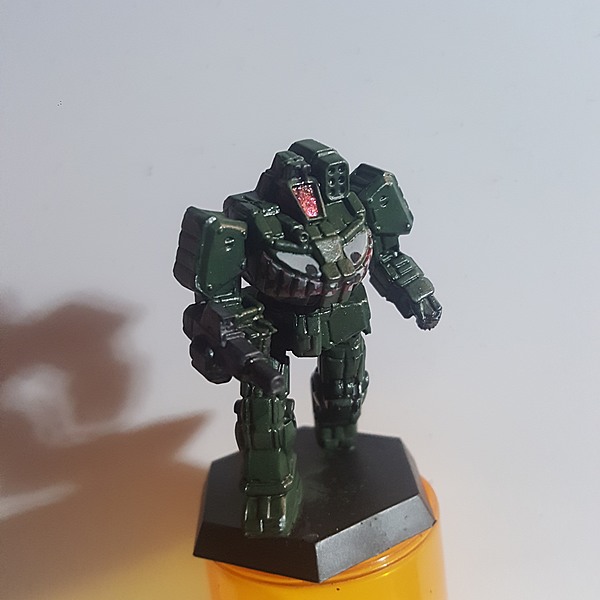
- Because I had the appropriate paints out i took this time to undercoat the cockpit with a gloss black craft paint, followed by Molten Mantle however, after it had dried, I decided it was too dark and focusing on the lower portion of the cockpit, added Miami Sunset .
This step might have been more easily done either later, after the drybrushing, or earlier, before the green base coat, following the general advice of painting from the "inside out".
- The gun, previously left not green, was then painted with Heavy Charcoal .
- A layer of gloss varnish was applied to the cockpit, and a layer of matte varnish applied to the rest of the miniature.
 Shading and Highlighting
- Once the varnish was dry, an all over wash was applied, though it was a Les Bursley style diy, if you slightly water down Nuln Oil or Nuln Oil Gloss and took care to mop it off the flat surfaces you should be able to achieve a similar effect.
 Next a dry brush of Ogryn Camo was applied fairly heavily across the miniature, going lightly only across the mouth and eye designs, and avoiding the black gun. It took me multiple passes, to get a result I liked, and clearly went too far, and had to clean up later.
 The gun was dry brushed with Pallid Wych Flesh ,again fairly heavily, perhaps too heavily, and needed to be cleaned up and sharpened later.
 - A final and very light drybrushing of Silver Fox was applied very generally over the miniature.
 Cleanup and some small Edge Highlighting
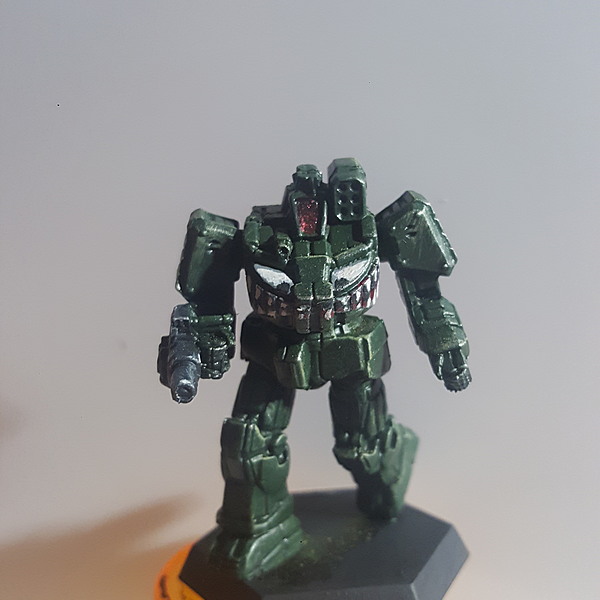
- most generally, cleaning up where the dry brushing became streaks over the panels with a watered down Heavy Green , and refining the teeth of the mouth design with Pallid Wych Flesh .
- Where the previous process went too far, or in the case of the gun, where the dry brushing did not find shapes that needed to be articulated, certain edges of the miniature were highlighted, either with the Ogryn Camo on the panels, Pallid Wych Flesh on the gun, or watered down Heavy Bluegrey where a mid tone was needed on the gun.
- Another layer of matte varnish was applied.
 Basing and Whatevers
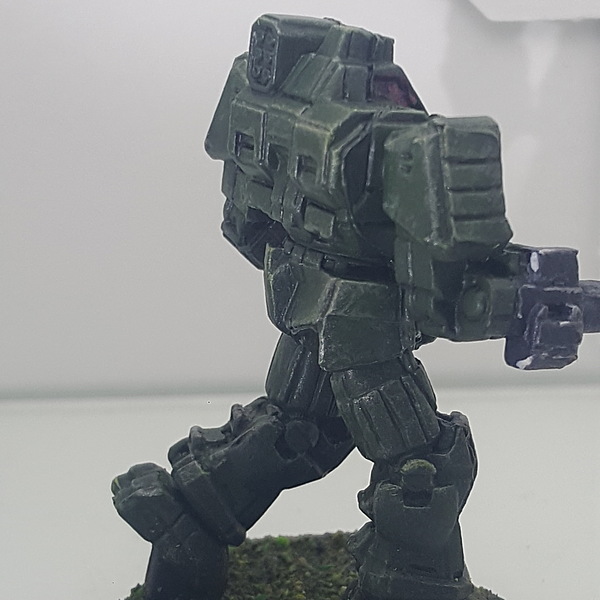
- the peg on the foot had been painted with Heavy Charcoal and not highlighted to avoid drawing the eye to it, as was the base rim.
- The basing was Geek Gaming Scenics Base Ready "Rugged Field", applied over tacky glue, allowed to dry, wet water(heavily diluted rubbing alcohol and dishsoap) applied followed by heavily diluted tacky glue to secure it.
 Final Thoughts
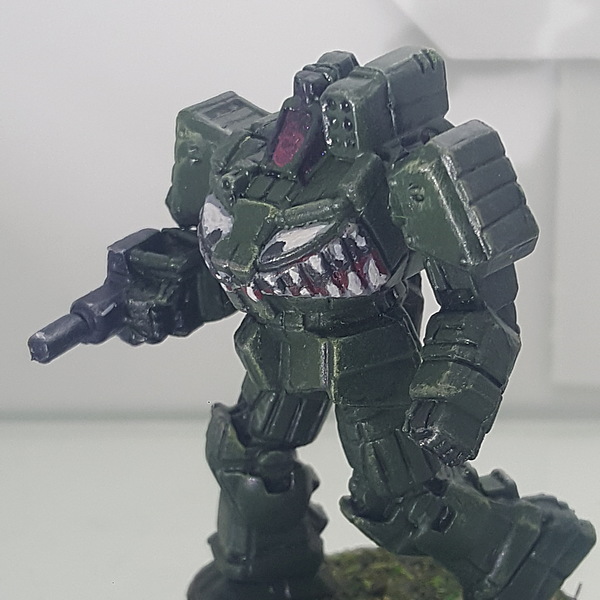
I feel that this paint scheme effectively communicates the character I wanted the mini to have, that of a small time mercenary of the Periphery, making their way with the very workman like Wolverine mech. It is meant to contrast heavily with the Griffin I painted with it. The details on the chest were very useful for conceptualizing the mouth and eye designs and as reference points on the miniature. This is a very simple paint scheme, but one should not confuse "simple" with "easy." It could be worth it to some to go back and further refine the highlights and designs, but as a rough and ready character, on a gaming piece I didn't feel it entirely necessary, and am very satisfied with the end result.
I hope this tutorial inspires others to explore simple free hand designs, and battletech minis in general.
Vallejo Game Color
Extra opaque 4
- 72.141 Heavy Red
- 72.144 Heavy Bluegrey
- 72.146 Heavy Green
- 72.155 Heavy Charcoal
Vallejo Surface Primer
Base 1
- 70.602 Black