BattleTech Shiny
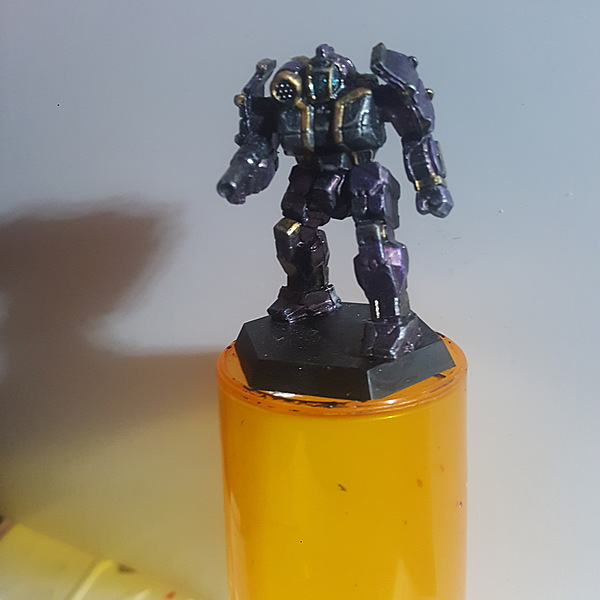
This recipe will detail how I painted the Griffin from the BattleTech Beginner Box. It is done in a very non-traditional style, using lots of metallic paints, meant to evoke the quasi-Napoleonic elements of the setting.
 Basic Prep and Prime
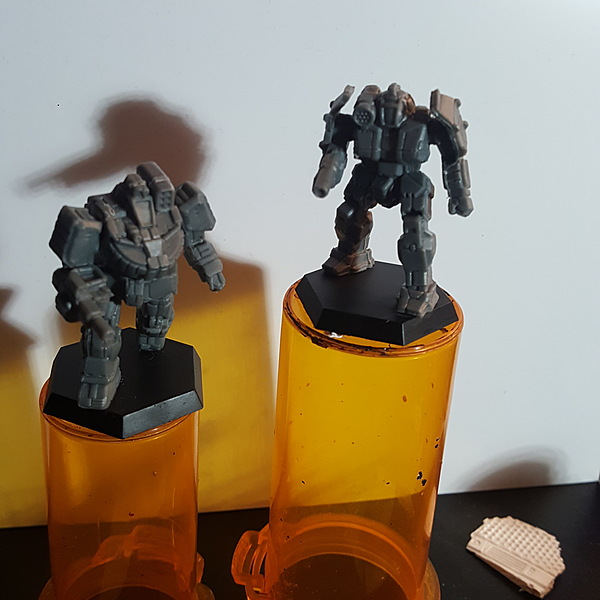
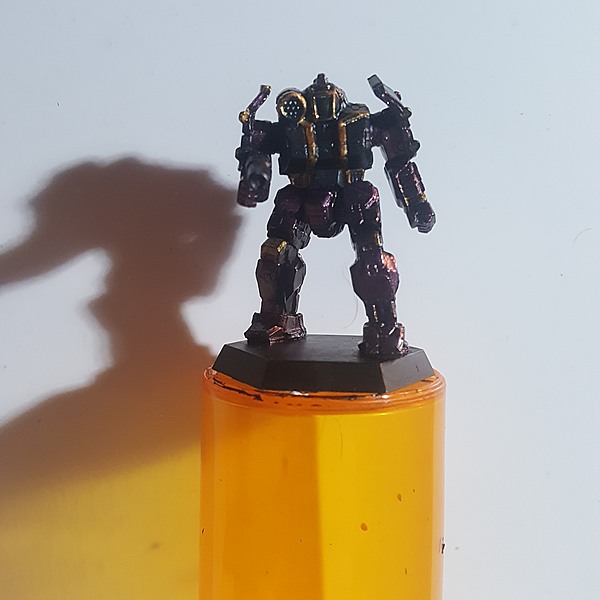
 As usual, it's worth the time and effort to check the mini for mold lines and scrape them off, though at this scale and due to how blocky the sculpts of most mechs are, they aren't a huge concern. The minis were washed lightly with soap and water to remove any mold release agents that might have hindered paint adhesion. To avoid handling the minis were mounted on old pill bottles with poster tack. As the final step of preparation before painting properly, the minis were primed, though the color of the primer shouldn't overly impact the final result, this example was primed in black, specifically Black with a brush.
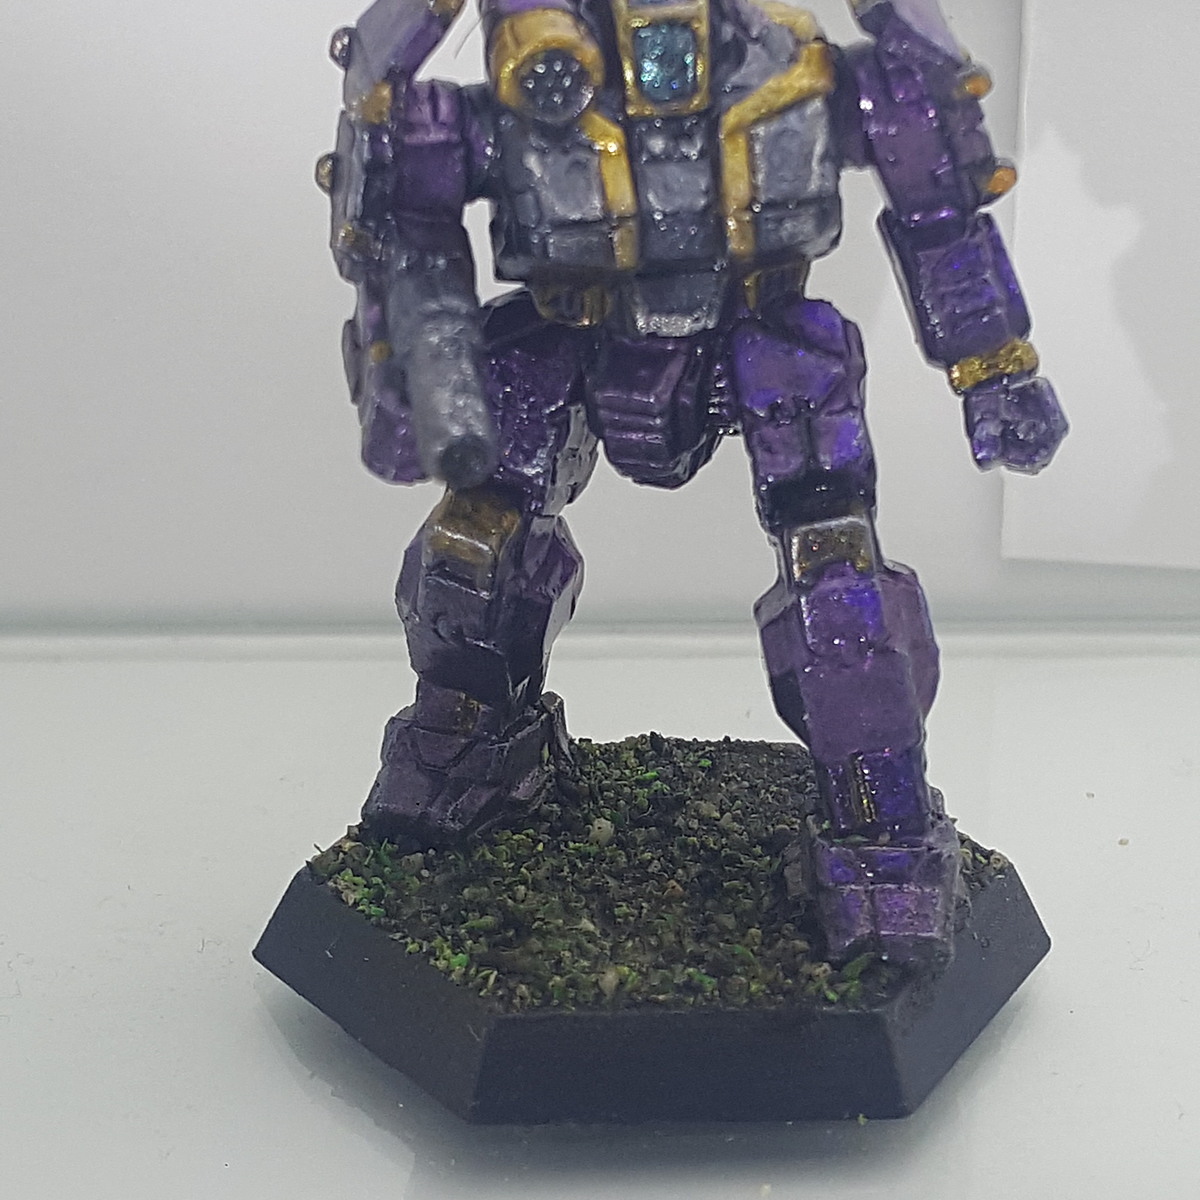
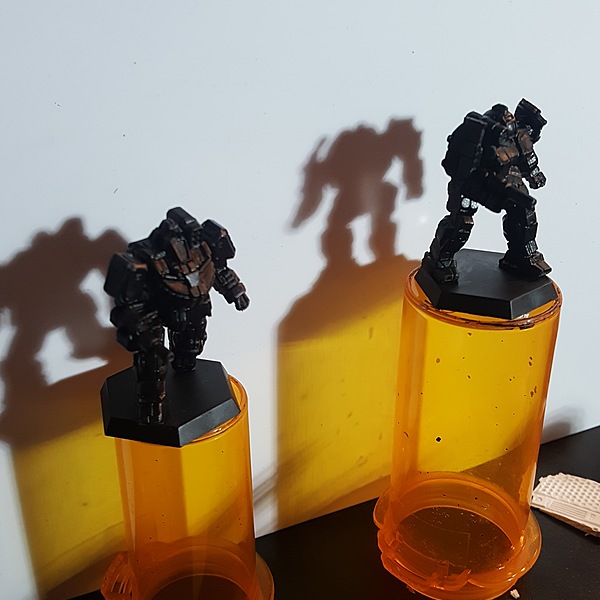
As you probably noticed, there are two mechs in the preceding steps. These minis were painted simultaneously, but specifically meant to contrast, and each represent vastly different aspects of the Battletech universe, and approaches to their paint schemes. The Griffin, subject of this tutorial, is very similar in function to the Wolverine, the other plastic mini. However, the Griffin, in most time periods of the Battletech universe has a reputation for being a superior machine, and therefore to contrast the two, got a much more flashy(and metallic) paint scheme. This paint scheme was also an opportunity to experiment more with the turbodork metallic paints.
 Base Coating
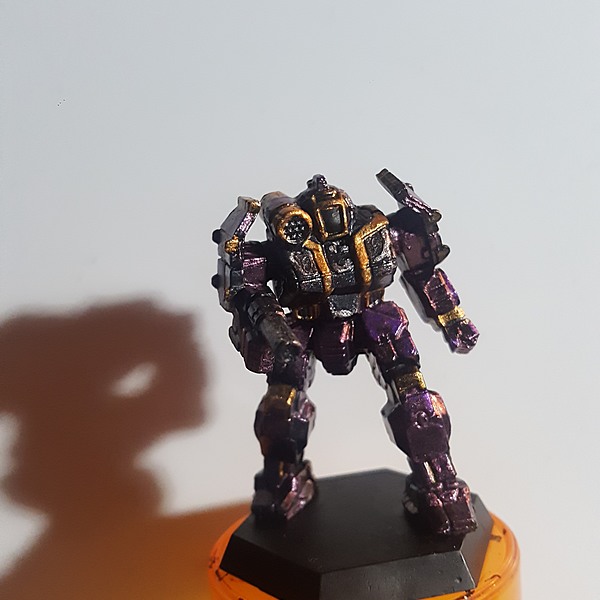
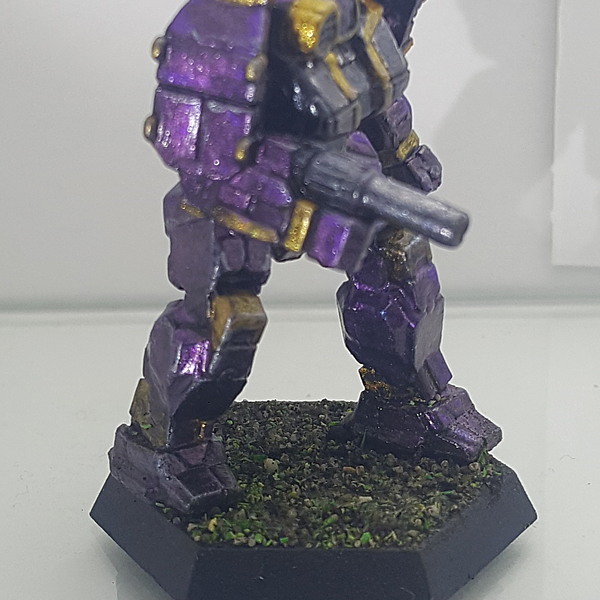
- The legs, arms, and back of the cockpit were based with Murple .
- The torso and the gun in the hand was painted with Six Shooter
- Specific panels and details were picked out with Bullion
 Highlighting
- The purple parts were highlighted with People Eater .
- The silver parts were highlighted with Tin Star .
- The gold parts were highlighted with All That Glitters .
 Cockpit
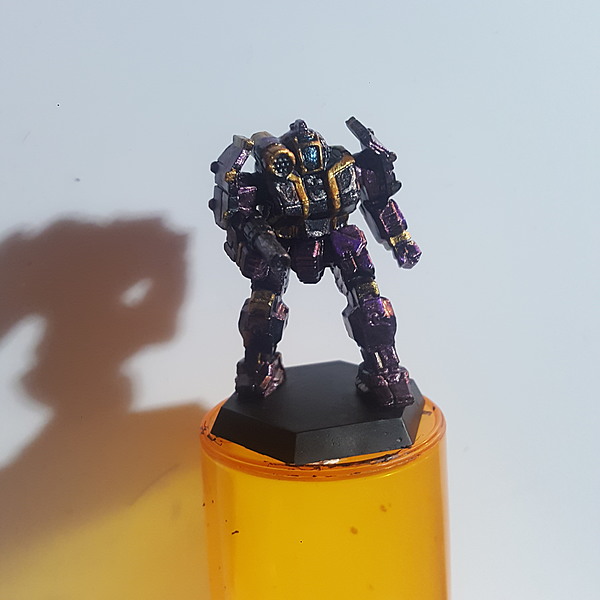
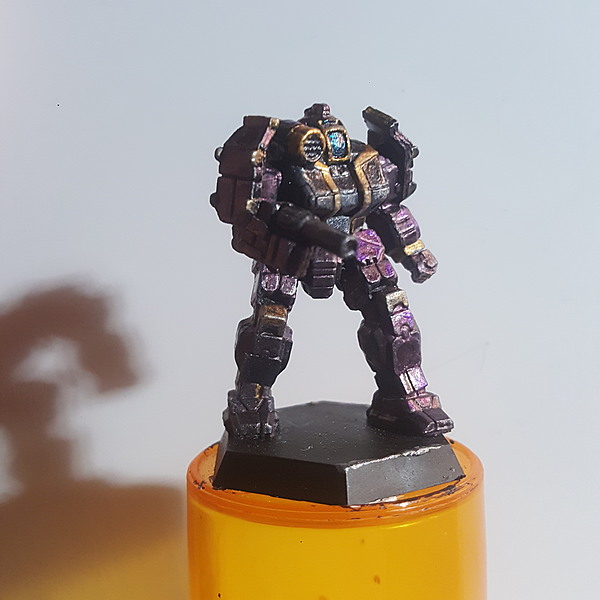
- the cockpit was re-base coated with a craft store gloss paint, before being painted with a couple coats of Blue Raspberry .
 Gloss Varnish
The gloss varnish is particularly important to this paint scheme. Firstly it helps maintain the shine of the metallic paints. Secondly it is essential to the color shift effect of the "Turbo Shift" paint. Thirdly, it creates a smooth surface that allows washes to easily flow into the recesses of the miniatures, which in theory would allow for a much easier panel lining process. In practice I did not see the results I wanted from an initial wash, and used another wash, which went decidedly too far. However, as the mini was already varnished, I was able to remove a significant amount of the wash with a damp paper towel. Varnishing the miniature allows for the push and pull process I use to achieve results I like.
 Panel Lining and Shading
- A homemade Les Bursley style wash was applied, in an attempt to panel line the miniature, however the effects were not as strong as I wanted.
- A heavy wash of Nuln Oil was applied, to reinforce the panel lining, and to apply a shade. The cockpit was avoided with this shade. This layer had the side effect of removing a lot of the gloss of the metallics.
 Weathering, Edge Highlighting, and Clean Up
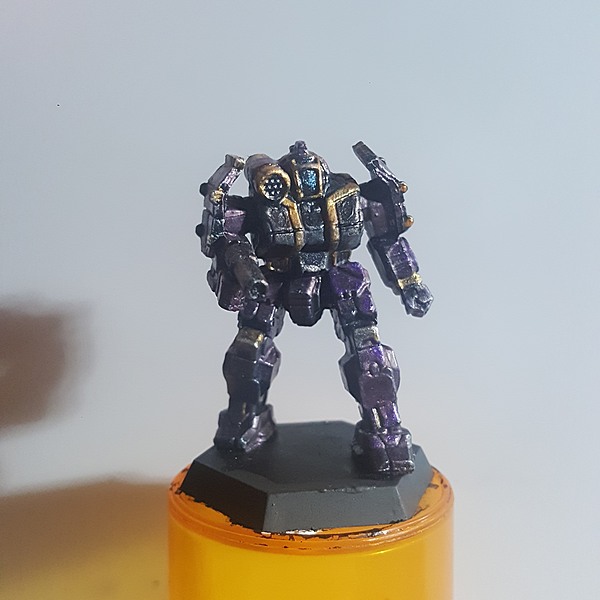
 An overall drybrush was applied lightly with Silver Fox to try and emphasize the contrast between the panel lining and the panel edges. This had and advantage of giving the mini a slightly "weathered" appearance.
 - At this point, is still didn't like the level of contrast between the panel lining and the edges of the armor panels, so I decided to edge highlight select panels with Silver Fox .
 Where the edge highlights, dry brushing, or the especially the shading had an impact on the miniature I didn't like, I went back to the base coats and mid tones, usually watered down, to the areas affected.
 Basing
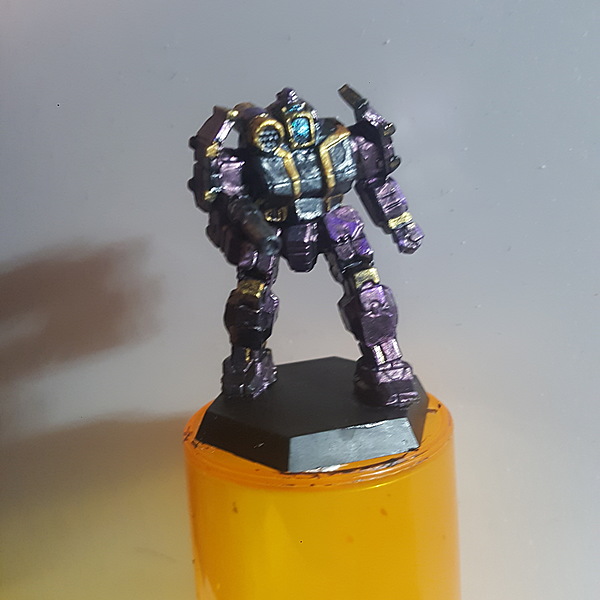
- The base rim was painted Heavy Charcoal .
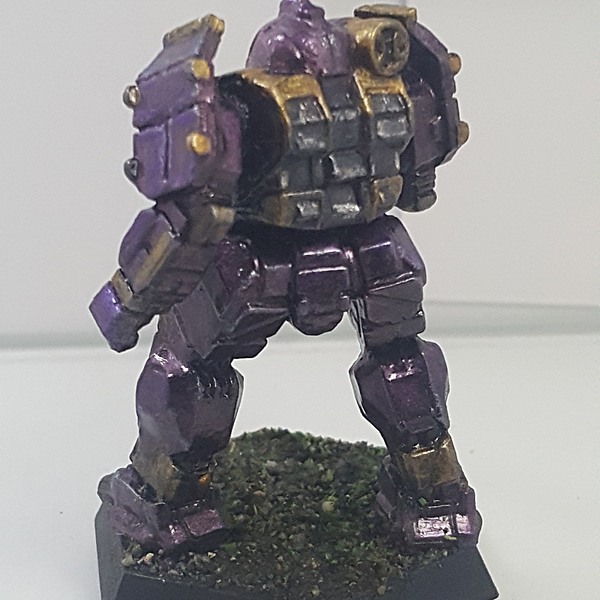
- The basing was Geek Gaming Scenics Base Ready "Rugged Field", applied over tacky glue, allowed to dry, wet water(heavily diluted rubbing alcohol and dishsoap) applied followed by heavily diluted tacky glue to secure it.
 Final Thoughts
- I find this a very interesting paint scheme, and feel I succeeded in evoking a high tech Napoleonic feel, and experimented a lot with the Turbo Dork metallics. This was painted to contrast with the traditionally painted Wolverine mech, and feel successful on that count as well. I found the Turbo Dork metallics easy to work with. The techniques utilizing varnish were hit and miss, the effect I was looking for was not achieved easily, however that ability to remove layers of paint without removing preceding layers very useful. I hope this inspires people to experiment with varnish layers and metallic paints.
Citadel Painting System
Shade 1
- Nuln Oil
Turbo Dork 8
Turboshift 1
- Blue Raspberry
Metallic 6
- Bullion
- Murple
- People Eater
- Silver Fox
- Six Shooter
- Tin Star
Flourish 1
- All That Glitters
Vallejo Game Color
Extra opaque 1
- 72.155 Heavy Charcoal
Vallejo Surface Primer
Base 1
- 70.602 Black