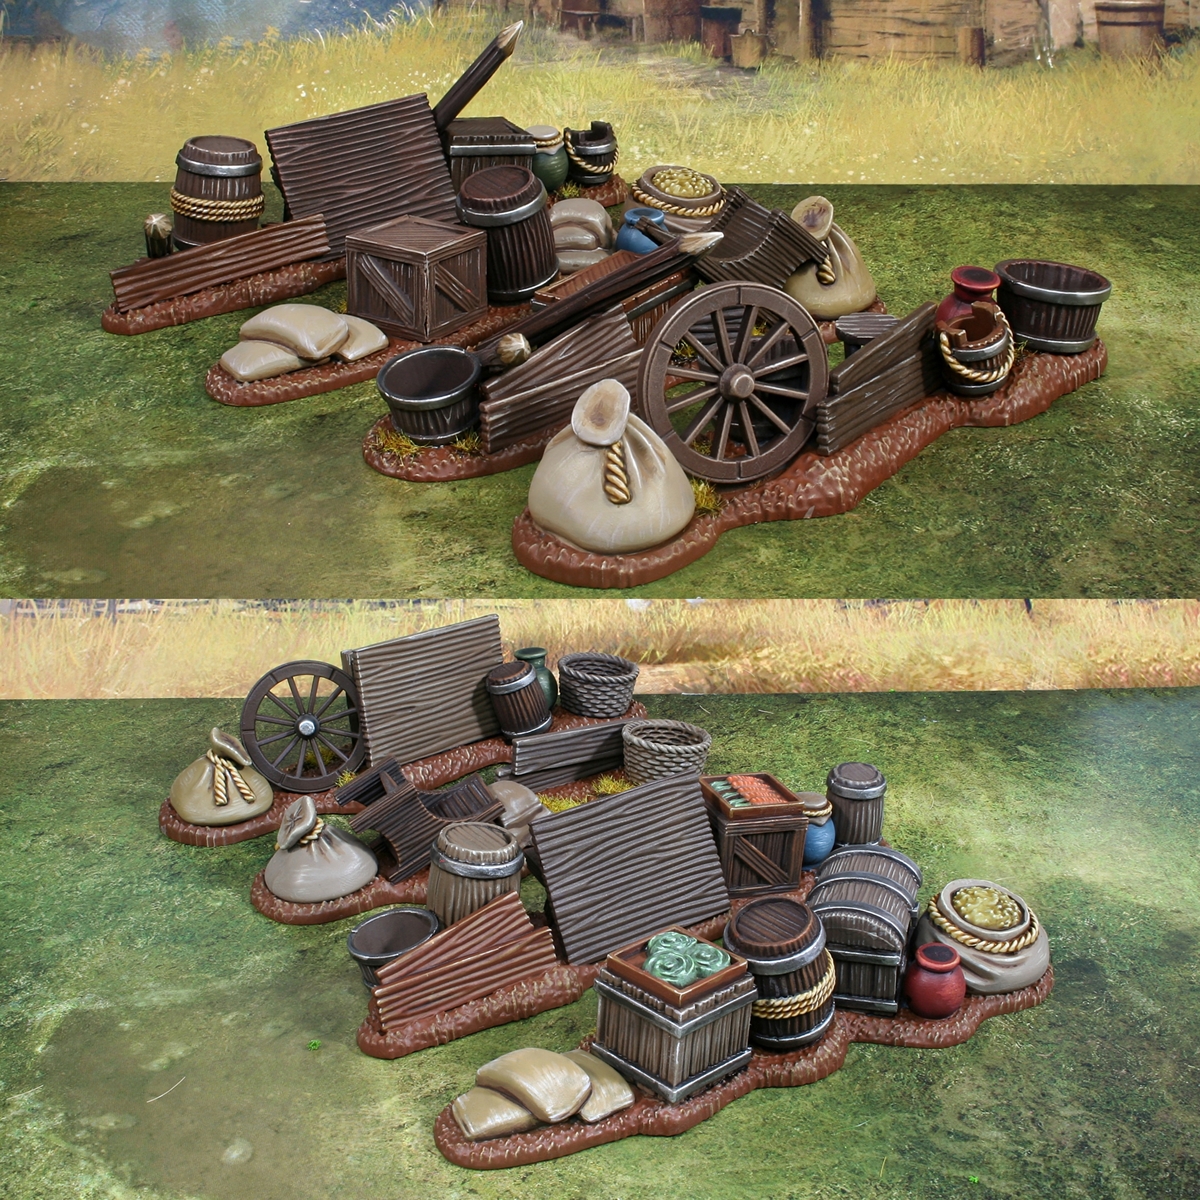

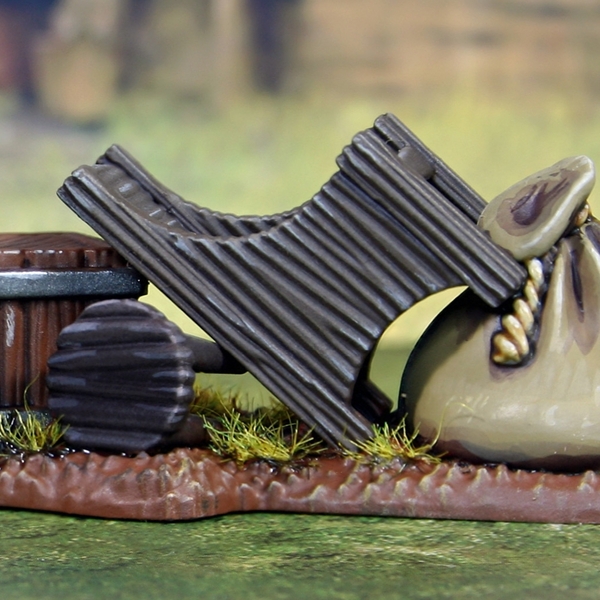
These barricades were a great excuse to try out a bunch of different wood recipes. I put a little more effort into these than I probably should, but I plan on getting a good amount of use from them.
 Wood 1
- Basecoat with 1:1 Dryad Bark & Mournfang Brown .
- Drybrush with a 1:1 mix of the base colour & Karak Stone .
- Lightly drybrush with Karak Stone .
- Run some thin Dryad Bark into deep recesses. Don't worry about doing this on woodgrain, just distinct details between planks etc.
- Optionally, selectively edge highlight with 1:1 Karak Stone & Wraithbone if you want to go the extra mile.
 Wood 2
- Basecoat with Rhinox Hide .
- Drybrush of Doombull Brown .
- Light drybrush of Gorthor Brown .
- Optionally, selectively edge highlight with Baneblade Brown if you want to go the extra mile.
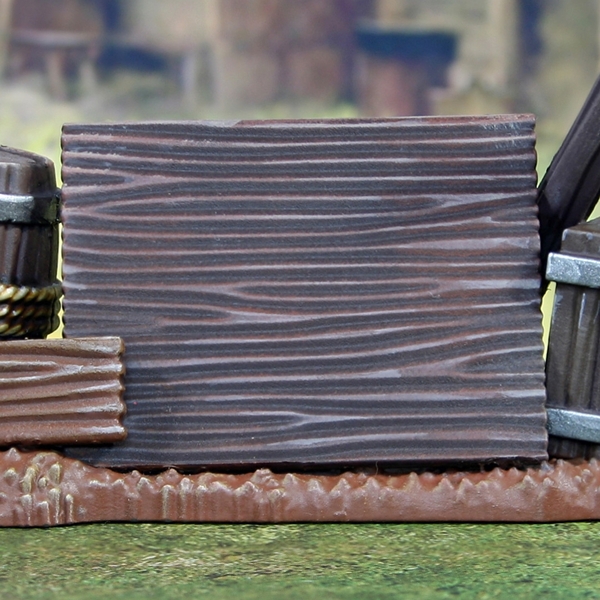
 Wood 3
- Basecoat with Thondia Brown .
- Run some thin Rhinox Hide into deep recesses. Don't worry about doing this on woodgrain, just distinct details between planks etc.
- Drybrush heavily with 2:1 with Thondia Brown and Steel Legion Drab .
- Mix the previous paint 1:1 Administratum Grey and drybrush lightly.
- Optionally, selectively edge highlight with Administratum Grey if you want to go the extra mile.
 Wood 4
- Basecoat with Rhinox Hide .
- Drybrush heavily with Dryad Bark .
- Lightly drybrush with a 1:1 mix of Dryad Bark and Gorthor Brown .
- Optionally, selectively edge highlight with a 1:1 mix of Gorthor Brown and Administratum Grey if you want to go the extra mile.
 Wood 5
- Basecoat with Mournfang Brown .
- Drybrush heavily with XV-88 .
- Lightly drybrush with Balor Brown .
- Optionally, selectively edge highlight with Screaming Skull if you want to go the extra mile.
I personally found the look of this wood a little too vibrant. To knock it back a little, I gave it a quick was with Marine Juice (https://youtube.com/shorts/vxfgZKfYCZc).
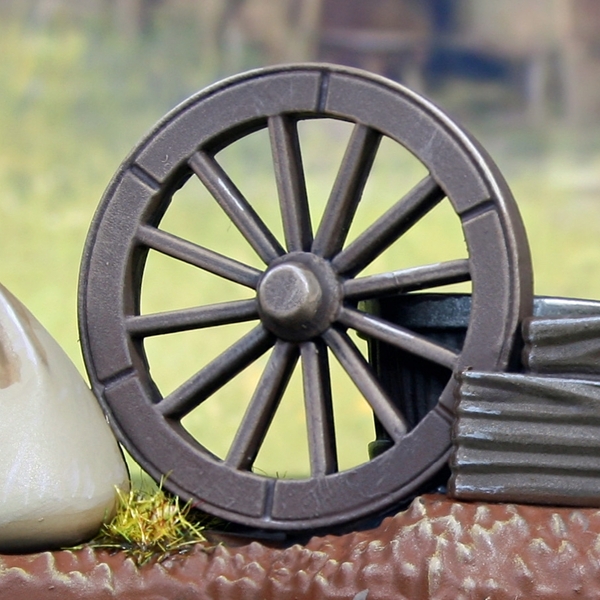
 Wood 6
- Basecoat with Dryad Bark
- Drybrush heavily with Gorthor Brown .
- Lightly drybrush with Karak Stone .
- Optionally, selectively edge highlight with 1:1 Karak Stone & Wraithbone if you want to go the extra mile.
 Wood 7
- Basecoat with 1:1 Steel Legion Drab and Dryad Bark .
- Drybrush heavily with Steel Legion Drab .
- Lightly drybrush with Baneblade Brown .
- Optionally, selectively edge highlight with Ushabti Bone if you want to go the extra mile.
.jpg) Wood 8
Wood 8
- Basecoat with Steel Legion Drab .
- Wash with a brown of your choosing. If it is one straight out of the bottle, I would recommend thinning roughly 1:1 with some medium. I used some pre-mixed Marine Juice (https://youtube.com/shorts/vxfgZKfYCZc), which is 4 parts Lahmian Medium , 3 parts Dark Tone and 3 parts Reikland Fleshshade .
- Drybrush heavily with Baneblade Brown .
- Lightly drybrush with Karak Stone .
- Optionally, selectively edge highlight with 1:1 Karak Stone & White if you want to go the extra mile.
.jpg) Wood 9
Wood 9
- Basecoat with Rhinox Hide .
- Drybrush heavily with Mournfang Brown .
- Lightly drybrush with 2:1 Mournfang Brown and Zamesi Desert .
- Shade deep recesses with Nuln Oil and a thin brush.
- Optionally, selectively edge highlight with 1:2 Mournfang Brown & Zamesi Desert if you want to go the extra mile.
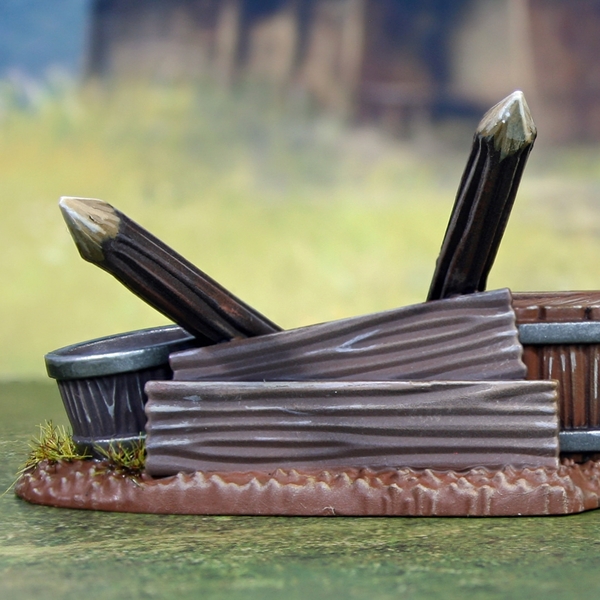 Sharpened Stakes
- Basecoat with XV-88 . To add texture, I would recommend doing this in thin lines, pulling your brush towards the tip. Repeat a couple of times and you should be nearing total coverage, with some subtle texture.
- Now begin adding Screaming Skull into your XV-88 and leave bigger gaps between lines. Do this a couple of times, making the lines thinner and more sparse as you brighten the colour.
- Edge highlight with pure Screaming Skull .
- Mix a little White into your Screaming Skull and selectively highlight the point.
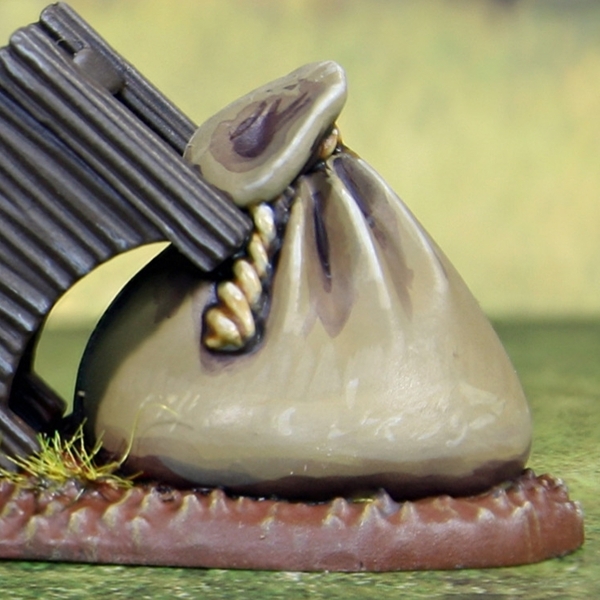
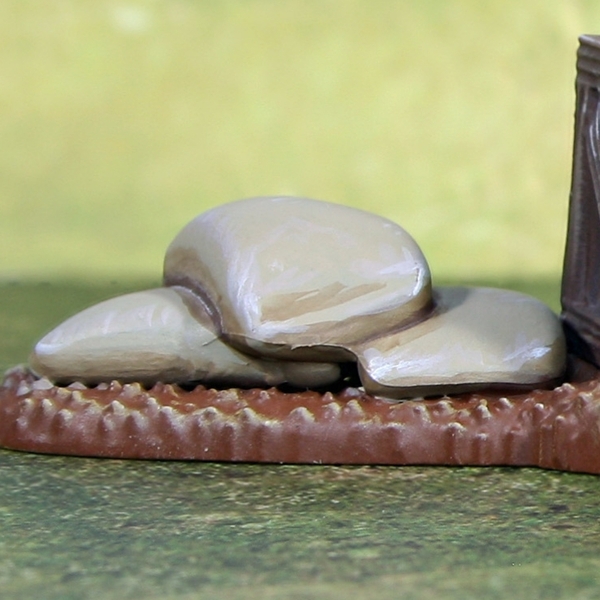 Cloth 1
- Basecoat with Karak Stone .
- Shade with Steel Legion Drab .
- Add scratchy and chunky highlights of Rakarth Flesh .
- Repeat with fine highlights of a 1:1 Rakarth Flesh and White mix.
- Finish with selective White highlights.
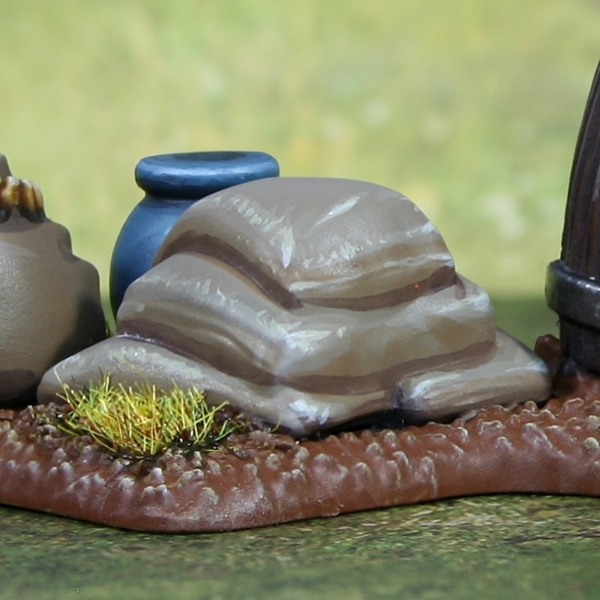 Cloth 2
- Basecoat with Baneblade Brown .
- Add general shading with Steel Legion Drab .
- Shade more selectively with 1:1 Steel Legion Drab and Rhinox Hide .
- Add scratchy and chunky highlights of Karak Stone .
- Repeat with fine highlights of Ushabti Bone .
- Mix a little White into your Ushabti Bone and selectively highlight.
 Cloth 3
- Basecoat with Tallarn Sand .
- Add general shading with 1:1 Tallarn Sand and Rhinox Hide .
- Shade more selectively with Rhinox Hide .
- Add scratchy and chunky highlights with 1:1 Tallarn Sand and Screaming Skull .
- Repeat with fine highlights of Screaming Skull .
- Mix a little White into your Screaming Skull : and selectively highlight.
 Cloth 4
- Basecoat with Steel Legion Drab .
- Add shading with 1:1 Steel Legion Drab and Dryad Bark .
- Apply chunky highlights using Baneblade Brown .
- Repeat with fine highlights of Karak Stone
- Finish with selective Screaming Skull highlights.
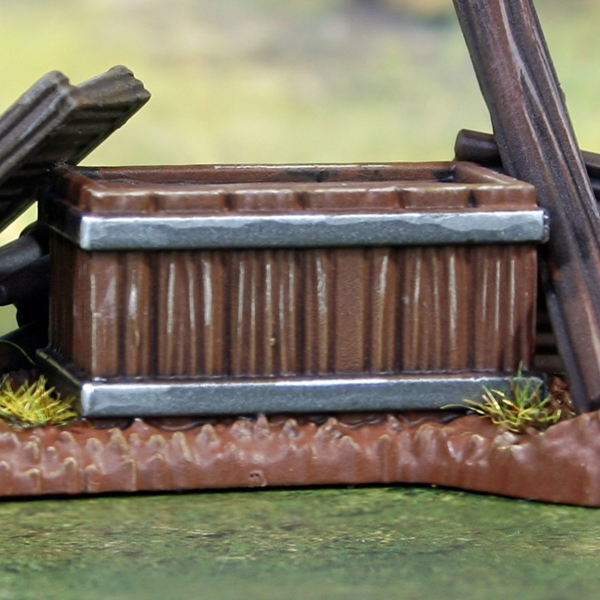
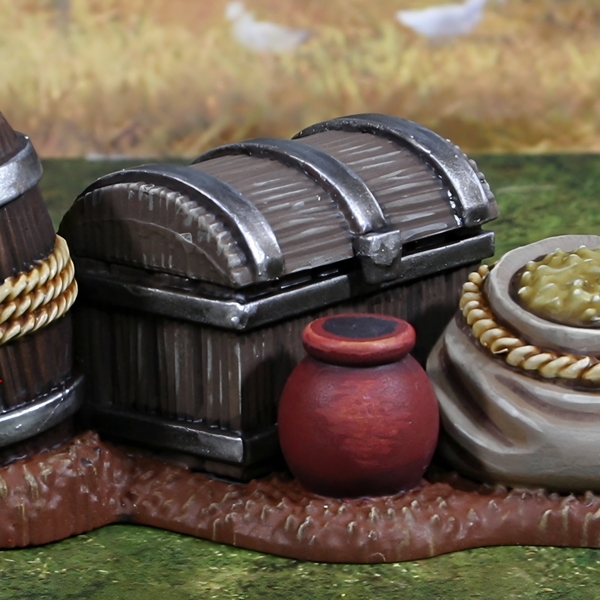
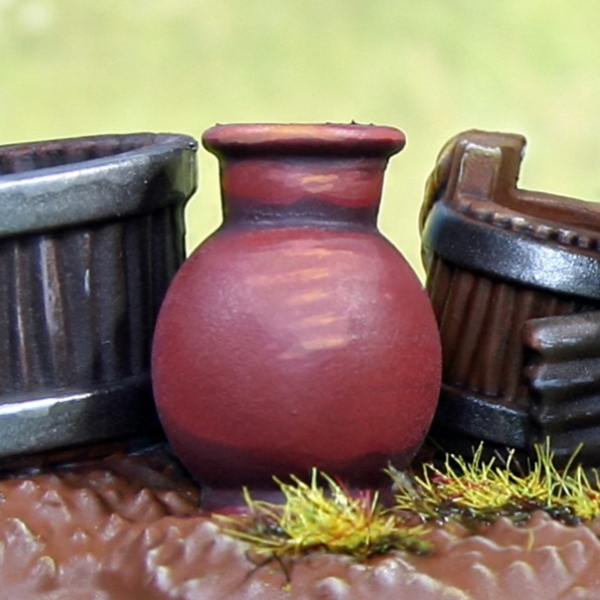 Red Pottery
- Basecoat with Word Bearers Red .
- Add general shading with 2:1 Khorne Red and Abaddon Black .
- Increase the amount of Abaddon Black in the mix and selectively shade.
- Highlight with Squig Orange .
- Add finer highlights with 1:1 Squig Orange and Tau Light Ochre .
- Finish with selective highlights of Tau Light Ochre .
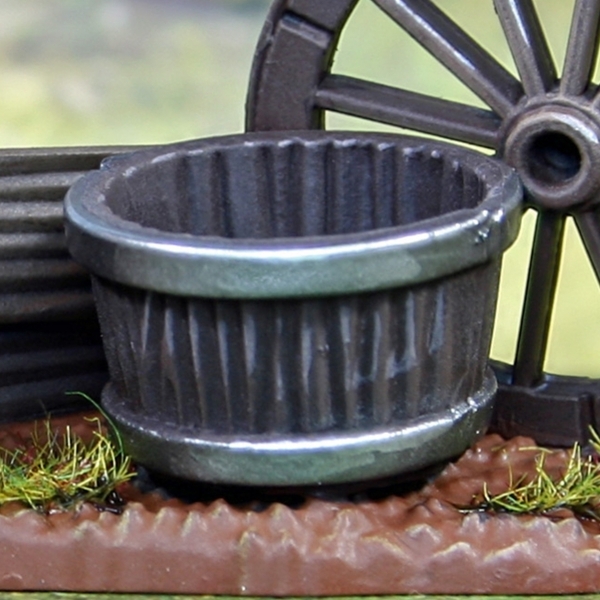
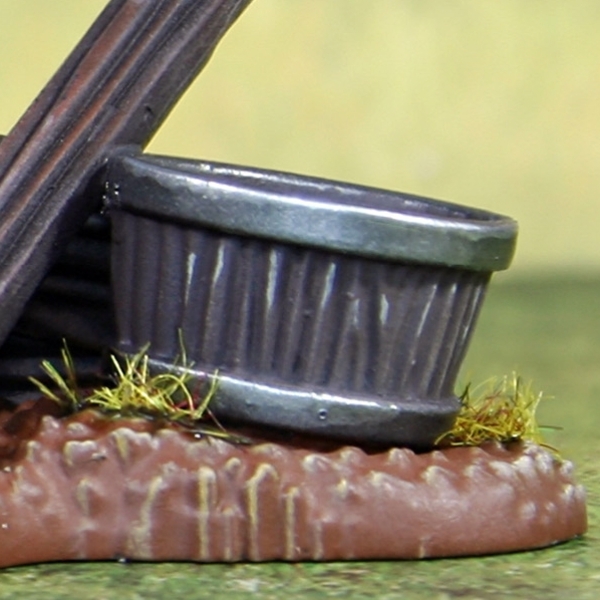
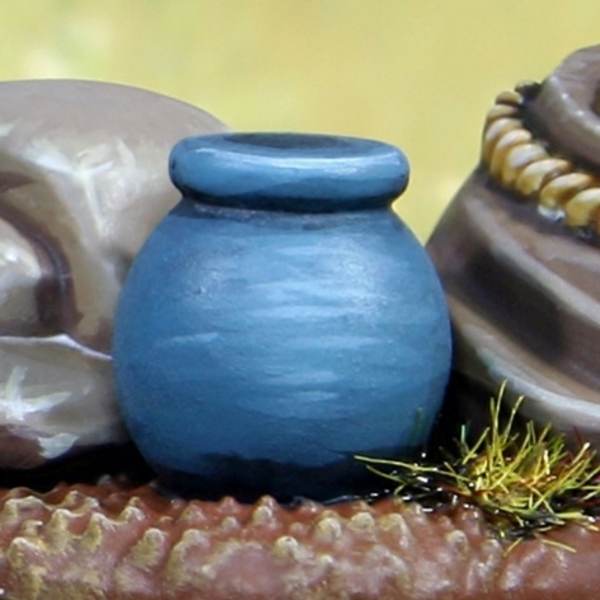 Blue Pottery
- Basecoat with Thunderhawk Blue .
- Add general shading with Dark Reaper .
- Add Abaddon Black to your Dark Reaper and more selectively shade.
- Highlight with 1:1 Thunderhawk Blue and Fenrisian Grey .
- Add finer highlights with Fenrisian Grey .
- Finish with selective highlights of Blue Horror .
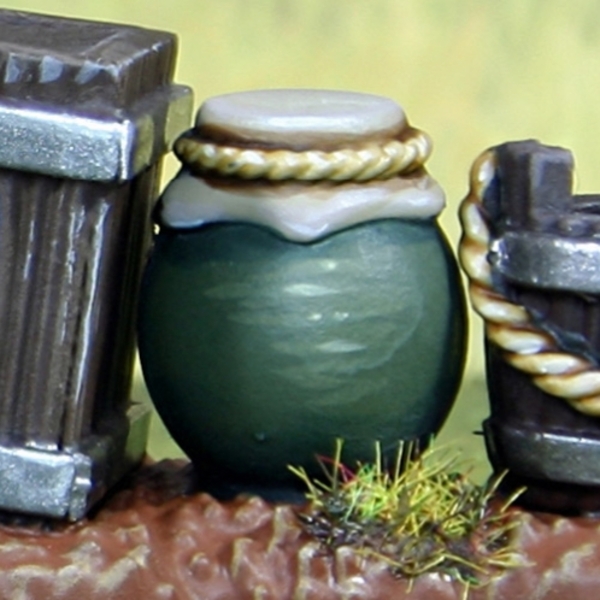 Green Pottery
- Basecoat with Castellan Green .
- Add shading with Nocturne Green .
- Highlight with Deathworld Forest .
- Add finer highlights with Death Guard Green .
- Finish with selective highlights of Krieg Khaki .
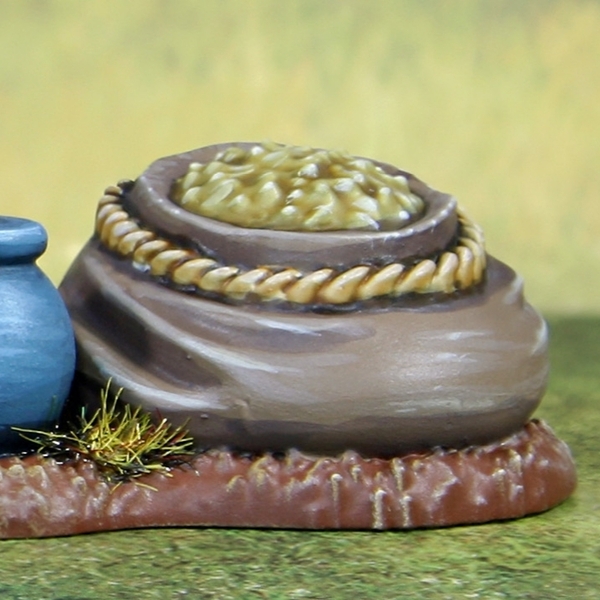
 Corn
Corn
- Basecoat with Ogryn Camo .
- Wash with 1:1 Athonian Camoshade and Seraphim Sepia .
- Highlight raised details with 1:1 Ogryn Camo and Screaming Skull .
- Finish with specular highlight with Screaming Skull .
(1).jpg) Carrots
Carrots
- Basecoat with Skrag Brown .
- Seperate carrots and add fine lines recess shading across the carrot, using Mournfang Brown .
- Apply chunky highlights of Troll Slayer Orange . I applied these in lines, only on raised areas, pulling my brush towards the centre.
- Mix your Troll Slayer Orange 1:1 with Screaming Skull , then repeat the above step, but covering a smaller area and focusing toward "edges" next to the recesses.
- Finish with small highlights of 1:2 Troll Slayer Orange and Screaming Skull .
.jpg) Cabbages
Cabbages
- Basecoat with Skarsnik Green .
- Thin down some Loren Forest with a lot of medium or water, now wash the cabbages.
- Seperate the cabbages and shade a few select recesses with Castellan Green .
- Highlight edges with 1:1 Skarsnik Green and Screaming Skull .
- Add small highlights of Screaming Skull on particularly exposed details.
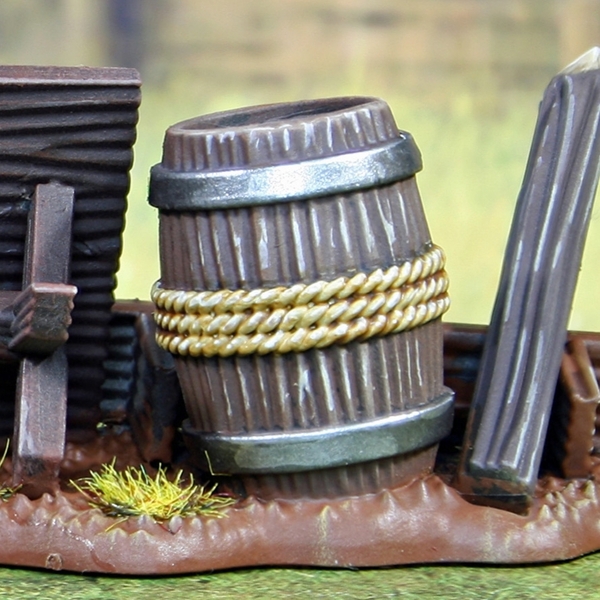 Rope
Rope
- Basecoat with Ushabti Bone .
- Wash with Skeleton Horde .
- Finish with selective Screaming Skull highlights.
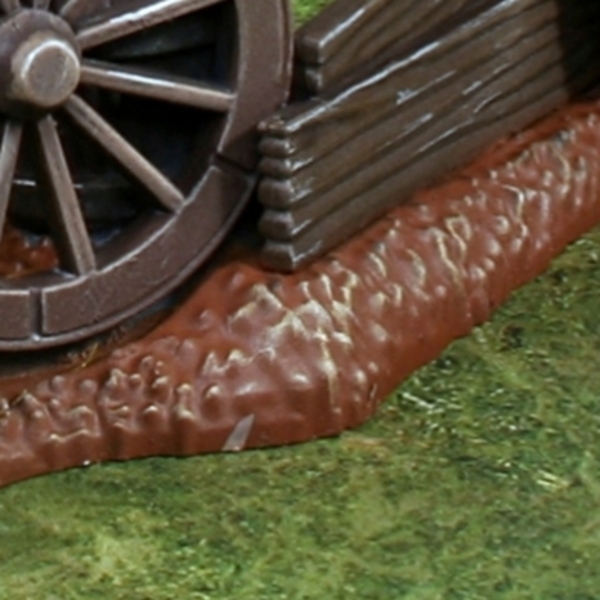 Ground
- Basecoat with Mournfang Brown .
- Drybrush with Zamesi Desert .
- Light Drybrush of Ushabti Bone .
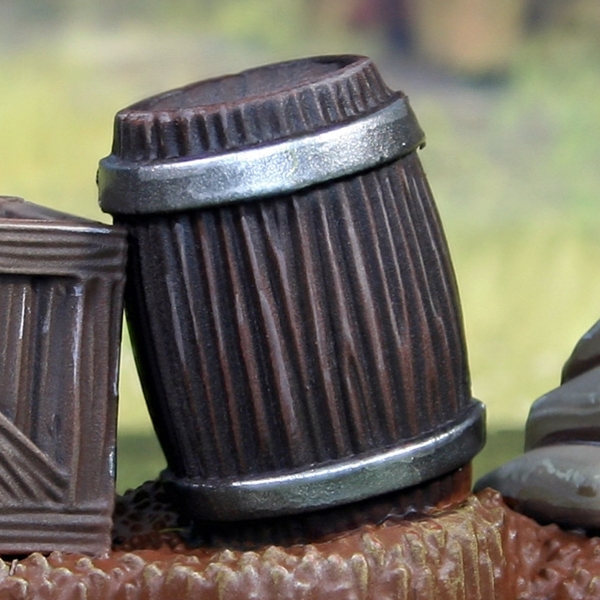 Steel
Steel
- Basecoat with Burnt Iron
- Glaze in highlights and edge highlight with a mix of Burnt Iron and a little Silver RLM01 Metallic .
- Finish with selective Silver RLM01 Metallic highlights.
I used Vallejo Metal Color/Model Air for this element, but you could definitely use the traditional Leadbelcher , Ironbreaker and Stormhost Silver if you wanted. I just prefer the finish of Metal Color paints.

Rookie Brushes
RookieBrushes
Aspiring miniature painter and biscuit enthusiast. Here to share my hobby and help where I can.
Citadel Painting System 46
Base 15
- Abaddon Black
- Castellan Green
- Death Guard Green
- Deathworld Forest
- Dryad Bark
- Khorne Red
- Leadbelcher
- Mournfang Brown
- Nocturne Green
- Rakarth Flesh
- Rhinox Hide
- Steel Legion Drab
- Thondia Brown
- Wraithbone
- XV-88
Shade 4
- Athonian Camoshade
- Nuln Oil
- Reikland Fleshshade
- Seraphim Sepia
Layer 25
- Administratum Grey
- Balor Brown
- Baneblade Brown
- Blue Horror
- Dark Reaper
- Doombull Brown
- Fenrisian Grey
- Gorthor Brown
- Ironbreaker
- Karak Stone
- Krieg Khaki
- Loren Forest
- Ogryn Camo
- Screaming Skull
- Skarsnik Green
- Skrag Brown
- Squig Orange
- Stormhost Silver
- Tallarn Sand
- Tau Light Ochre
- Thunderhawk Blue
- Troll Slayer Orange
- Ushabti Bone
- Word Bearers Red
- Zamesi Desert
Technical 1
- Lahmian Medium
Contrast 1
- Skeleton Horde
The Army Painter Warpaints Fanatic
Wash 1
- Dark Tone
Vallejo Metal Color
Base 1
- 77.721 Burnt Iron
Vallejo Model Air
Base 1
- 71.063 Silver RLM01 Metallic
Vallejo Model Color
Base 1
- 70.951 White