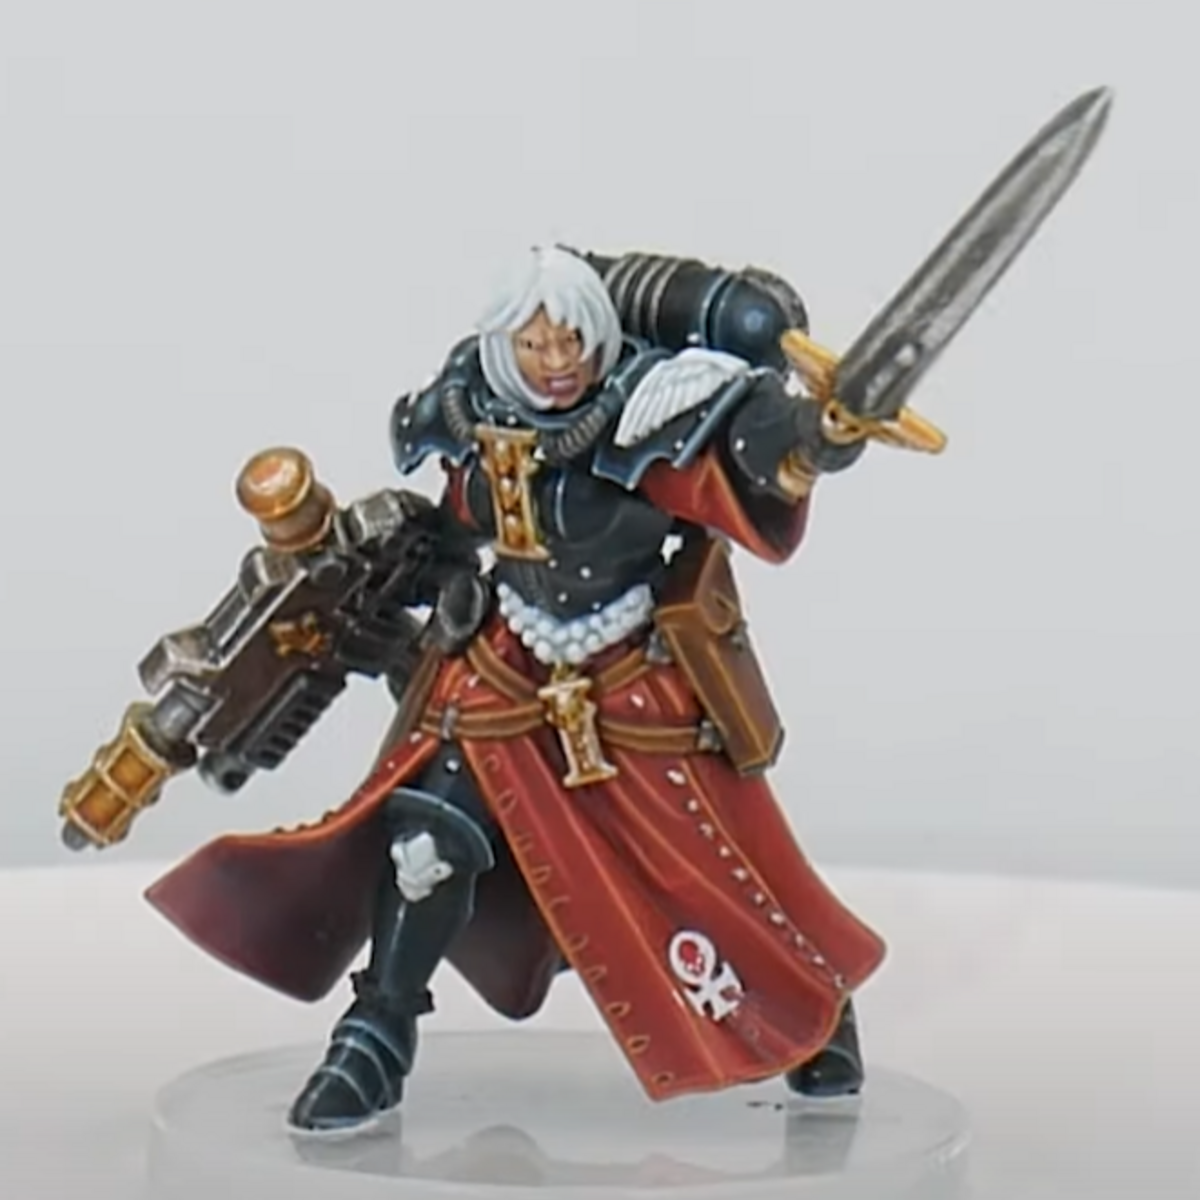

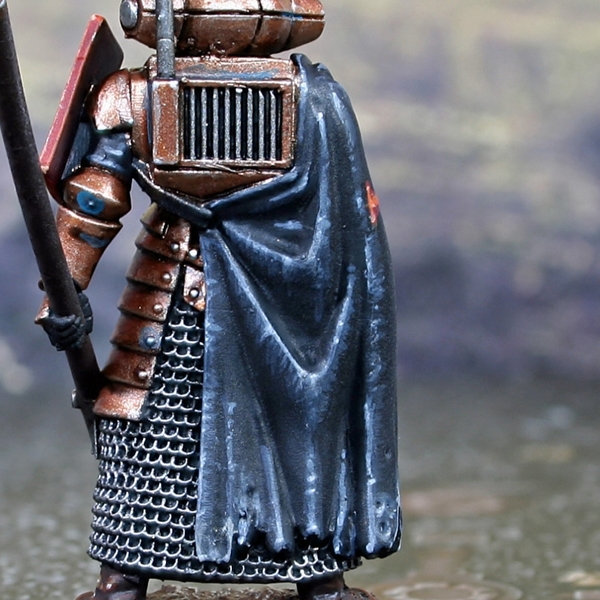
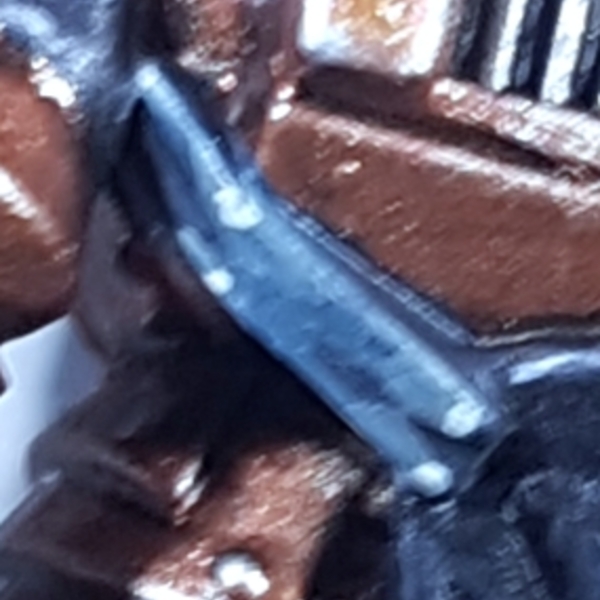
 Black Cloth
- Basecoat with Black .
- Glaze raised surfaces with 1:1 Black and Dark Reaper .
- Add chunky highlights with Dark Reaper . These are best applied as a series of lines to add texture.
- Mix your Dark Reaper 1:1 with Administratum Grey and repeat the above, but more selectively. This time apply as fine edge highlights along hard edges too.
- Selectively highlight with pure Administratum Grey .
- Mix your Administratum Grey 1:1 with White and add specular highlights where needed.
While highlighting this cloth, it can be easy to overdo it and have them look too stark. if this happens, thin the initial mix of Black and Dark Reaper and knock back the highlights by glazing over them again. I did this two times on the model pictured, until I was happy.
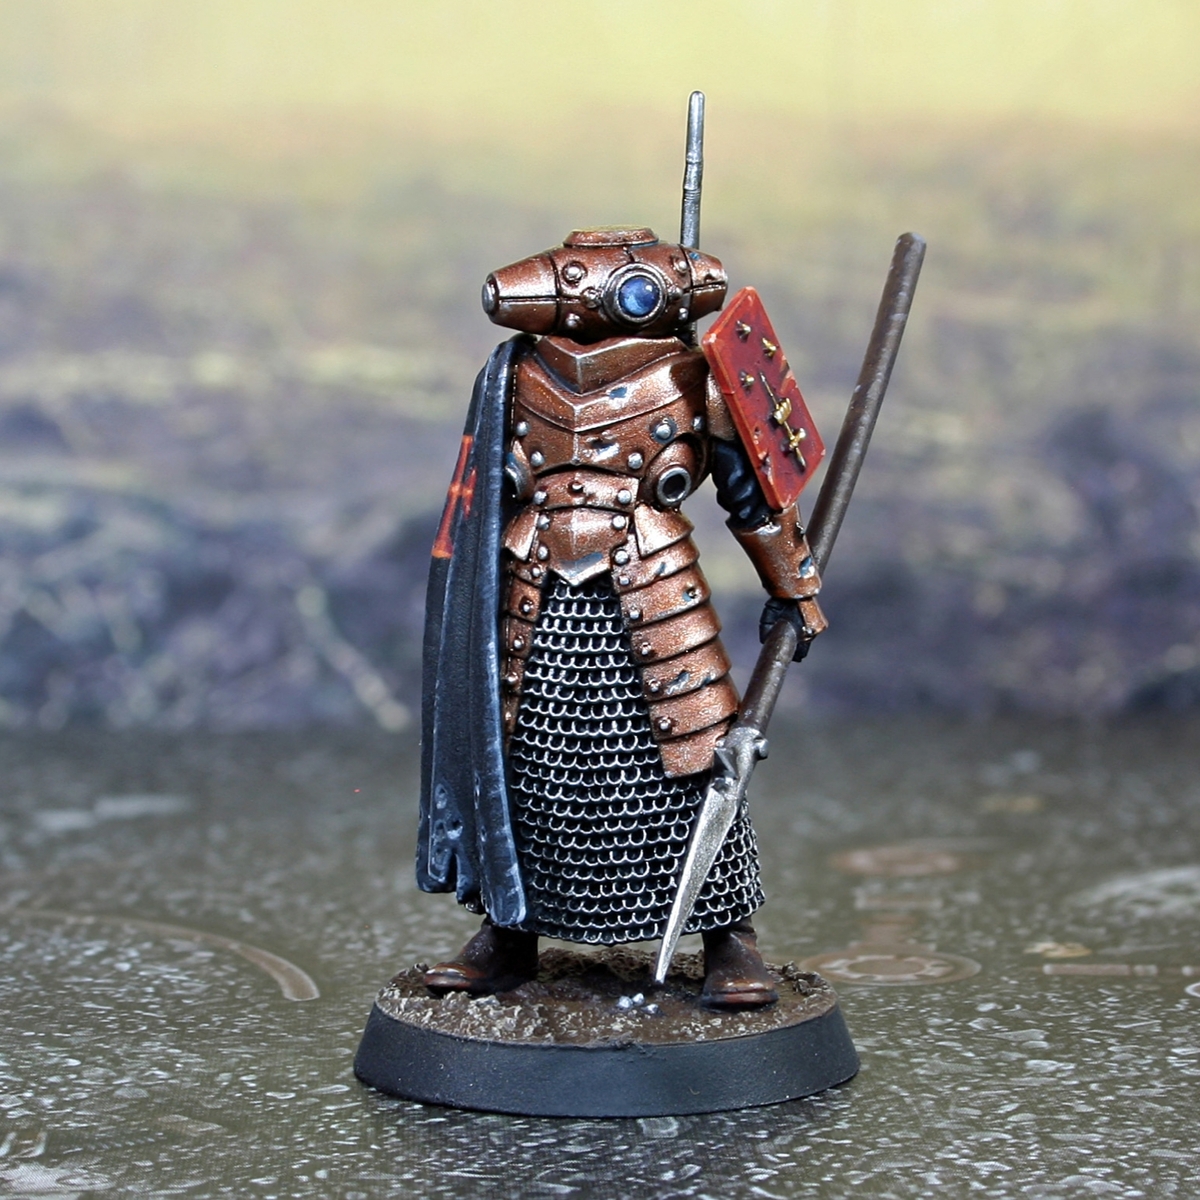
 Red Armour
- Basecoat with Khorne Red .
- Shade around the raised details and on the underside of the shield. For this, I used 1:1 Khorne Red and Abaddon Black .
- Apply chunky highlights of Evil Sunz Scarlet .
- Now add fine edge highlights using Troll Slayer Orange .
- Mix some Ice Yellow into your Troll Slayer Orange and add selective highlights.
 Gold Details
- Basecoat with Retributor Armour .
- Add a little Silver RLM01 Metallic to the Retributor Armour , then add highlights.
- Finish with specular highlights of pure Silver RLM01 Metallic . where needed.
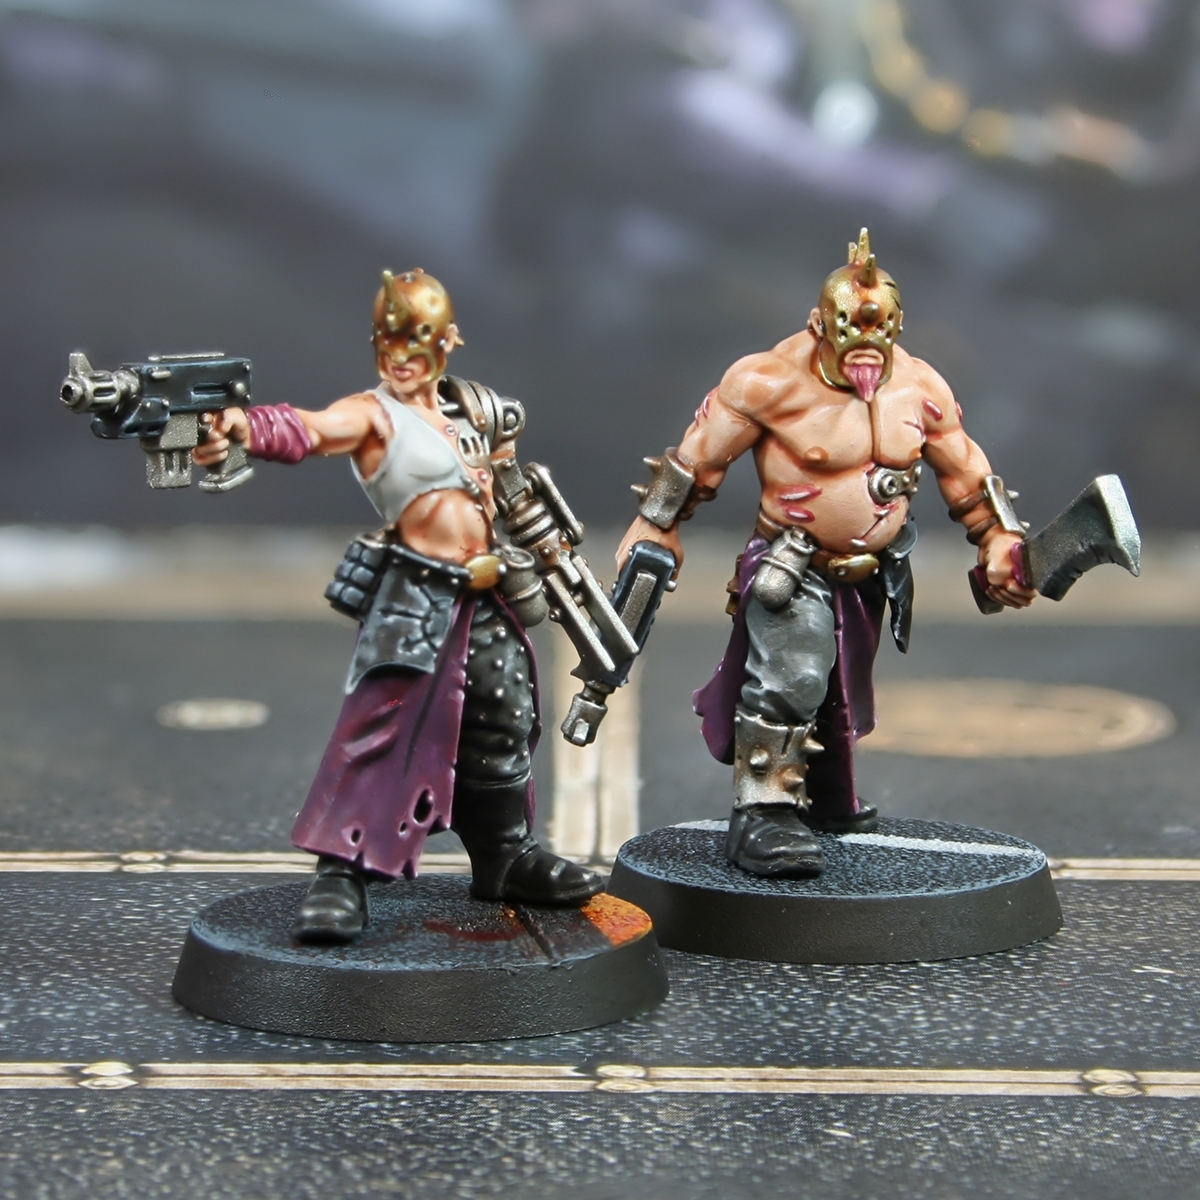
 Leather Strap
- Basecoat with Incubi Darkness .
- Shade with a 1:1 mix of Incubi Darkness and Abaddon Black .
- With 1:1 Incubi Darkness and Karak Stone , add highlights.
- Increase the amount of Karak Stone in the above mix to roughly 1:2 then selectively highlight.
- Finish with specular highlights of 1:1 Karak Stone and White .
Dark Brown Leather
- Basecoat with Rhinox Hide .
- Edge highlight with Doombull Brown , making them a little chunkier on corners and exposed areas.
- Selectively highlight with XV-88 on corners and exposed edges.
- Finish with specular highlights of Screaming Skull , where needed.
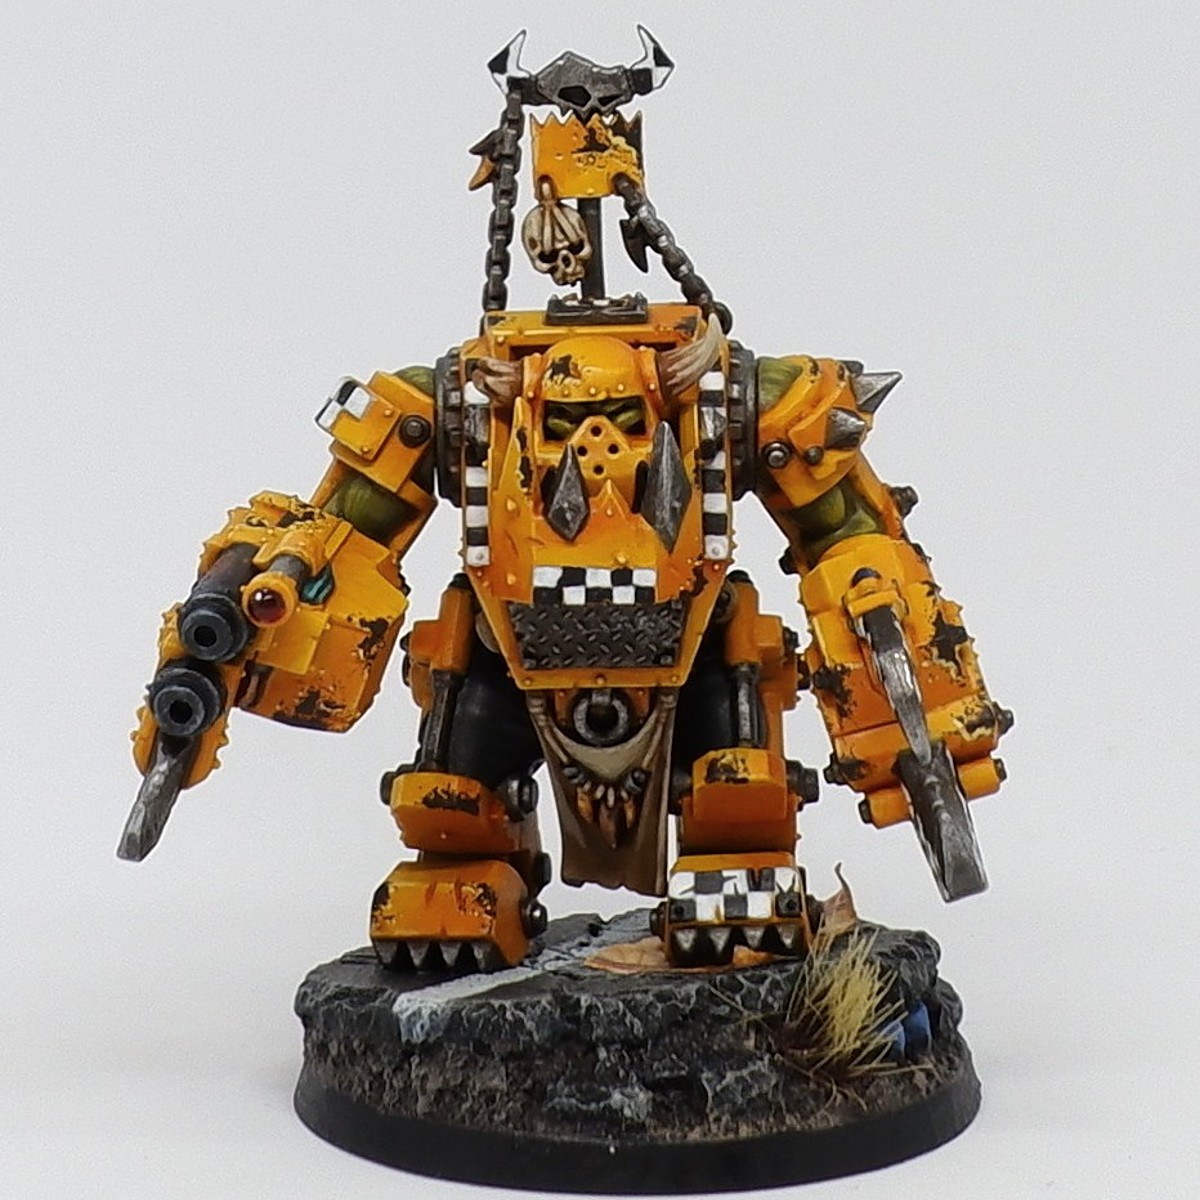
 Wooden Shaft
- Basecoat with Rhinox Hide .
- Highlight with Thondia Brown .
- Add fine highlights of 2:1 Thondia Brown and Steel Legion Drab .
- Selectively highlight with an equal parts mix of the above paint and Administratum Grey .
- Finish with a few specular highlights of Administratum Grey .
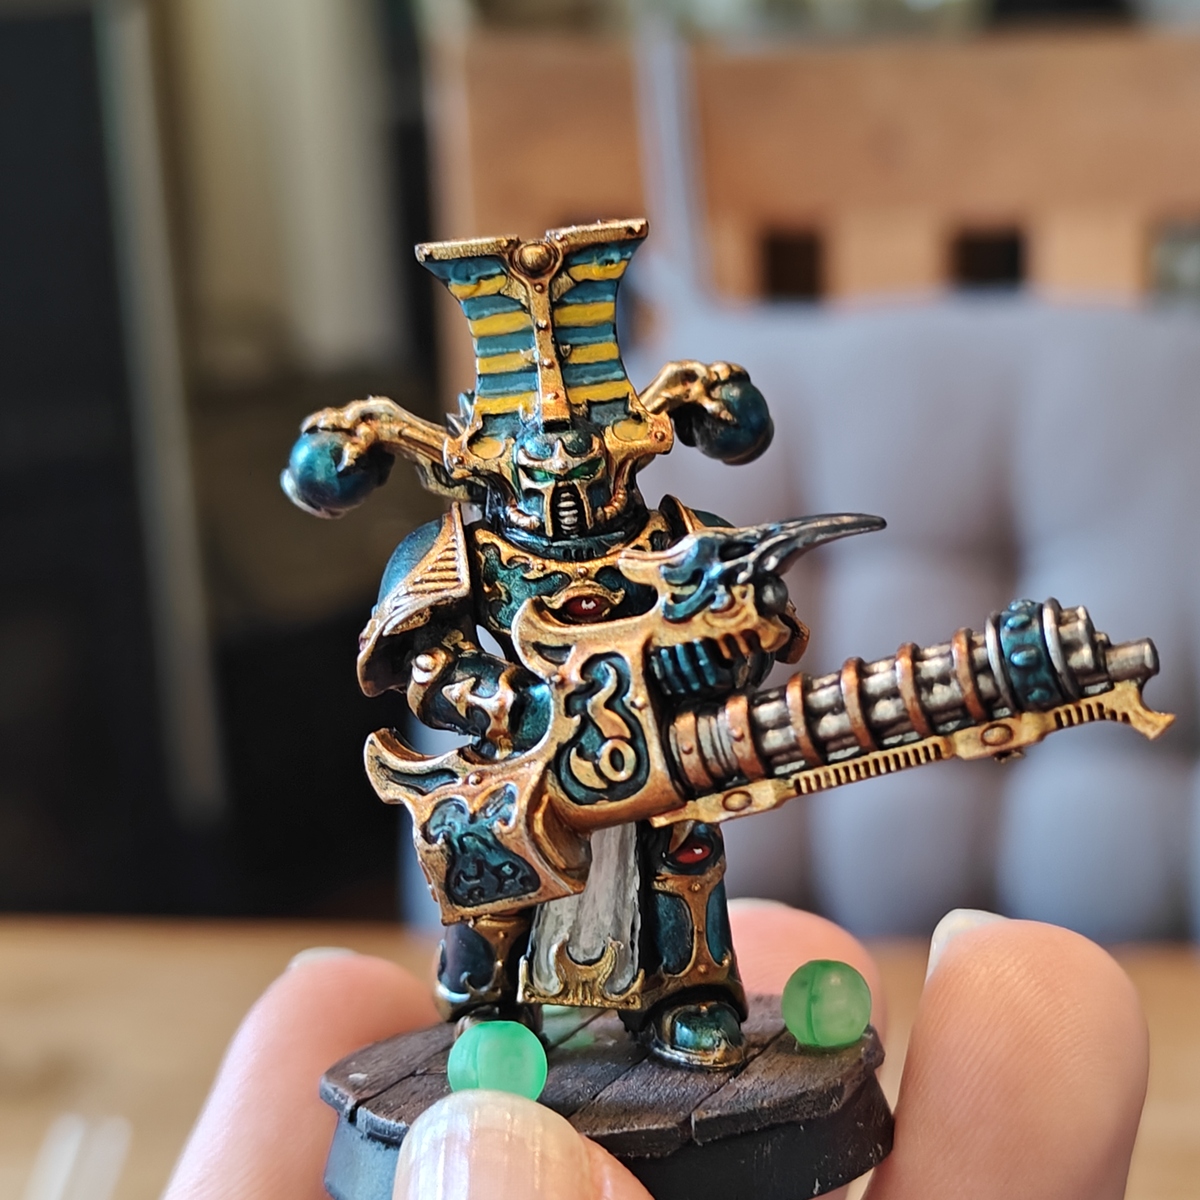
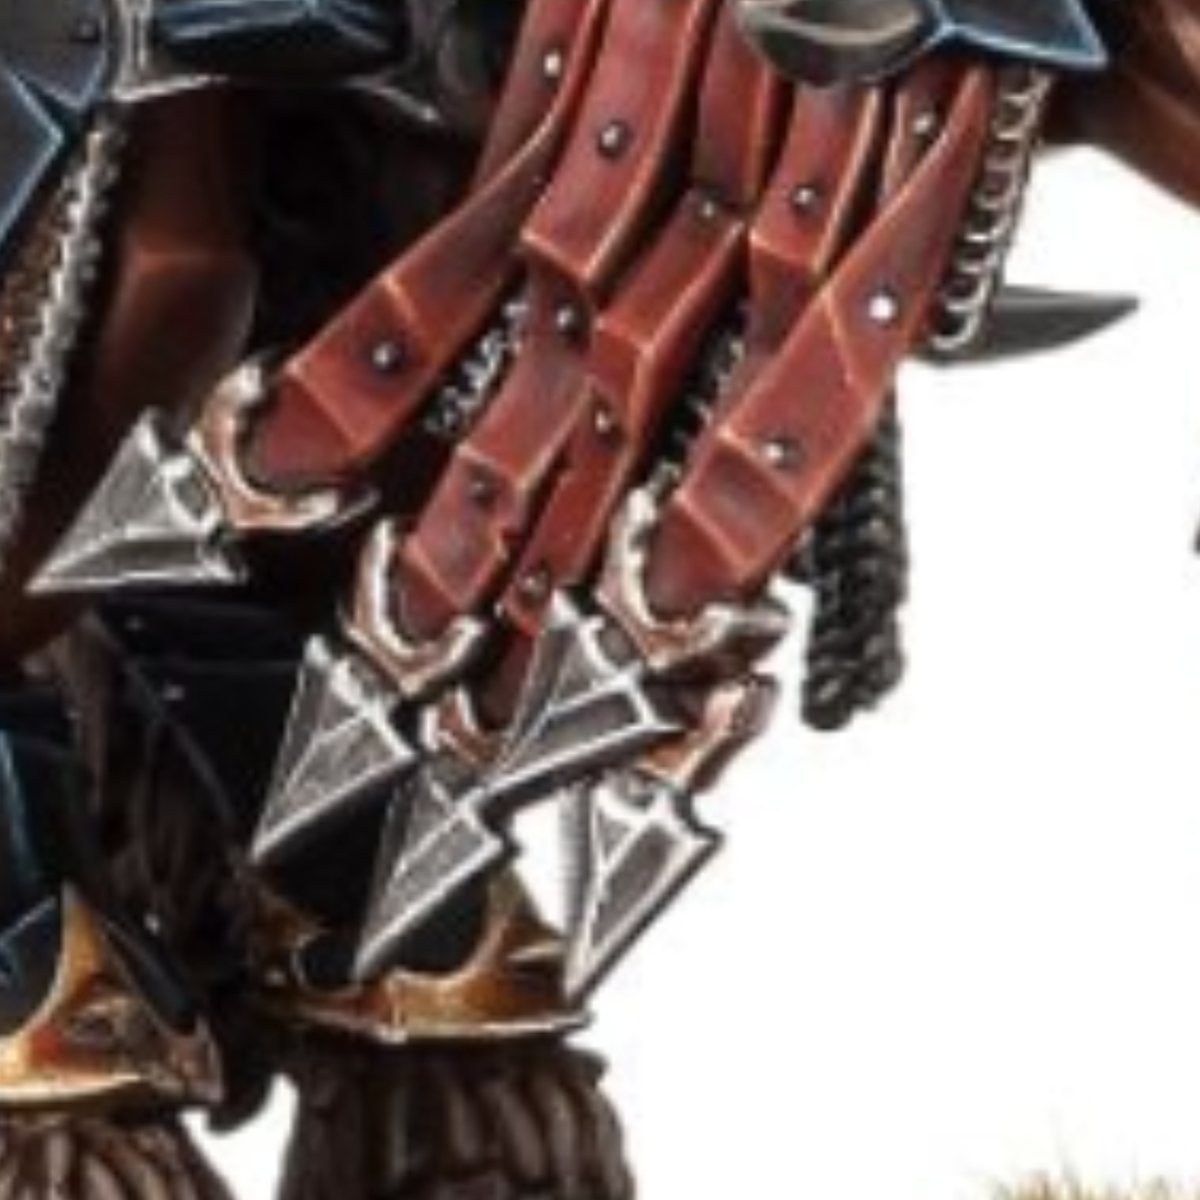
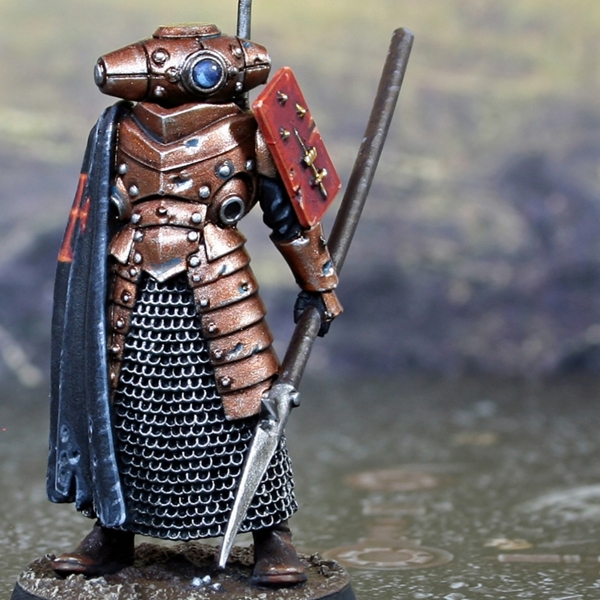
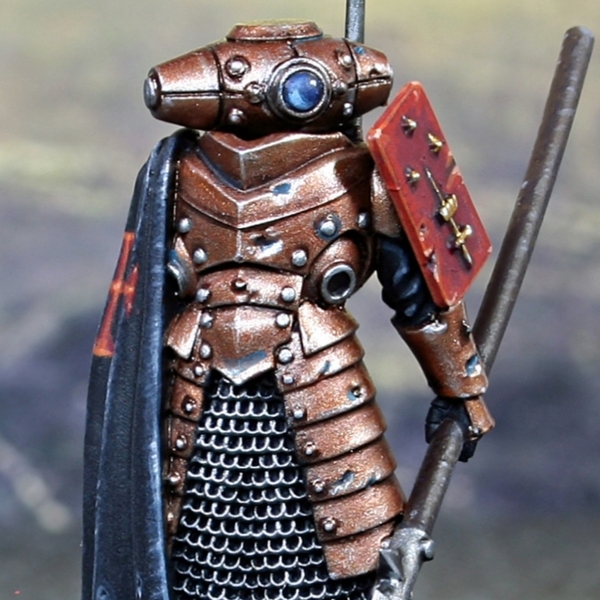 Brass Armour
- Basecoat with Balthasar Gold .
- Add gereal shading with glazes of Reikland Fleshshade .
- Deep shade the receses with thin lines of Warplock Bronze or just another dark brown paint.
- Add chunky highlights of Hashut Copper .
- Edge highlight with 1:1 Hashut Copper and Silver RLM01 Metallic .
- Finish with :selective highlights of pure Silver RLM01 Metallic .
There is some nice sculpted battle damage on this mini. Consider thinning down some Sotek Green and carefully flooding chips and dents. You may even want to glaze small amounts into a few recesses to show wear.
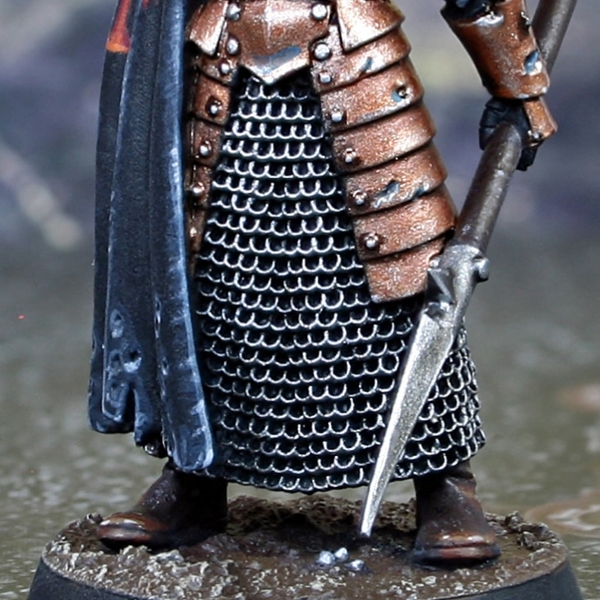 Chainmail
- Basecoat with Black .
- Overbrush with Leadbelcher , just to pick out the ringlets.
- Enhance witha lighter overbrush of Silver RLM01 Metallic , to add occational glints.
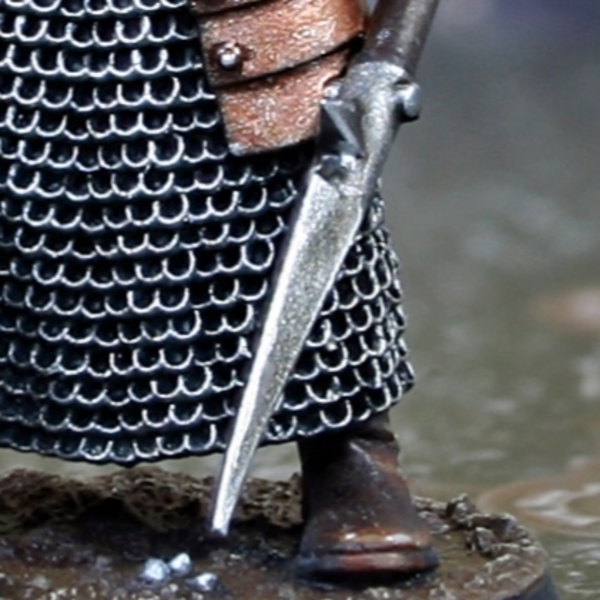 Steel
Steel
- Basecoat with Leadbelcher .
- Wash with Nuln Oil .
- Highlight with Ironbreaker .
- Selectively highlight with Silver RLM01 Metallic .
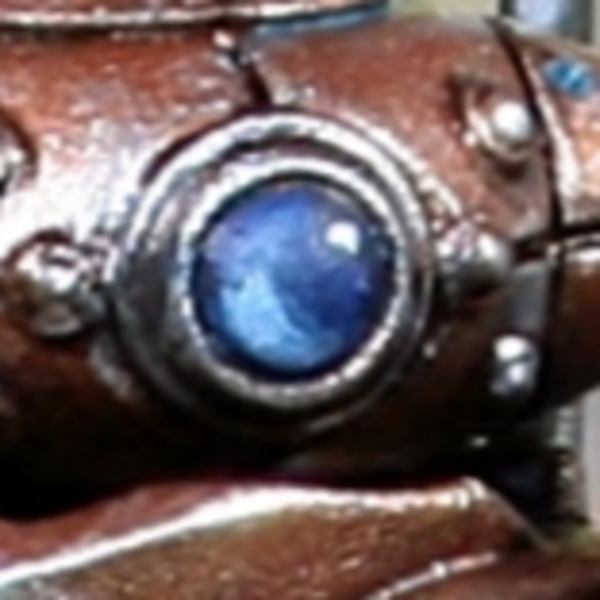 Blue Lens
- Basecoat with Kantor Blue .
- Mix some Russ Grey into your Kantor Blue and paint the lower left or right portion, leaving enough room for reducing its size 2 or 3 more times.
- Paint a smaller area with pure Russ Grey .
- Add some White to your Russ Grey in a 1:2 ratio and paint an even smaller patch, working further into your chosen side.
- If you have enough room, paint an even smaller patch with pure Russ Grey and White mixed 2:1.
- With the size of this lens, consider mixing some Abaddon Black into your Kantor Blue and painting a patch on the exact opposite side, leaving a swath of pure Kantor Blue exposed.
- Finally, add a dot of White on the same side as the black, mirroring your brightest light blue highlight. Keep this tucked close to the edge, to prevent it looking too much like a gem.

Rookie Brushes
RookieBrushes
Aspiring miniature painter and biscuit enthusiast. Here to share my hobby and help where I can.
Citadel Painting System 25
Base 12
- Abaddon Black
- Balthasar Gold
- Incubi Darkness
- Kantor Blue
- Khorne Red
- Leadbelcher
- Retributor Armour
- Rhinox Hide
- Steel Legion Drab
- Thondia Brown
- Warplock Bronze
- XV-88
Shade 2
- Nuln Oil
- Reikland Fleshshade
Layer 11
- Administratum Grey
- Dark Reaper
- Doombull Brown
- Evil Sunz Scarlet
- Hashut Copper
- Ironbreaker
- Karak Stone
- Russ Grey
- Screaming Skull
- Sotek Green
- Troll Slayer Orange
Vallejo Model Air
Base 1
- 71.063 Silver RLM01 Metallic
Vallejo Model Color
Base 3
- 70.858 Ice Yellow
- 70.950 Black
- 70.951 White