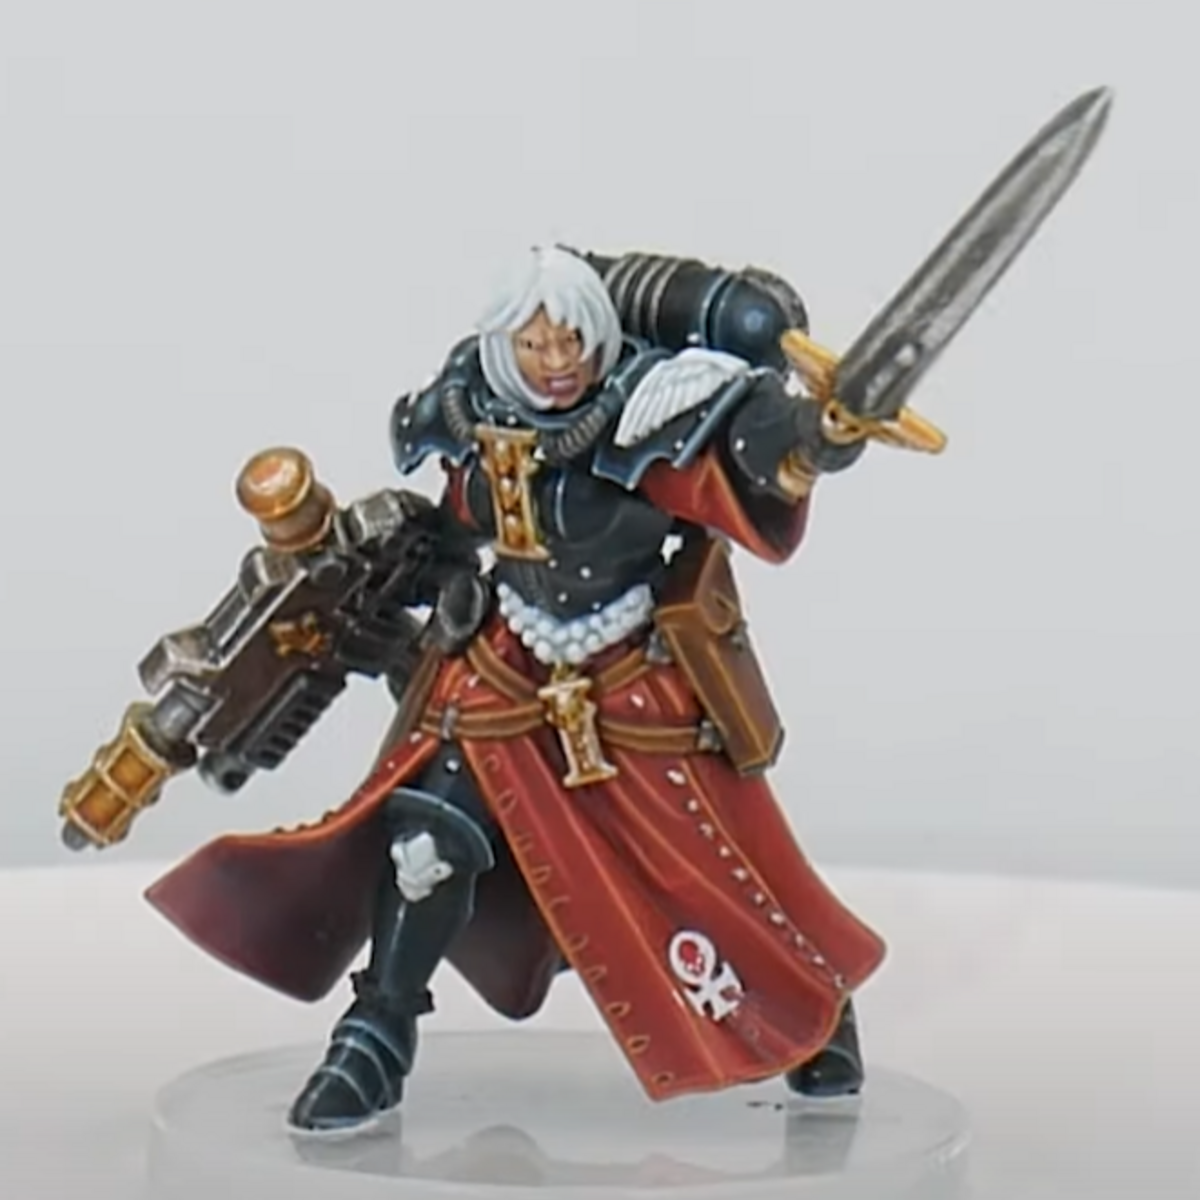
Here is how I painted my copy of this exclusive miniature from the "Wars of the Samurai" supplement for Pike & Shotte. Such a fantastic sculpt.
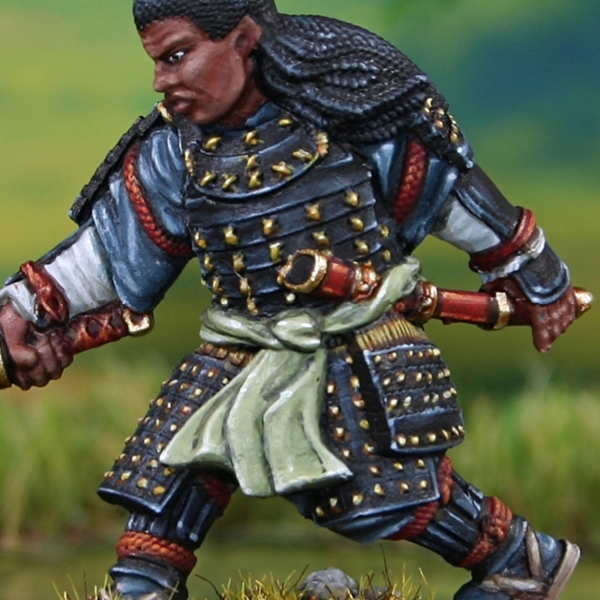
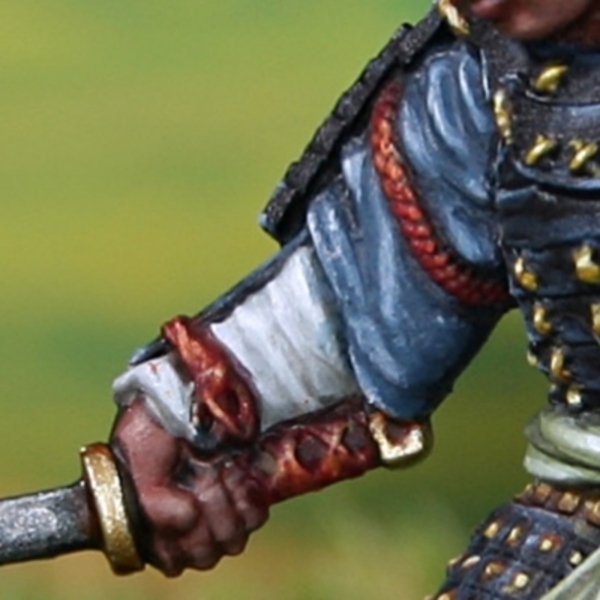
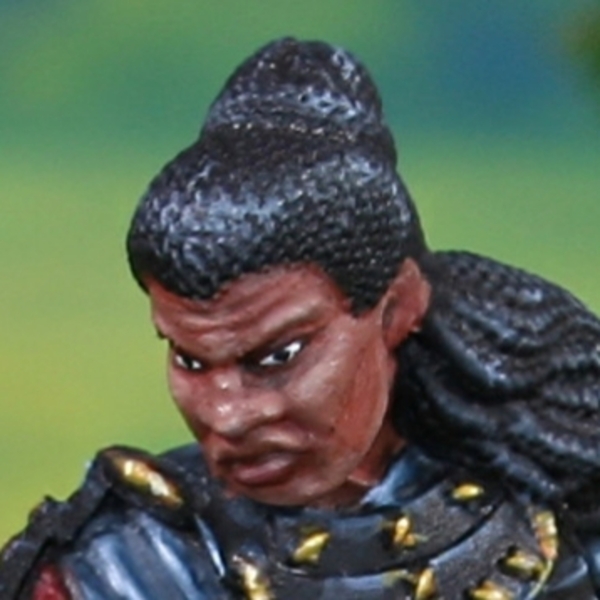 Dark Skin
- Basecoat with 3:1 Gorthor Brown and Wild Rider Red .
- Add general shading with Doombull Brown .
- More carefully shade deep recesses with 1:1 Doombull Brown and Abaddon Black .
- Add some highlights with 2:1 mix of the basecoat and Ushabti Bone .
- Highlight more selectively. For this, increase the amount of Ushabti Bone in the mix, so there is more of it than the base colour. Roughly 1:2 now.
- Finish with a few very small highlights with pure Ushabti Bone .
For the eye, I pick out the eyeball with Ulthuan Grey . Then add a dot of Black for the pupil.
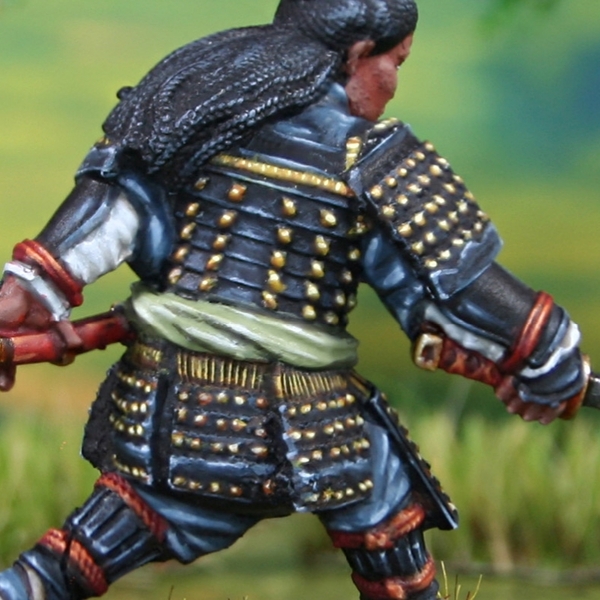
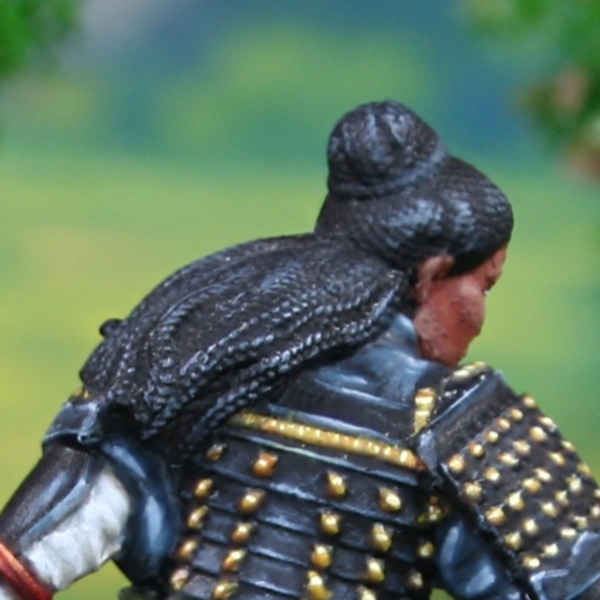 Black Hair
- Basecoat with Black .
- Overbrush with a 1:1 mix of Black and Kantor Blue .
- Mix a little Sybarite Green into the above paint, then carefully pick out raised portions. You might need to do a couple of passes, increasing the amount of Sybarite Green a little.
- Like the above, cover a smaller area with the above mix, plus a little Fenrisian Grey . Again, dont be afraid to do this a couple of times, with more Fenrisian Grey and covering a smaller area.
- If you have gone overboard and the hair no longer reads as black, simply shade recesses around or glaze over these portions with some very thin Black . It is very easy to do, and I needed to redefine recesses, even with exceptional case.
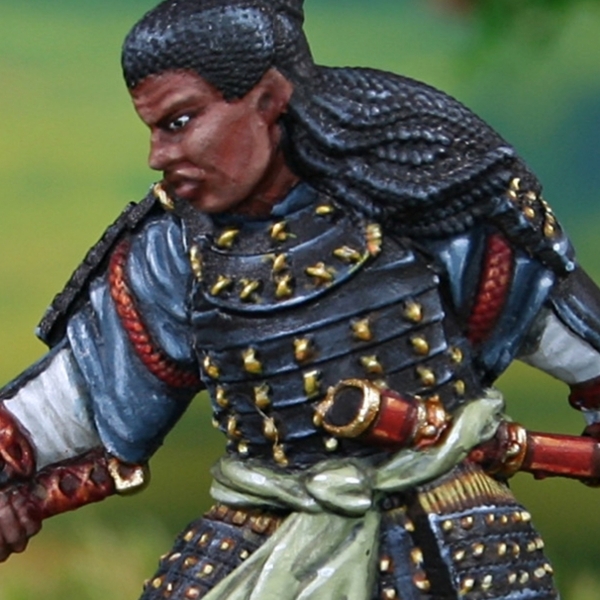 Dark Blue Cloth
- Basecoat with Dark Reaper .
- Add chunky highlights to folds with 1:1 Thunderhawk Blue .
- Apply fine highlights with Fenrisian Grey .
- Selectively highlight with Blue Horror .
- Finish off with a few specular Ulthuan Grey highlights.
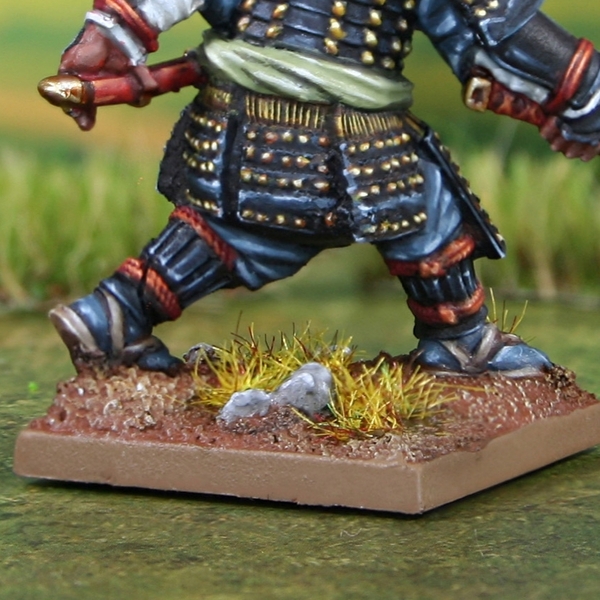 Sandles
- Basecoat with Steel Legion Drab .
- Shade with Rhinox Hide .
- Apply chunky highlights of Baneblade Brown .
- Add fine highlights of Karak Stone
- Finish with selective highlights of 1;1 Karak Stone and White .
 Black Armour
- Basecoat with Black .
- Add chunky highlights of Dark Reaper .
- Edge highlight everything with fine lines of Thunderhawk Blue
- Selectively highlight corners and curves with Fenrisian Grey .
- Finish with a few specular Blue Horror highlights
 Yellow Stitching
- Basecoat with 1:1 Rhinox Hide and Balor Brown .
- Highlights with Balor Brown .
- Carefully apply a finer highlight with 1:1 Balor Brown and Flash Gitz Yellow .
- Finish with very small/specular highlight of Ice Yellow .
This stitching is very small and it can be easy to have some look very stark, even with very small highlights. if your stitching doesn't read as being a "warm" enough yellow, consider glazing with Skrag Brown , then re-applying the last two highlights.
 White Cloth
- Basecoat with Corax White .
- Shade recesses with some thinned Administratum Grey .
- Shade deep recesses with Stormvermin Fur .
- Finish with edge highlights of White .
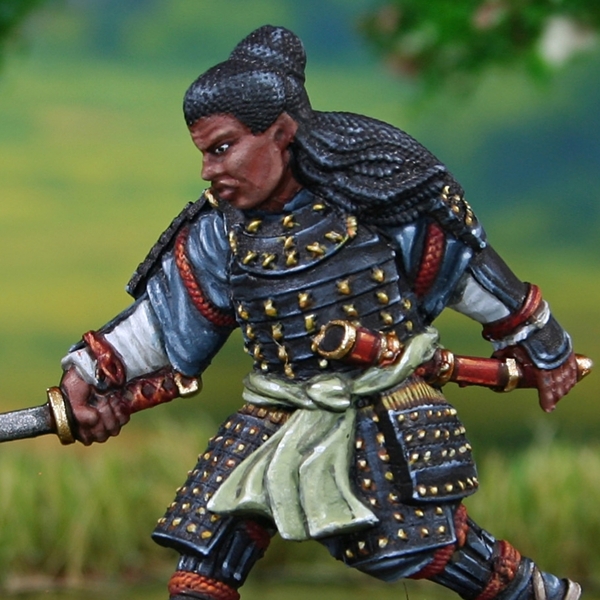
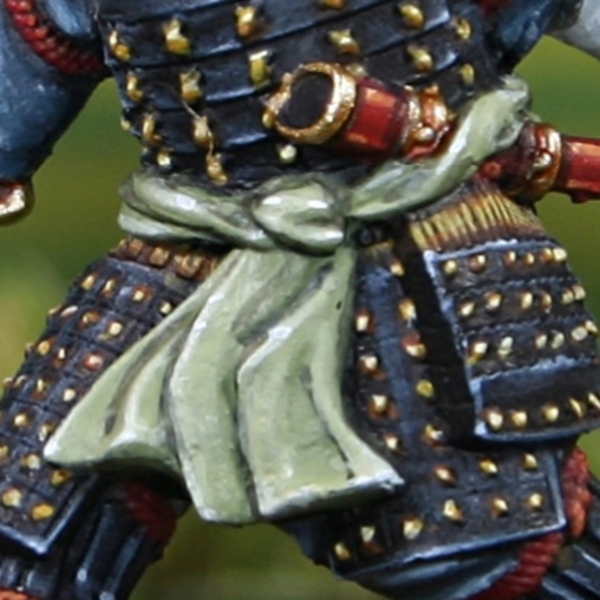 Light Green Cloth
- Basecoat with Nurgling Green .
- Shade recesses with some thin Straken Green .
- Add some Black to your Straken Green . Then shade the particularly deep parts, and all along where the cloth meets other materials.
- Edge highlight with 1:1 Nurgling Green and Screaming Skull .
- Mix a little White into the above paint, then selectively edge highlight.
- Finish with a few specular highlights with pure White .
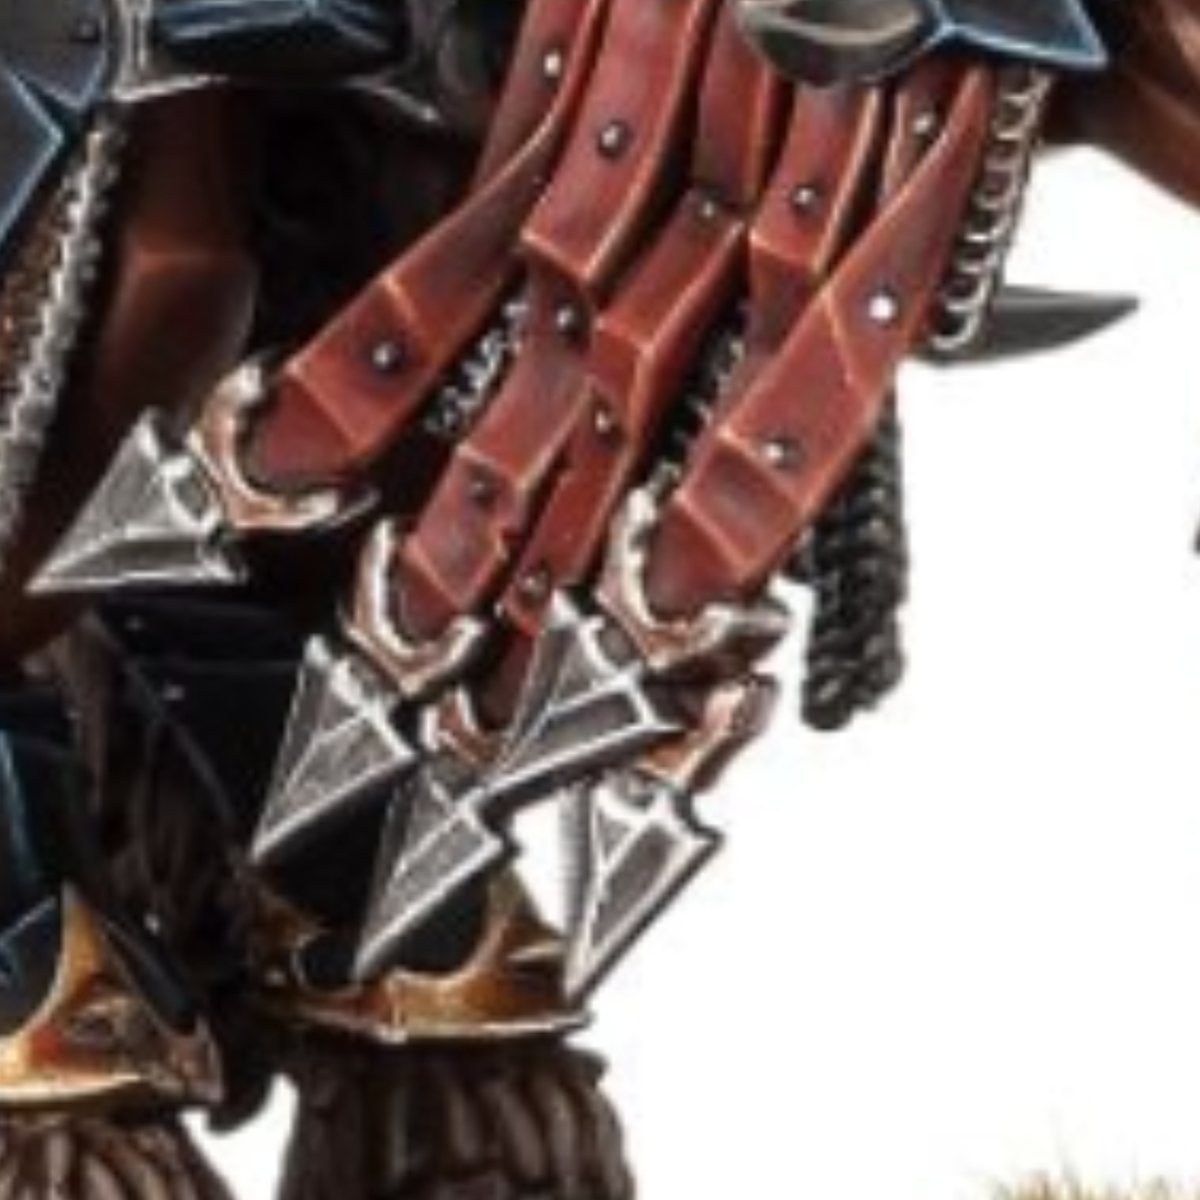
 Red Rope
- Basecoat with Khorne Red .
- Overbrush with Evil Sunz Scarlet , pulling your brush towards the areas that you with later establish highlights.
- Highlight with Troll Slayer Orange , building on the previous stage, coverring a smaller area.
- Selectively highlight with Fire Dragon Bright .
- Mix a little White into your Fire Dragon Bright , then applt small highlights.
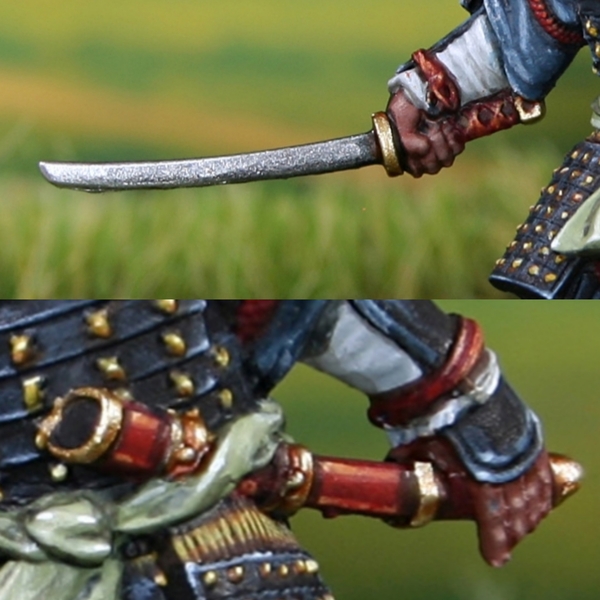
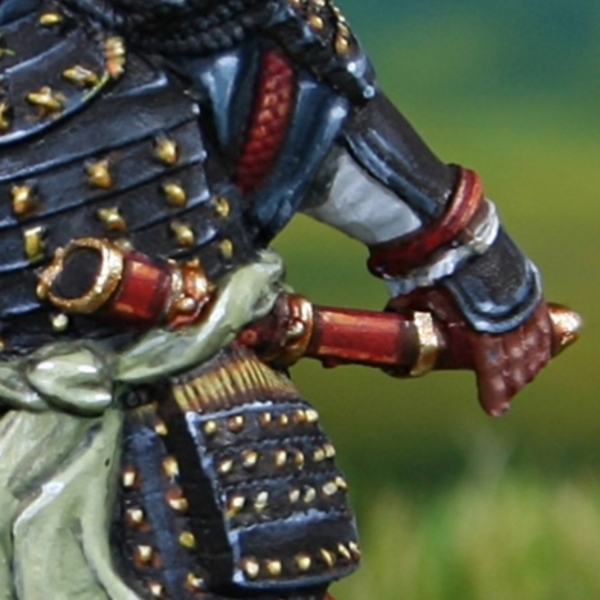 Red Saya
- Basecoat with Khorne Red , ideally while painting the above material.
- Build volumes, by highlighting the majority of the surface with Evil Sunz Scarlet . This should be applied as very chunky highlights towards the top and as a relavively fine highlight on the bottom edge. Avoid recesses completely at this point.
- Add chunky highlights with Wild Rider Red , within the previous stage.
- Now add finer highlights with Jokaero Orange .
- Selectively highlight with smaller amounts of Tau Light Ochre .
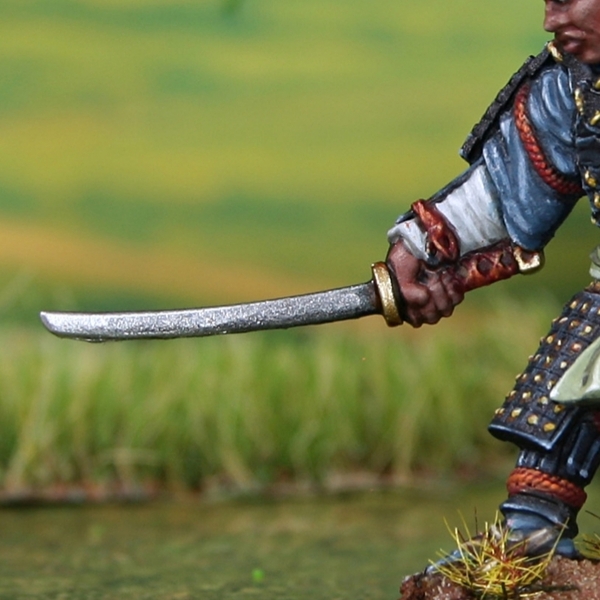 Katana Blade
- Basecoat with Steel .
- Shade with a few glazes of Gryph-charger Grey , then add a little Black and shade more selectively.
- Mix a little Silver RLM01 Metallic into your Steel and highlight. Add it in as gradually as you like, and do this in as many passes as you need.
- Finish with edge highlights of Silver RLM01 Metallic , and a small highlight towards the tip.
 Gold Trim
- Mix a little Silver RLM01 Metallic into Retributor Armour , until you see the colour desaturate to a point when you are happy. Now basecoat all gold details.
- Wash/recess shade with Reikland Fleshshade , where needed.
- Where you want to emphasize deep recesses or a define a change in material, use some Rhinox Hide and a very fine brush. We are aiming for a fine line here.
- Increase the amount of Silver RLM01 Metallic in your Retributor Armour and highlight.
- Finish with some specular highlights of Silver RLM01 Metallic .

Rookie Brushes
RookieBrushes
Aspiring miniature painter and biscuit enthusiast. Here to share my hobby and help where I can.
Citadel Painting System 34
Base 8
- Abaddon Black
- Corax White
- Jokaero Orange
- Kantor Blue
- Khorne Red
- Retributor Armour
- Rhinox Hide
- Steel Legion Drab
Shade 1
- Reikland Fleshshade
Layer 24
- Administratum Grey
- Balor Brown
- Baneblade Brown
- Blue Horror
- Dark Reaper
- Doombull Brown
- Evil Sunz Scarlet
- Fenrisian Grey
- Fire Dragon Bright
- Flash Gitz Yellow
- Gorthor Brown
- Karak Stone
- Nurgling Green
- Screaming Skull
- Skrag Brown
- Stormvermin Fur
- Straken Green
- Sybarite Green
- Tau Light Ochre
- Thunderhawk Blue
- Troll Slayer Orange
- Ulthuan Grey
- Ushabti Bone
- Wild Rider Red
Contrast 1
- Gryph-charger Grey
Vallejo Metal Color
Base 1
- 77.712 Steel
Vallejo Model Air
Base 1
- 71.063 Silver RLM01 Metallic
Vallejo Model Color
Base 3
- 70.858 Ice Yellow
- 70.950 Black
- 70.951 White