.jpg)
Crusader: Order of Holy Sepulchre of Jerusalem

My interpretation of this famous crusader order. The decals come courtesy of the fine people at forgottenchapters.eu and their "Crusader Orders V3" sheet.
.jpg) Skin
Skin
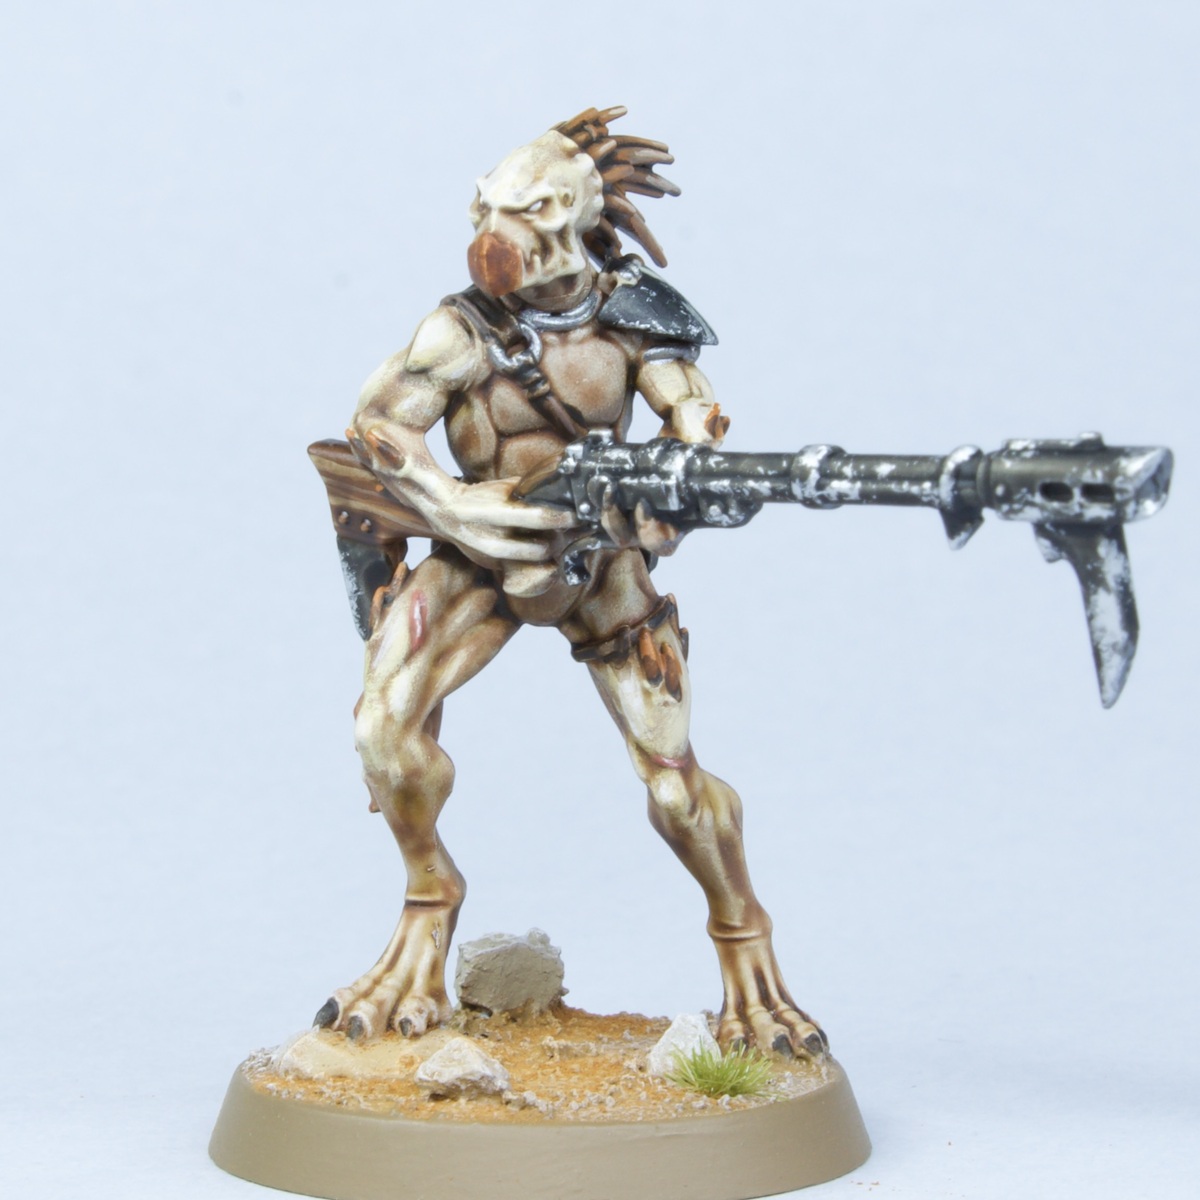
- Basecoat the skin with 4 parts Cadian Fleshtone , 4 parts Ushabti Bone and 1 of White . This sounds more complicated than it is, but its just an equal parts mix of two paints and a touch of white. Feel free to wing it.
- Take a little of the base colour and mix it 3:1 with Doombull Brown . Use this colour to add soft shading to the skin.
- Add more select shading with 5:1 Doombull Brown and Abaddon Black .
- Take a little of the base colour and mix it 2:1 with White . Use this colour to add highlights to the skin.
- Now mix the base colour 1:1 with White and add selective highlights.
(1).jpg) White Cloth
White Cloth
- Basecoat with 1:1 Celestra Grey and White .
- Mix your base colour 2:1 with Dark Reaper , then add some general shading to the cloth. Thin with a medium of your choice and be quite generous.
- Increase the amount of Dark Reaper in the above paint so it is now 1:2 base colour and Dark Reaper . Use this colour to more selectively shade the cloth.
- Add extra definition with pure Dark Reaper in exceptionally deep recesses or where the cloth meets other materials.
- Mix the original basecolour 1:1 with White , then highlight.
- Finish with pure White highlights.
(1).jpg) Dark Brown Leather
Dark Brown Leather
- Basecoat with Rhinox Hide .
- Add edge highlights to everything and volumetric highlights with Doombull Brown .
- Selectively highlight with XV-88 , using the big highlights from the previous stage as a guide.
- Finish with very small Screaming Skull highlights.
(2).jpg) Wood
Wood
- Basecoat with Thondia Brown .
- Shade with Rhinox Hide .
- Highlight and add woodgrain with a mix of 2:1 Thondia Brown and Steel Legion Drab .
- Take the above paint and mix it 1:1 with Administratum Grey . Now use this for fine highlights.
- Increase the amount of Administratum Grey again, then add selective highlights.
- Finish with a few specular highlights of pure Administratum Grey .
.jpg) Argent (Silver/White) Tincture
Argent (Silver/White) Tincture
- Basecoat with 1:1 Celestra Grey and White .
- Shade with pure Celestra Grey .
- Mix Stormvermin Fur into your Celestra Grey and enhance the shading. Finishsing with pure Stormvermin Fur where needed.
- Mix the original basecolour 1:1 with White , then highlight.
- Finish with pure White highlights.
For the chipping, I added dots and scratches with Dryad Bark , then underline with White .
.jpg) Gules (Red) Tincture
Gules (Red) Tincture
- Basecoat with Mephiston Red .
- Soft shade generously with Khorne Red .
- Apply chunky highlights with Evil Sunz Scarlet .
- Now add fine highlights of Troll Slayer Orange .
- Selectively highlight corners and curves with Fire Dragon Bright .
- Finish with very small/specular highlights of 1:1 Fire Dragon Bright and White
For the chipping, I added dots and scratches with Dryad Bark , then underline with Fire Dragon Bright .
(1).jpg) Chainmail and Steel
Chainmail and Steel
- Basecoat with Leadbelcher .
- Wash with Nuln Oil .
- I also like to enhance the shading in recesses and where areas of steel need separating. For this I typically use glazes of Agrax Earthshade .
- Overbrush and highlight using Ironbreaker .
- Finish with selective highlights of Silver RLM01 Metallic .
(3).jpg) Gold Details
Gold Details
- Basecoat using Retributor Armour .
- Shade selectively with Reikland Fleshshade where there are details or recesses that need more definition.
- Add some Silver RLM01 Metallic to the Retributor Armour , and highlight selectively.
- Finish with a few dots of pure Silver RLM01 Metallic .
(2).jpg) Blade
Blade
- Basecoat with Vallejo Metal Color Silver .
- Glaze shading over half of the blade with Gryph-charger Grey . I would recommend keeping this thin and doing a couple of passes.
- Repeat on the half furthest from the pure silver, creating a rudimental gradient. This time I use Nuln Oil straight from the pot.
- Ensure tall edges are highlighted, where the previous two sets of glazes may have over spilled. For this I like to use Ironbreaker , simply because I find it catches edges easier than Vallejo Metal Color paints.
- Finish with selective highlights of Silver RLM01 Metallic on edges that still have the solid Silver basecoat. Focus more highlights towards the tip.

Rookie Brushes
RookieBrushes
Aspiring miniature painter and biscuit enthusiast. Here to share my hobby and help where I can.
Citadel Painting System 26
Base 11
- Abaddon Black
- Celestra Grey
- Dryad Bark
- Khorne Red
- Leadbelcher
- Mephiston Red
- Retributor Armour
- Rhinox Hide
- Steel Legion Drab
- Thondia Brown
- XV-88
Shade 3
- Agrax Earthshade
- Nuln Oil
- Reikland Fleshshade
Layer 11
- Administratum Grey
- Cadian Fleshtone
- Dark Reaper
- Doombull Brown
- Evil Sunz Scarlet
- Fire Dragon Bright
- Ironbreaker
- Screaming Skull
- Stormvermin Fur
- Troll Slayer Orange
- Ushabti Bone
Contrast 1
- Gryph-charger Grey
Vallejo Metal Color
Base 1
- 77.724 Silver
Vallejo Model Air
Base 1
- 71.063 Silver RLM01 Metallic
Vallejo Model Color
Base 1
- 70.951 White