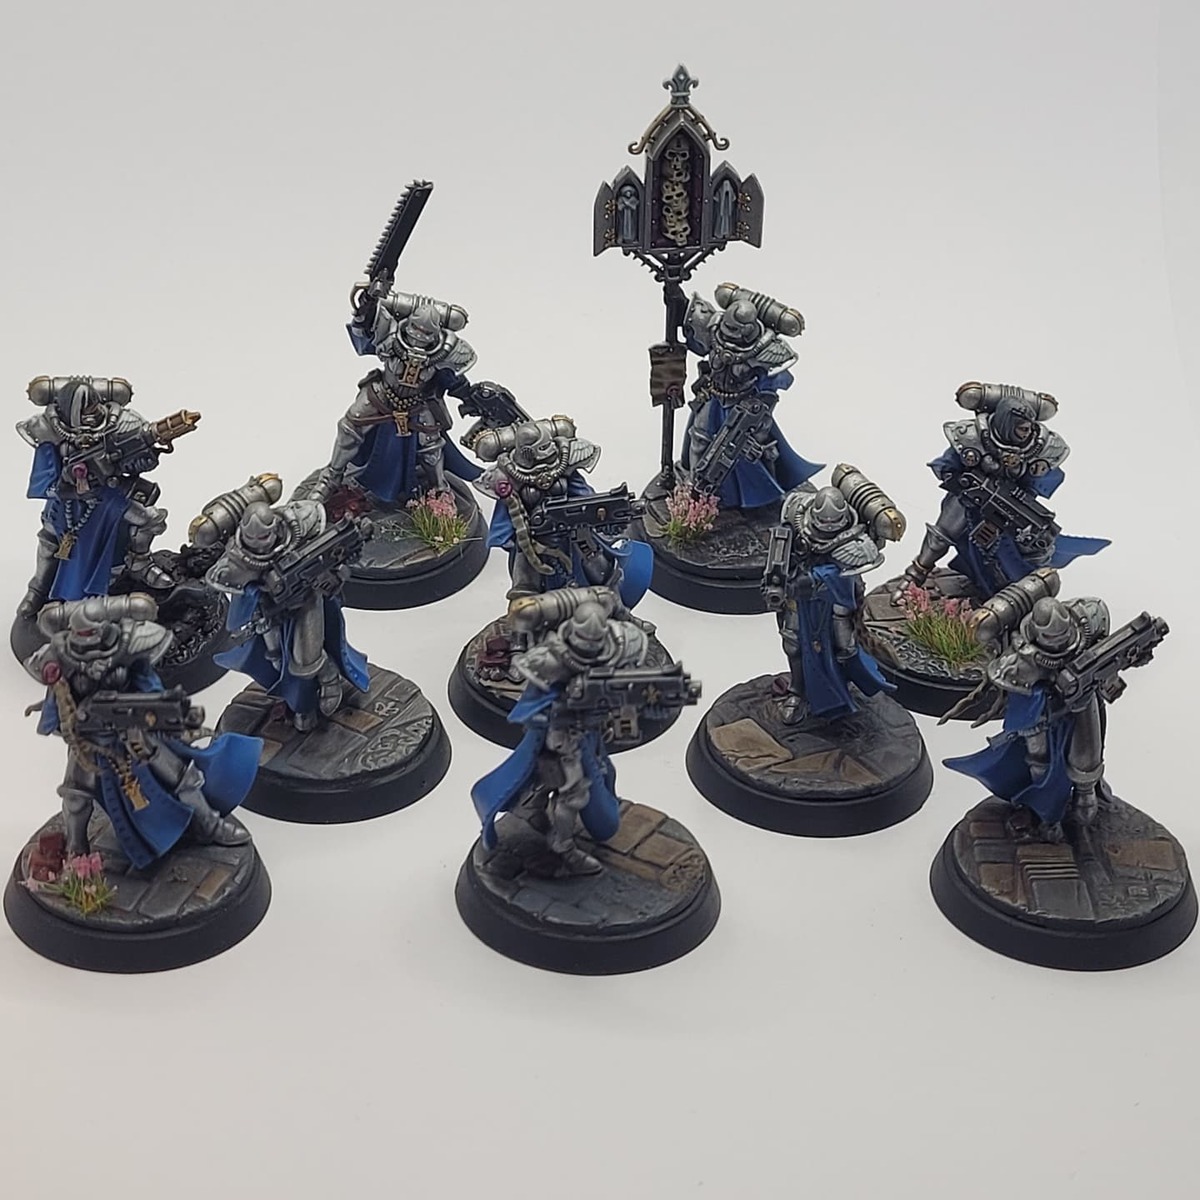
For this I have left the shoulders, backpacks, and weapons as sub-assemblies.
Based on the Cult of Paint method on YouTube, written steps for myself mostly.
- Prime in your favoured black
- Spray Medium Sea Grey at an angle, try to get about 85% coverage, leaving black in the deepest recesses.
- Follow up with a few thin layers of White built up slowly from the direction of the light. Initially you'll probably want a more all-over, angled coverage, then start to build up the areas you want to be lighter.
- If doing infantry, remove the shoulder pads and backpack. Otherwise, mask off the areas you want to be blue.
- Thin Ultramarine Blue with your preferred thinner, not too much as we need good coverage. Spray that on to any areas you wish to be blue. This could be painted on by hand if you prefer.
- Once dry, remove any masking and put everything back together.
- Gloss varnish the whole model. I use Humbrol clear gloss varnish, but whatever works for you.
- Wait for the gloss coat to dry completely before proceeding! Yes it's that important that I put a whole step in for it.
- Oil wash time. Mix up a thin, wash consistency mix of either a black or dark grey oil paint with artists mineral spirits.
- Apply this wash to the recesses. The gloss coat will encourage the oils to run into the recesses, allowing for minimal effort.
- At this point as well, you can apply any decals you wish to use. Make sure you have your micro sol and micro set ready and put them wherever you need to.
- Leave the whole model to dry at least overnight.
- When you come back, give the whole model a matte varnish. I recommend Ammo by Mig Ultra Matt Lucky varnish, it's magic I swear.
- Paint the weapon casing and any areas you want to be metallic in black.
- At this stage I like to highlight. Pick up some Alaitoc Blue to do some highlights on the blue areas, some White Scar for the white, and any medium grey for the black areas, like the gun casing or straps.
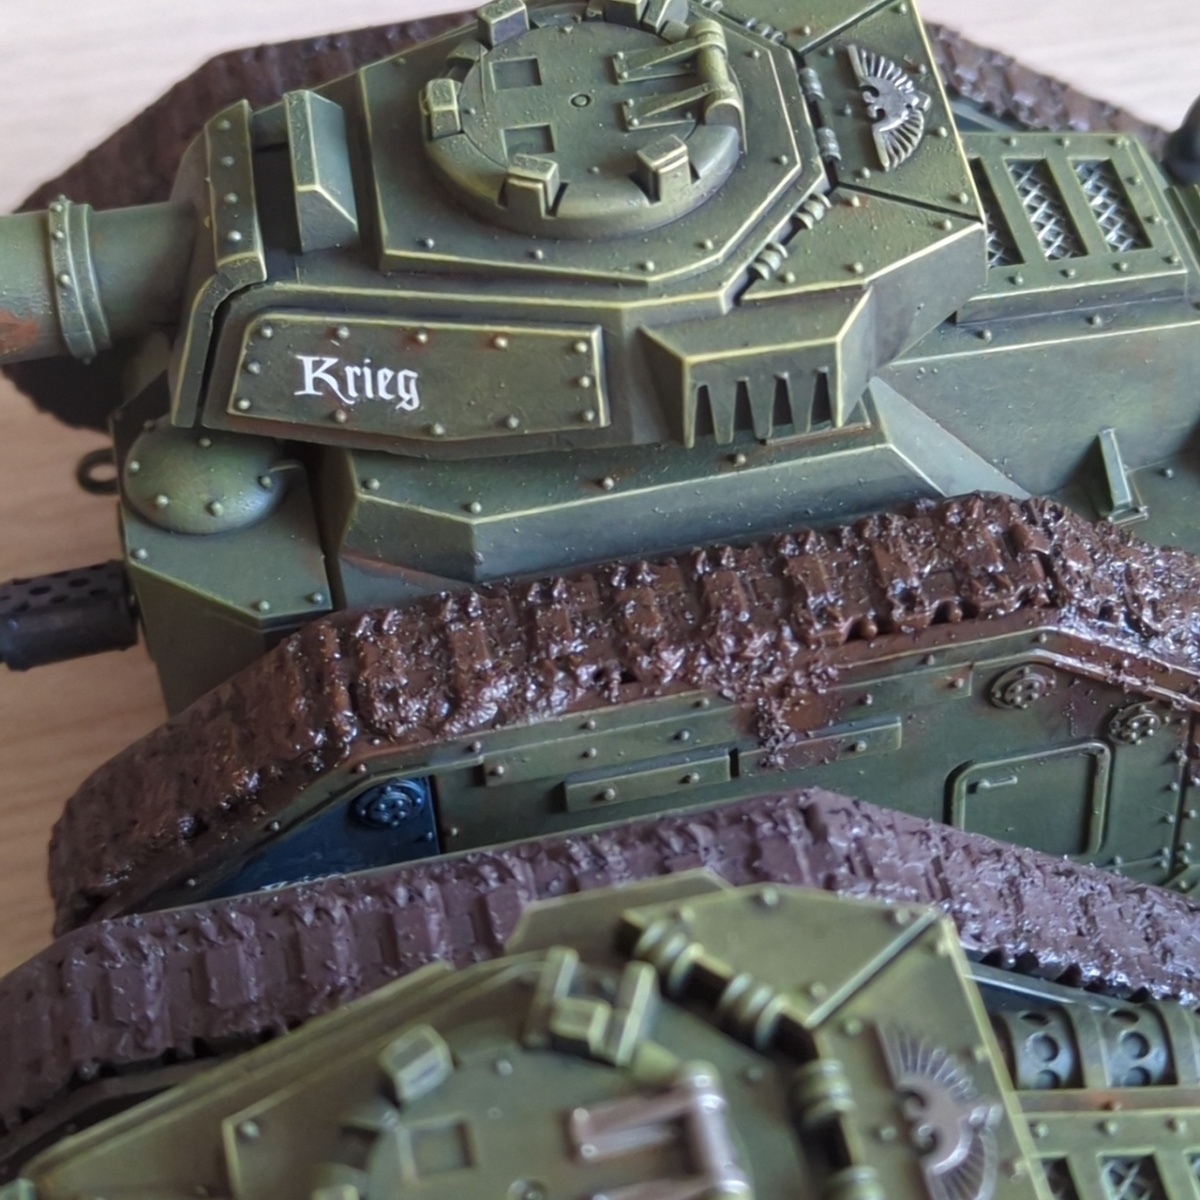
- Time to add some battle damage. Sponge on Rhinox Hide to areas that would see the worst of the wear and tear. Remember, less is more, so don't go overboard.
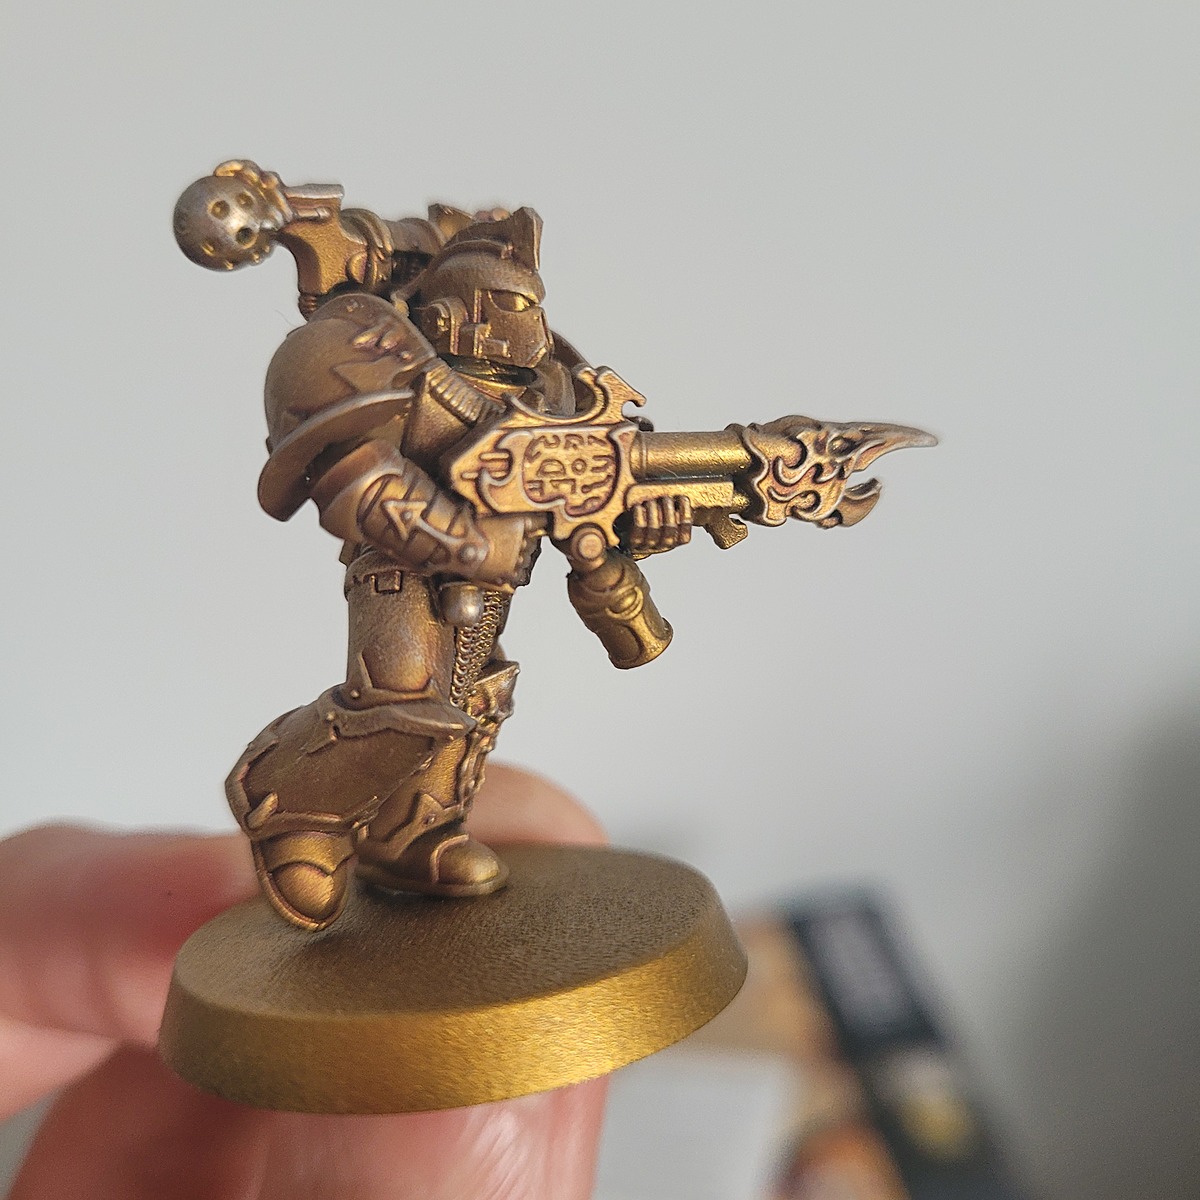
- Paint in your metallic areas. For the distinctive colour of the World Eaters, I use Runelord Brass
- Second oil wash. This is much more concentrated. Mix up a brown oil wash, same sort of consistency as your black wash. Apply this over the metallics and over some of the areas of battle damage, and focus to where you'd naturally get a build-up of battlefield mud and dirt and such.
- You can also use this oil paint without thinning, or only thinning a little, to create some streaks if you wish.
- Apply a little Blood Angels Red into any lenses on the model. If you want you can go the extra mile and add a dot of White Scar into the rear of the lenses.
- Finally, and optionally (though it's mandatory for World Eaters) thin down some Blood For The Blood God and load it up onto an old brush. Then get a sculpting tool or similar and scrape the BFTBG against it to flick the paint onto the model and create a natural splatter pattern.
Citadel Painting System 7
Base 2
- Rhinox Hide
- Runelord Brass
Layer 2
- Alaitoc Blue
- White Scar
Technical 1
- Blood For The Blood God
Contrast 2
- Blood Angels Red
- Ultramarine Blue
Vallejo Model Air
Base 1
- 71.001 White
Vallejo Model Color
Base 1
- 70.870 Medium Sea Grey