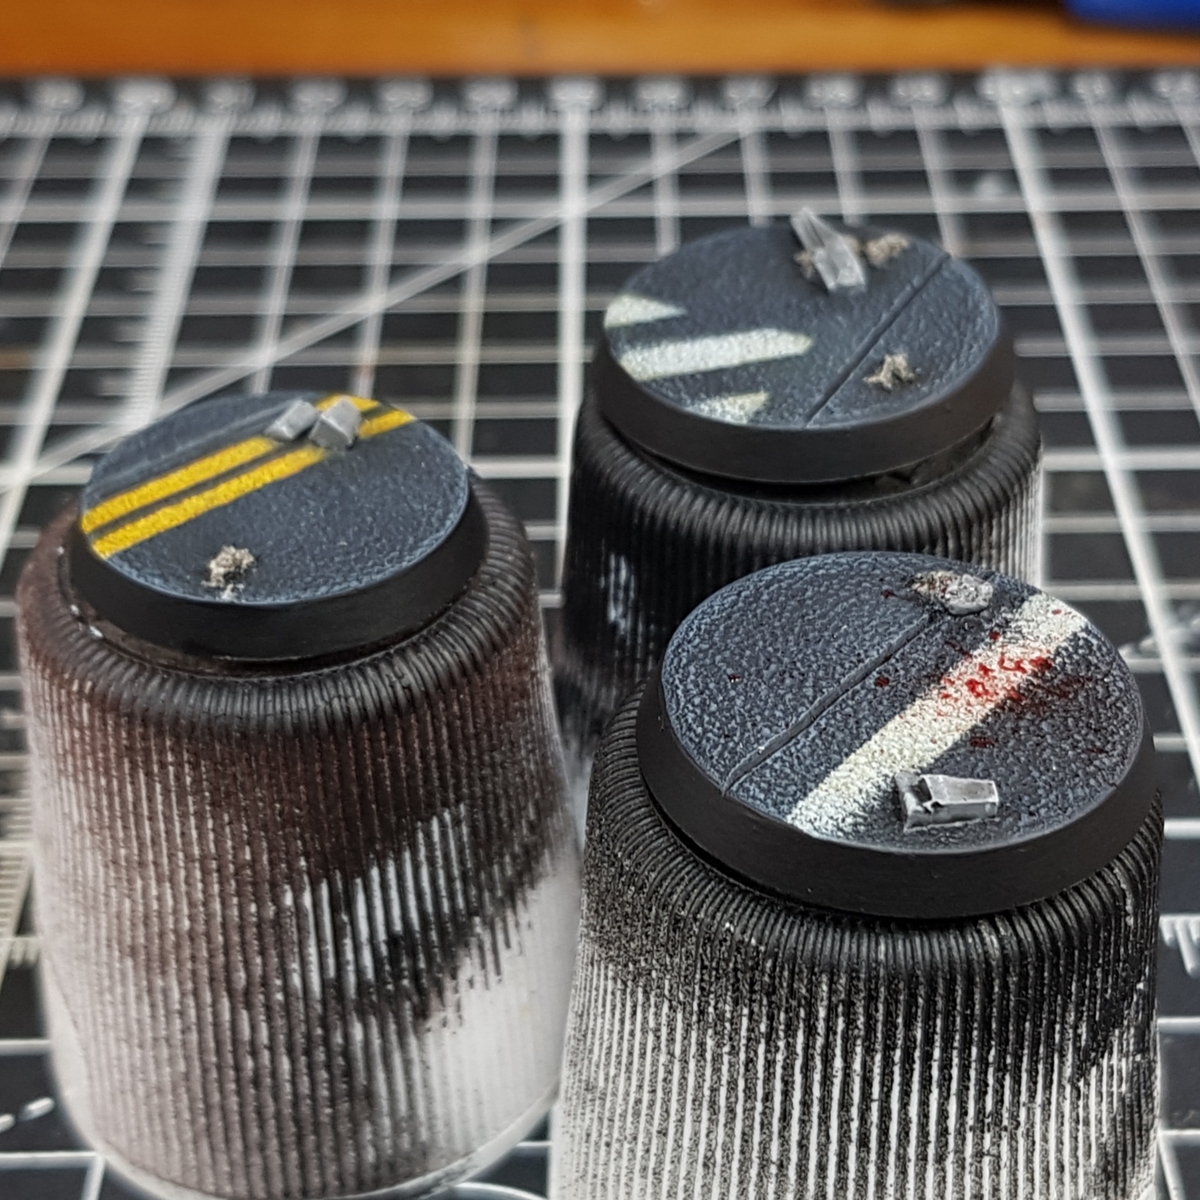

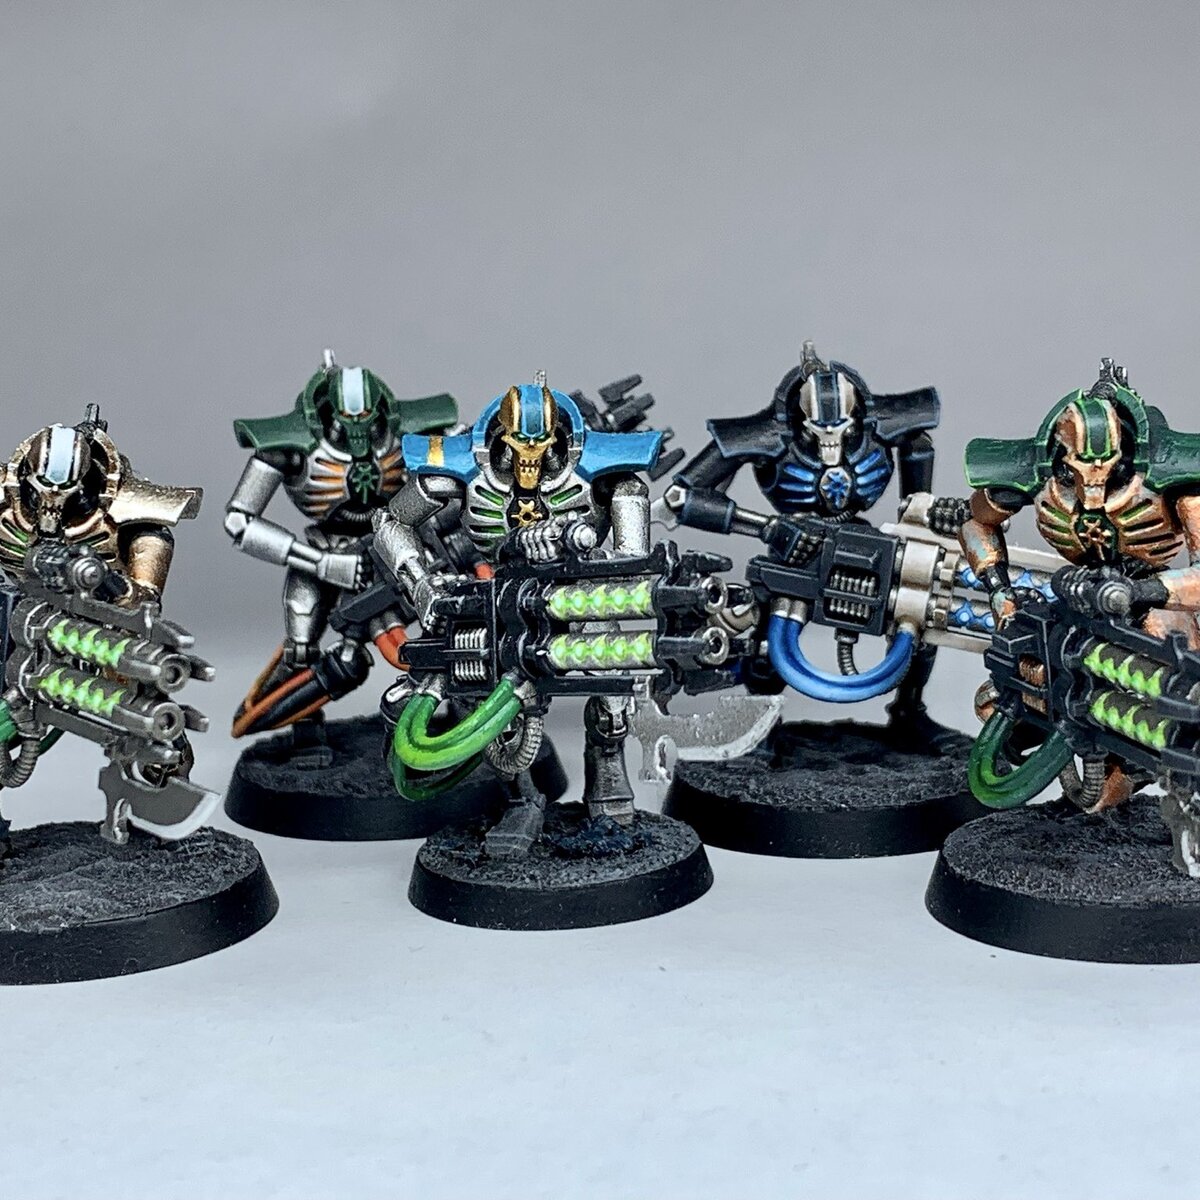
I wanted something special for my Adeptus Arbites Extraction Squad Kill Team and was fascinated by those on the official artwork. This could also be used for Megacity bases or any urban/road environment.
To "build" these bases, I took some standard GW bases and used an awl along a metal ruler edge, to scrape lines into surface. If this created to much of a lip on either side, I trimmed it down with my craft knife. I then glued down clipped off bits of sprue as rock and a little texture paste as detritus.
Black Tarmac
- I primed the bases with a black can of spray paint. If you were looking for a Games Workshop tin to buy, I would use Chaos Black . Spray quite heavily, so all of it is covered.
- Heavily drybrush the top of the base with Corvus Black , picking out the texture.
- Add in a small amount of an off white like Wraithbone and drbrush slightly lighter. If you wanted to use the exact colour I used, it was Vallejo Model Color Ivory .y
- Now add in even more of your off-white and drybrush more lightly again, focussing more on edges and the physical breaks we scoured into the bases.
At this point I took strips of electrical tape, cut along the edge of my metal ruler and masked off the area around where I wanted to paint, We are going to be stippling and drybrushing quite roughly, so take the time to mark out some nice, crisps straight lines.
White Road Marking
- Stipple Celestra Grey with a wide brush over the area, covering almost all of it. If you leave small patches it can represent where the paint has worn off.
- Take Celestra Grey mixed with some White Scar and drybrush over the area, picking up the raised texture more.
- Finally drydrush/stipple again with Celestra Grey and White Scar , but with substantially more white. This is to add a little more texture and interest.
Yellow Road Markings
- Stipple Tau Light Ochre with a wide brush over the area, covering almost all of it. If you leave small patches it can represent where the paint has worn off.
- Take Averland Sunset and drybrush over the area, picking up the raised texture more.
- Finally drydrush/stipple again (but more lightly with Averland Sunset mixed with some off white. This is to add a little more texture and interest.
- If you wanted to add more varety, you could glaze some Iyanden Yellow and/or Reikland Fleshshade towards one side or where the markings get close to items on the base.
Once all the marking are done, you can remove the tape, before continuing to paint.
Rocks
- Basecoat with Dawnstone .
- Wash with Nuln Oil .
- Chunky Highlights with Administratum Grey .
- Mix some White Scar into your Administratum Grey and selectively highlight points.
- Finally, add spot highlights of White Scar to points.
Detritus
- Basecoat with Karak Stone .
- Coat with a layer of Ratling Grime .
- Pick out raised detail with small amounts of Rakarth Flesh .
- Finish of with selective dot highlights using Deepkin Flesh . Add these only to extreme points.
I like to add an occasional splash of colour to these bases, to tell more of a story. My favourite addition is blood splatter, applied with Blood For The Blood God and an air duster. This can also be done with Nurgles Rot too.
Be sure to finsih up these bases by painting the rim with Abaddon Black or a plain black of your choosing.

Rookie Brushes
RookieBrushes
Aspiring miniature painter and biscuit enthusiast. Here to share my hobby and help where I can.
Citadel Painting System 19
Base 6
- Abaddon Black
- Averland Sunset
- Celestra Grey
- Corvus Black
- Rakarth Flesh
- Wraithbone
Shade 2
- Nuln Oil
- Reikland Fleshshade
Layer 6
- Administratum Grey
- Dawnstone
- Deepkin Flesh
- Karak Stone
- Tau Light Ochre
- White Scar
Technical 2
- Blood For The Blood God
- Nurgles Rot
Spray 1
- Chaos Black
Contrast 2
- Iyanden Yellow
- Ratling Grime
Vallejo Model Color
Base 1
- 70.918 Ivory


.jpg)