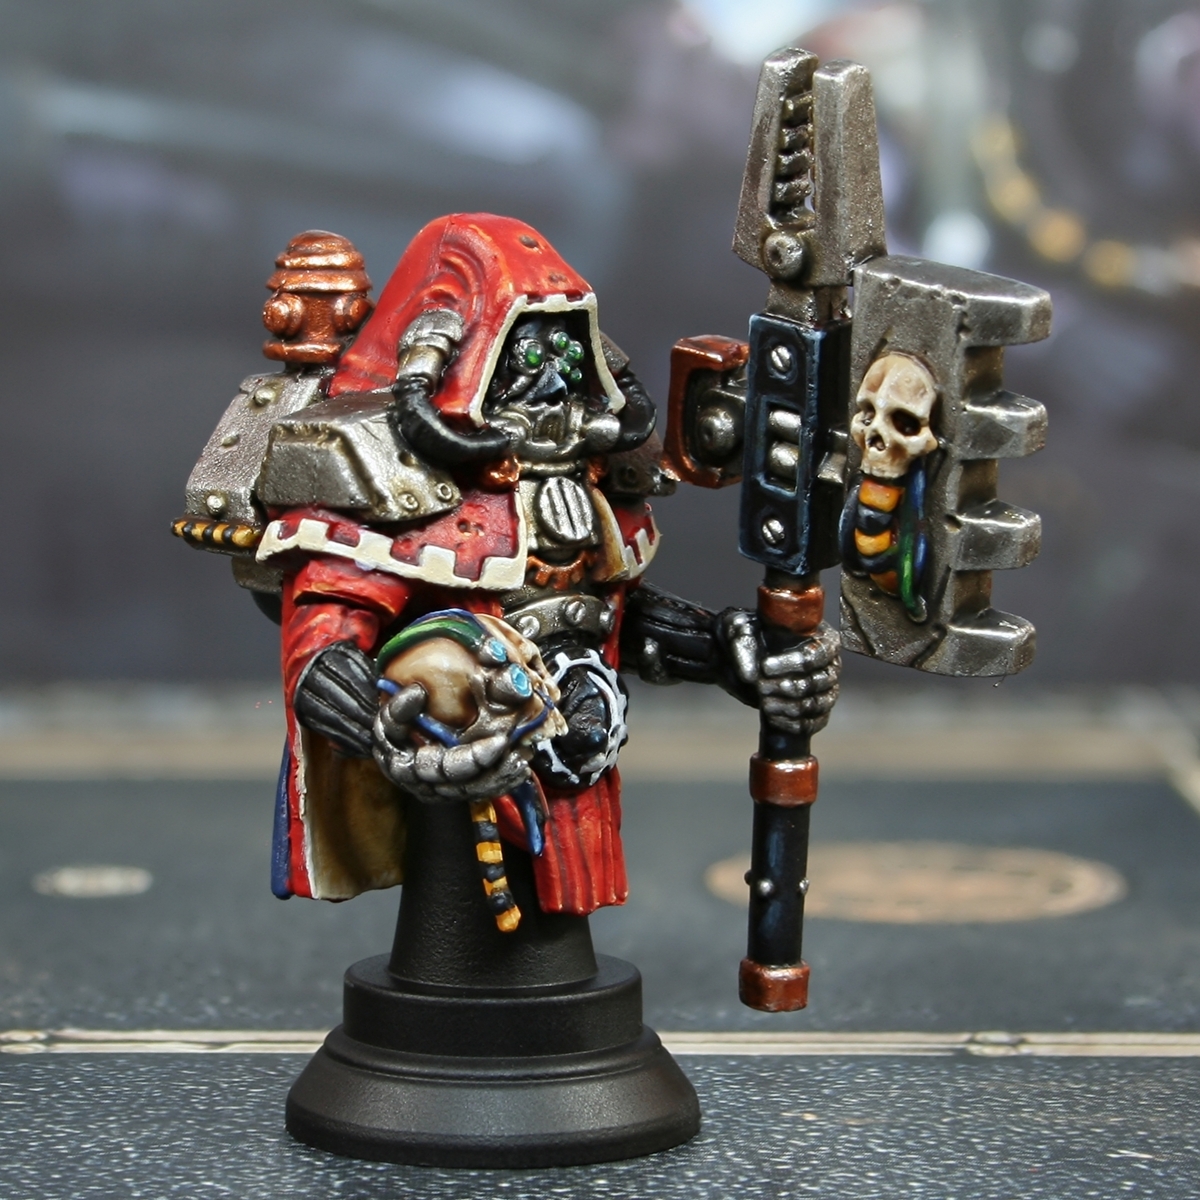

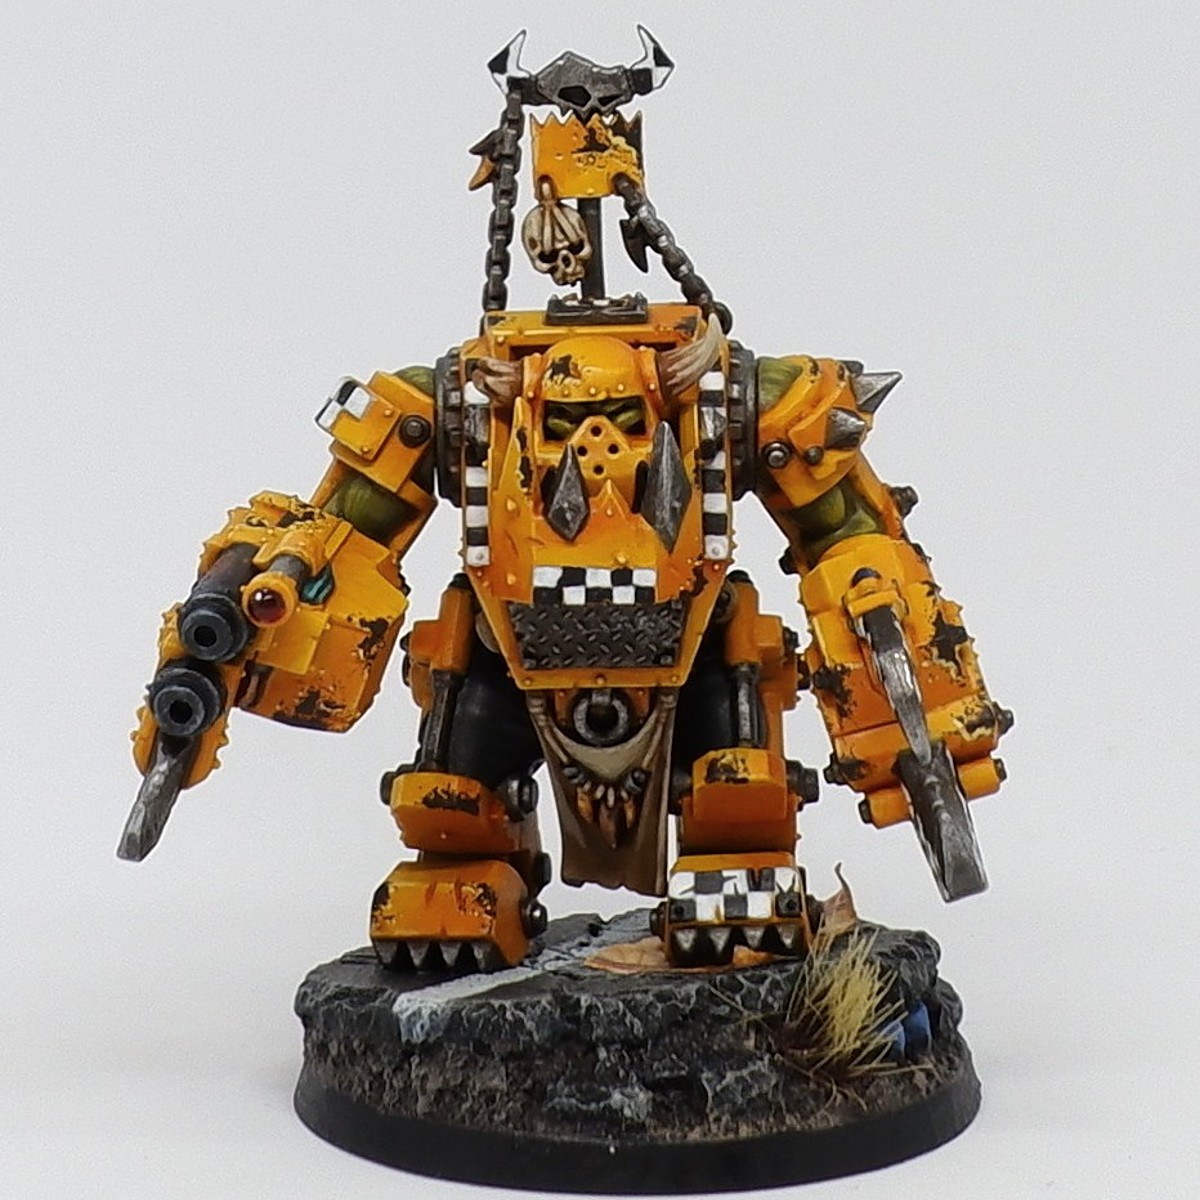
Here are the steps I took when painting this playing piece from 'Wizkids' version of the board game "Relic". If you like the look of this bust, it is available with the specific edition available here: https://amzn.to/3paDgCQ Please be aware that the 'Fantasy Flight' version has different resin busts/playing pieces.
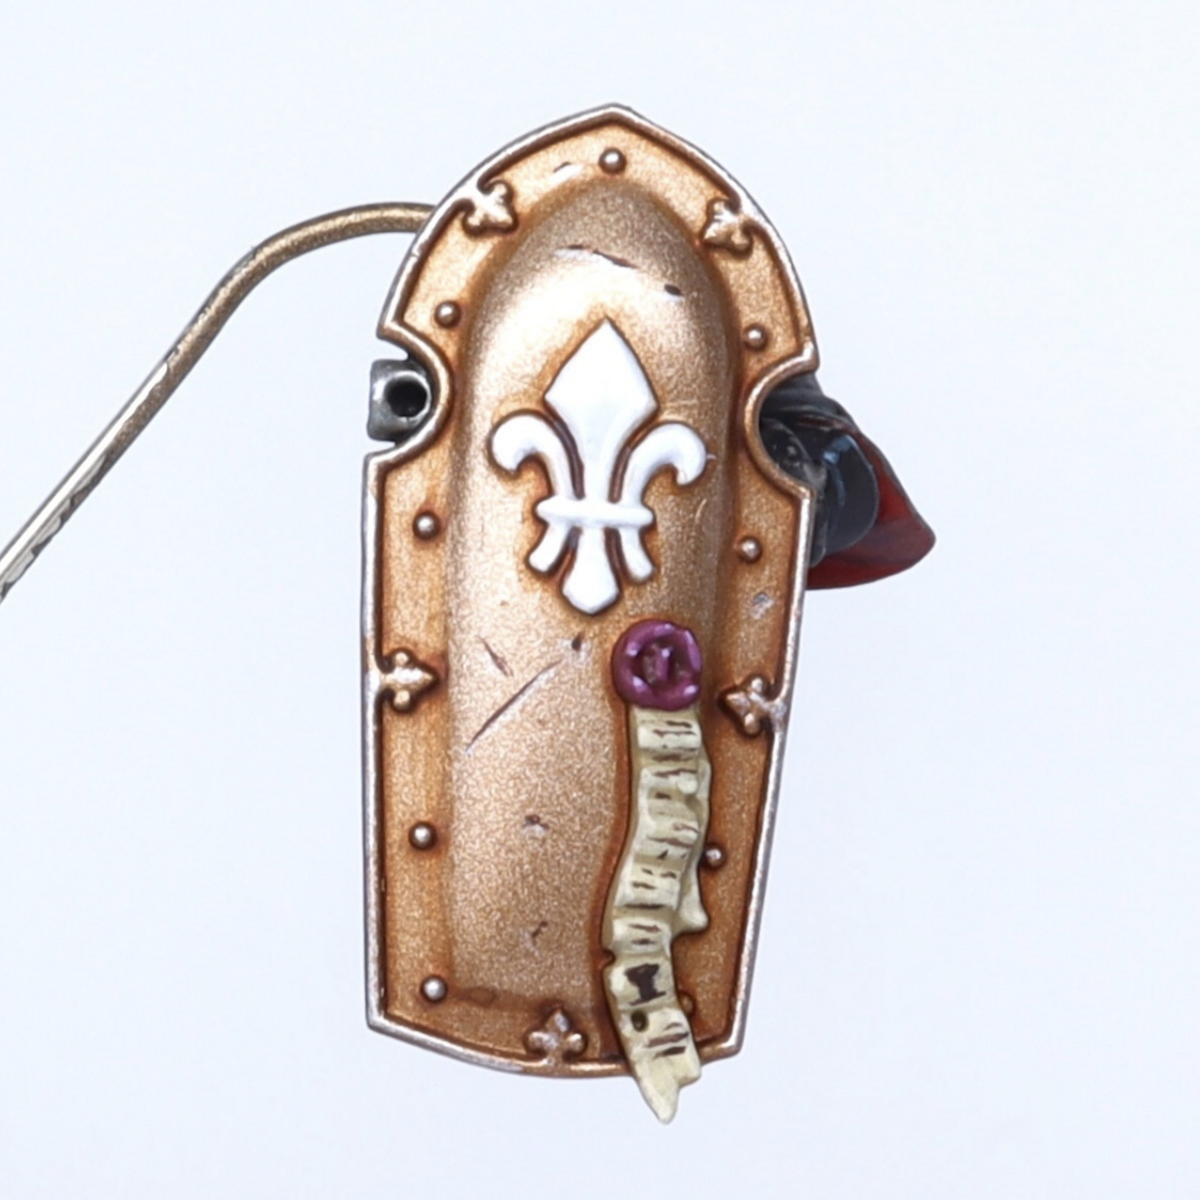
Red Cloak
- Basecoat with Mephiston Red and Evil Sunz Scarlet , mixed 1:1.
- Mix Khorne Red and Abaddon Black 2:1 and shade the recesses. I then equalled out the amount of black and put small amounts of this darker mis in very deep folds.
- Paint chunky highlights with Evil Sunz Scarlet .
- Add fine highlights of Troll Slayer Orange .
- Selectively highlight curves and corners with Tau Light Ochre .
- Mix a litte White Scar into your Tau Light Ochre and add specular highlights where needed.
Cream Cloak Lining/Trim
- Basecoat with Ushabti Bone .
- Wash the inner cloth with Seraphim Sepia , dragging you brush into the point where the shand clips in.
- Reestablish the :usabti where needed, then add highlights with Screaming Skull .
- Selectively highlight edges with White Scar .
Ridged Black Tubing
- Basecoat with Abaddon Black .
- Edge highlight the ridges with a 1:1 mix of Stormvermin Fur and Abaddon Black .
- Selectively edge highlight with Stormvermin Fur .
- Add even smaller highlights with Ushabti Bone .
Metals
- Basecoat with Leadbelcher
- Wash with Nuln Oil .
- Further add interest to recesses, shading with browns, like Wyldwood , Aggaros Dunes , Ratling Grime or Cygor Brown . I like to use a mix of shades to differentiate areas from one another.
- Highlights with Ironbreaker .
- Add fine edge highlights with Stormhost Silver or any other bright silver. I like :Vallejo Model Air Silver RLM01 Metallic .
Copper
- Basecoat with Hashut Copper .
- Shade with Gore-grunta Fur .
- On deep recesses, shade with a fine line of Doombull Brown and Abaddon Black mixed 1:1.
- Glaze highlights with Hashut Copper and Stormhost Silver , mixed 1:1.
- Finally, edge highlight with pure Stormhost Silver .
Skulls
- Basecoat with a 1:1 mix of Karak Stone and Ushabti Bone .
- Shade recesses with a mix of Reikland Fleshshade and Agrax Earthshade .
- Drag some fairly thin Screaming Skull towards edges, to begin highlighting them.
- Enhance these with edge highlgihts of Screaming Skull mixed 1:1 with White Scar .
- Finish off the skulls with specular highlights of White Scar (or another pure white).
Green Lenses
- Basecoat with Caliban Green .
- Paint the lower left or right portion with a layer of Warpstone Glow , leaving enough room for reducing its size 2 or 3 more times.
- Paint a smaller area with Moot Green .
- Add some Ice Yellow to your Moot Green and paint an even smaller patch, working further into your chosen side.
- Finally, add a dot of white on the same side as the black, mirroring your brightest green/yellow highlight.
Black Weapon Casing/Face Mask
- Basecoat with Abaddon Black .
- Edge highlight everything with a thick line of Dark Reaper .
- Highlight everything again, this time with a thin line of Thunderhawk Blue . This colour is a good place to put in some scratches too.
- With Fenrisian Grey , selectively highlight upward facing edges, corners and prominent edges. Stick primarily to edges where the light would hit and always drag your brush towards the brightest point. If you added scratches previously, reinforce them with a smaller, thinner line underneath.
- Finally, edge add small highlights to the centre of the previous highlights and corners with Blue Horror . Try to make them very small, dots if at all possible.
Yellow Light
- Basecoat with White Scar .
- Glaze Yriel Yellow away from the source of the lights.
- Soft shade the base of the light with Fire Dragon Bright .
- Deep shade the recess with a fine line of Wild Rider Red .
- Re-establish the brightest point of the light with Yriel Yellow and White Scar mixed 1:1.
- Add a final highlight with pure White Scar .
Blue Energy Coil
- Basecoat with Temple Guard Blue .
- Shade with this Sotek Green , so it runns into recesses.
- Wash the recesses with thin Stegadon Scale Green . Make this close to a wash consistency and focus it towards the deepest recess.
- Edge highlight with coile with Baharroth Blue .
- Selectively highlight the top of the coils with White Scar .

Rookie Brushes
RookieBrushes
Aspiring miniature painter and biscuit enthusiast. Here to share my hobby and help where I can.
Citadel Painting System 39
Base 6
- Abaddon Black
- Caliban Green
- Khorne Red
- Leadbelcher
- Mephiston Red
- Stegadon Scale Green
Shade 4
- Agrax Earthshade
- Nuln Oil
- Reikland Fleshshade
- Seraphim Sepia
Layer 22
- Baharroth Blue
- Blue Horror
- Dark Reaper
- Doombull Brown
- Evil Sunz Scarlet
- Fenrisian Grey
- Fire Dragon Bright
- Hashut Copper
- Karak Stone
- Moot Green
- Screaming Skull
- Sotek Green
- Stormhost Silver
- Stormvermin Fur
- Tau Light Ochre
- Temple Guard Blue
- Thunderhawk Blue
- Ushabti Bone
- Warpstone Glow
- White Scar
- Wild Rider Red
- Yriel Yellow
Air 2
- Ironbreaker
- Troll Slayer Orange
Contrast 5
- Aggaros Dunes
- Cygor Brown
- Gore-grunta Fur
- Ratling Grime
- Wyldwood
Vallejo Model Air
Base 1
- 71.063 Silver RLM01 Metallic
Vallejo Model Color
Base 1
- 70.858 Ice Yellow


.jpg)