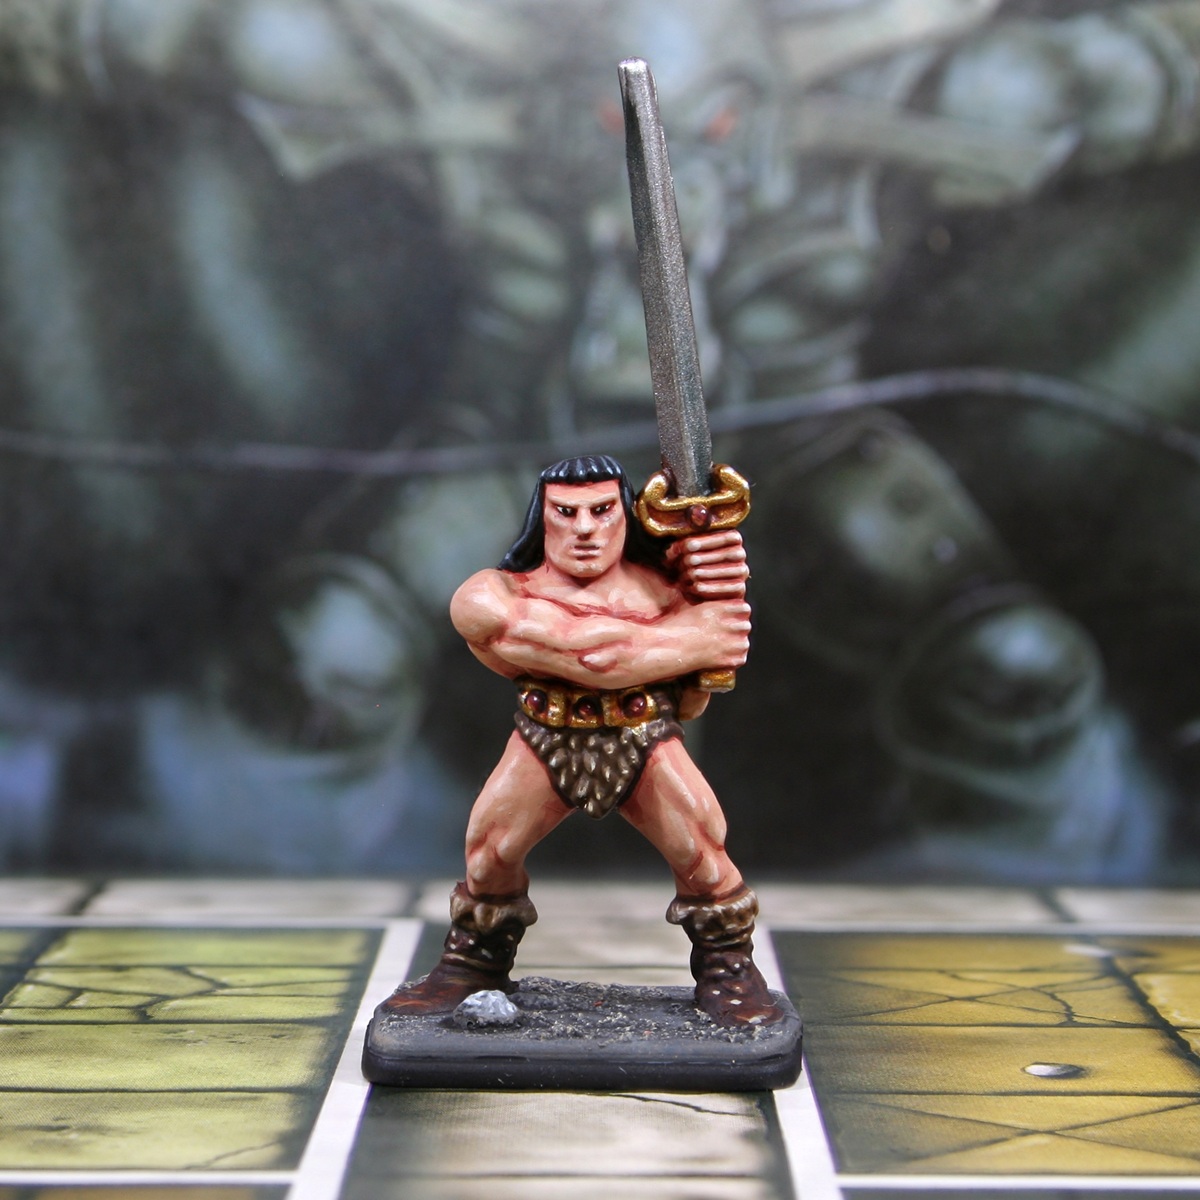

Part of my larger "Painting Classic HeroQuest" series of short videos. You can watch the whole thing here, if you were interested: https://www.youtube.com/@RookieBrushes
Skin
- Basecoat with a mix of 2 parts Cadian Fleshtone , 1 part Screaming Skull and 1 part White .
- Mix some of the base colour 2:1 with Doombull Brown , then add some general shading to the skin. I would recommend keeping it thin, using some Lahmian Medium , to keep things smooth.
- Increase the amount of Doombull Brown so it is now roughly 1:2, then shade more selectively within the previous stage.
- With pure Doombull Brown add some final shading. I would recommend only shading where elements need separating. For example, between fingers, separating limbs and the eye sockets.
- Mix some of your original base colour 1:1 with White and add highlights to the skin.
- Increase the amount of White again, so it is now an off-white colour. Then add very small highlights, and a few specular highlights of pure :white where needed.
Black Hair
- Basecoat with Black .
- Pick out raises strands with 1:1 :black and Kantor Blue .
- Mix some Sybarite Green into the above paint and highlight more selectively.
- Now add some Fenrisian Grey to the above paint, and add smaller highlights.
- Finish with specular highlights of pure Fenrisian Grey where needed.
Fur Loincloth
- Basecoat with 1:1 Rhinox Hide and XV-88 .
- Shade with some thinned Rhinox Hide . I pretty much just applied this as thin lines at the edges.
- Overbrush the raised details with Steel Legion Drab .
- Mix a little XV-88 and Wraithbone into your Steel Legion Drab , then selectively highlight edges.
- Add specular highlights of Wraithbone .
I used this same rough recipe for the fur trim on the boots. The main difference being, I started with a basecoat of Steel Legion Drab , then highlighted more aggressively and made the highlights extra scratchy to add texture,
Dark Brown Leather
- Basecoat with Rhinox Hide .
- Highlight with Doombull Brown .
- Selectively highlight with XV-88 .
- Finish with very small/specular highlights of Ushabti Bone .
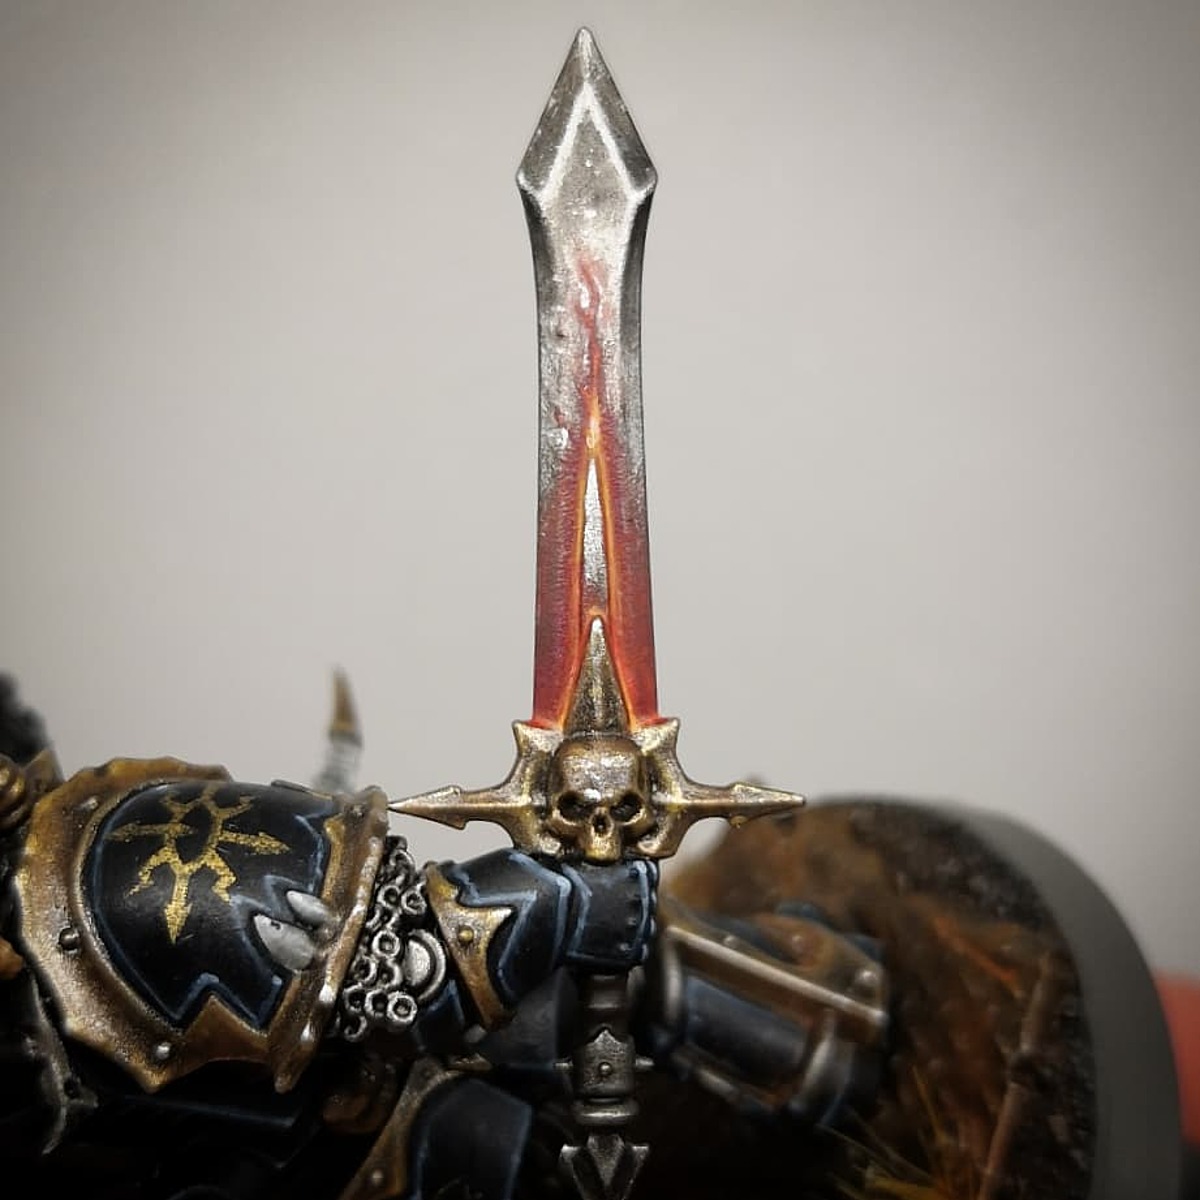
Blade
- Basecoat with Leadbelcher .
- Glaze Gryph-charger Grey towards the guard, starting from just below the half way point on the blade.
- Add a little Black to your Gryph-charger Grey , then glaze a smaller area. This should create a nice dark transition to the gold.
- Edgde highlight everything and glaze half closest to the tip with Ironbreaker .
- Finish with selective highlights of Silver RLM01 Metallic .
Gold
- Basecoat with Retributor Armour .
- Wash with Reikland Fleshshade .
- Mix a little Silver RLM01 Metallic into your Retributor Armour , then add general highlights and highlights to all hard edges.
- Increase the amount of Silver RLM01 Metallic in the mix, so it is a very pale gold. Now selectively highlight.
- Finish with specular highlights of Silver RLM01 Metallic .
Red Gems
- Basecoat with Khorne Red .
- Add a Wild Rider Red highlight to the bottom left corner.
- Selectively highlight with Fire Dragon Bright within the previous stage.
- Add a specular Lugganath Orange highlight.
- Finish with a specular White on the top-right corner.

Rookie Brushes
RookieBrushes
Aspiring miniature painter and biscuit enthusiast. Here to share my hobby and help where I can.
Citadel Painting System 21
Base 8
- Kantor Blue
- Khorne Red
- Leadbelcher
- Retributor Armour
- Rhinox Hide
- Steel Legion Drab
- Wraithbone
- XV-88
Shade 1
- Reikland Fleshshade
Layer 10
- Cadian Fleshtone
- Doombull Brown
- Fenrisian Grey
- Fire Dragon Bright
- Ironbreaker
- Lugganath Orange
- Screaming Skull
- Sybarite Green
- Ushabti Bone
- Wild Rider Red
Technical 1
- Lahmian Medium
Contrast 1
- Gryph-charger Grey
Vallejo Model Air
Base 1
- 71.063 Silver RLM01 Metallic
Vallejo Model Color
Base 2
- 70.950 Black
- 70.951 White