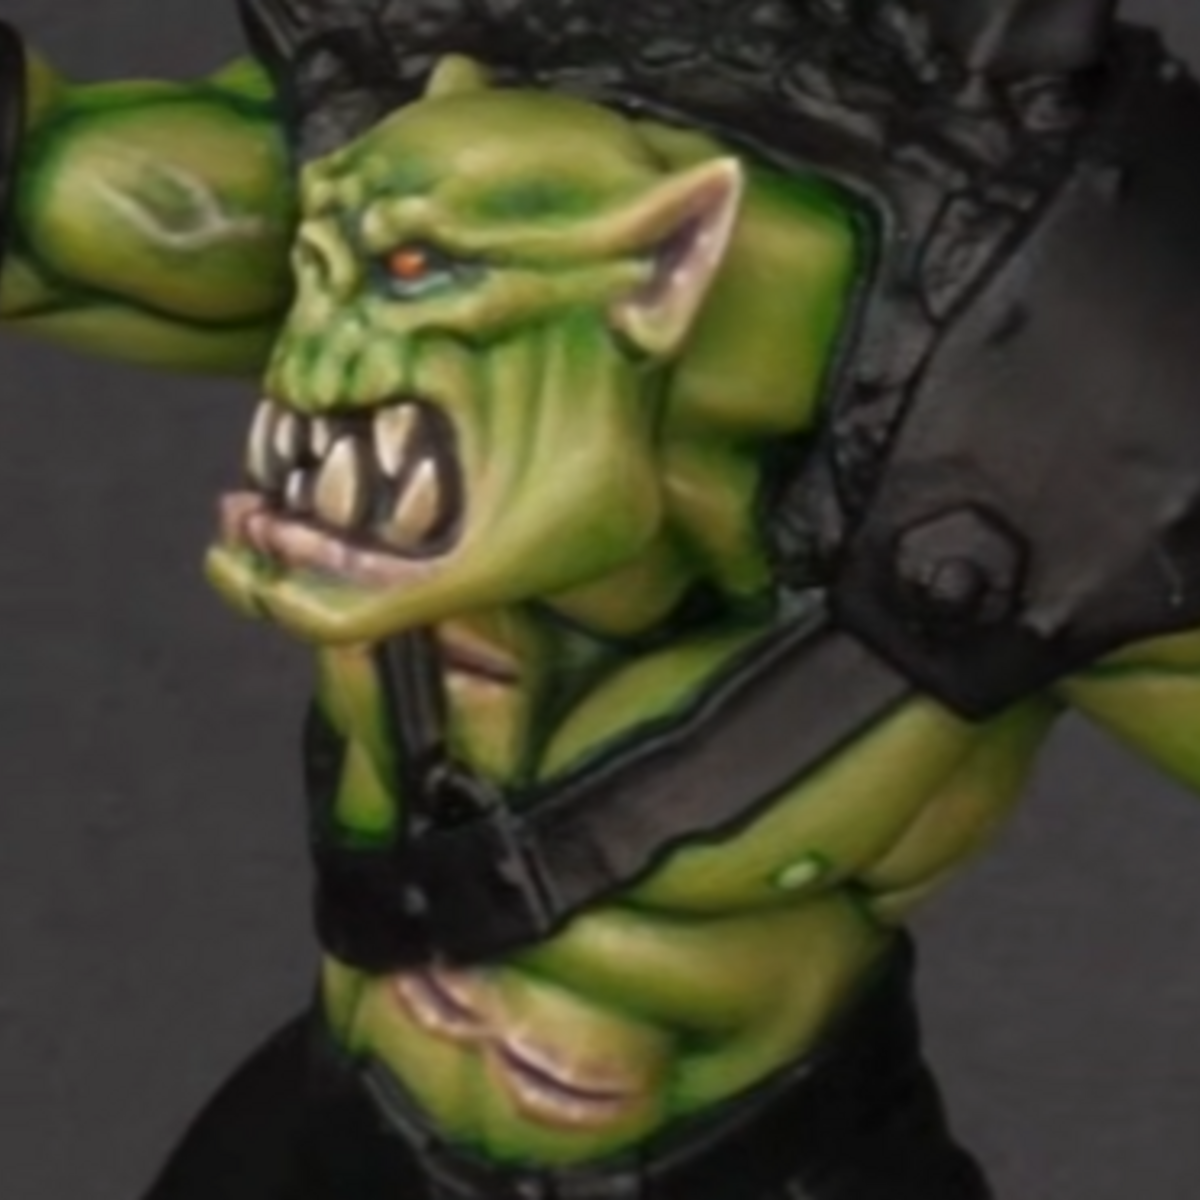
Fellgor Ironhorn partly using slapchop
Prime
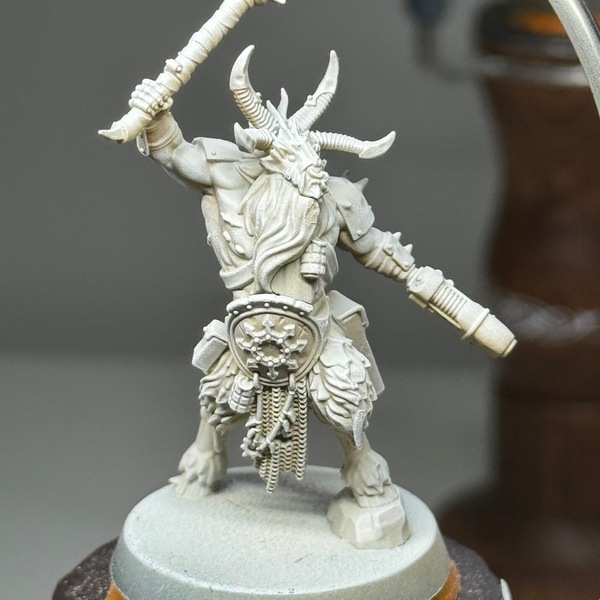
 Prime the model using AK Interactive Desert Sand Primer . I have used an air brush to apply this. This will provide a warmer tone for the fur etc. Allow to dry for at least 10 minutes. Longer if you can.
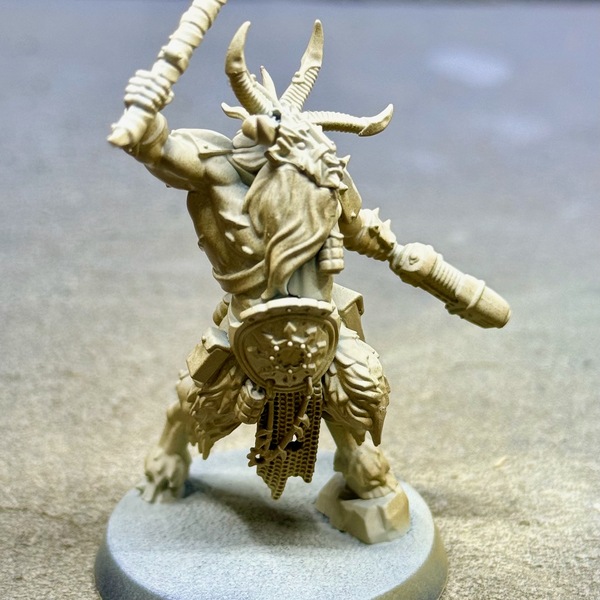 This step isnt essential, but if you have an airbrush then, from below, apply Zandri Dust to create some shadows. Keep the model pointing away from you so that you will only hit the underneath parts.
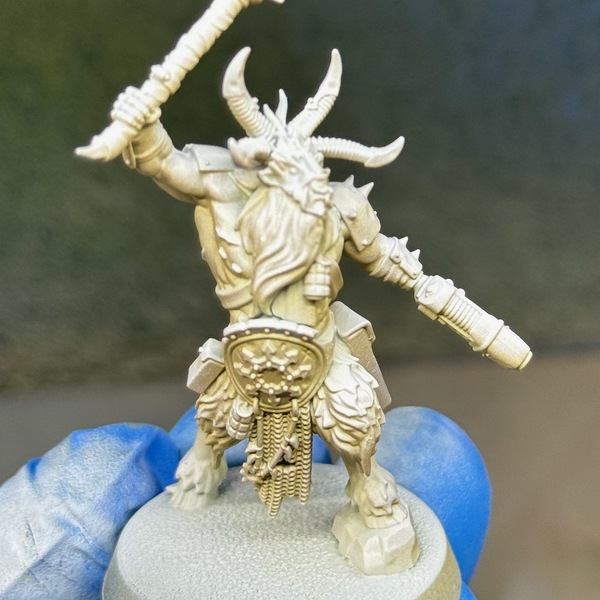 Again, this step isn't essential, but if you have an airbrush then apply some pre-highlights from above with liquitex Titanium White ink.
At this point, if you have the time. Leave to dry/cure for 24 hours. It's not entirely necessary, but AK recommend 24 hours for the primer to dry fully.
Pre-Highlight
 Using White Scar dry brush the whole mini. Focus most of the dry brushing from the top down, where light would naturally fall.
Base Coats
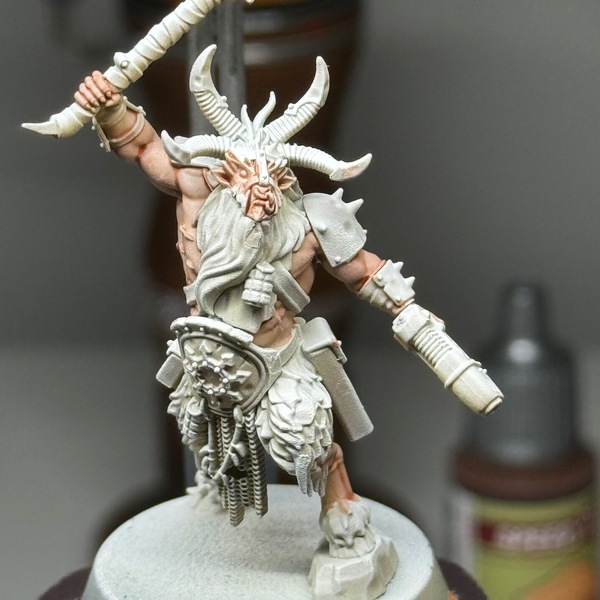 Use Army Painter SpeedPaint Crusader Skin to base in the skin. It's tempting to do this stage quickly, as it's called a speed paint, right? But if you take your time to prevent pooling and make sure you have an even coat, you will have a better result.
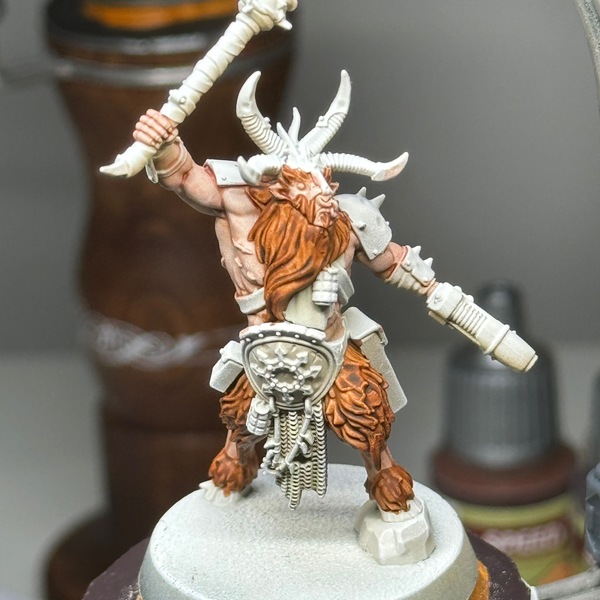 Next, in the same way as above, apply Gore-grunta Fur to all the fur bits of the model
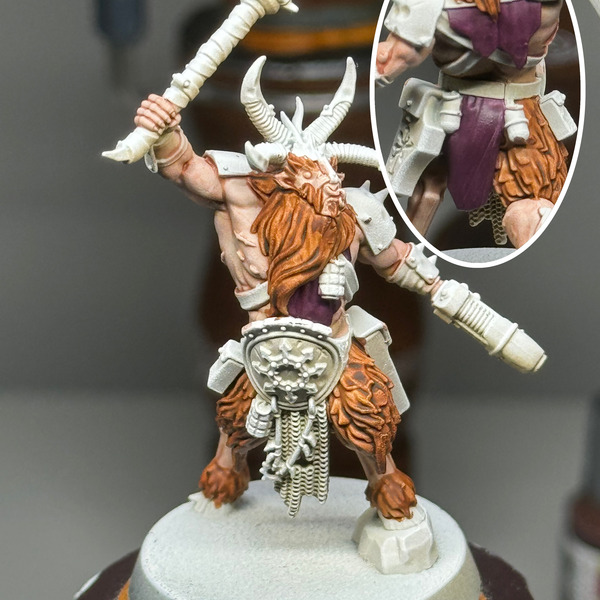 Onto our traditional acrylics now. Use Barak-Nar Burgundy to base in the cloth.
 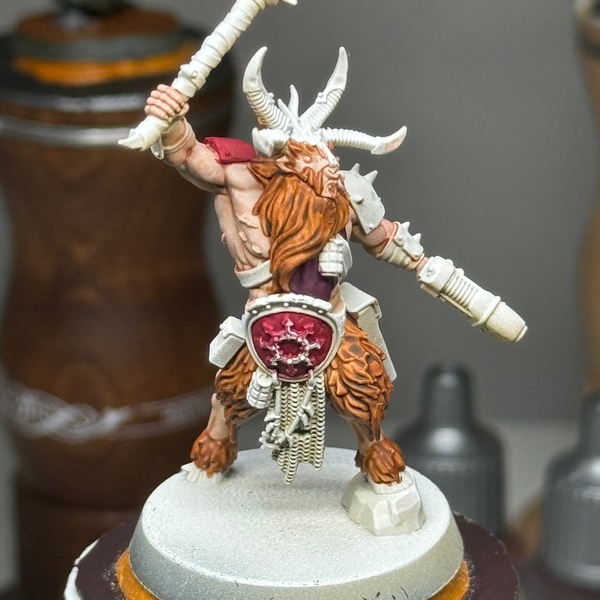 Use Khorne Red to base the right shoulder guard and the backdrop of the belly plate.
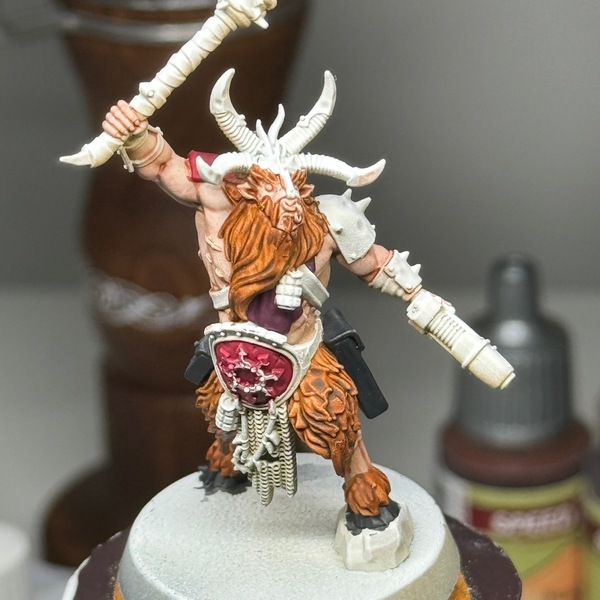 Paint the pouch and the gun holster with Vallejo German Grey , if you don't have that you can use Citadel Corvus Black.
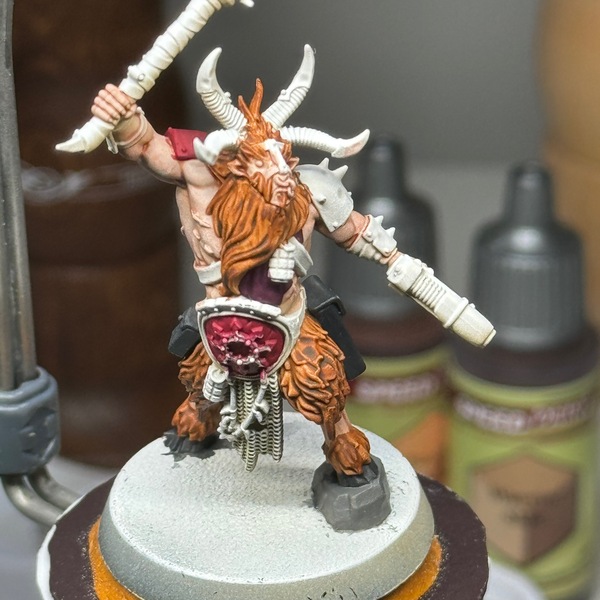 Paint the stone/rock that he is stood on with Reaper MSP Shadowed Stone . If you dont have this, any warm dark grey will be fine.
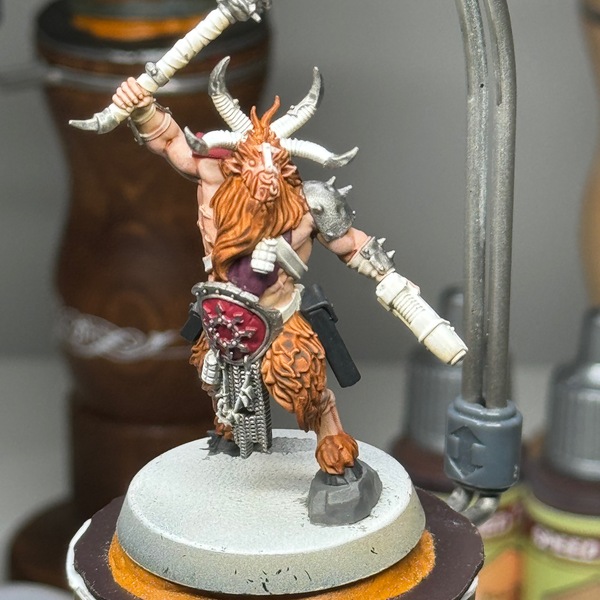 Use Leadbelcher to cover most metallics. I have based out the trim of the belly plate, the tips of the horns, right shoulder guard, chain mail, arm guards and the metal parts of the bludgeon. I'm going to base some of the other metallic items with a brighter metallic later.
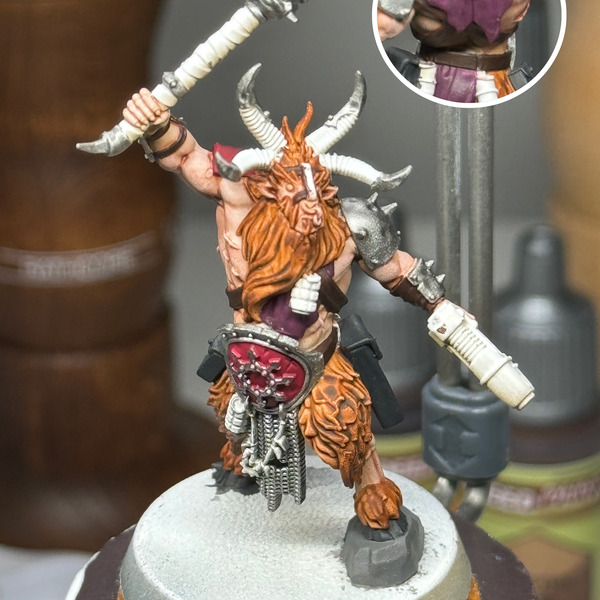 Base coat the leather straps with Rhinox Hide . Be careful not to get this on the skin. Its not easy to fix. If you do try going over the mistake with a white, then touch up with Army Painter SpeedPaint Crusader Skin
 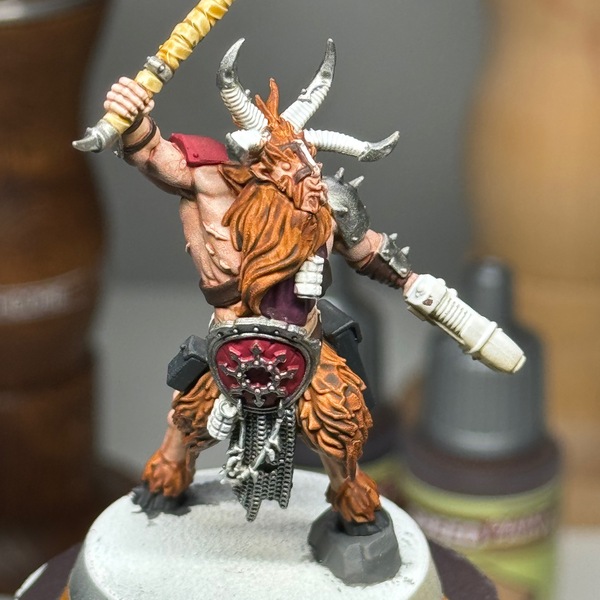 If you have equipped the bludgeon, then base the wrap in Skeleton Horde
  Paint the horns with XV-88
  Use Deathworld Forest to base in the grenades
 For the slightly brighter silver parts, use Iron Hands Steel . I based the grenade pull rings, belt clip, facial rings, the thing joining the leather pieces on the face and the krak grenades on the rear.
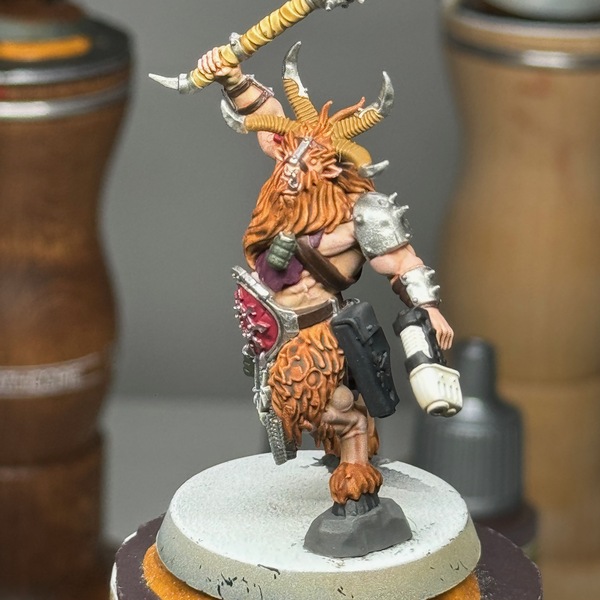 Use any deep black to base in the casing of the plasma gun. I used Black Legion
 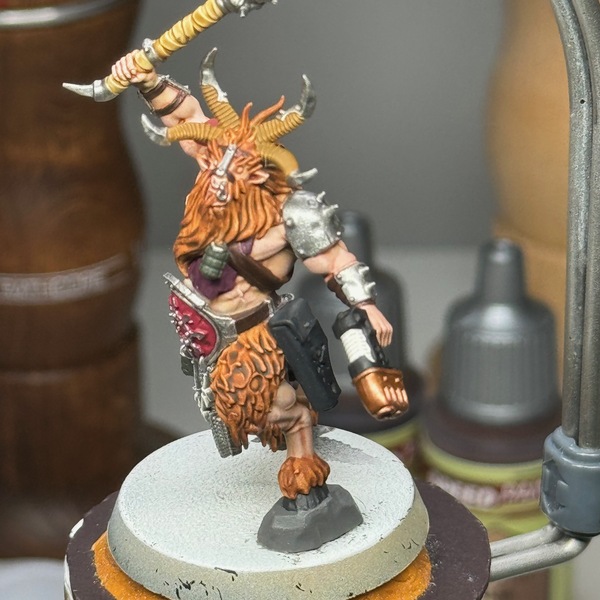 Paint in the end of the plasma gun with Balthasar Gold
 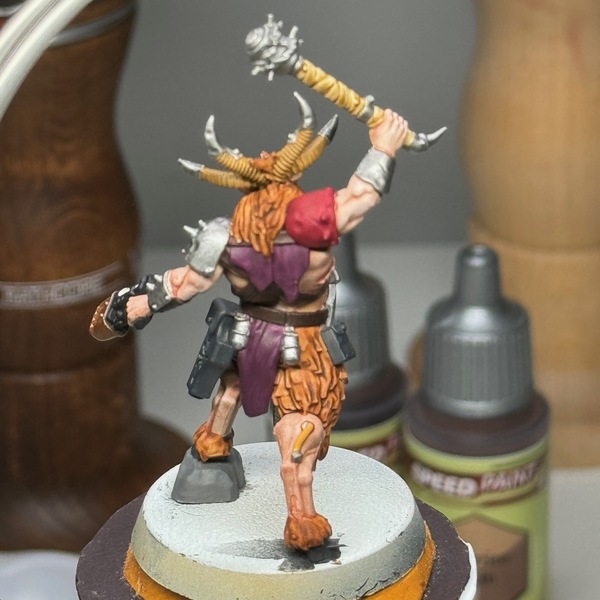 We are onto the final small base coats now, use Averland Sunset to fill in the wire on the rear of the right leg.
 Block in the rope/cable/string that holds 'bits' that is on top of the chain mail with Vallejo Black Grey
 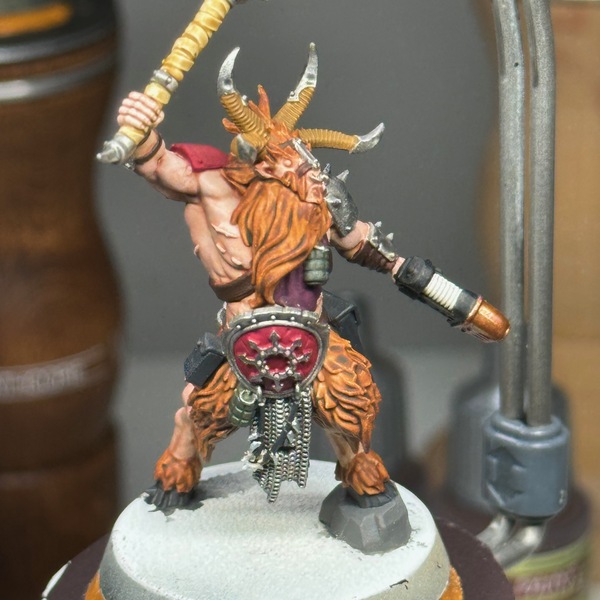 Base the fiddly bits on the rope with Vallejo Model Air Steel Metallic
 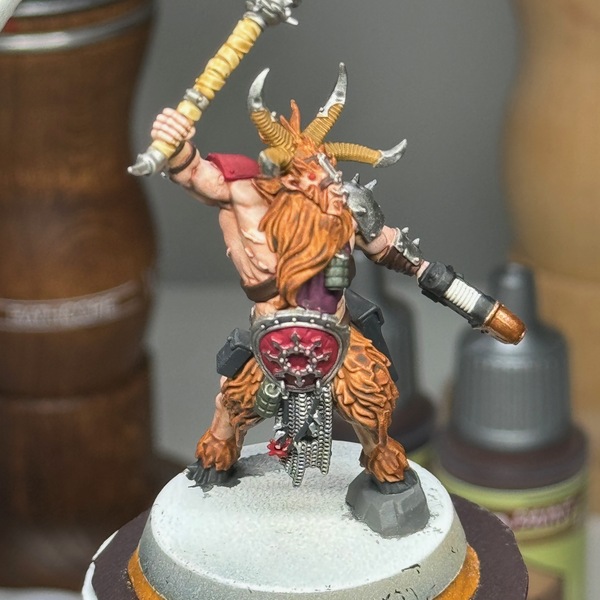 Base the star on the rope with Mephiston Red . Also block the eyes in with the same colour.
Wash
 Wash the entire miniature with ProAcryls Brown Wash . I've chosen this wash specifically with the colours I've used above. Using a citadel brown wash will have very different results. ProAcryls brown wash is more grey brown and isn't as intense as other washes. If you only have citadel, try a 1:1:2 mix of nuln oil, agrax earthshade and lahmian medium. It should lift the crusader skin a little and make it a tiny bit more grey and enhance the shadows.
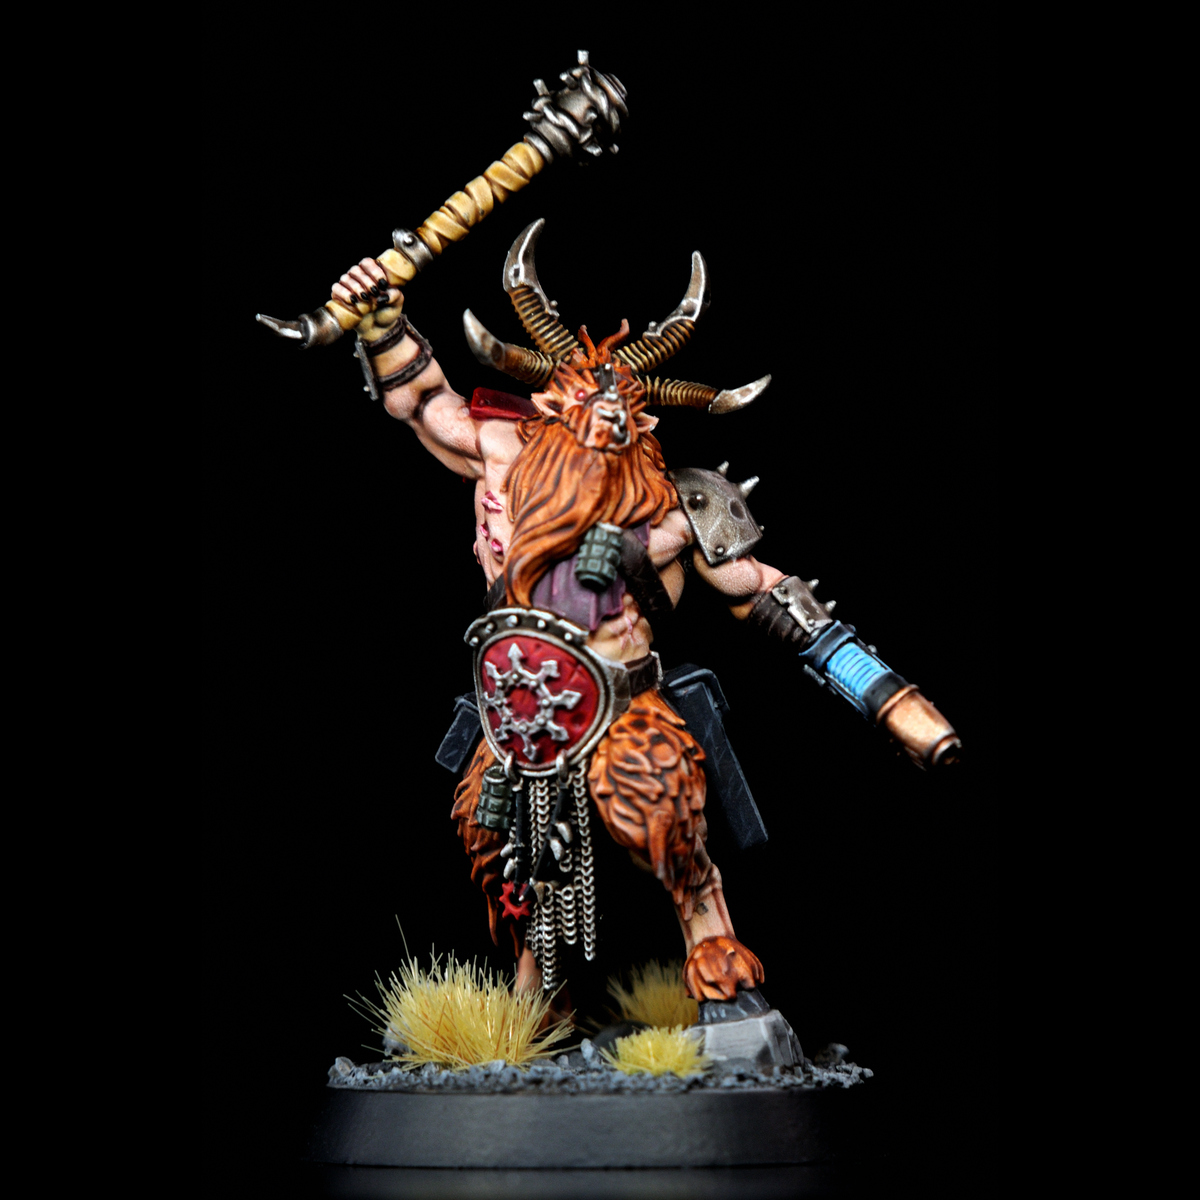
From the photograph, you can see the contrast has been pushed without changing any of the base colours too much.- Allow to fully dry for at least 45 minutes. I normally finishing a painting session with this step and pick it up again the next day.
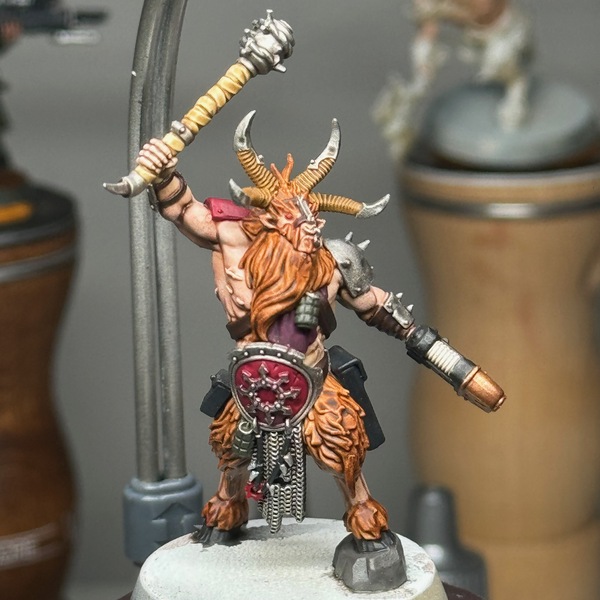
 Because I want a more grimy feel to the overall model, I have then washed parts with Agrax Earthshade . Here I have washed the shoulder pad, arm guards, all metallics on the bludgeon and all the belt and chain mail. I also applied a coat of this over the horns and metal tips of the horns.
Highlights
At this point, the mini is tabletop ready, it would be totally fine to base it and play some games with it. However, the next steps will add some definition to details and give the model an overall, more finished appearance.
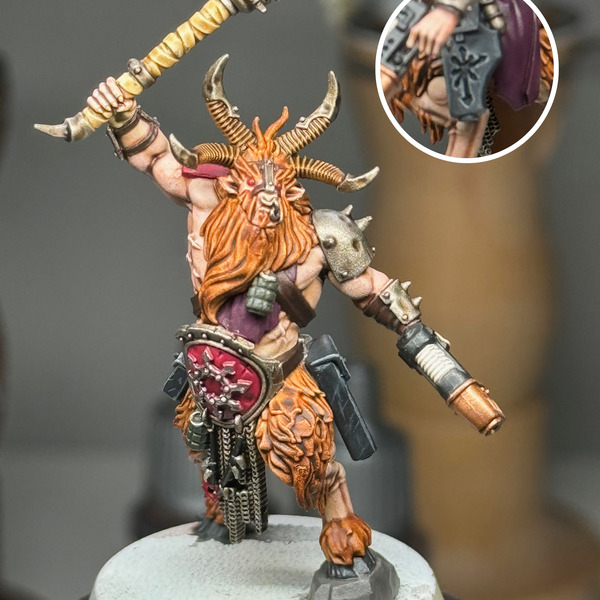 Use Dawnstone to edge highlight the gun holster and the pack. Also add some very thin scratches to give them a bit of texture, like scratched leather. Trace a thin line around the design on the gun holster, as shown on the inset image. As a final step, use Black Legion and flow some of this into the recessed design.
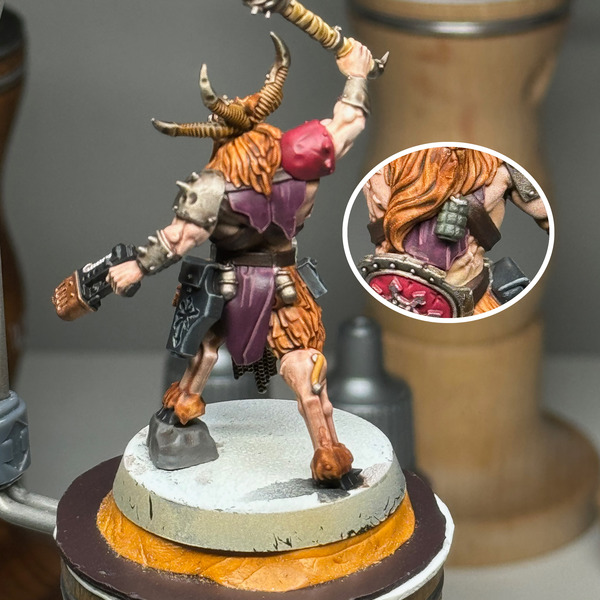 Next, use Pink Horror to edge highlight the cloth.
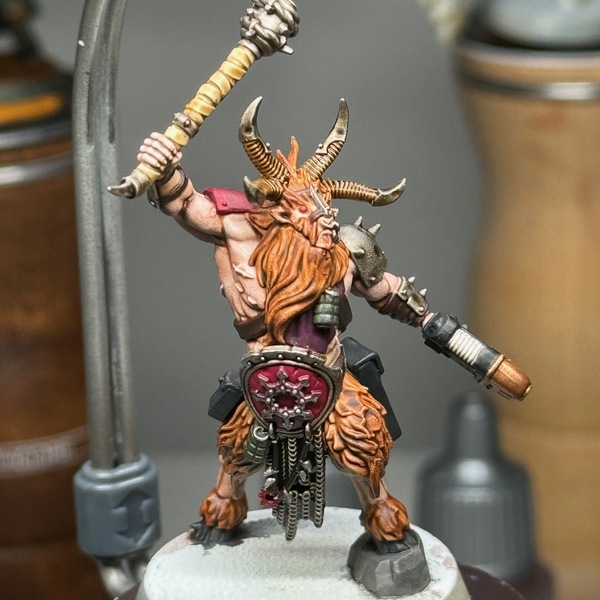
  We will now complete the horns. Use XV-88 to re-establish the raised parts. This can be tricky, but just make sure you have very little paint on your brush and apply it with the side of the bristles and follow the direction of the raised parts. After this, use Ungor Flesh to catch the lower 3/4 of the raised parts, use the same method above. Then finally, use a 50:50 mix of Ungor Flesh and Ushabti Bone to layer the lower quarter of the raised parts. The overall look should be that the horns get darker towards the tips.
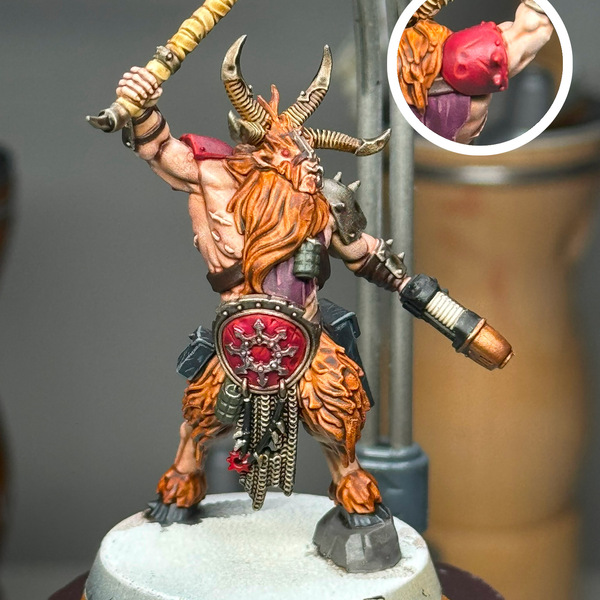 Use Wild Rider Red to highlight the red shoulder guard and the belt backdrop. Try to get a thin line round the outer edge of the belt inset. Pick out any dents by highlighting around them.
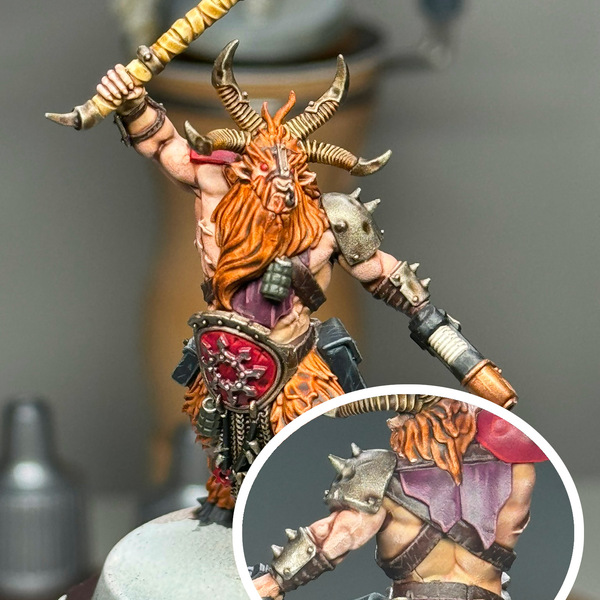 Weather the leather straps with Gorthor Brown . To do this, instead of edge highlighting, use small dots on the edges. Also add small thin lines to make "scratches" in the leather.
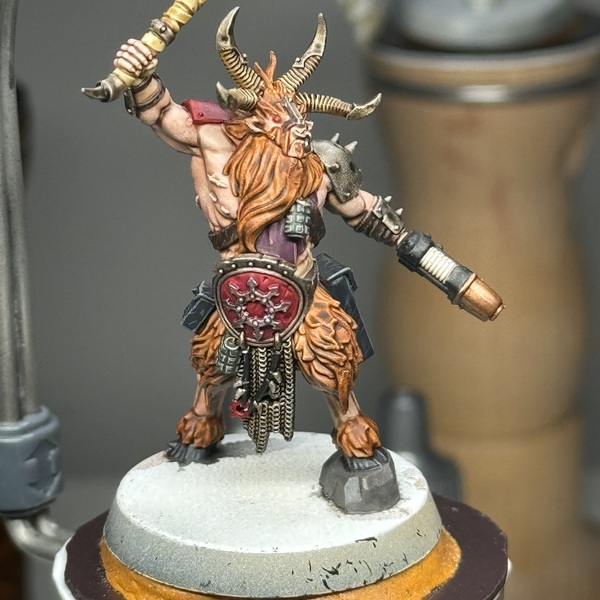 Edge higlight the granade square peices with a 50/50 mix of Deathworld Forest and Vallejo Ivory (or any ivory that you have)
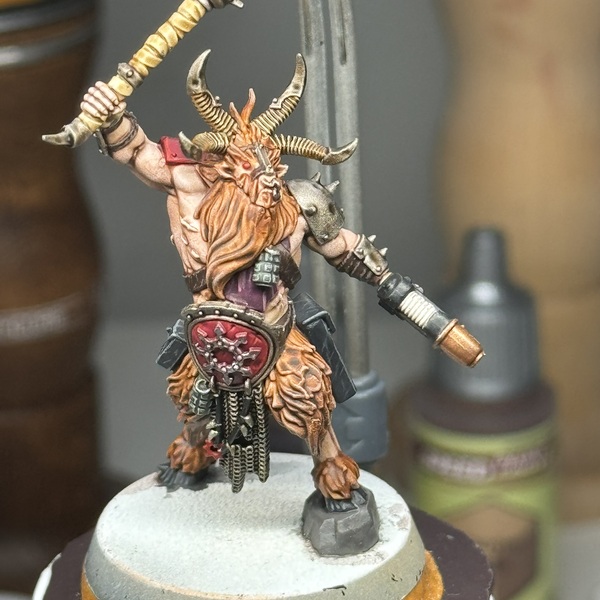 Take some Gore-grunta Fur and some Vallejo Ivory and make a lighter version of the contrast. Paint this over the tips of the fur to give it a lighter hue closer to the ends of the hairs.
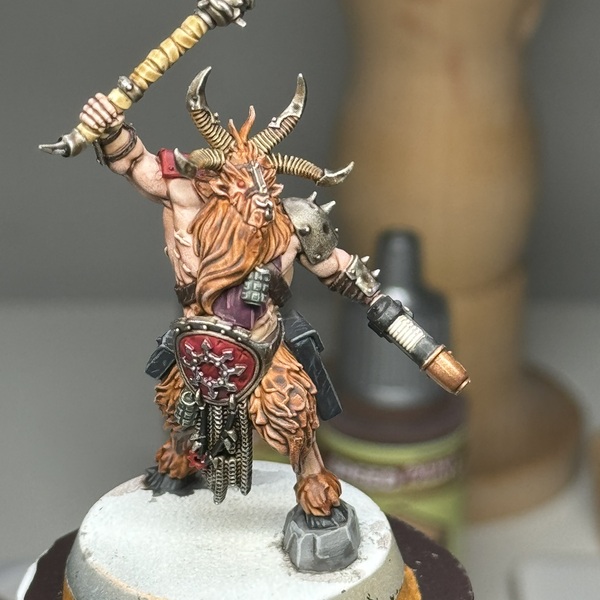 For the rock the goat is stood on, use Reaper MSP Stone Grey to layer over the darker grey, being careful to avoid any shadows/recesses that you want to keep. The do an edge highlight of Reaper MSP Weathered Stone
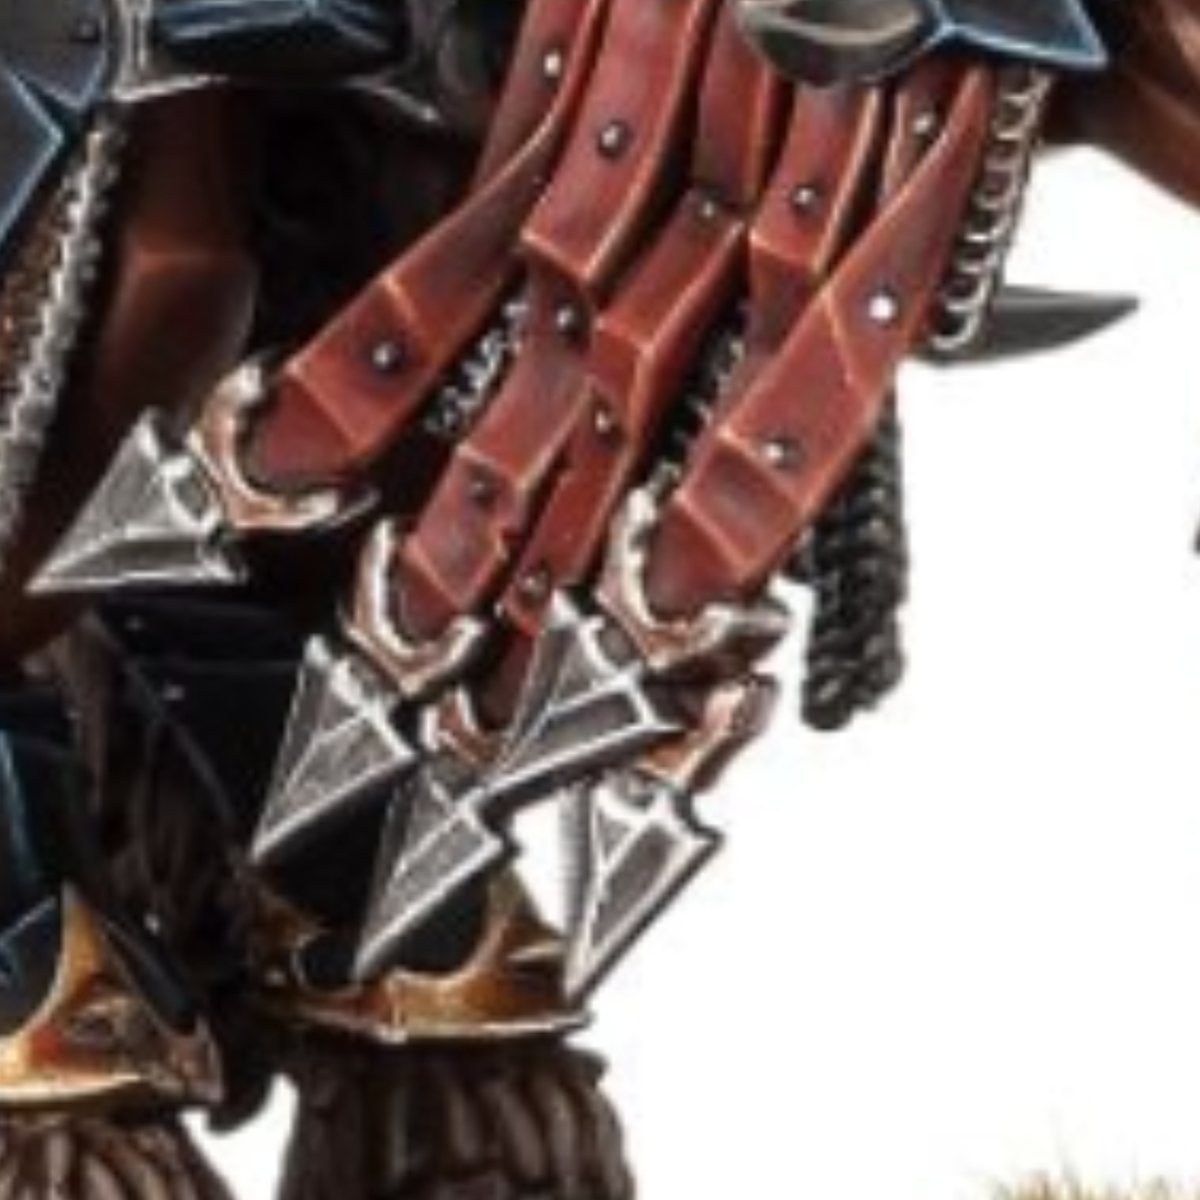
 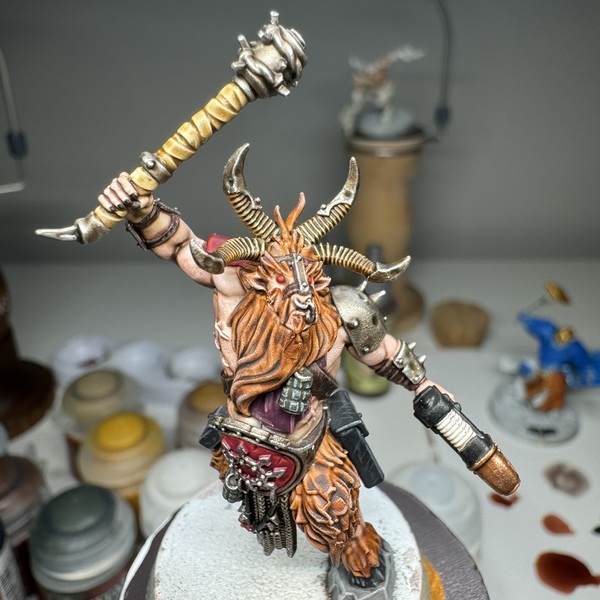 Next the metals, use Runefang Steel to edge highlight, whilst also paying attention to dents and chips in the metal, edge highlight those too. Pick out upwards facing small pieces of metal to give them some distinction too. As an optional step, pick out the fingernails with a matt black, I used Vallejo Model Color Black
 Plasma Pistol
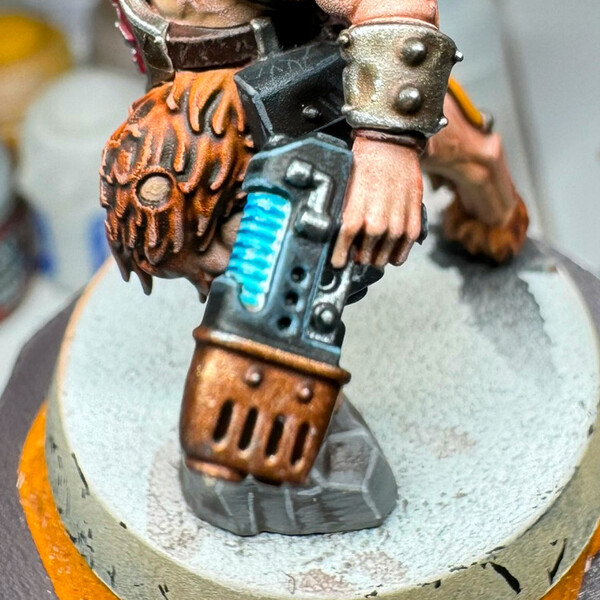
- To do the plasma base the coils in Baharroth Blue . Wash a pure white into the very bottom of the coils to make a line close to the casing. I used Monument Hobbies Bold Titanium White . Then pick out the raised coils with Temple Guard Blue leave some of the erlier blue to show towards the bottom. Then 3/4 of the way up use Caledor Sky . The should get darker towards the top.
- For the casing, use Thunderhawk Blue to do a thick edge highlight. After this use Fenrisian Grey to catch the sharp and upwards facing edges. Also pick out some details with Runefang Steel to break up some of the black.
Final touch
 Use Volupus Pink to catch the scars to give them a sore look.
AK Interactive Acrylics
Primer 1
- AK181 Desert Sand Primer
Citadel Painting System 29
Base 11
- Averland Sunset
- Balthasar Gold
- Barak-Nar Burgundy
- Caledor Sky
- Deathworld Forest
- Iron Hands Steel
- Khorne Red
- Leadbelcher
- Mephiston Red
- Rhinox Hide
- XV-88
Shade 1
- Agrax Earthshade
Layer 12
- Baharroth Blue
- Dawnstone
- Fenrisian Grey
- Gorthor Brown
- Pink Horror
- Runefang Steel
- Temple Guard Blue
- Thunderhawk Blue
- Ungor Flesh
- Ushabti Bone
- White Scar
- Wild Rider Red
Air 1
- Zandri Dust
Contrast 4
- Black Legion
- Gore-grunta Fur
- Skeleton Horde
- Volupus Pink
Reaper Master Series
Base 3
- 9085 Shadowed Stone
- 9086 Stone Grey
- 9087 Weathered Stone
The Army Painter Warpaints
Speedpaint 1
- Crusader Skin
Vallejo Model Air
Base 1
- 71.065 Steel Metallic
Vallejo Model Color
Base 4
- 70.862 Black Grey
- 70.918 Ivory
- 70.950 Black
- 70.995 German Grey