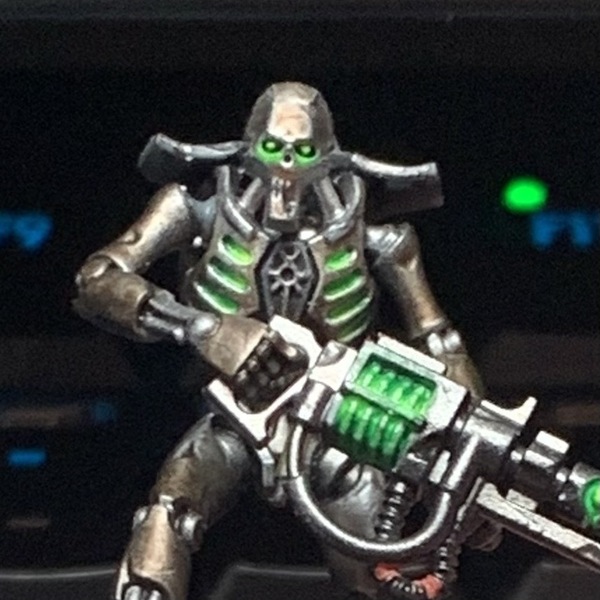
![Necron Warriors (Sautekh Dynasty) [AP Fanatic]](https://assets.paintpad.app/rails/active_storage/representations/proxy/eyJfcmFpbHMiOnsiZGF0YSI6MjU3MjIsInB1ciI6ImJsb2JfaWQifX0=--e4567b1c566649e48afd3cade98b75584b903014/eyJfcmFpbHMiOnsiZGF0YSI6eyJmb3JtYXQiOiJwbmciLCJyZXNpemVfdG9fZmlsbCI6WzEyMDAsMTIwMF0sImF1dG9fb3JpZW50Ijp0cnVlfSwicHVyIjoidmFyaWF0aW9uIn19--3488792ed1d31cc2a99cfa03be7ba24f7aecbcb6/Necrons.png)
Preparation
The preparation is important to the end result, since Necrons are almost entirely metal.
- Prime with Gloss Black , avoid priming with mat,if you can. A gloss undercoat will help with the TMM, while offering deeper blacks in the recesses.
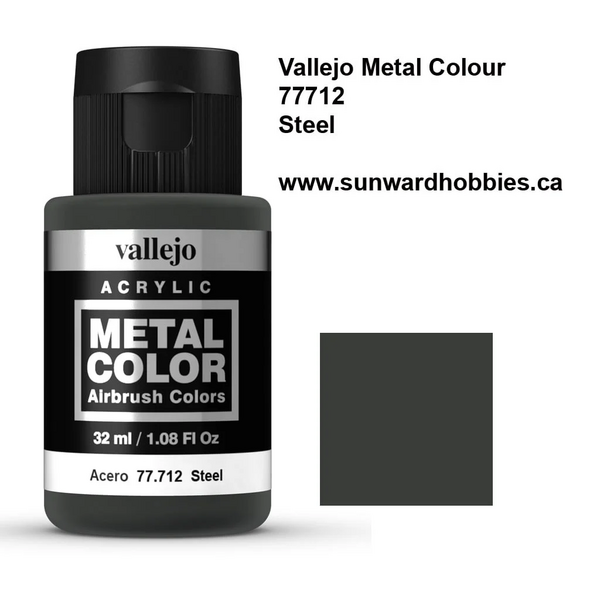 Airbrush or paintbrush a base coat of Steel , in a semi-zenithal way; the idea being to hit as little of the deep recesses as possible.
 Wash the whole model with a black like Nuln Oil , Oblivion Black Wash , or Dark Tone ; it doesn't much matter which you use, but I have a preference for Nuln Oil for necrons, as it gives out a slightly deeper, and glossier black.
- Wash again with black, but only the center, internal parts like the spine, bottoms of the legs, forearms.
Base coats
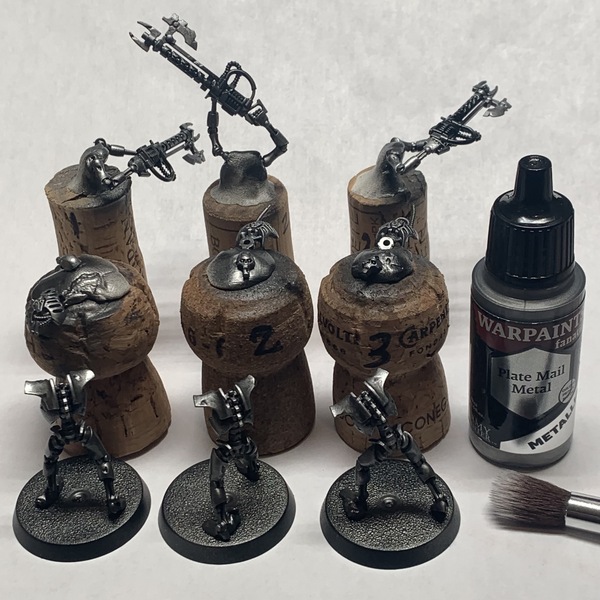 Medium heavy drybrush with Plate Mail Metal , focusing on the armor plates and the protruding parts of the spine.
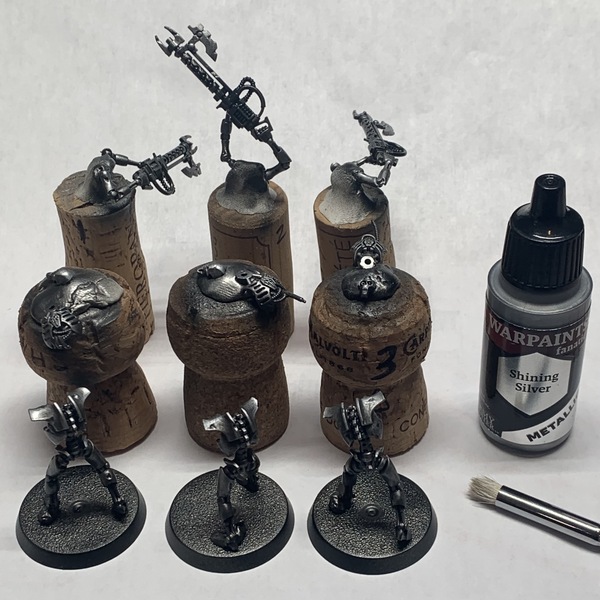 Lighter controlled drybrush with Shining Silver , focusing only on the upper facing parts, lik the top half of the ribcage, top of the head, and top facing of the arms, then cheating a bit on the plates of the legs going more forward facing than top only.
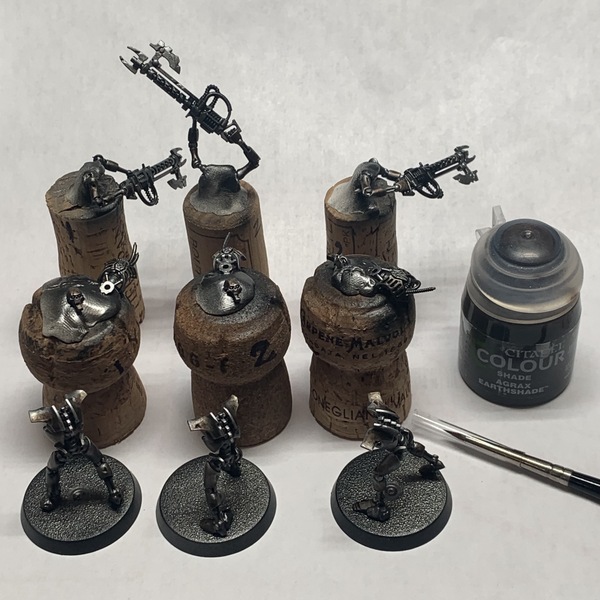 This one is a bit odd; in essence, we're going for a wash of Agrax Earthshade on the armored parts. However, we'll be using it half as a glaze, in a controlled way, in order to accentuate the grimy effect it will add, and build up small gradients towards the lower parts of the armor plates, by pushing the pigments downward.
 Chest insignia
 Keeping those simple, we'll start by basecoating all around the insignia with Matt Black . Then, a first edge highlight all around the edges of their shape with a 1:1 mix of Matt Black and Deep Grey . Finally, focusing on the upper edges of the insignia, a finer highlight of Deep Grey .
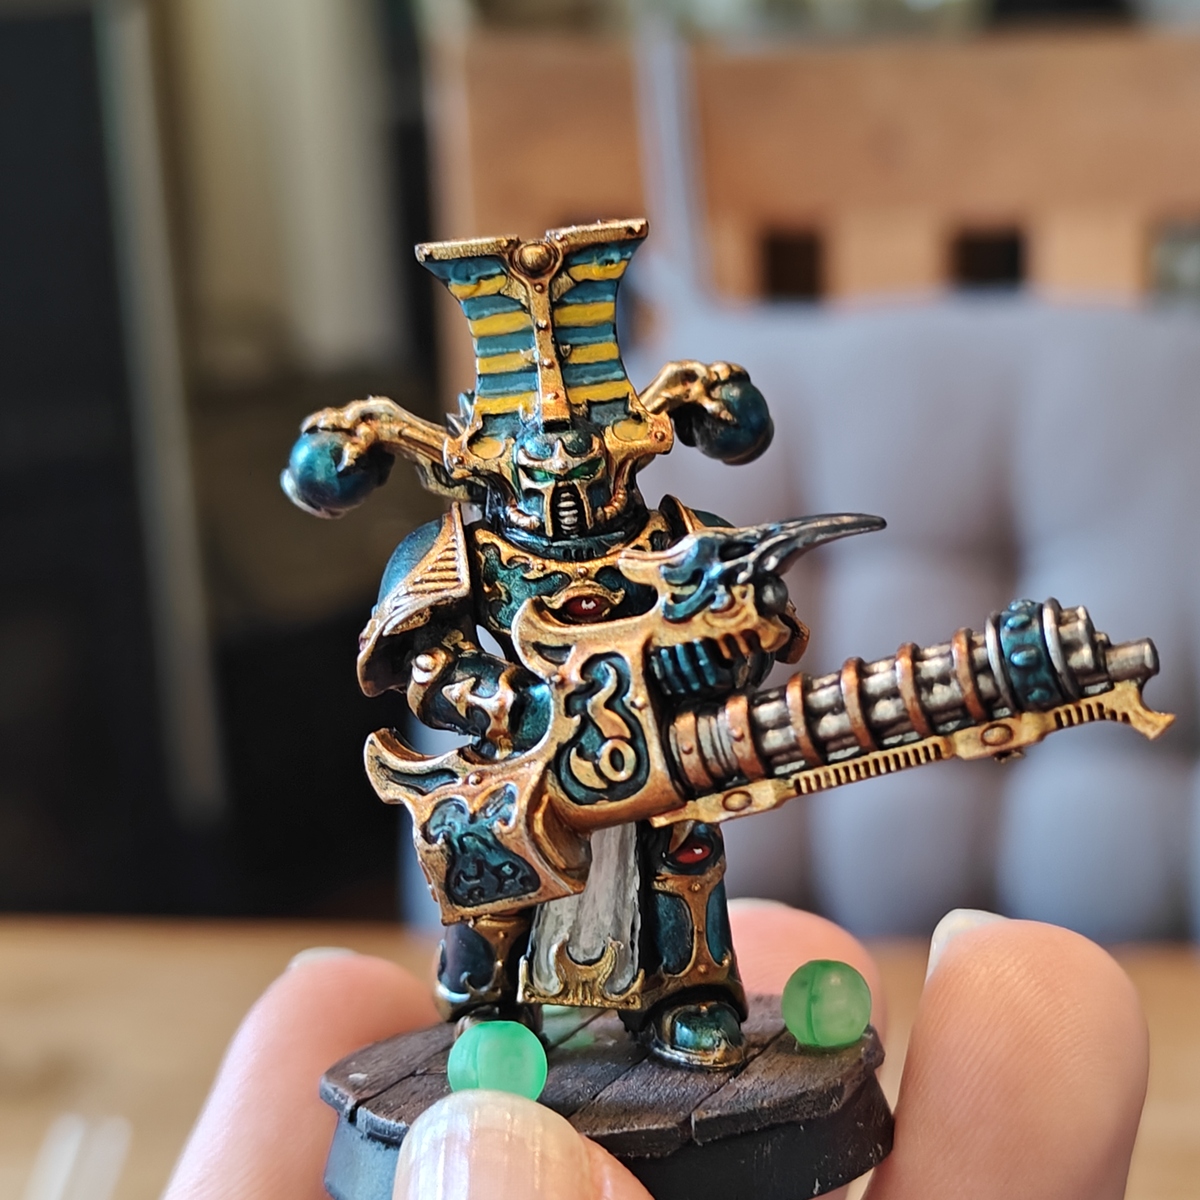
 Green effects
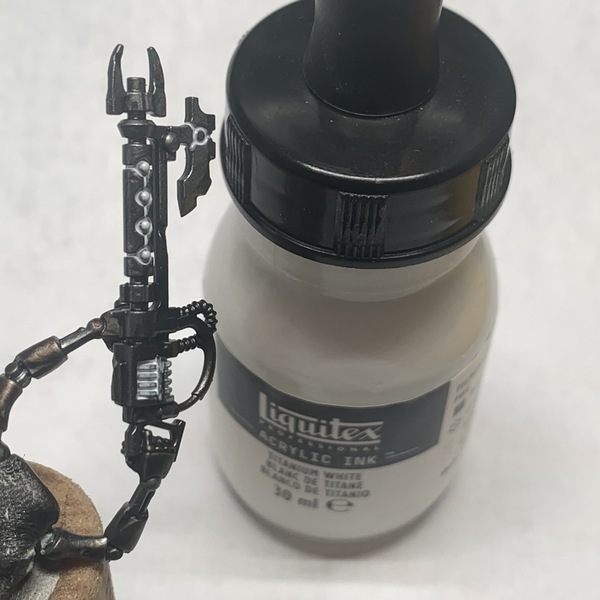 Before proceeding any further, and in particular with blocking the weapons with black, let's lay down the groundwork for the weapon effects using ink. I personally used Liquitex Titan White (not in the paint list of Paintpad), but your can go with White . You could technically also get that step with heavily thinned down white paint, but inks have two advantages: they're already thinned to a milk-like consistency to run along the recesses, and they are semi-transparent.
In any case, use a thin, long fine brush for this; it will allow you to store enough ink in the belly of the brush, without having too much and risking spilling the very thin paint all over, while giving you control with a fine enough tip to gently make contact inside the recesses and let the ink flow in.
Line the recess around the orbs, angling your brush towards the orbs so it does coat them a bit too. After you've run all the recesses, come back to the orbs and lay a tiny droplet of ink atop them.
Do the same with the eyes, carefuly avoiding spilling ink in the recess of the orbits.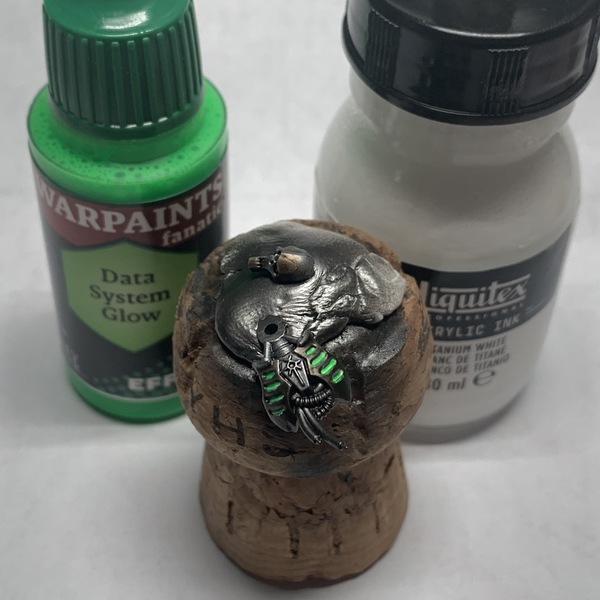 If you want, you can apply the same step to the recesses of the ribcage. Next, we'll be starting with the lighter green. Use Data System Glow . Use that same recipe to tint the eyes light green. If you can muster it, try and apply it more the further away from the light source. It's not really relevant for the gun orbs, but it is for the ribcage and the coil-like part of the gun, as it starts building a gradient away from the heart we imagine sitting behind the Runic Plate in the Necron's chests.
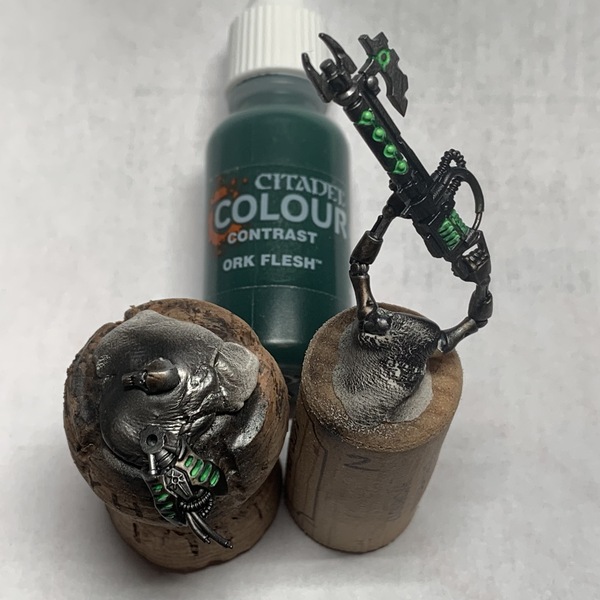 Next, we'll apply a 1:1 mix of Ork Flesh and Contrast Medium , very cautiously, in the zones of the recesses that are the further away from the light source, building a gradient of darker green.
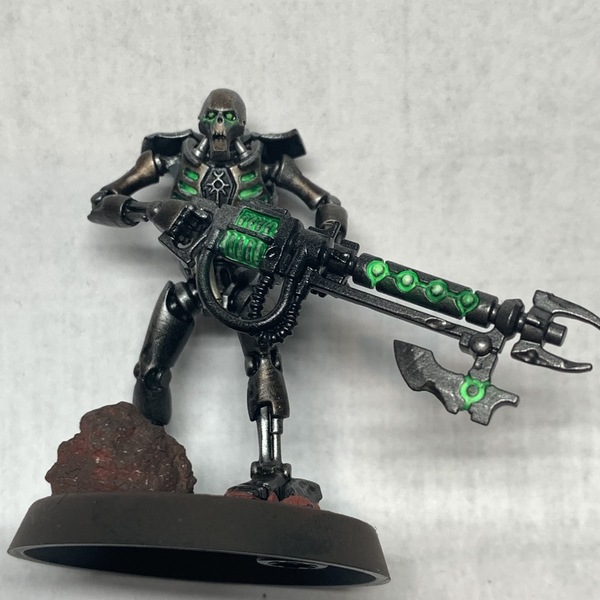 To simulate the eyes glowing effect, we'll toggle to acrylics. Start by mixing a glaze of Greenskin , and apply it very very cautiously from underneath the edge of the orbit, upward towards the orbit recess, without spilling over. Make sure to thoroughly remove the excess paint on a paper towel before applying the brush tip to the model.
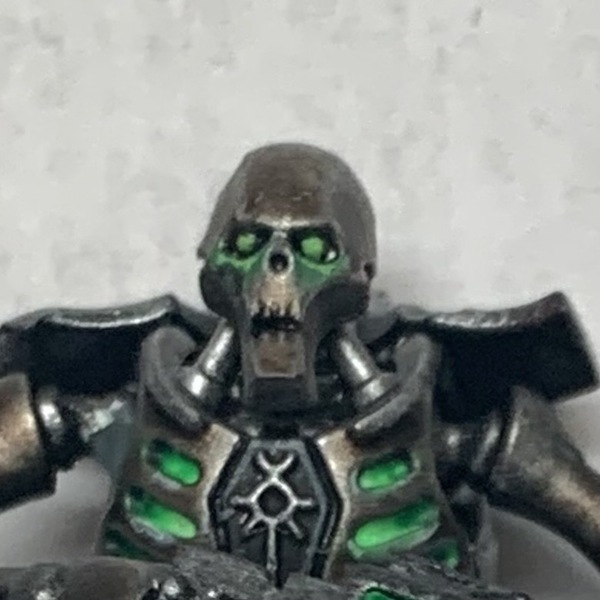 Next, grab some Emerald Forest , and thin it down 2:3 with Warpaints Stabilizer , or water, and edge highlight from the corner of the orbits towards the lowest point of their curve.
- Reapeat that same step but using Leafy Green , and leaving the sides of the curve untouched.
- Use Vivid Volt to put a single highlight point in the middle of the eyes.
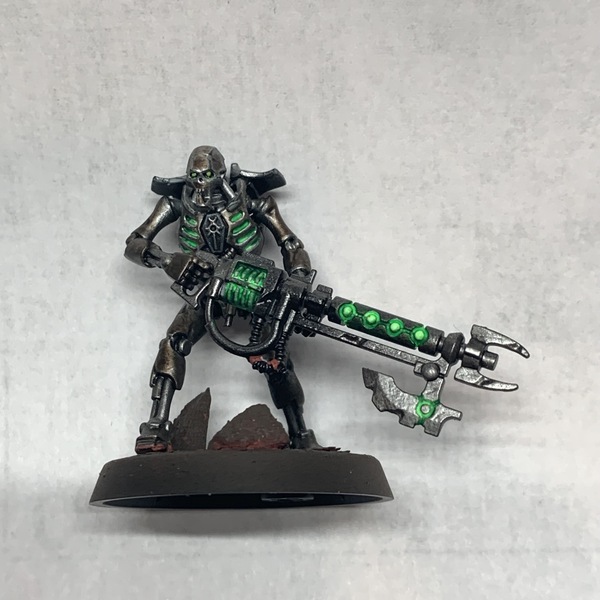
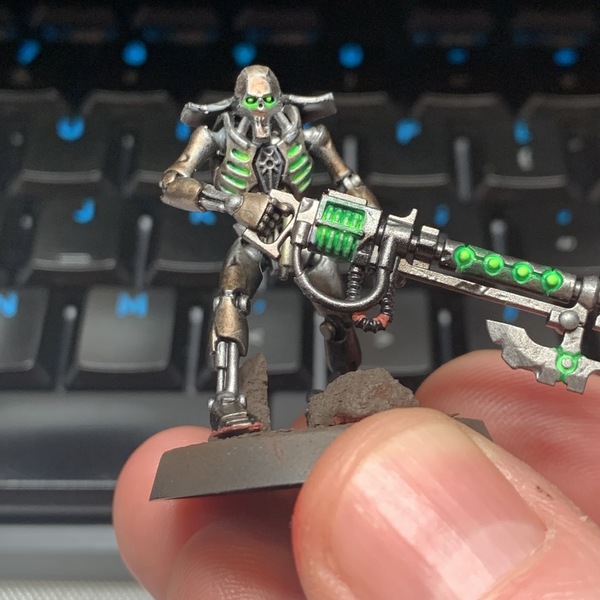 Finally, to further intensify those effects andd blend them a little better, we're going to use Lens Flare Glow , and drop the tiniest droplet of it in the ribcage recesses, close to the heart, on the eyes, on the top of the weapon's orbs, and in the brightest part of the weapon's coil. Because this is transparent, it will be bright green when it dries, rather than yellow, selling the effect further.
Citadel Painting System 4
Shade 2
- Agrax Earthshade
- Nuln Oil
Technical 1
- Contrast Medium
Contrast 1
- Ork Flesh
Daler-Rowney
FW Acrylic Ink 1
- White
The Army Painter Warpaints Fanatic 12
Acrylic 6
- Deep Grey
- Emerald Forest
- Greenskin
- Leafy Green
- Matt Black
- Vivid Volt
Effect 3
- Data System Glow
- Lens Flare Glow
- Warpaints Stabilizer
Metallic 2
- Plate Mail Metal
- Shining Silver
Wash 1
- Dark Tone
Two Thin Coats
Wash 1
- Oblivion Black Wash
Vallejo Metal Color
Base 1
- 77.712 Steel
Vallejo Surface Primer
Base 1
- 77.660 Gloss Black