
The war plan for Armageddon.
Primer
- Prime with Black with a Dark Ivory zenithal.
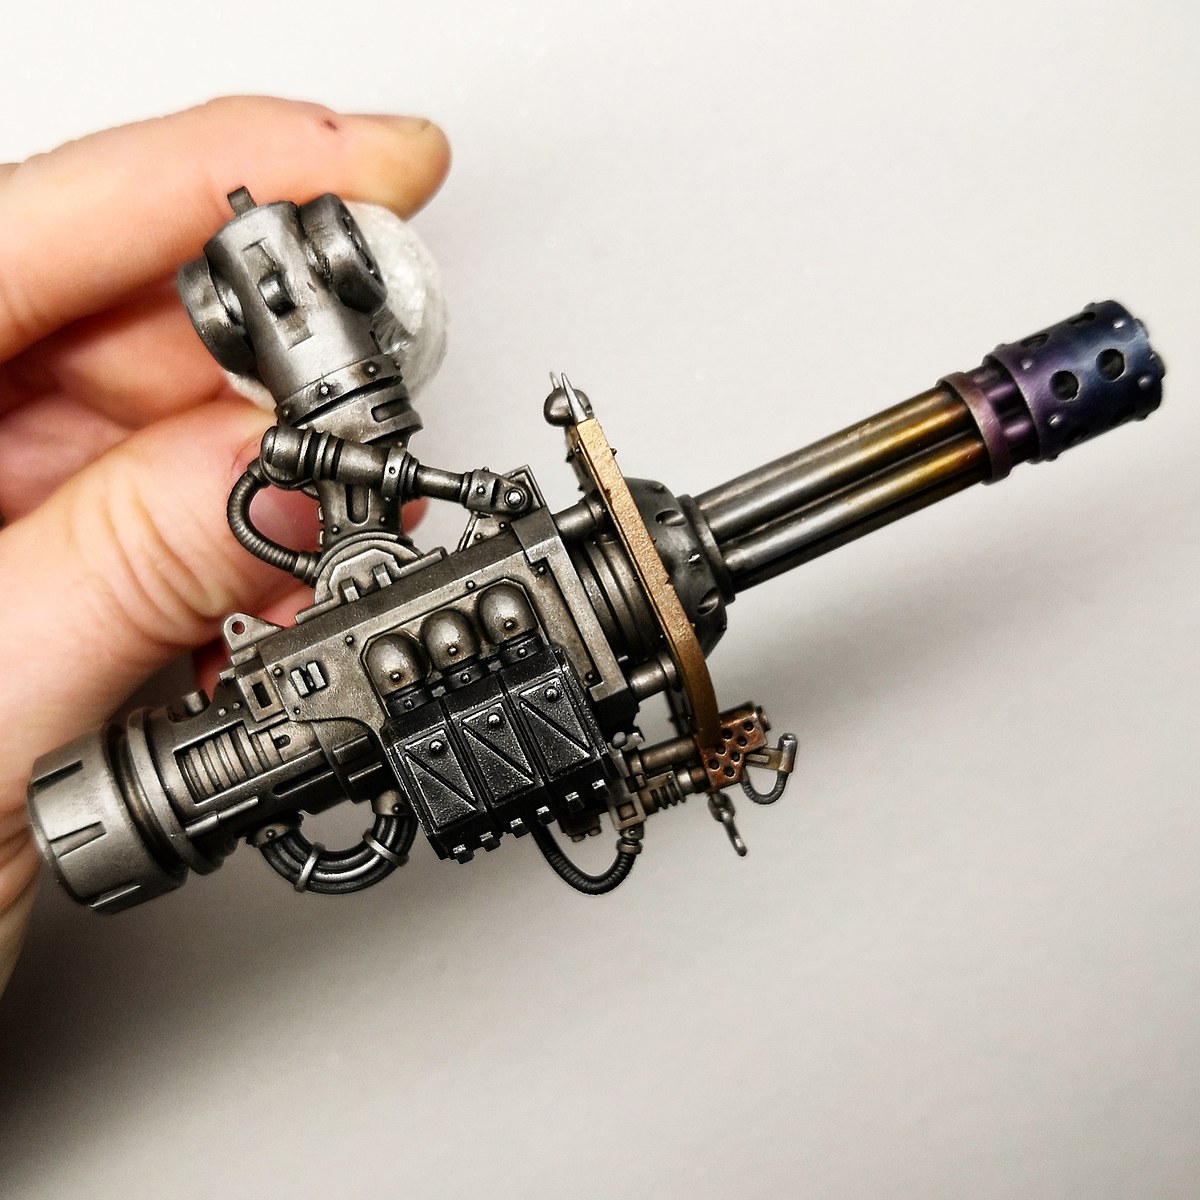
 Major Metals
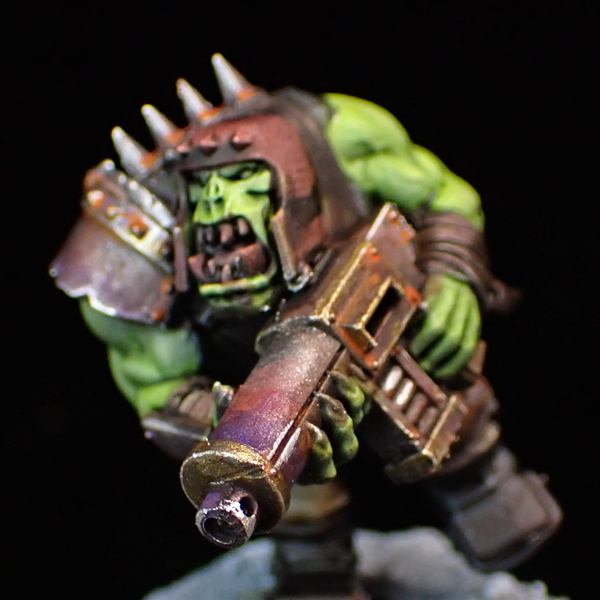
- Roughly touch a Rust pigment into the recesses of the major metals.
- Use a heavy dry brush Gun Metal to cover most of the metal, leaving some rust in the recesses.
- Use Satchel Brown to build in a few gradients to break up the metal.
- Use thinned Black and Satchel Brown to discolor and break up the metal.
- Build muzzle burn with red and blue inks.
- Use a lighter dry brush of Chainmail to highlight the metals.
Black Leather
- Use Grim Black for any black leather.
Ork Skin
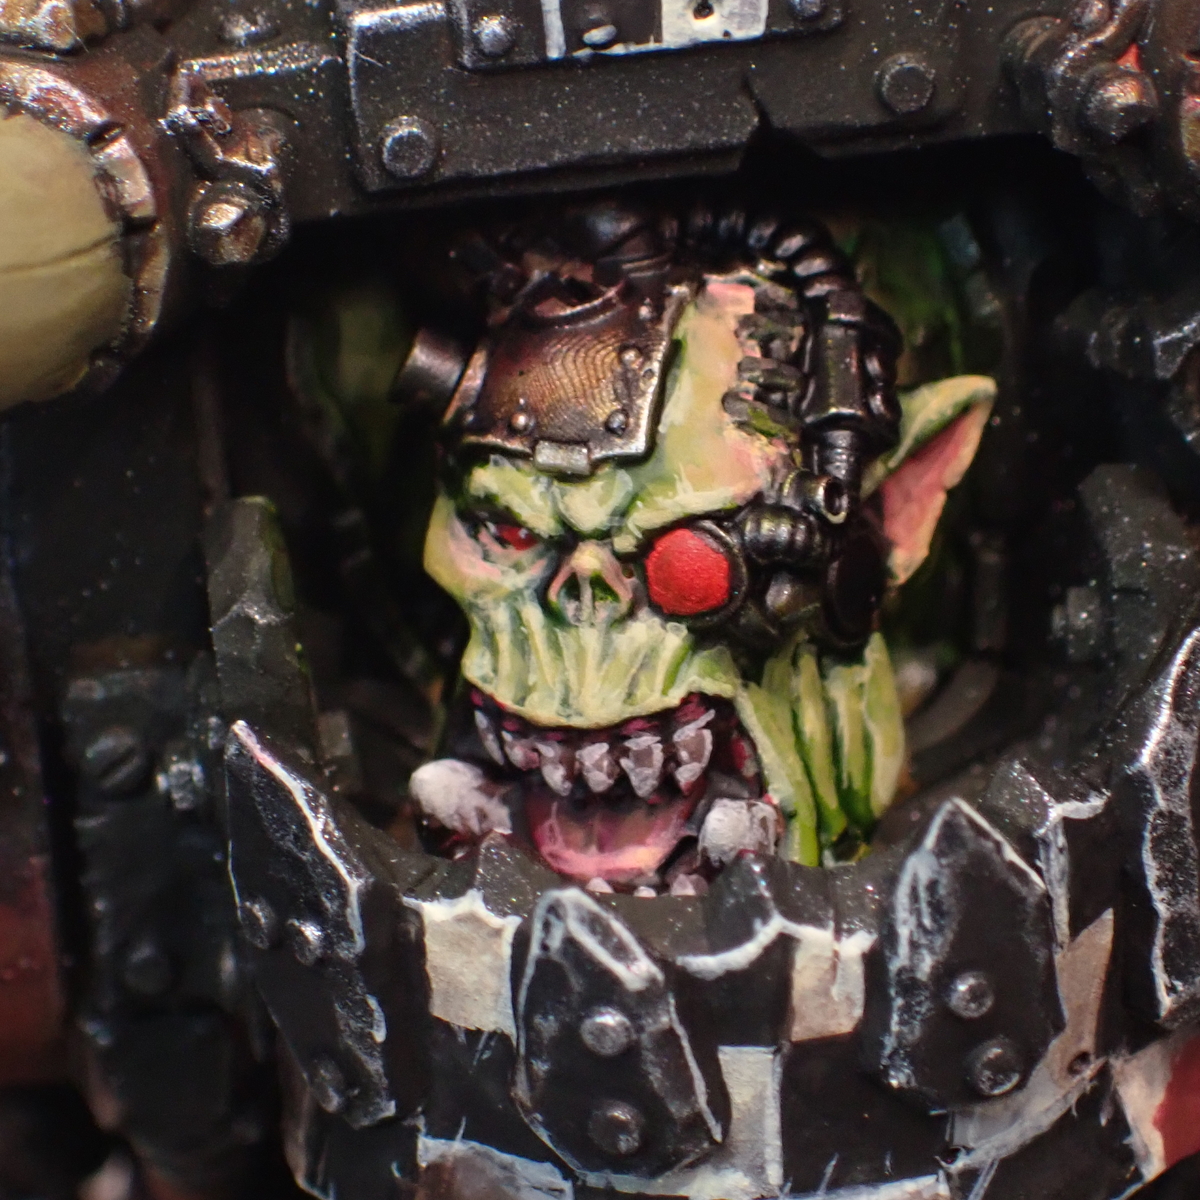
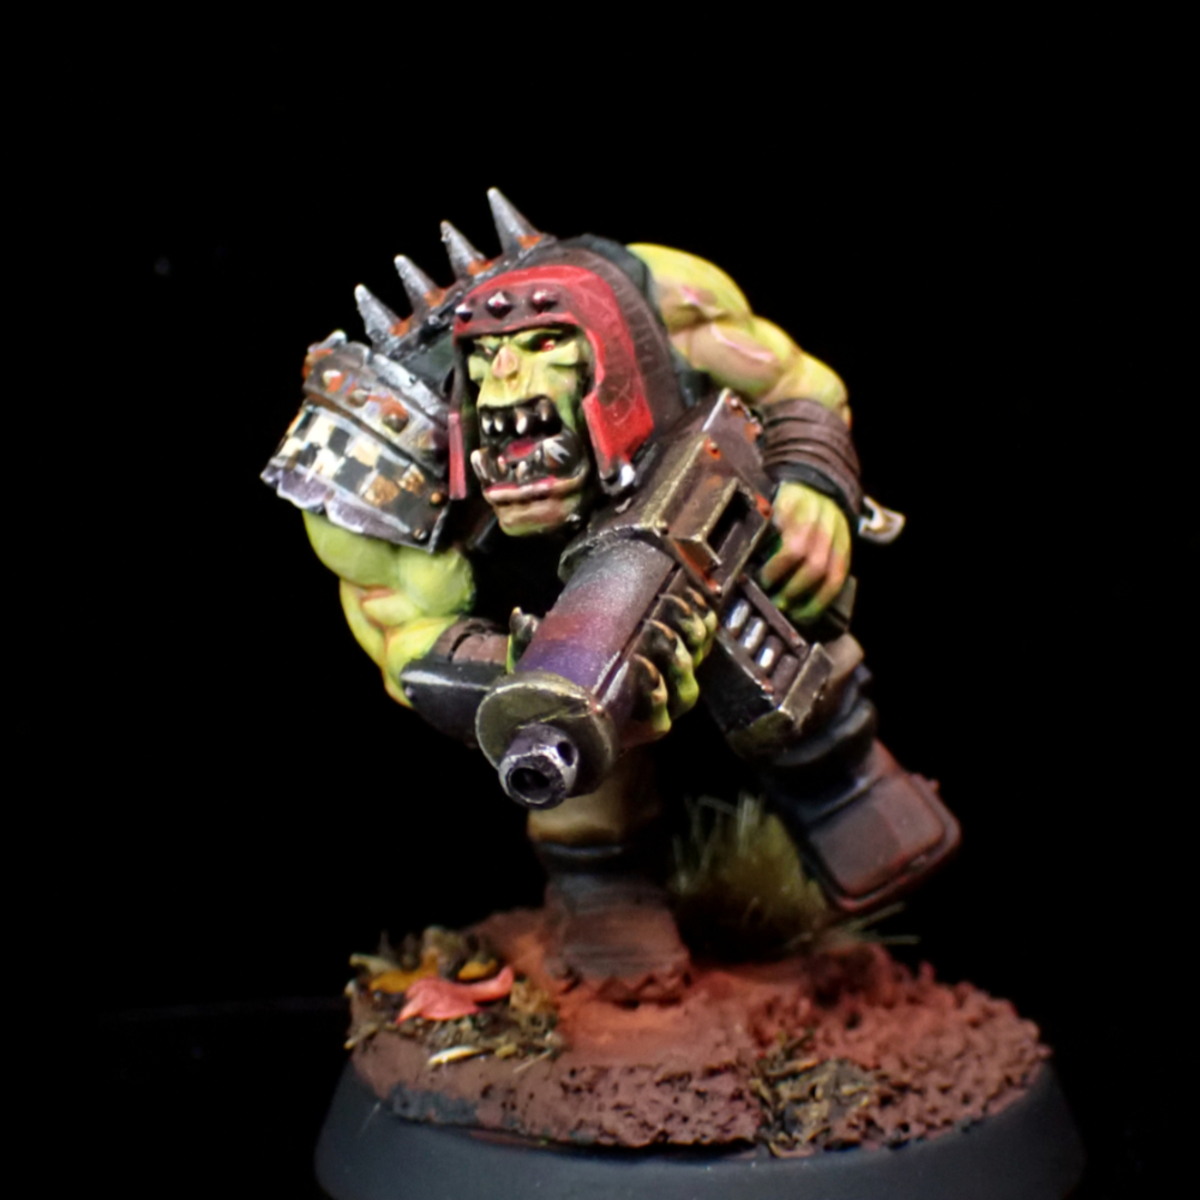
You should rush everything for most table top minis, but taking a bit of extra time to get the skin right will pay off handsomely on the final product.
- Add a green (I use Troll Snot Green ), a Yellow Ochre , Basic Skin Tone and Wine Red to your palette.
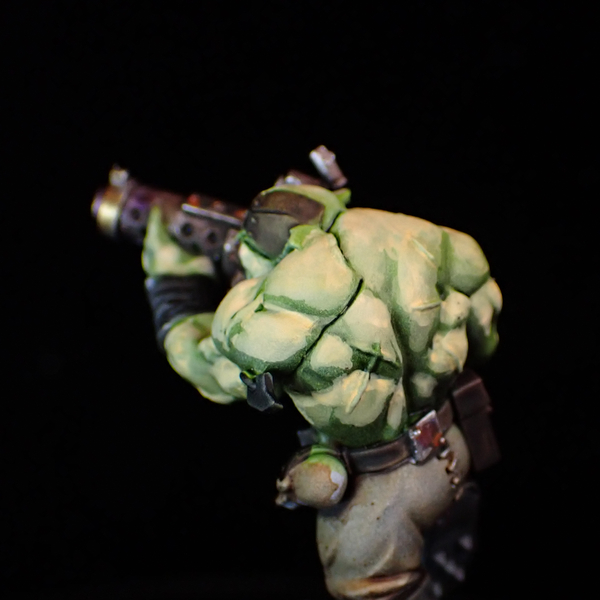 Use the Basic Skin Tone to sketch out major skin highlights. This will be the undertone for the very transparent green layers.
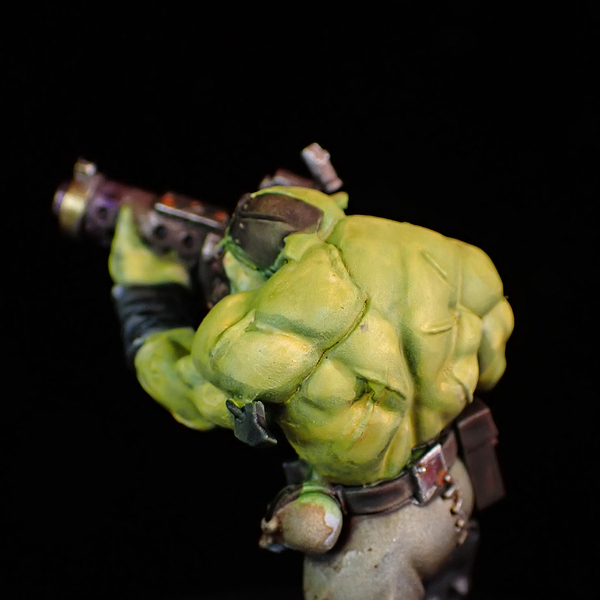 Use a mix of Troll Snot Green and Yellow Ochre as your main skin mix. Add a couple layers to the skin. The first should liberally cover most of the model to blend everything so far together. Additional layers to pull up to the highlights.
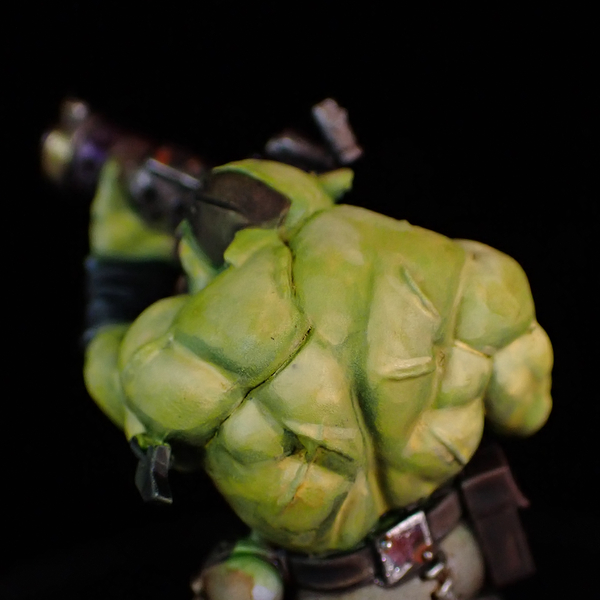 Mix a small amount of Basic Skin Tone into the skin color and apply light highlights to the brightest areas of the muscles.
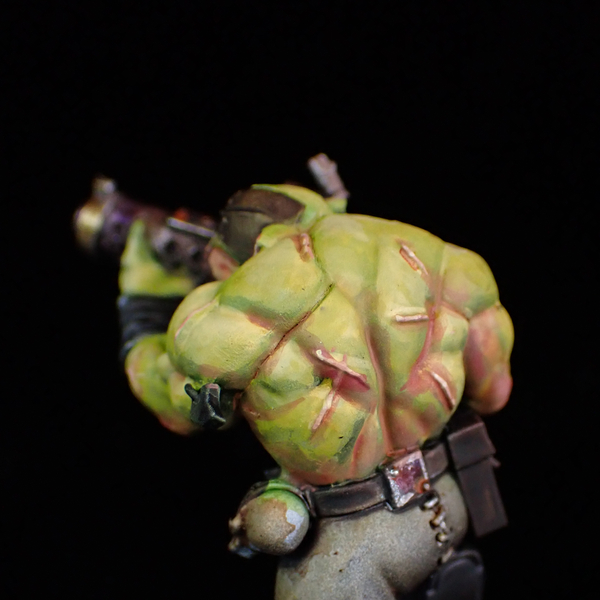 Add some Wine Red to the skin tone to add color variation to the shadows, mouth, tongue, cheeks, nose, elbows, knuckles, and scars.
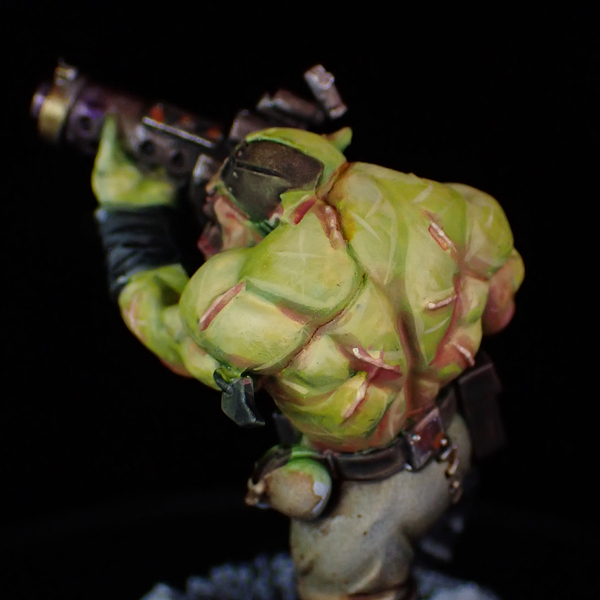 Finally, use further Basic Skin Tone mixes with the skin tone to add final highlights, scar highlights, and scratch linework.
 Facial Features
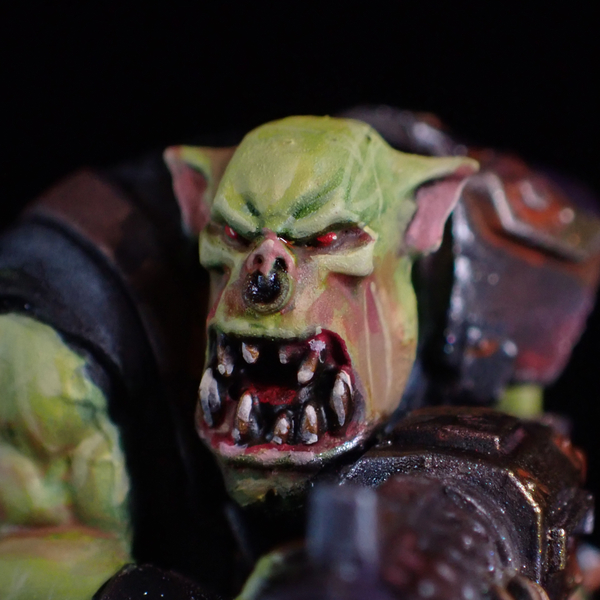
- Use Basic Skin Tone to base coat teeth & nails (don't forget any teeth borrowed from other Orks!).
- Cover these areas with Smokey Ink .
- I leave the nails as is here, for any teeth add some flow improver to Basic Skin Tone and add some final highlights.
- Add some Wine Red to the skin tone mix with some Basic Skin Tone to paint the inside of the ears and any lips/nose details you need to finish.
- Use the Wine Red and Bold Pyrrole Red for the tongue.
- Grab anything from your palette to darken the eye sockets as needed.
- Paint the eyes with Bold Pyrrole Red .
- Add a glint to the eye with Bright Ivory .
 Cloth
Cloth
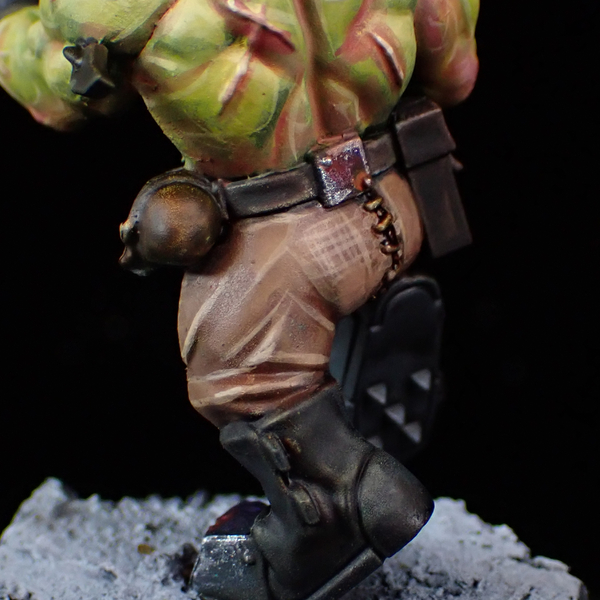
- Wet blend between Warm Brown and Cork Brown to get some basic shading into the pants.
- Add a small amount of Basic Skin Tone to the Cork Brown to add edge highlights and hatch textures.
 Leather
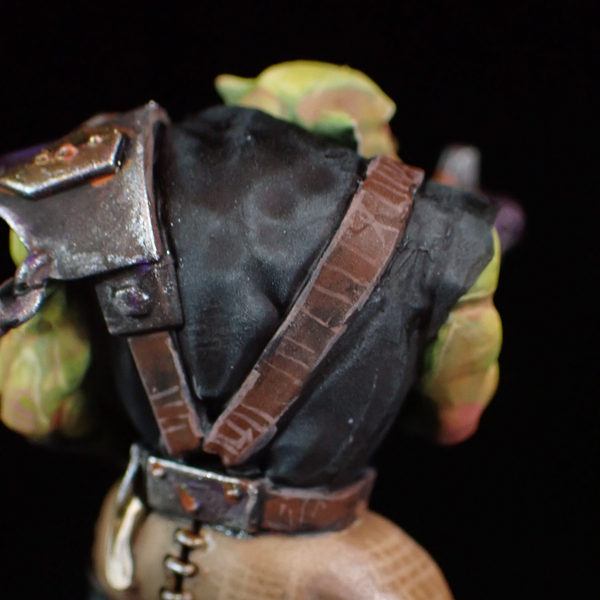
- Use Warm Brown to bring the darkened straps up to a neutral tone, this will cover ~80% of the straps, or more as needed to cover spillover.
- Add a touch of Basic Skin Tone to the Warm Brown and add quick choice edge highlights and texture work. It doesn't need to be everything, just enough.
- Use some Black and touch up the edges of the black leather. Use a thinned Black to glaze deeper shadows into the brown leather if needed or desired.
 Remaining Metals
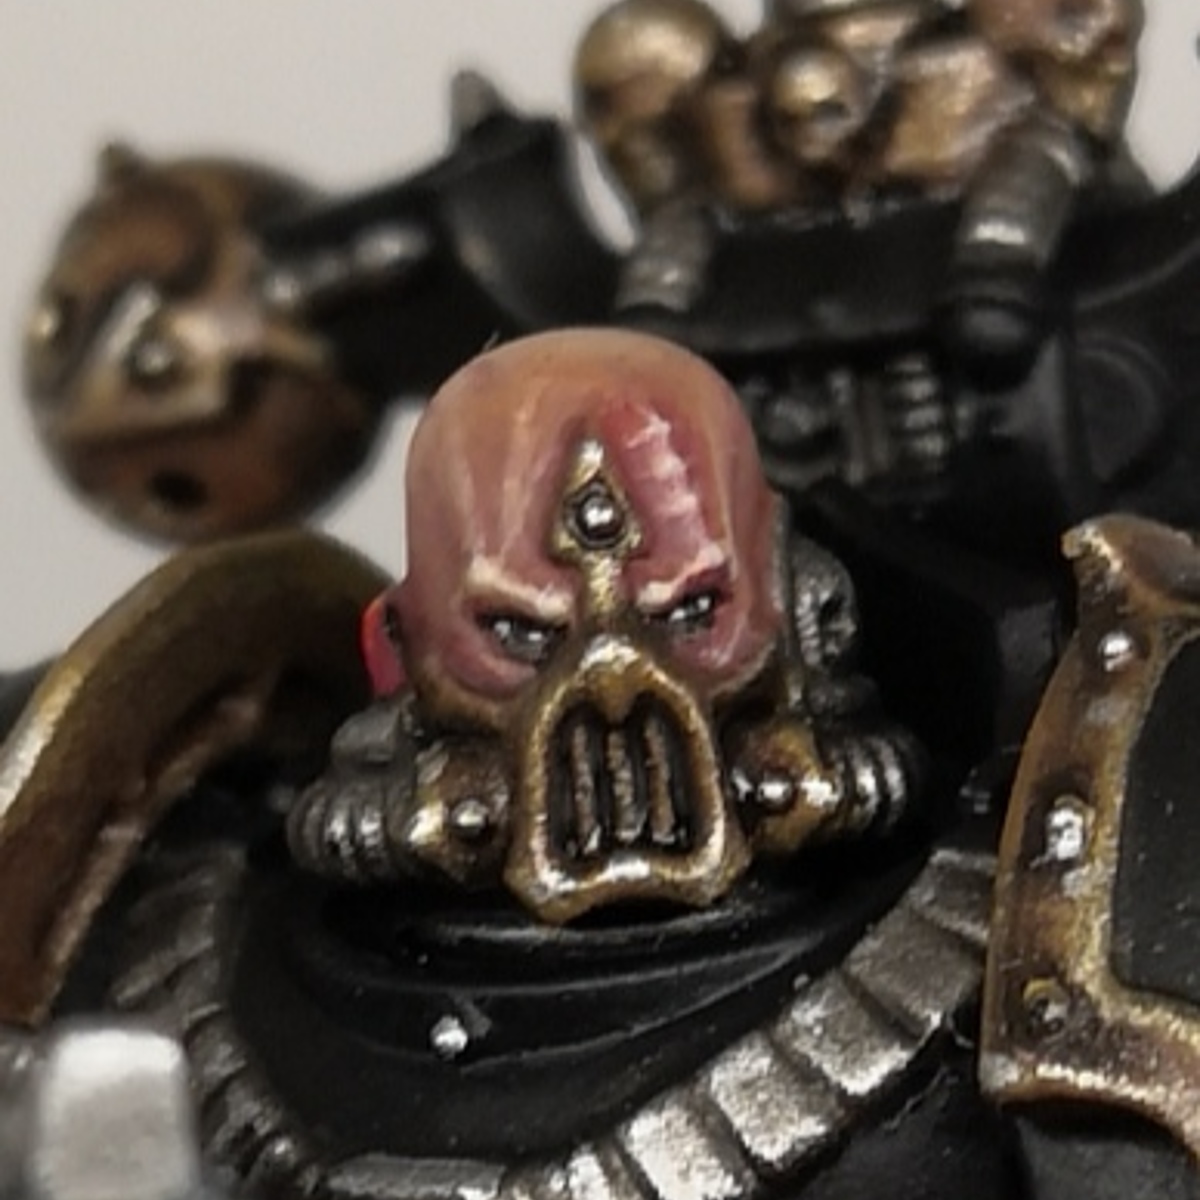
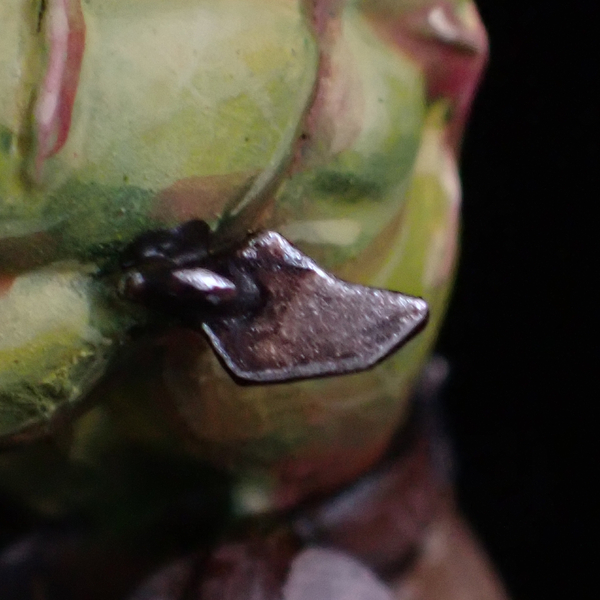
- Add some Smokey Ink to remaining small metallic areas: strap clamps, facial jewelery, chains, and so on. For slightly larger areas (e.g. metal teeth), start with a Chainmail base coat and add the ink over top.
- Use a thinned Chainmail to highlight those small areas.
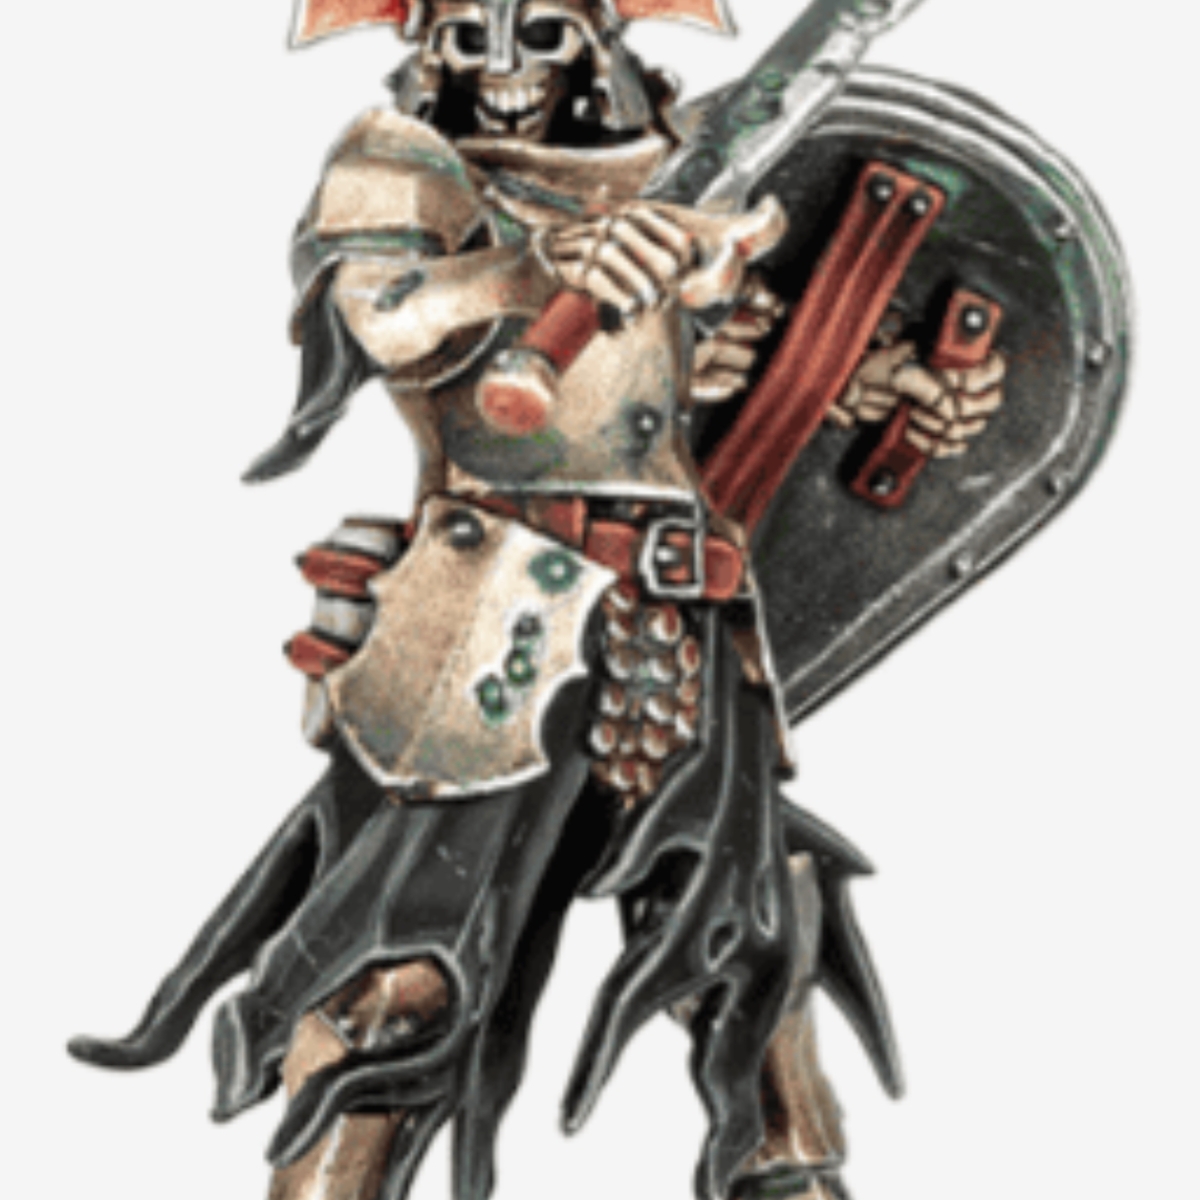
 Skulls & Bones
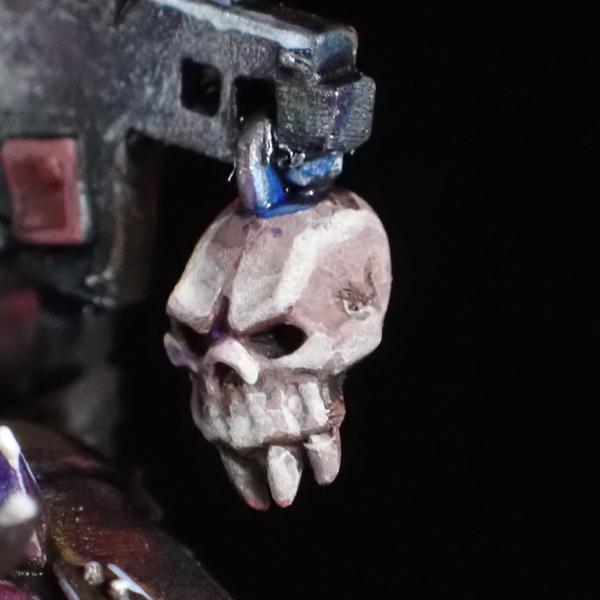
- Base coat with Warm Brown .
- Blend up to a Bright Ivory , add some sketchy scratchy textures once you reach pure Bright Ivory . This doesn't need to be amazing, get it done quick.
 Checker Boards
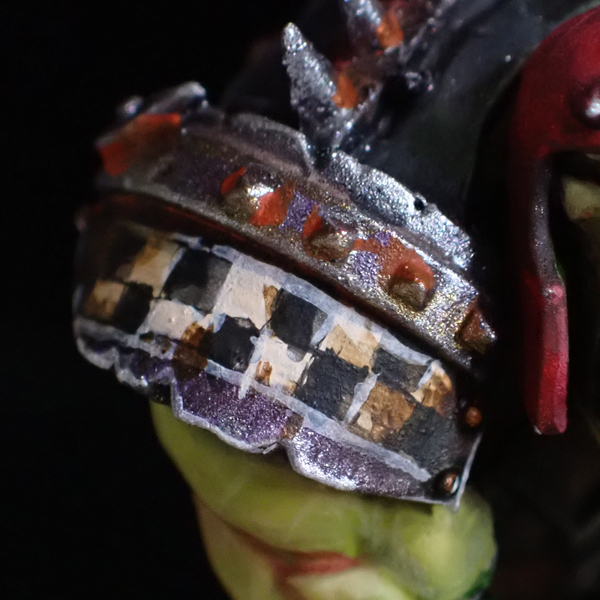
- Base coat the desired area with Basic Skin Tone .
- Thin Black with flow improver and sketch out and fill the checker board pattern.
- Using the Basic Skin Tone and as needed additions of Bright Ivory , add corrections and highlights to the white area of the checkerboard.
- Use a few thin layers of Smokey Ink to dirty up the checkerboard edges and integrate it into the model.
- Edge highlight the full checkerboard area with the Basic Skin Tone & Bright Ivory mix.
 Hazard Stripes
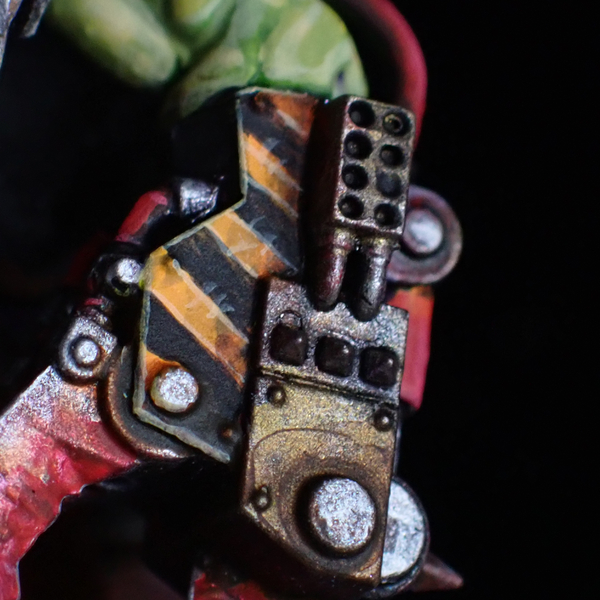
- Base coat the desired area with Basic Skin Tone to undertone the yellow.
- Follow up with a Golden Yellow base coat.
- Add gradients with Orange and a bit of Smokey Ink on the edges.
- Thin Black with flow improver to sketch and fill the stripes.
- Mix some Basic Skin Tone into the Golden Yellow , thin with flow improver, and add edge highlights to the yellow stripes and the full hazard area. (optional) Sketch some scratches with this mixture as well.
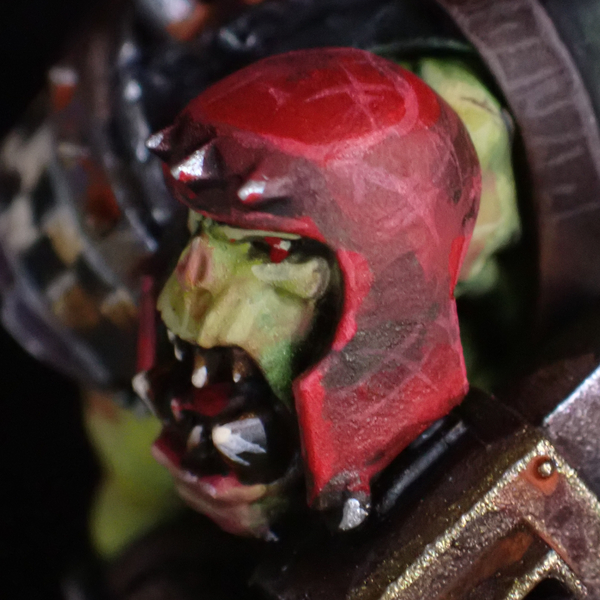 Red Paint
- Base coat with a mix of Warm Brown and Brick Red .
- Blend up with pure Brick Red as the midtone.
- Add highlights with Bold Pyrrole Red .
- Use a mix of Basic Skin Tone with the Bold Pyrrole Red to edge highlight and sketch scratches.
AK Interactive 3rd Generation Acrylics 4
Standard 3
- AK11052 Basic Skin Tone
- AK11093 Brick Red
- AK11096 Wine Red
Metallic 1
- AK11212 Gun Metal
Monument Hobbies Pro Acryl 8
Base 5
- 003 Bold Pyrrole Red
- 006 Golden Yellow
- 007 Orange
- 022 Bright Ivory
- 038 Yellow Ochre
Signature Series: Ninjon 2
- S07 Dark Ivory
- S09 Warm Brown
Prime 1
- PRIME 002 Black
The Army Painter Speedpaint 2.0
Speedpaint 2
- Grim Black
- Satchel Brown
Two Thin Coats
Highlight 1
- Troll Snot Green
Vallejo Game Color 3
Base 1
- 72.068 Smokey Ink
Metallic 1
- 72.053 Chainmail
Special effect 1
- 72.131 Rust
Vallejo Model Color
Base 2
- 70.843 Cork Brown
- 70.950 Black