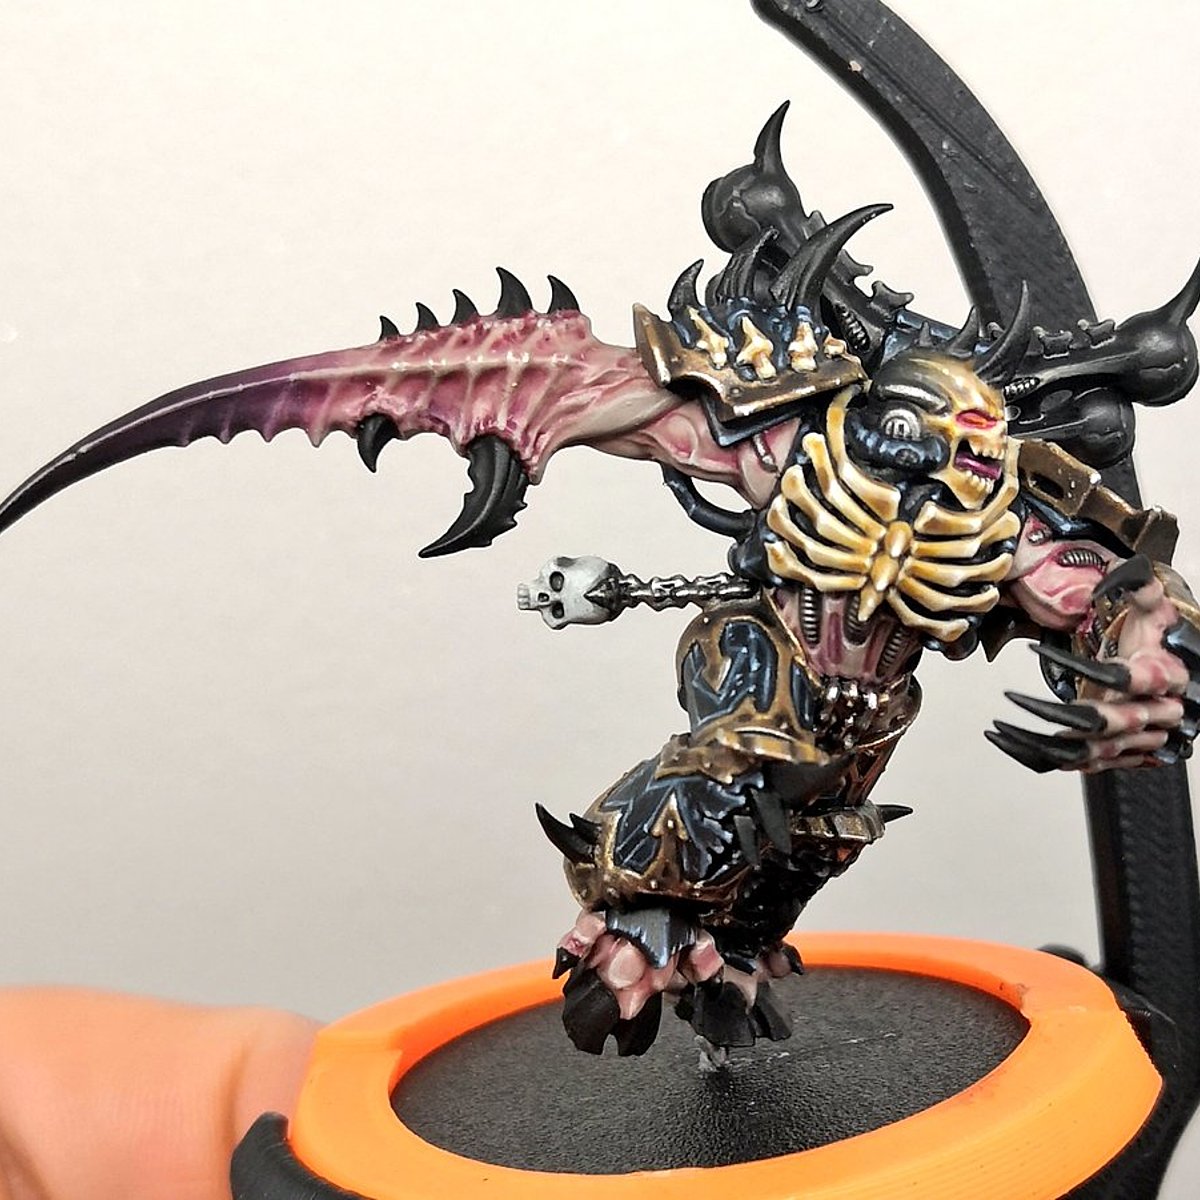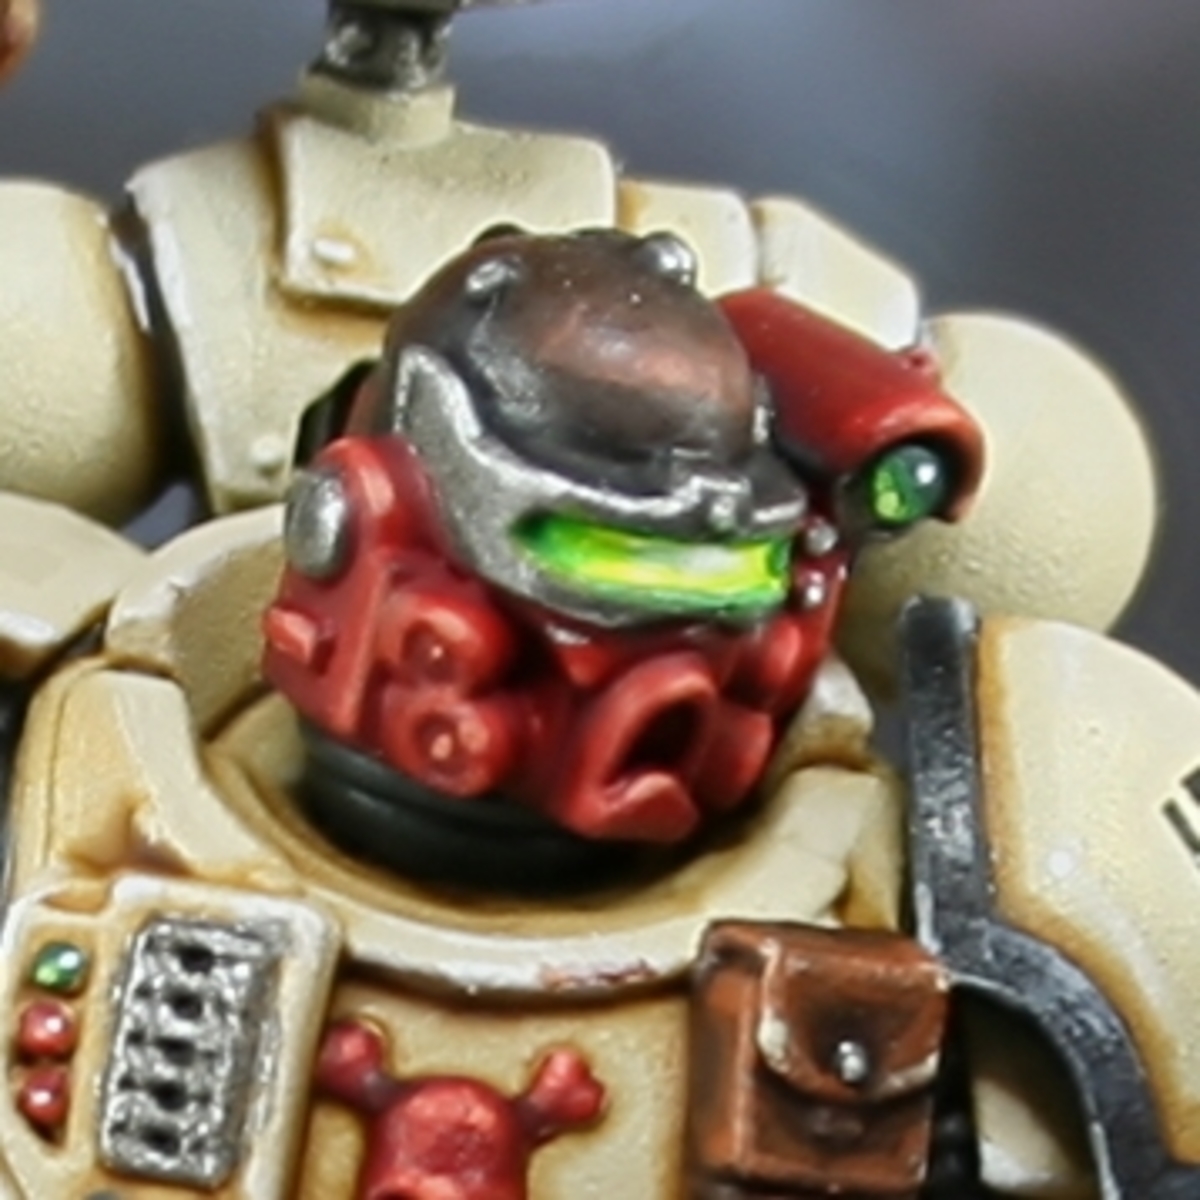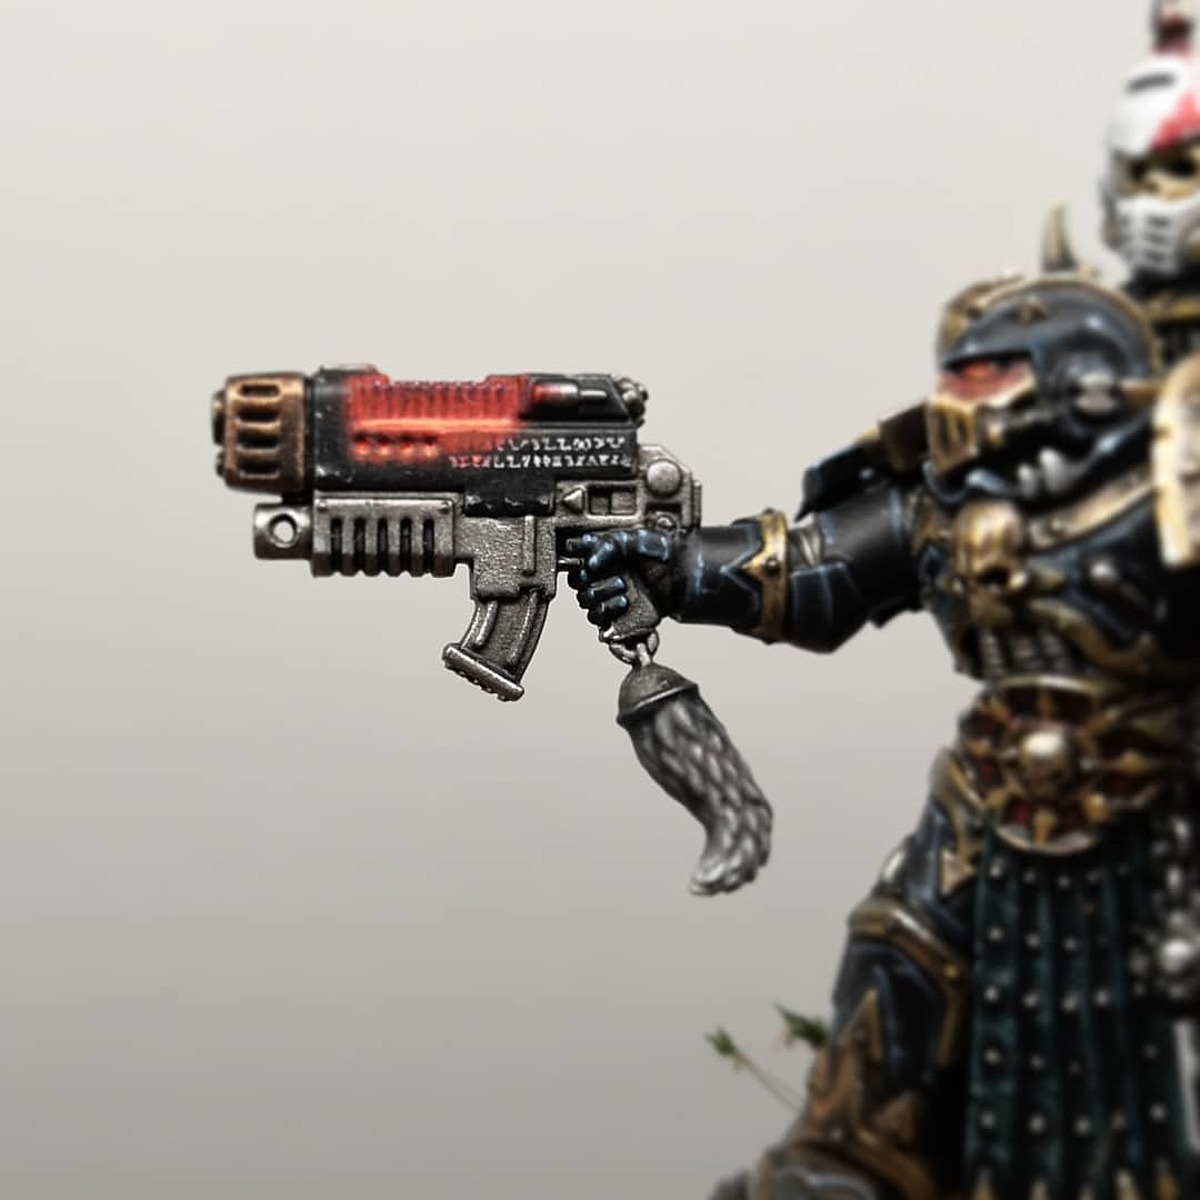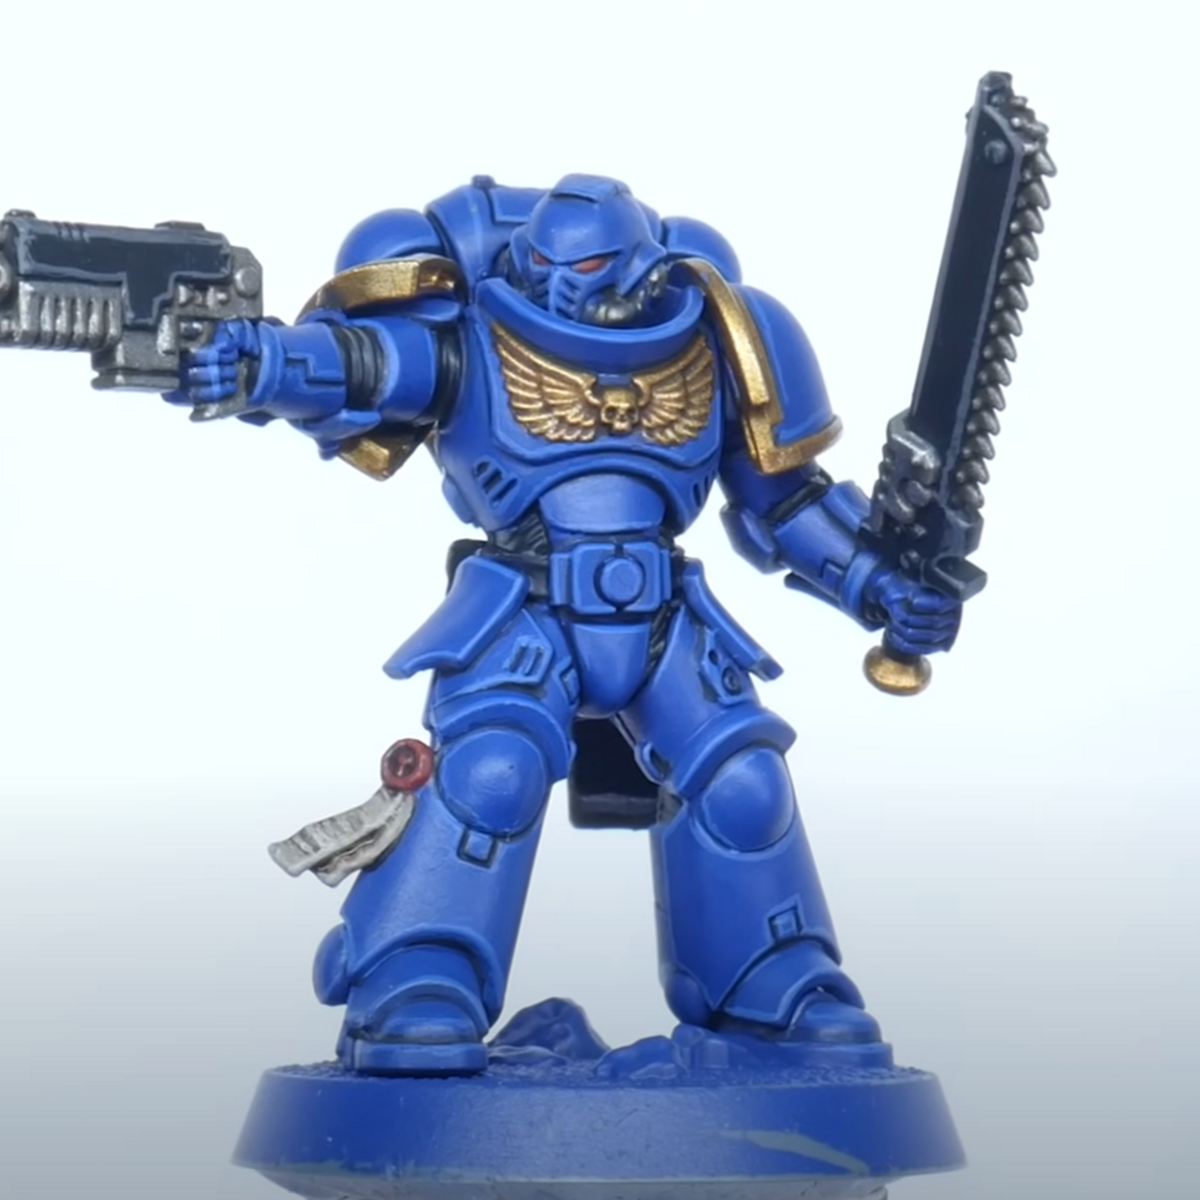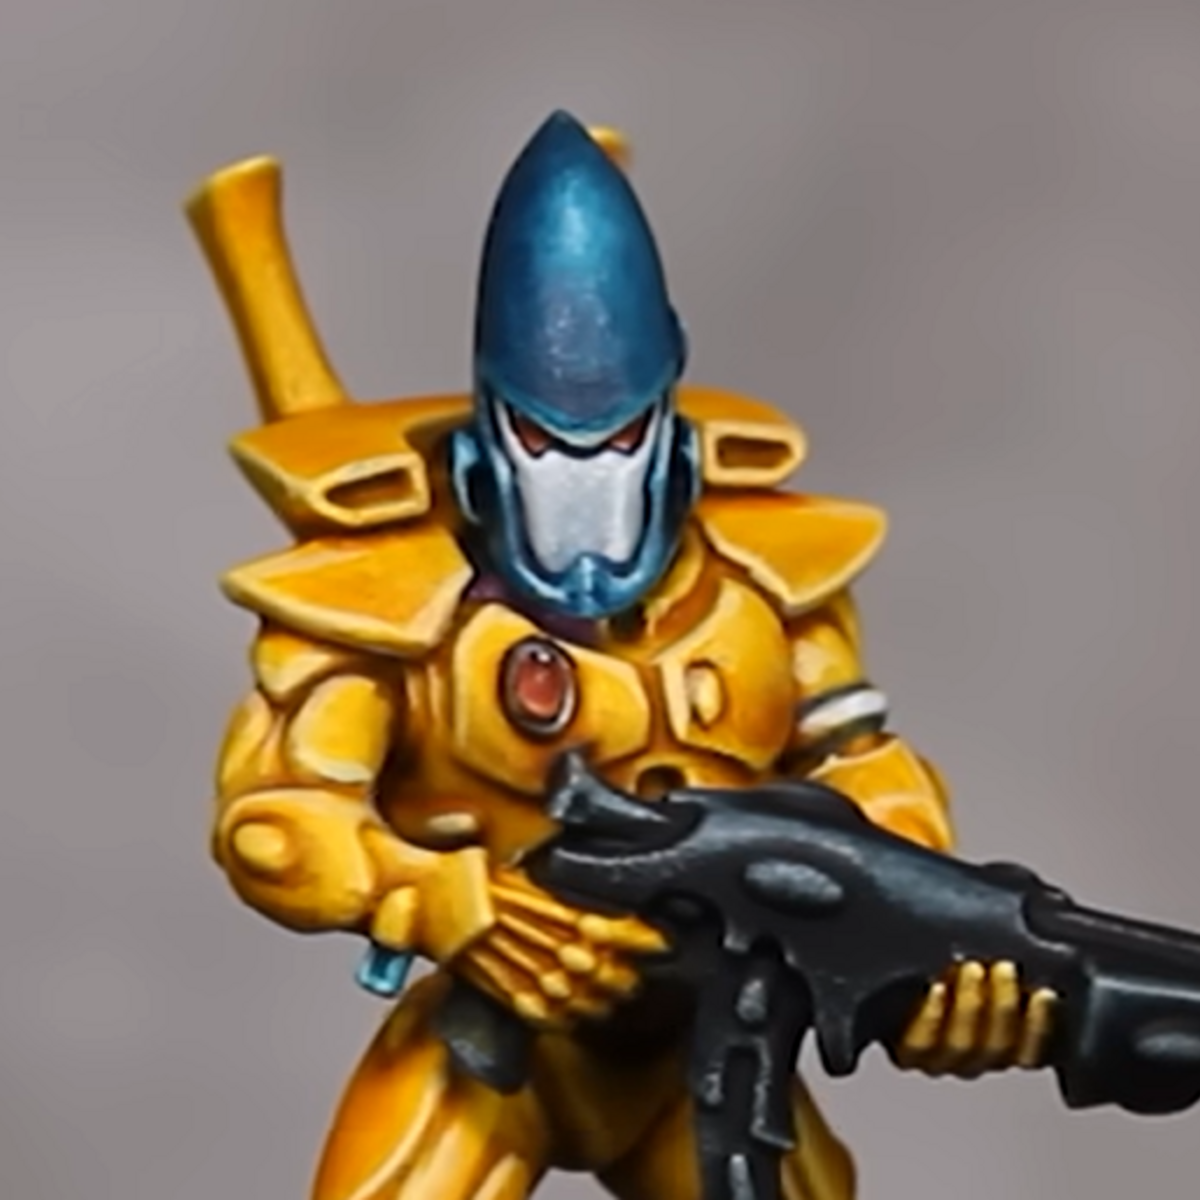

Adapted directly from Juan Hidalgo’s "Zero Skill" 'Eavy Contrast methodology.
Check out the original video tutorial to see the full technique in action and support his work.
The Priming (The Foundation)
- White Primer - Prime
Airbrush a perfectly smooth, solid white base over the entire model to preserve detail and set up the undercoat.
The Pink Pre-Shade (The Shadow Base)
Apply a smooth, all-over wash covering the entire body, head, and panels. Don't worry about hitting the guns or cloth here.
- Twilight Rose + Xpress Medium - (1:5) Wash
The Block-Outs (Before the Drybrush)
Paint these specific base colors so the upcoming white drybrush unifies the transitions across the entire model.
- Hospitallier Black - Block Out - Black Casings & Joint Ribs.
- Corax White - Block Out - Helmet Masks & Cloth/Robes.
The Unified Highlight (The Edge Pop)
Give the whole model a heavy drybrush to catch the edges, stippling slightly on the center of the forehead and knee caps.
- White - Drybrush
The Iyanden Yellow (The Armor Filter)
Apply a smooth, even layer over the armor panels, quickly pulling away any heavy pools with a damp brush.
- Dreadnought Yellow + Imperial Yellow - (1:1) Filter
The Weapon Casing (The Contrast Steel)
Coat the gun and joints directly over the black block-out and white drybrush layers to instantly create crisp, high-contrast highlights.
- Black Lotus - Filter
The Navy Helmets (The Craftworld Accent)
Basecoat the helmet plates and hanging armor tassels smoothly, avoiding pooling on the flat faceplates.
- Mystic Blue + Hospitallier Black - (10:1) Base Coat
The White Panels (The Cloth Shading)
Apply a heavily thinned wash over the pre-blocked face masks and robes to softly tint the recesses.
- Space Grey + Xpress Medium - (1:10) Wash
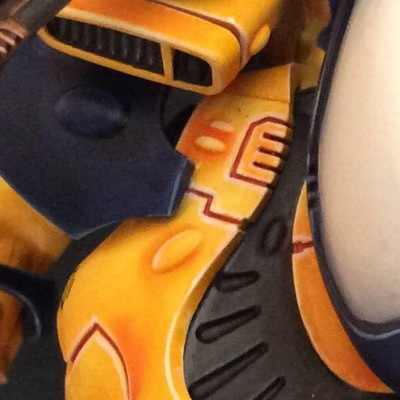
The Armor Polish (Optional Detail)
Apply a crisp, selective edge highlight on the upper edges of the yellow armor and the knee cap curves.
- Purulent Yellow - Edge Highlight
The Volumetric Helmet (Optional Detail)
Apply a sharp edge highlight around the helmet details, then use a mix of stippling and glazing to build up the light transitions on the forehead before catching the sharpest corners.
- Turquoise + Aquamarine - (1:1) Edge Highlight & Forehead Stipple
- Aquamarine - Forehead Stipple
- Verdigris - Extreme Edge Highlight & Forehead Stipple
The Gold Trim
Paint the metallic settings around the gems.
- Imperial Gold - Base
- Imperial Gold - Shade
- Imperial Gold - Highlight
The Spirit Stones and Lenses
Base coat, shade and layer to get a smooth transition with a final dot at the end.
- Corax White - Base
- Flesh Tearers Red - Base
- Wild Rider Red - Layer
- Fire Dragon Bright - Layer
- Lugganath Orange - Layer
- White - Dot
AK Interactive Acrylics
Primer 1
- AK177 White Primer
Citadel Painting System 5
Base 1
- Corax White
Layer 3
- Fire Dragon Bright
- Lugganath Orange
- Wild Rider Red
Contrast 1
- Flesh Tearers Red
Vallejo Game Color
Base 3
- 72.024 Turquoise
- 72.096 Verdigris
- 72.119 Aquamarine
Vallejo True Metallic Metal 3
Light 1
- 77.103 Imperial Gold
Base 1
- 77.123 Imperial Gold
Shade 1
- 77.143 Imperial Gold
Vallejo Xpress 8
Xpress 6
- 72.403 Imperial Yellow
- 72.411 Mystic Blue
- 72.422 Space Grey
- 72.423 Black Lotus
- 72.448 Xpress Medium
- 72.460 Twilight Rose
Intense 2
- 72.477 Dreadnought Yellow
- 72.484 Hospitallier Black