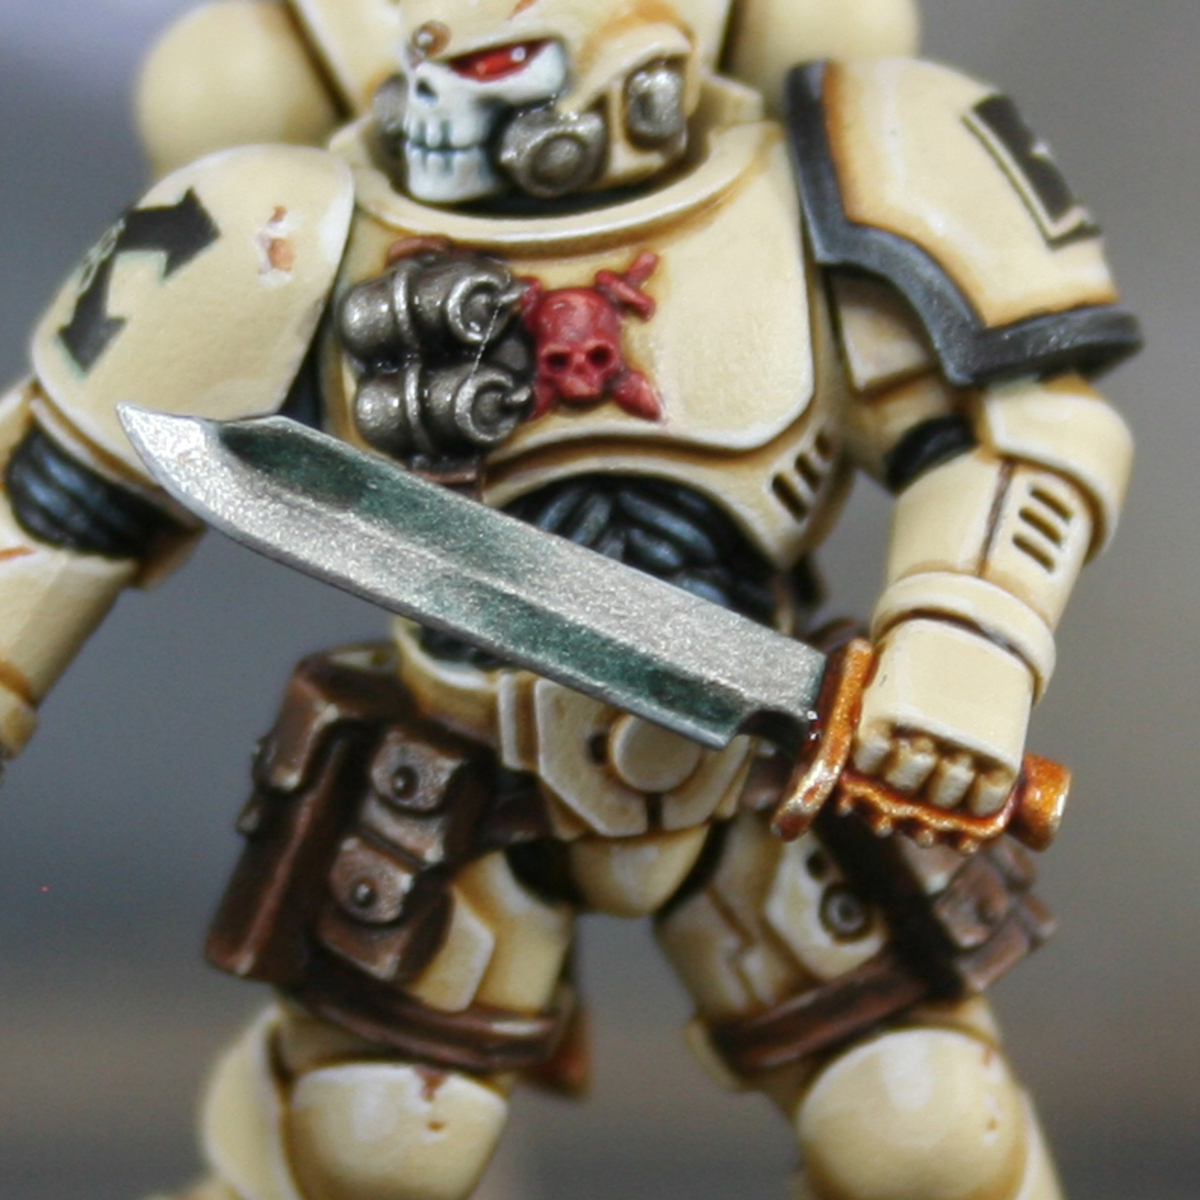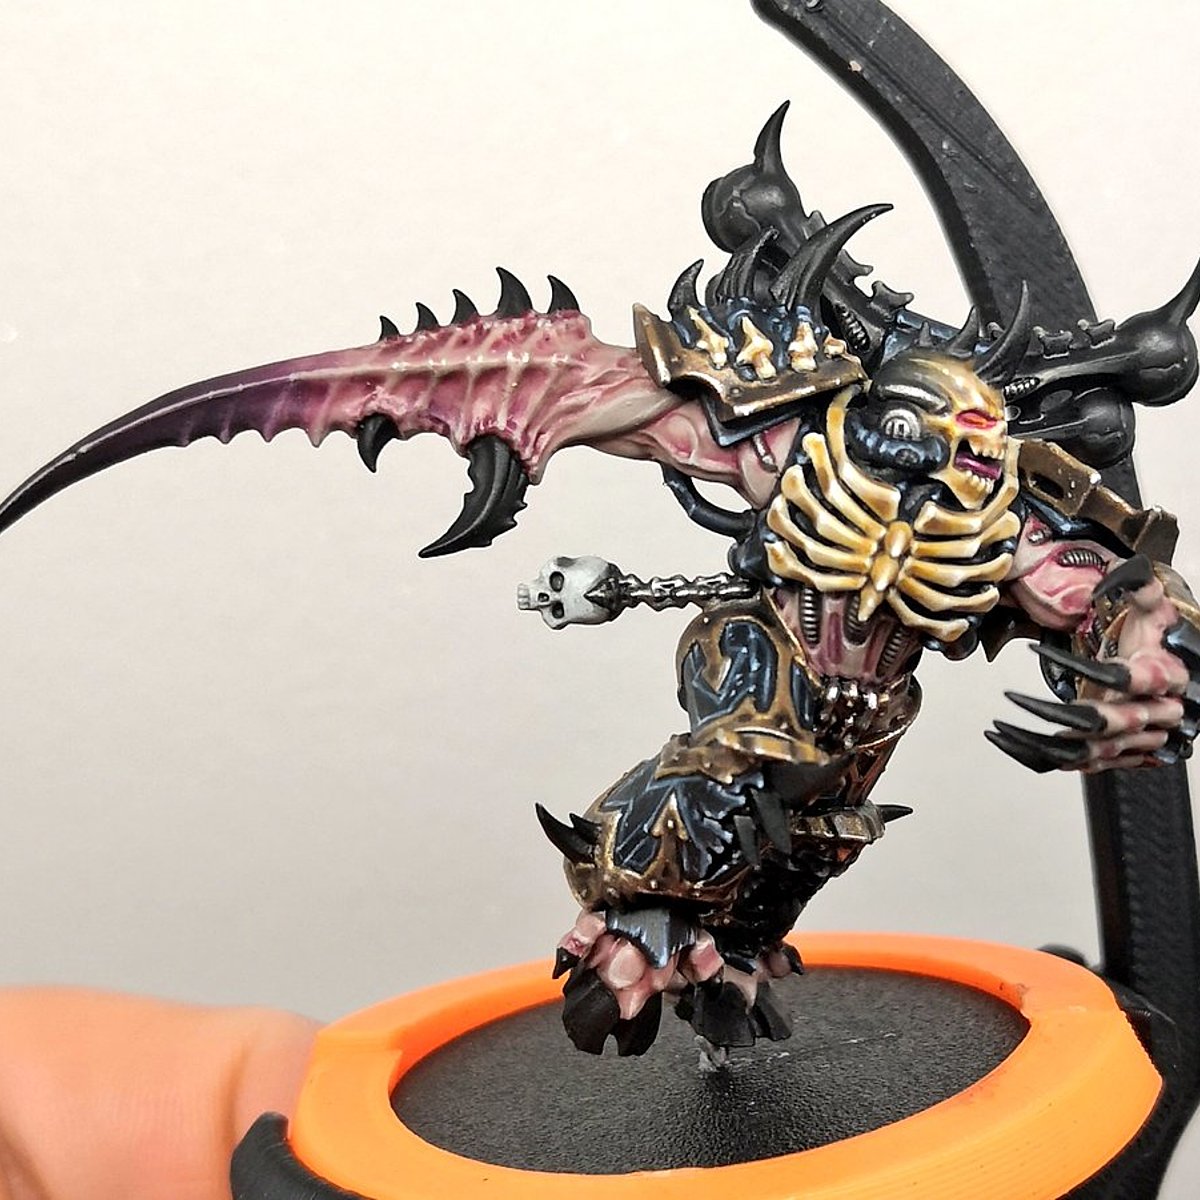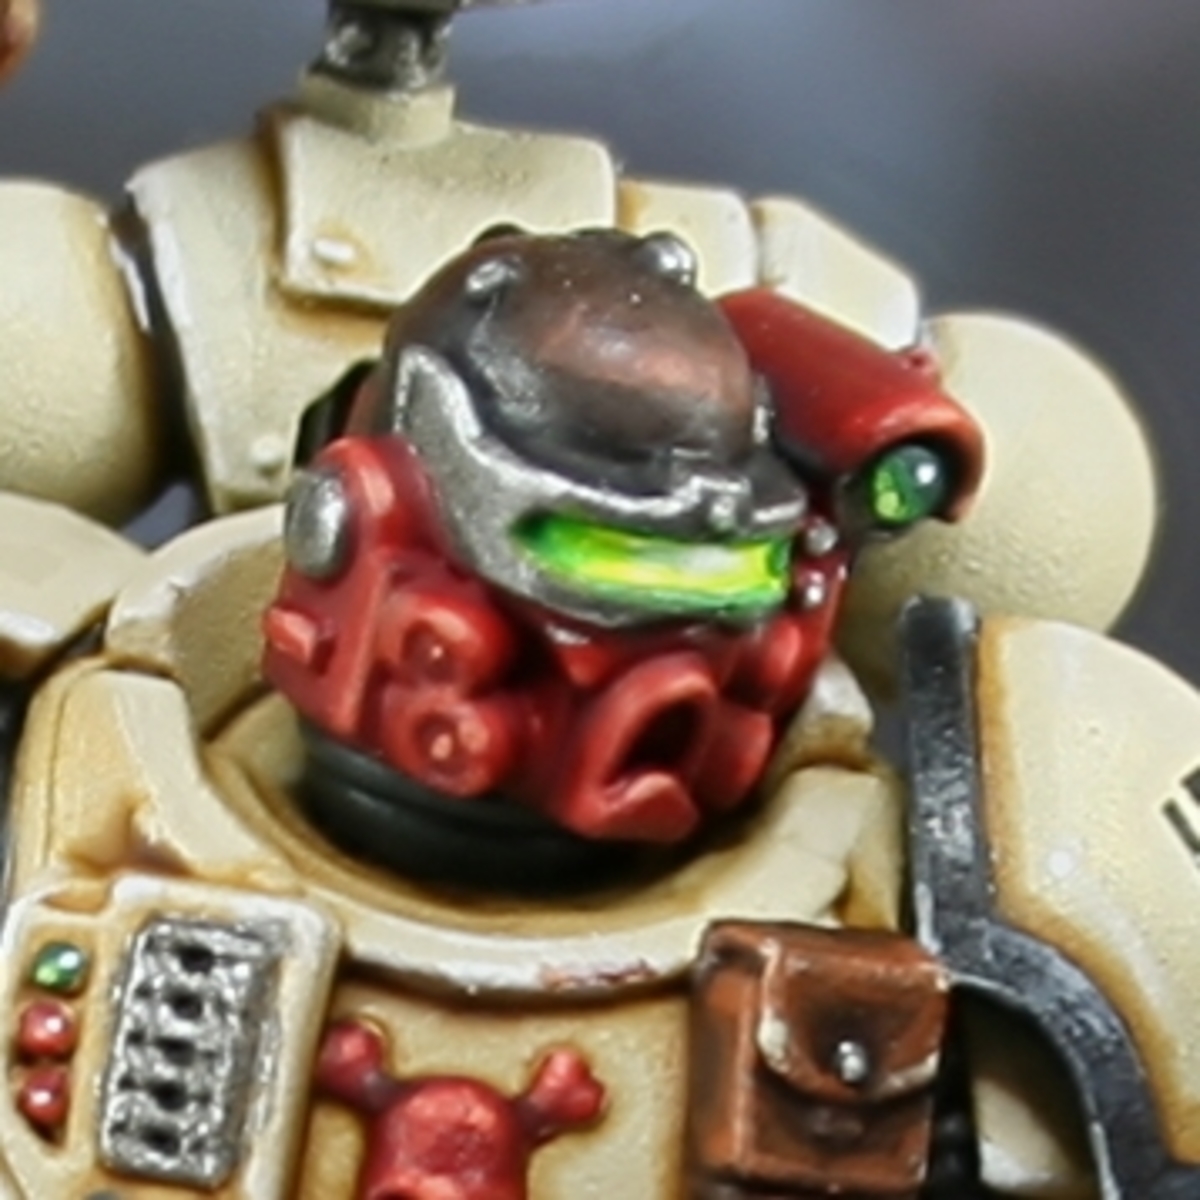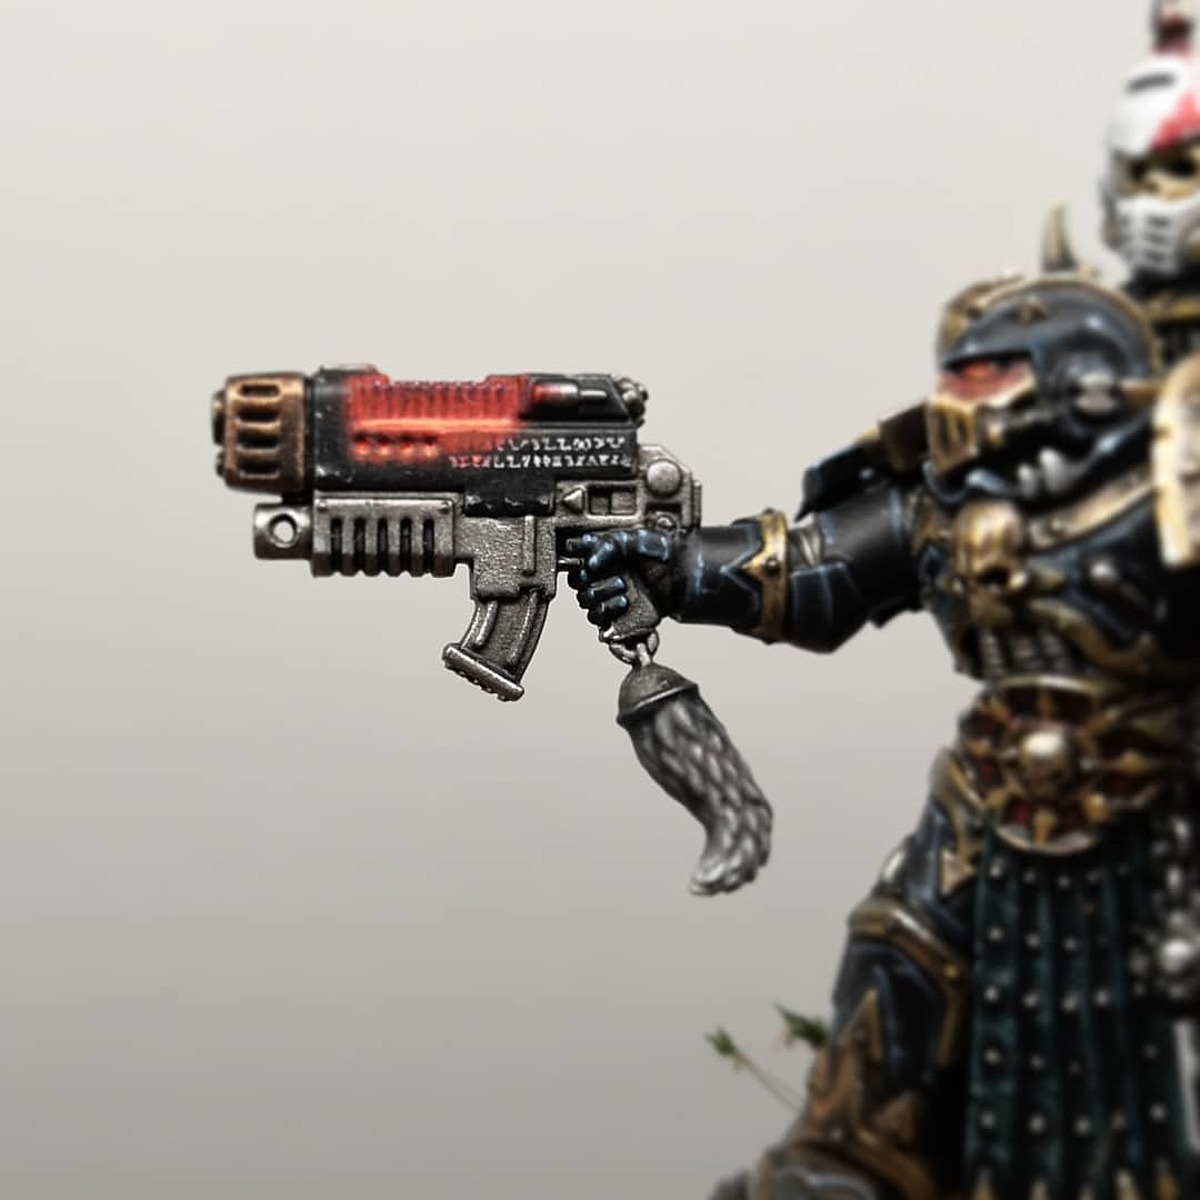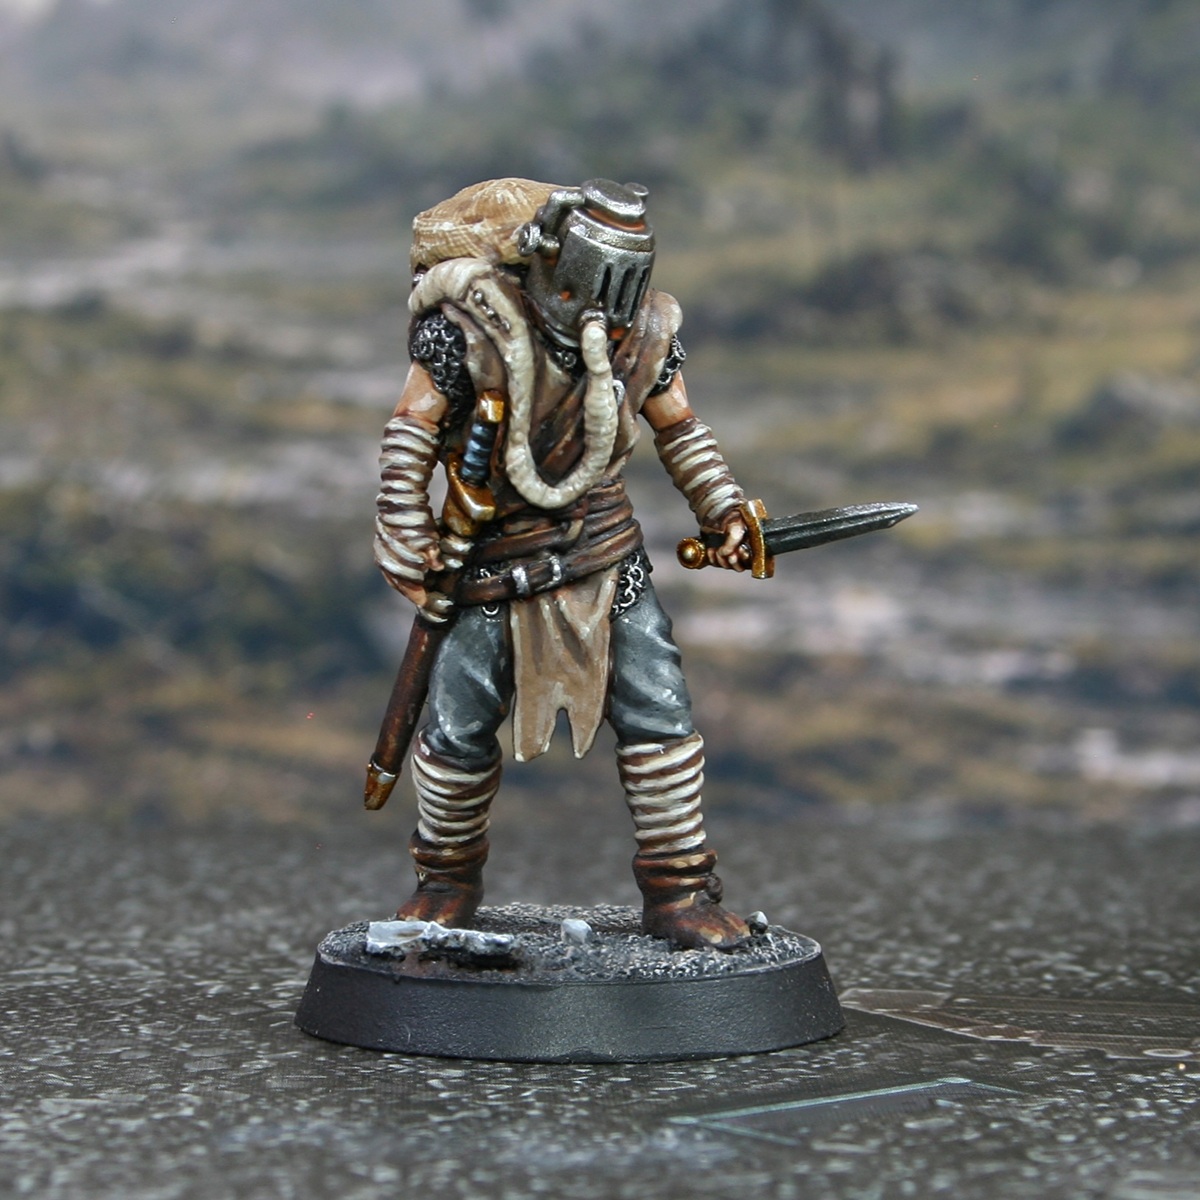

How I painted this legendary character from the 1490 DOOM expansion "The Gates of Rennes".
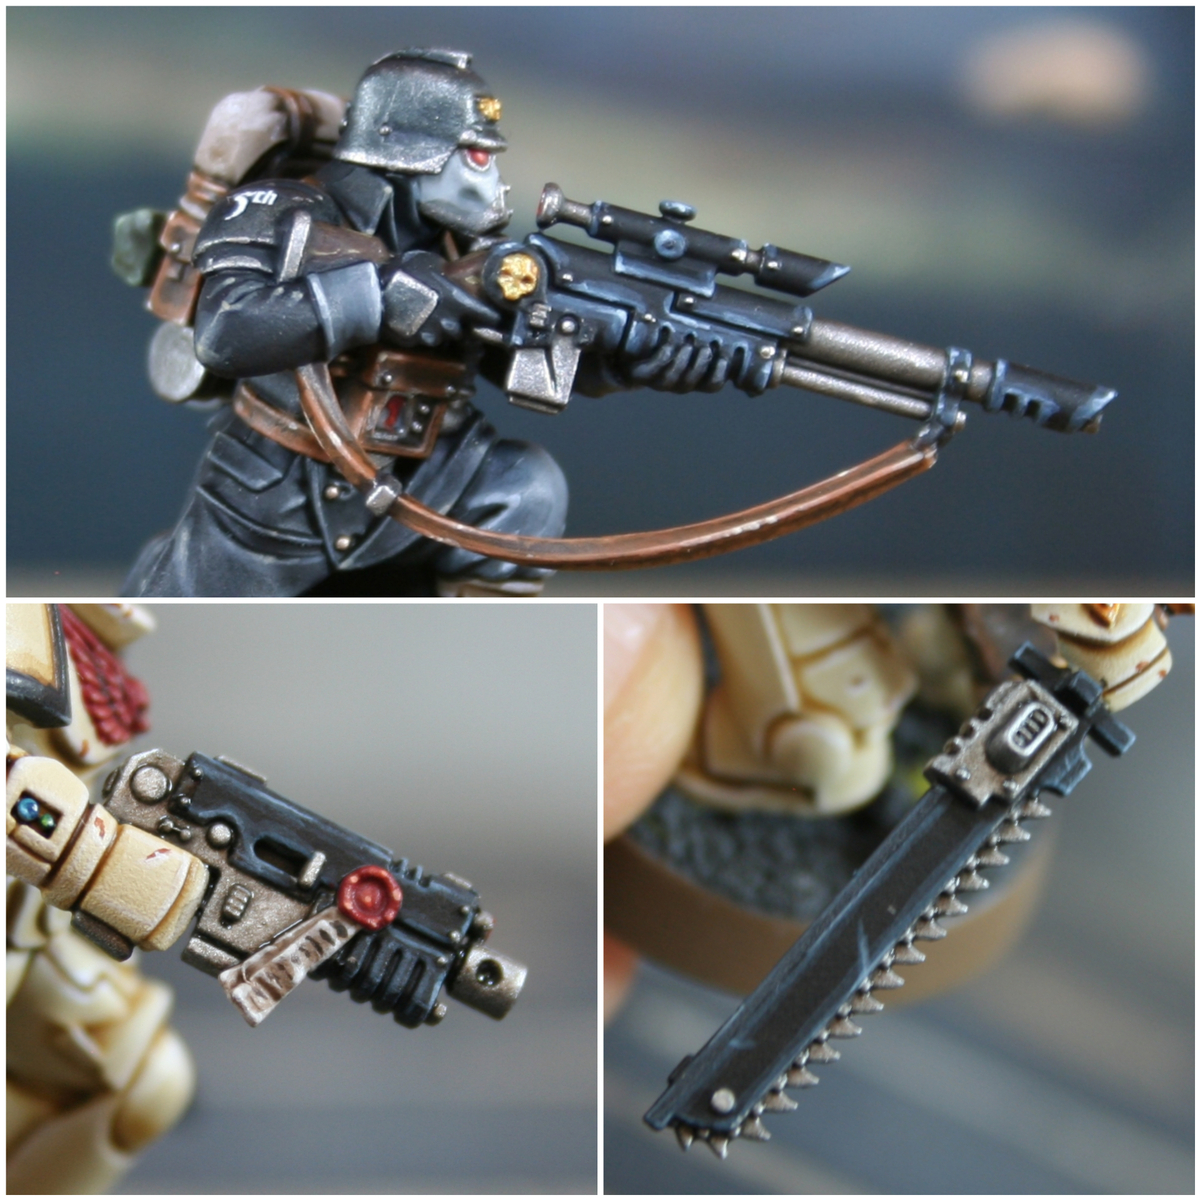
Grey Trousers
- Basecoat with Skavenblight Dinge .
- Shade recesses with a thinned mix of 1:1 Skavenblight Dinge and Abaddon Black .
- Highlight with Stormvermin Fur .
- Gradually mix Ivory into your Stormvermin Fur and highlight the cloth. Do this in multiple passes until you are finishing them with specular highlights of almost pure Ivory .
Brown Cloth
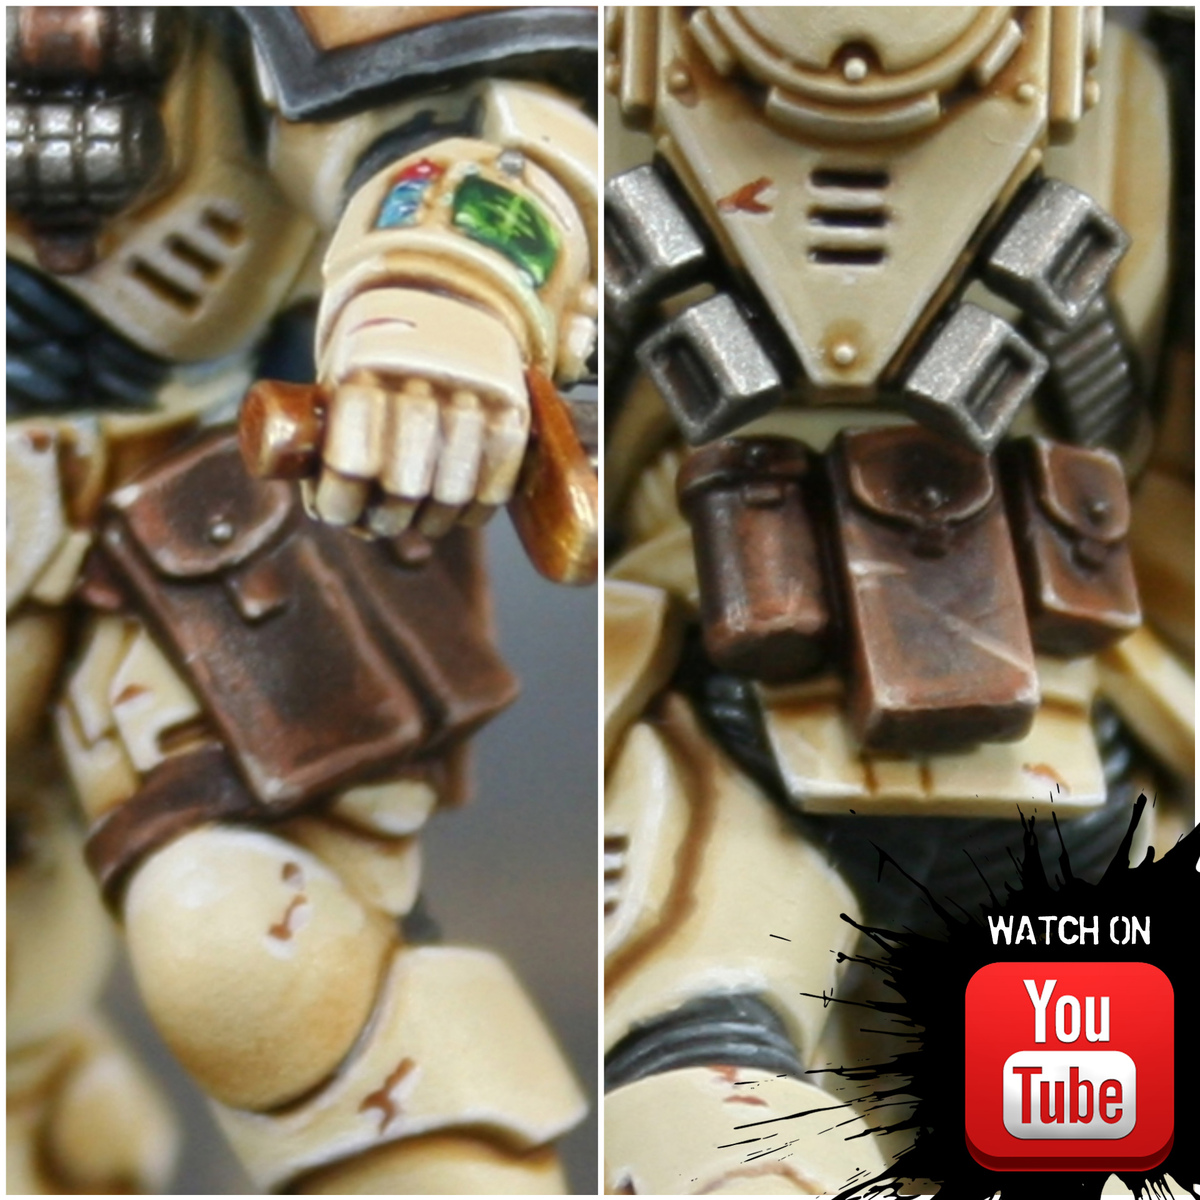
- Basecoat with Steel Legion Drab .
- Shade with a thin mix of 1:1 Steel Legion Drab and Dryad Bark .
- Highlight with Baneblade Brown .
- Highlight more selectively with Karak Stone .
- Mix some White into your Karak Stone and finish with some small highlights.
Canvas Backpack Top
- Basecoat with Zandri Dust .
- Wash with an equal parts mix of Agrax Earthshade , Reikland Fleshshade and Lahmian Medium .
- Mix some Wraithbone into your Zandri Dust and overbrush/highlight raised details.
- Finish with a few select dot highlights of pure Wraithbone .
Dark Brown Leather
- Basecoat with Rhinox Hide .
- Shade the recesses with some thin Abaddon Black .
- Add chunky highlights of Doombull Brown .
- Add fine highlights of Mournfang Brown .
- Selectively highlight with XV-88 .
- Mix some White into the XV-88 and finish with specular highlights.
Bandages
- Basecoat with Steel Legion Drab .
- Shade recesses with some thinned Rhinox Hide .
- Glaze raised areas with Karak Stone , dragging your brush towards the most exposed part, to help build highlights..
- Edge highlight wrappings with Ushabti Bone .
- More selectively highlight with Screaming Skull .
- Mix some :white into your Screaming Skull and highlight a little smaller.
Breathing Tube
- Basecoat as Karak Stone .
- Shade with Baneblade Brown .
- Deep shade with Dryad Bark . The jump between the initial stage and this is quite big, consider a 1:1 mix of the two to bridge the gap.
- Apply a chunky highlight of Ushabti Bone . This is best applied as a heavy glaze.
- Apply smaller highlights with Screaming Skull .
- I finished of the tubes by mixing a little White into your Screaming Skull and applying a few specular highlights.
Blade
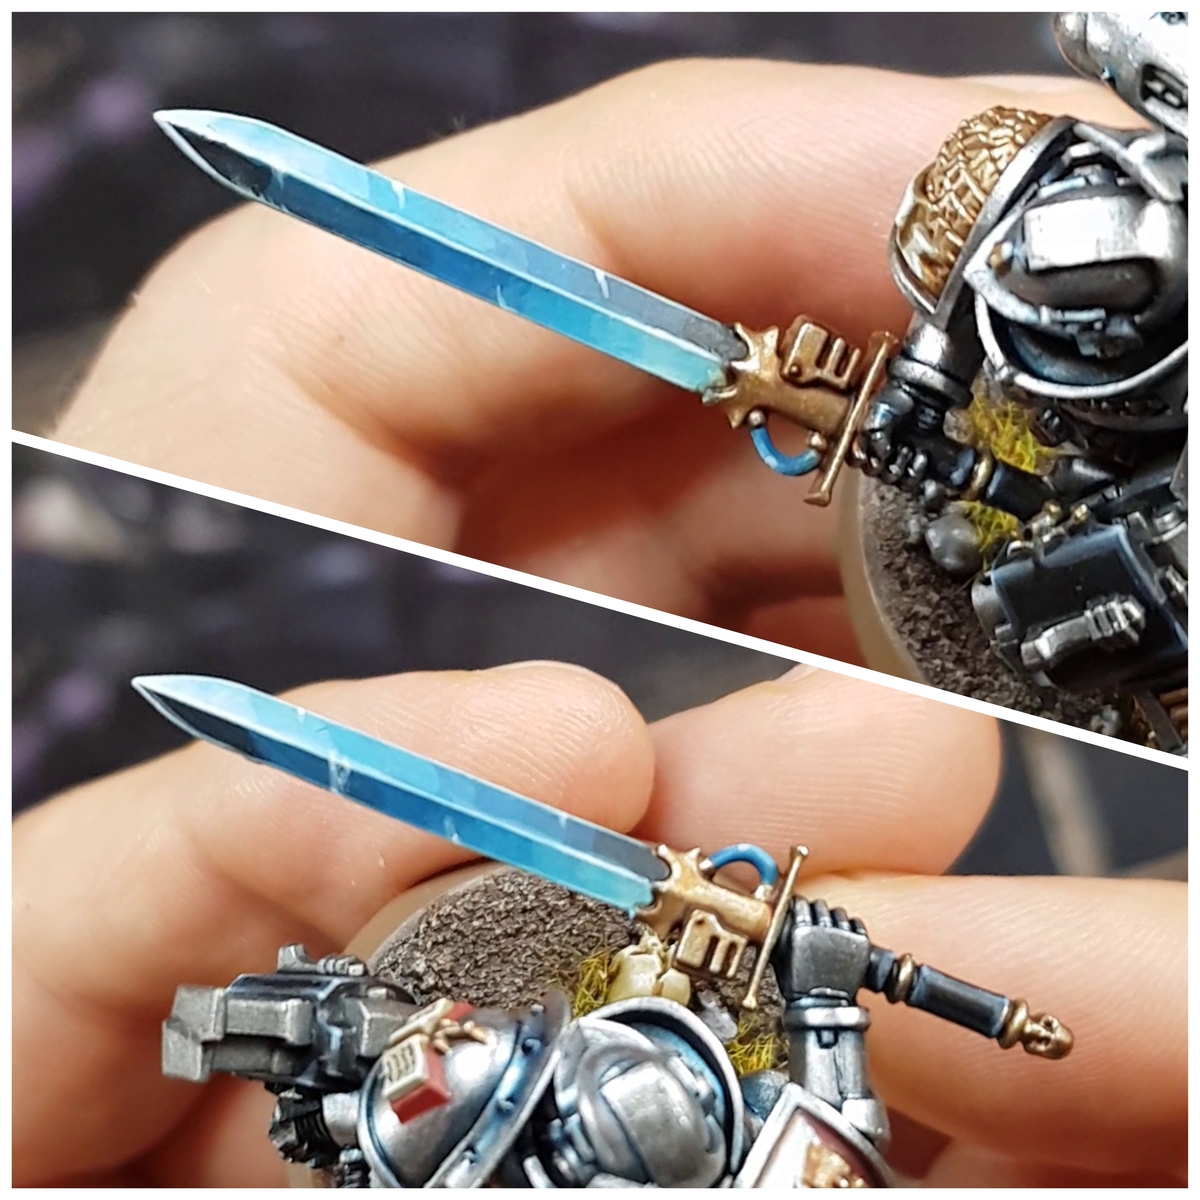
- Basecoat with Leadbelcher .
- Shade with glazes of Gryph-charger Grey towards the hilt.
- Highlight with Ironbreaker .
- Finish with selective highlights of Silver RLM01 Metallic .
Steel
- Basecoat with Exhaust Manifold .
- Wash with Nuln Oil . Adding glazes of Agrax Earthshade towards deep recesses, and where more interest is needed.
- Highlight with mix some Silver RLM01 Metallic into the Exhaust Manifold and highlight. Do this roughly, with a mix of edge highlights and a few stippled marks.
- Finish with some small Silver RLM01 Metallic highlights.
Gold
- Basecoat with Retributor Armour .
- Wash with Reikland Fleshshade .
- Gradually mix Silver RLM01 Metallic into your Retributor Armour and highlight.
- Finish with specular Silver RLM01 Metallic highlights.

Rookie Brushes
RookieBrushes
Aspiring miniature painter and biscuit enthusiast. Here to share my hobby and help where I can.
Citadel Painting System 23
Base 10
- Abaddon Black
- Dryad Bark
- Leadbelcher
- Mournfang Brown
- Retributor Armour
- Rhinox Hide
- Steel Legion Drab
- Wraithbone
- XV-88
- Zandri Dust
Shade 3
- Agrax Earthshade
- Nuln Oil
- Reikland Fleshshade
Layer 8
- Baneblade Brown
- Doombull Brown
- Ironbreaker
- Karak Stone
- Screaming Skull
- Skavenblight Dinge
- Stormvermin Fur
- Ushabti Bone
Technical 1
- Lahmian Medium
Contrast 1
- Gryph-charger Grey
Vallejo Metal Color
Base 1
- 77.723 Exhaust Manifold
Vallejo Model Air
Base 1
- 71.063 Silver RLM01 Metallic
Vallejo Model Color
Base 2
- 70.918 Ivory
- 70.951 White