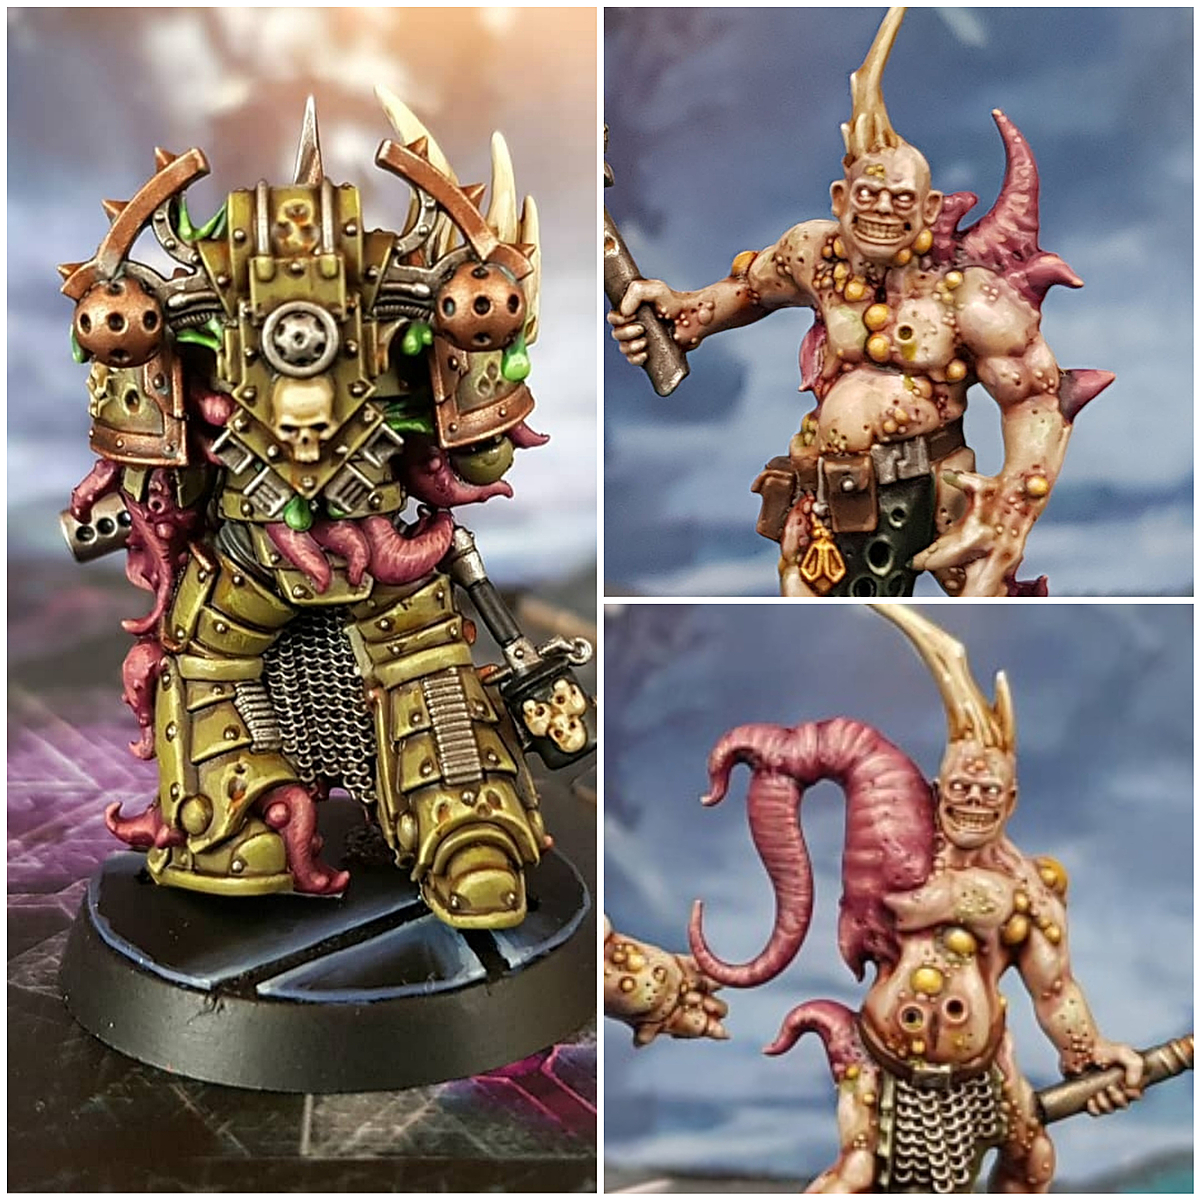
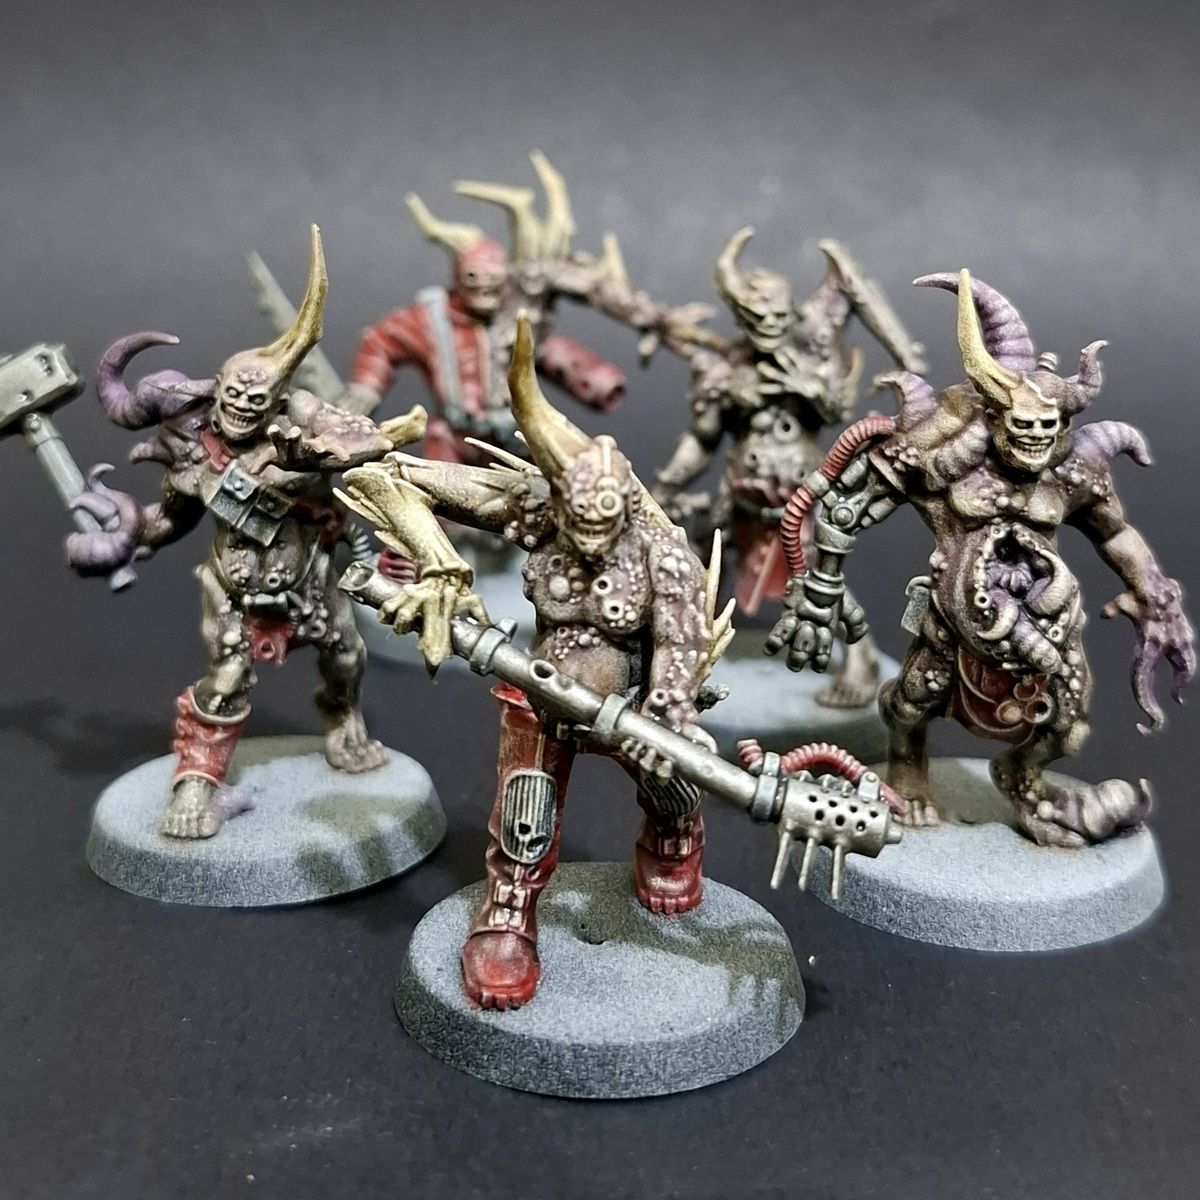
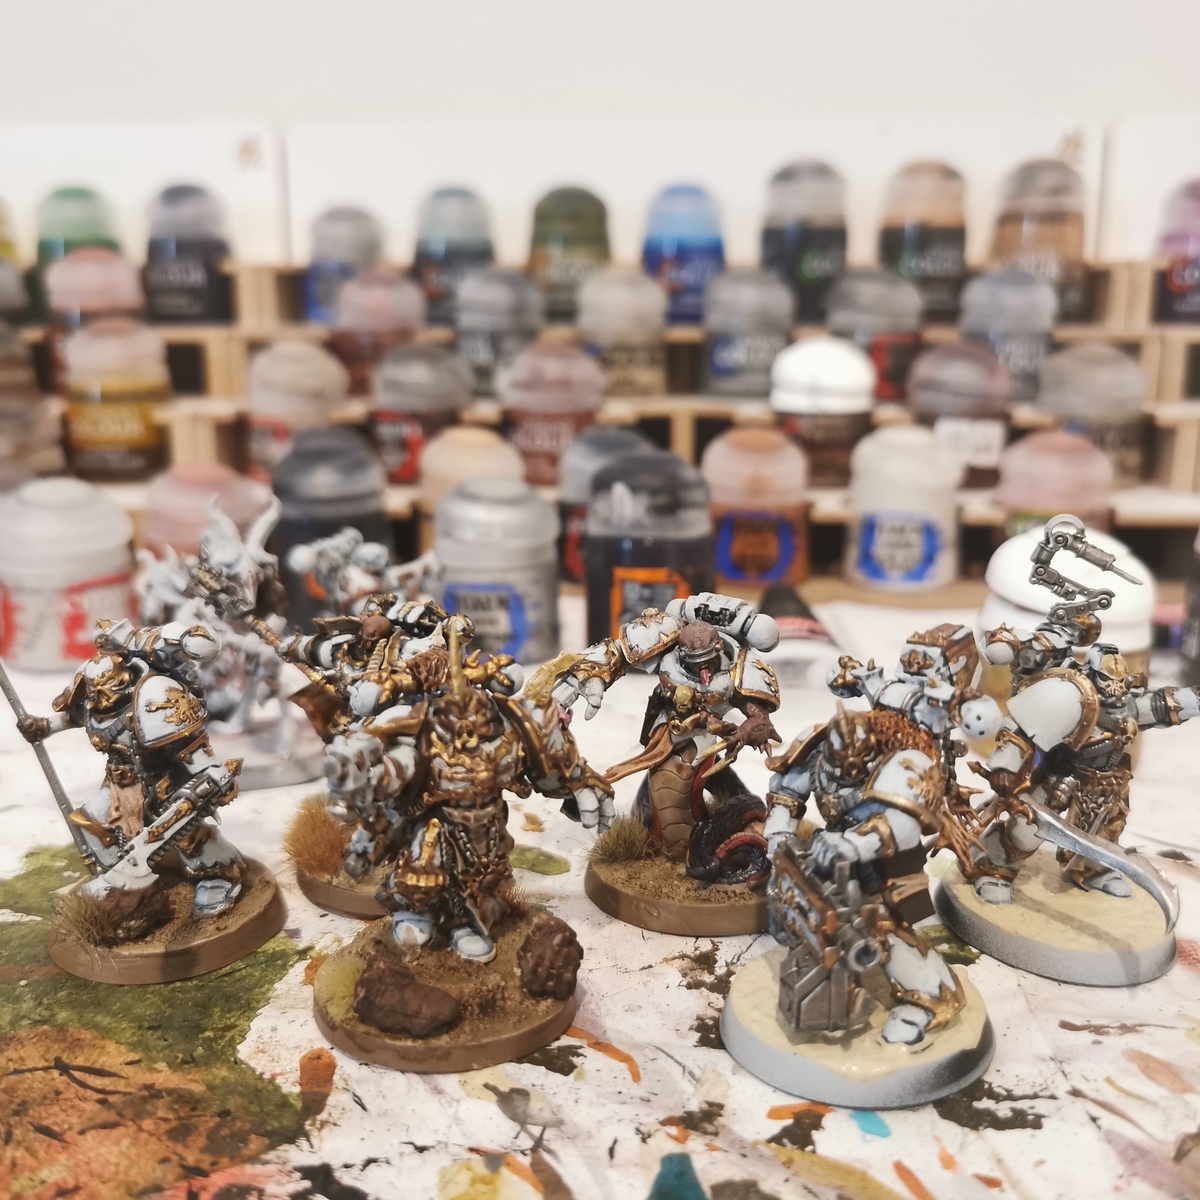
Rather than the strict steps by steps I normally use, this guide is a little looser. I had to do a decent amount of corrections from over highlighting, shading or things just not looking right. As you work through the steps below, please trust the process, and don't give up if things aren't looking perfect. There is absolutely no harm in glazing a coulour back down with a previous paint and working the area again.
Basecoats
- Basecoat well-formed looking sections of the spirit with a 1:1 mix of Incubi Darkness and Deepkin Flesh .
- Basecoat the smoke parts with an equal parts mix of Ushabti Bone , Blue Horror and White .
- Mix a blob of each of the above basecoats together, then use this colour to transition the areas between the well-formed portions and the smoke trails. Don't worry about this being a smooth transition, the shading and highlighing will help bland things together.
Shading
- With some thin Incubi Darkness , shade the well formed parts we basecoated first. be quite generous, treating it almost like a wash in heavily textured areas.
- Now mix some Incubi Darkness 1:1 with Abaddon Black and shade very deep recesses, going extra heavy in eye sockets, the nose and in the chest cavity.
- Using the 1:1 mix of Incubi Darkness and Deepkin Flesh from the initial basecoat, shade the transitional area. I would recommend thinning with a little Lahmian Medium and applying with a thin brush.
- For the smoke, mix a small amount of Incubi Darkness into the initial Ushabti Bone , Blue Horror and White basecoat. Thin this new colour and shade the smoke gently. You can always increas the amount of Incubi Darkness in the mix and shade more selectively, if needed.
Eyes
- Pick out the eyes with Averland Sunset .
- Glaze with some thin Troll Slayer Orange letting some settle in the recess around the eye.
- Highlight the eye with Flash Gitz Yellow .
- Apply a smaller highlight of Ice Yellow .
- Finish with a specular White highlight.
Highlights
- Mix Deepkin Flesh into your Incubi Darkness and Deepkin Flesh . basecoat and highlight the "well-formed" portions. To start, you can get away with mixing them 1:1 and applying quite a chunky highlight. Then add in more Deepkin Flesh and highlight more selectively.
- Repeat as necessary until you reach a shade that could be used to highlight the transitional areas too, feel free to make these highlights quite chunky again.
- Highlight both areas with pure Deepkin Flesh , before mixing in some White and highlighting more selectively.
- Mix some White into the colour used to basecoat the smoke, then use it to highlight the smoke.
- Finish the smoke with more selective highlights of pure White . I would also recommend applying a few specular highlights of White to the face a other key areas too.
Final steps
- At this point, my shade was looking a little monochrome. To add in some colour, I glazed the area where the smoke meets the other transition with Moot Green , to add some interest. It is very easy to go too far here, so be prepared to re-establish the basecolour and re-highlight when needed.

Rookie Brushes
RookieBrushes
Aspiring miniature painter and biscuit enthusiast. Here to share my hobby and help where I can.
Citadel Painting System 10
Base 3
- Abaddon Black
- Averland Sunset
- Incubi Darkness
Layer 6
- Blue Horror
- Deepkin Flesh
- Flash Gitz Yellow
- Moot Green
- Troll Slayer Orange
- Ushabti Bone
Technical 1
- Lahmian Medium
Vallejo Model Color
Base 2
- 70.858 Ice Yellow
- 70.951 White