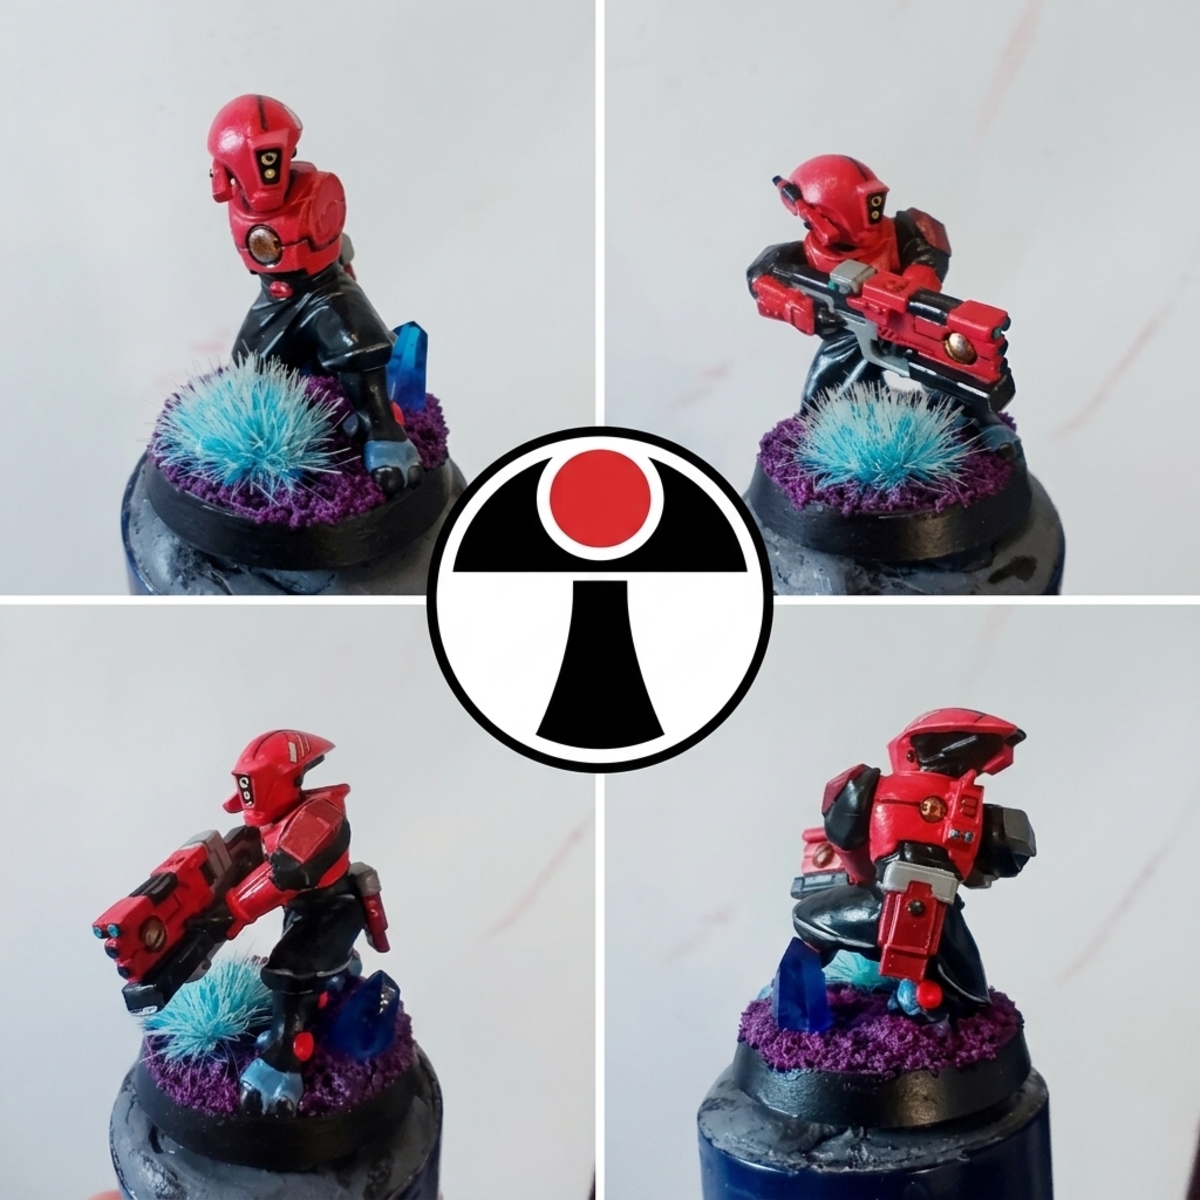
Pathfinder - Farsight Enclaves
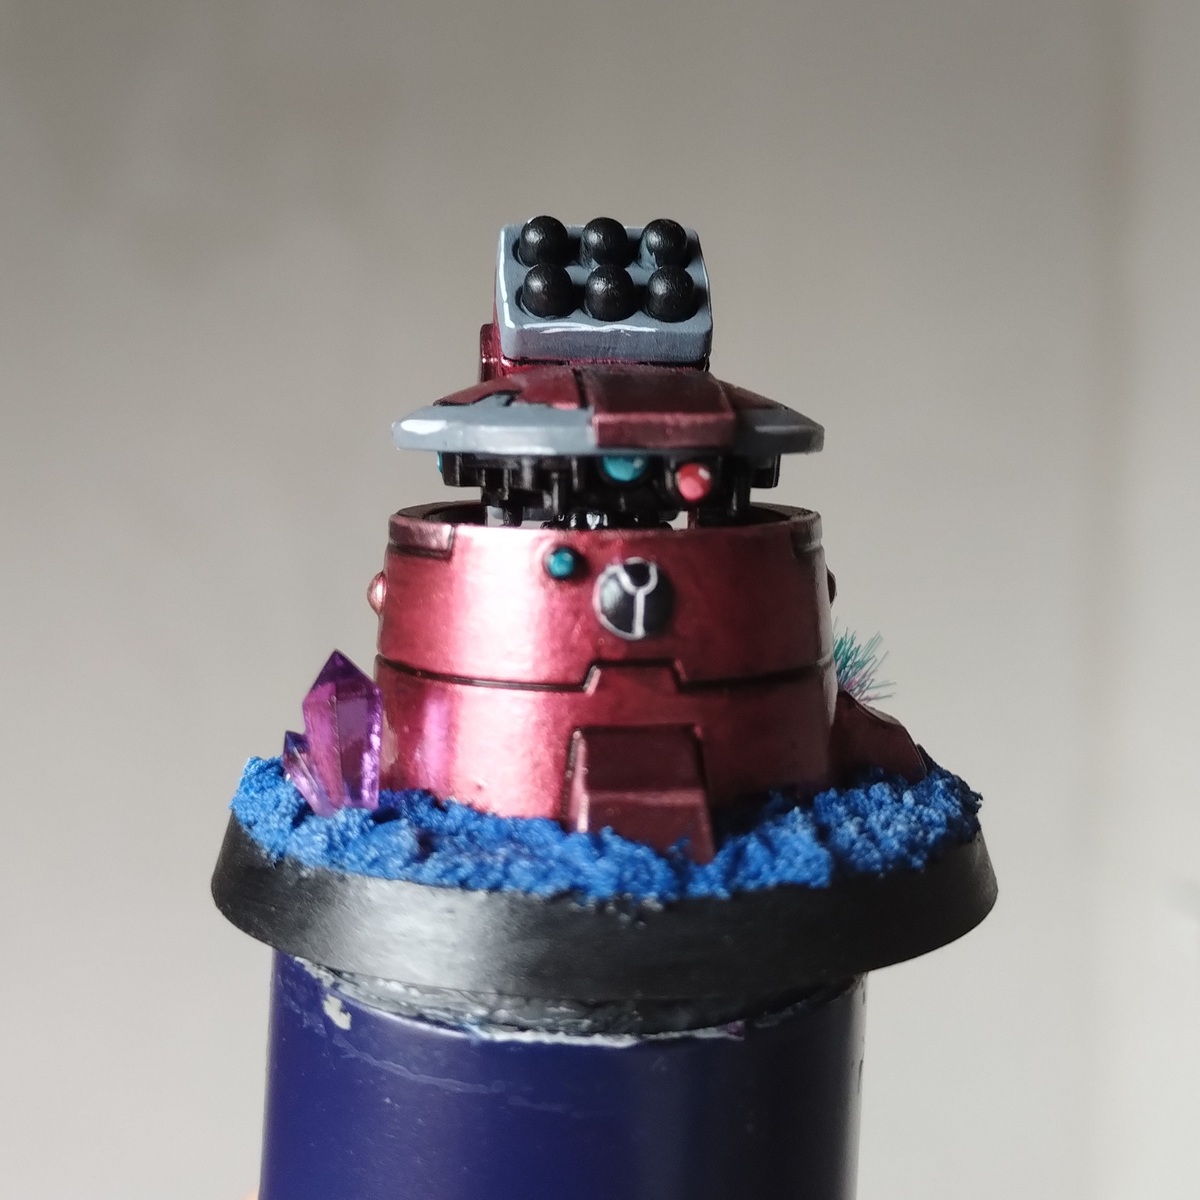
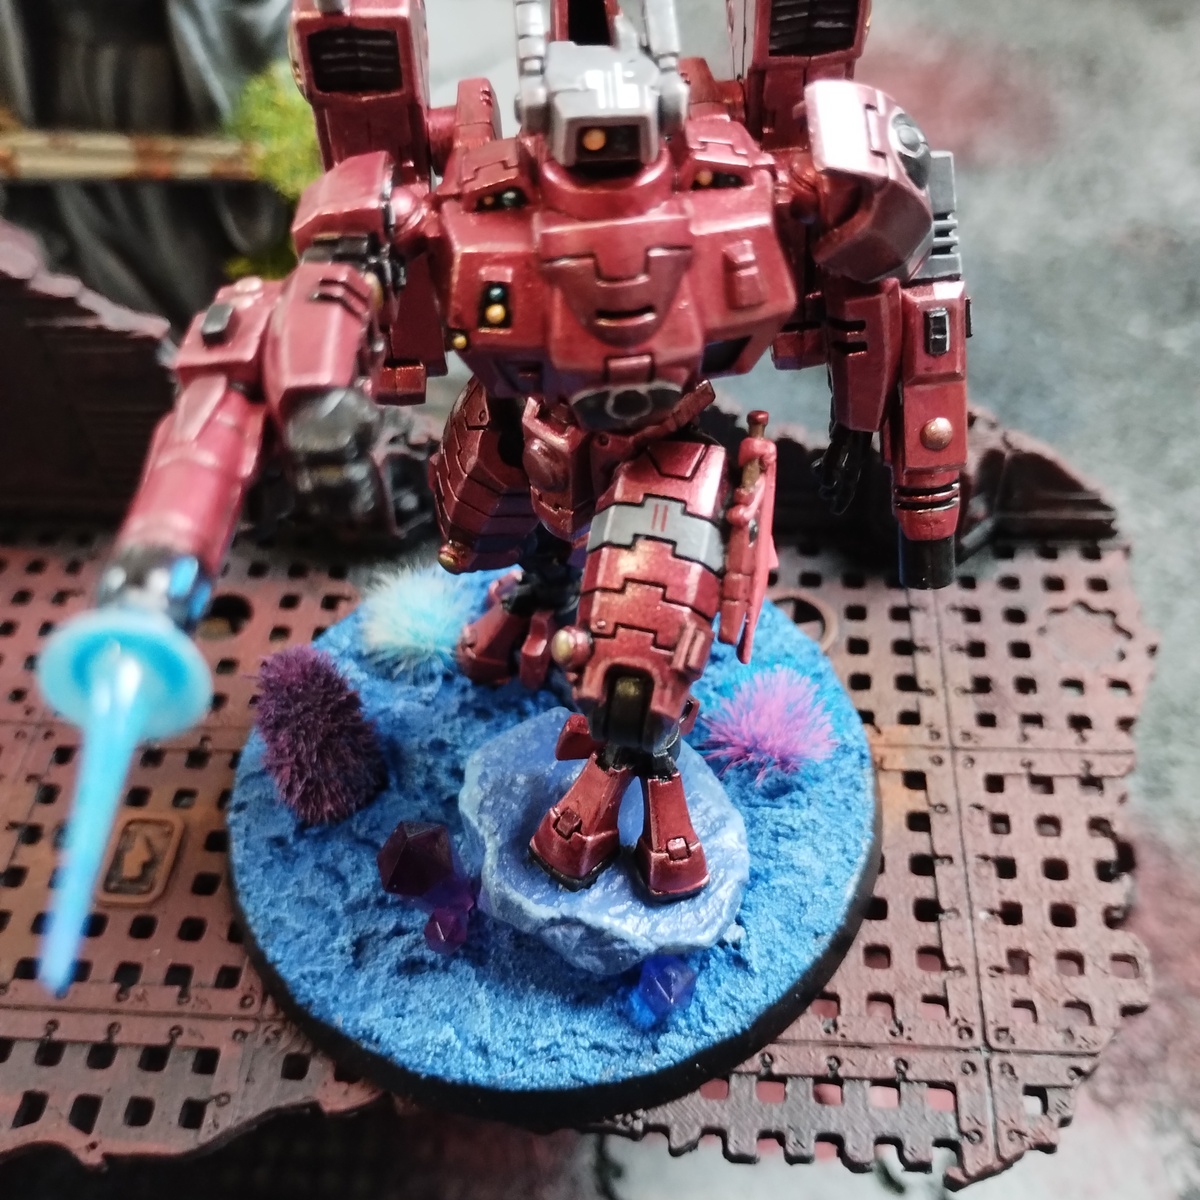
Simple table ready Pathfinder recipe using non-GW paints. I'm not yet really happy with it as there is barely any destinction between Pure Red an Blood Chalice. I understand that there are not many fans of APs reds.
Sub-Assembly and magnetizing
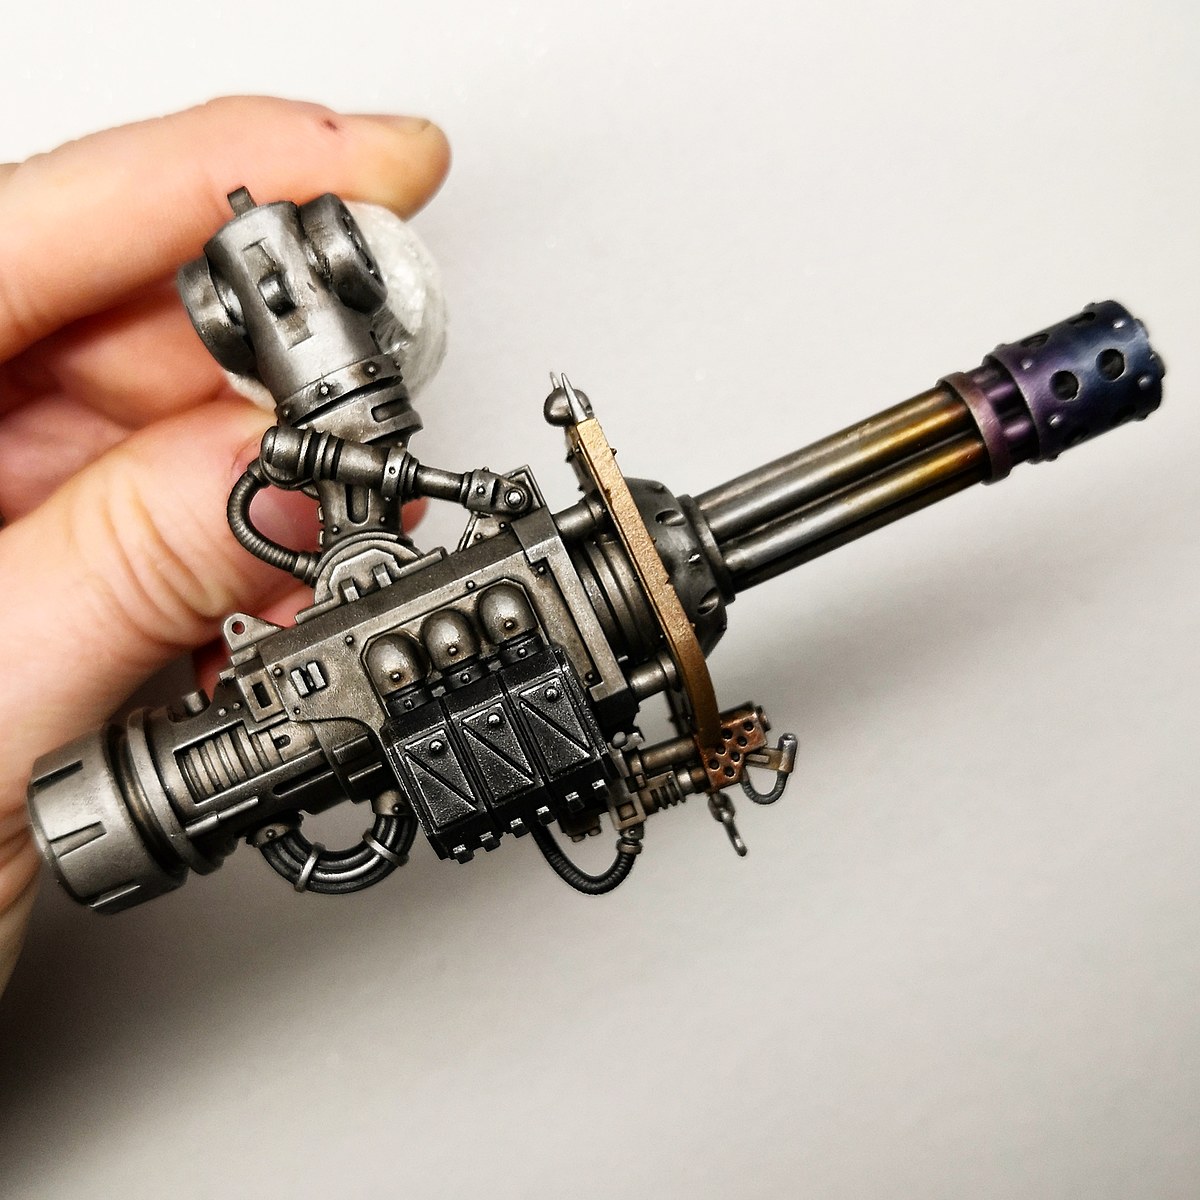
In order to paint chest and the inside of the gun I magnetized the Pathfinders. You can then also swap out rail rifles and ion rifles. You can find a basic magnetizing tutorial on my paintpad profile. I suggest magnetizing the whole team in one go to not mess up polarization of the magnets. We use larger magnets on the torso to have more wiggle room.
- Glue legs, torso and head together and on the base. Add equipment bits of your choice.
- Drill holes for 3x1 mm magnets on both sides of the torso.
- Drill holes for 2x1 mm magnets on both arms.
- Insert and glue the magnets in.
Priming
I primed using Skeleton Bone . You could also use Matt White Undercoat , or Uniform Grey . I would'nt reccomend black primer, as painting red over black isn't optimal. You could also simply prime using Pure Red , but I didn't have that available. If you prime red, start with pinwashing.
Base coating
The basic design is having yellow lenses on the helmet, with all other lenses blue. The armor is red with dark grey shoulder and kneepads, and a dark red shoulder pad. Cloth is black.
- Basecoat armor, weapon parts, beltbuckle: Pure Red
- Basecoat pants, weapon stock, hooves: Matt Black
- Basecoat feet/skin: Wolf Grey
- Basecoat left shoulderpad: Scarlet Red
- Basecoat right shoulderpad, kneepad: Uniform Grey
- Basecoat weapon/equipment parts: Ash Grey
- Basecoat armor/weapon center: Greedy Gold
Wash
- We will have to pinwash armor and weapon panels, and put on another layer of basecoat to fix mistakes. If you primed red, start with this step. I chose a black wash because I like the look, you could use a brown or red wash instead. I have yet to try oil washed (most likely the best choice) or panel liner.
- Pinwash helmet, armor, and weapon panels: Dark Tone
- Wash Tau logo on weapon and vents on backpacks: Dark Red Tone
- Wash weapon and armor gyros: Dark Tone (after layering and detailing)
Layering
- Not yet happy with this, but that's how I proceed for this squad for now.
- Layer helmet: I used Blood Chalice , feathering the helmet. Unfortunately it's barely visible.
- Layer armor/weapon gyros: Tainted Gold in the center.
Details
- Helmet lens: Daemonic Yellow , Space Dust in the bottom left, a small dot of Matt White in the top right
- Weapon and backpack lenses: Deep Azure , Aquamarine in the bottom left, a smll dot of Matt White in the top right. The lenses are on the top part (the scope) of the weapon. The barrels should be Matt Black .
- Rivets on weapon and glove: Ruby Red
- Rivet on black weapon stock: Company Grey
Highlights
- Highlight skin: Runic Cobalt
- Highlight red parts: Raging Rose
- Highlight grey/black parts: Company Grey
- Highlight armor/weapon center: Plate Mail Metal
Varnish and Decals
- First coat Glossy Varnish
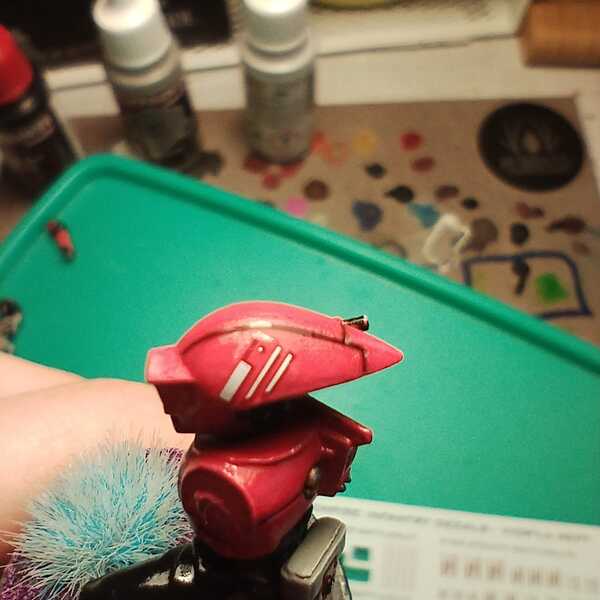 Cut out the Pathfinder decal, wet it up, flip it and add it to the helmet. Remove excess water if necessary. Let it dry. Put on Tamyia Mark Fit Strong. Let it dry.
- Second coat: Matte Varnish
- Lenses, weapon gyros: Glossy Varnish
Base
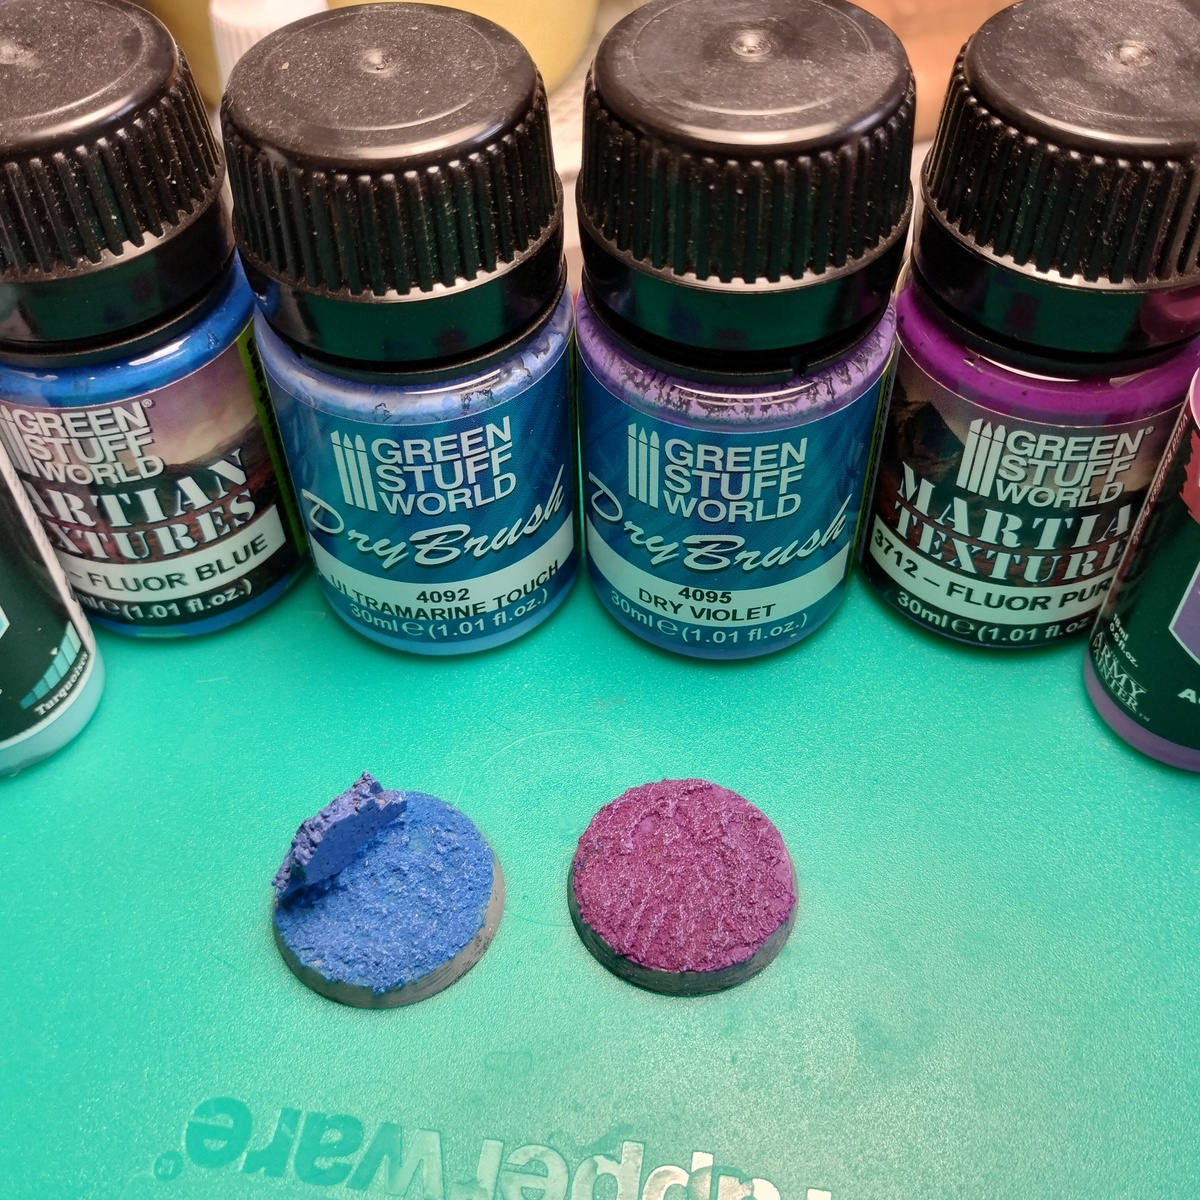
- I used the simpley store-bought alien base receipt from my profile - https://paintpad.app/recipes/46600-off-the-shelf-alien-bases
KDJ1
I'm a novice painter, trying to improve and get to know different techniques. I aim for a balance between effiency and looks, as I mostly want to play with my painted dudes. I'm working on a Tau army, red and black Farsight Enclaves scheme. Infantry will be red and suits will be TMM to stand out. I mainly write the recipes down to remember them myself.
AK Interactive
Varnish 2
- AK190 Matte Varnish
- AK192 Glossy Varnish
The Army Painter Warpaints
Spray 4
- Matt White Undercoat
- Pure Red
- Skeleton Bone
- Uniform Grey
The Army Painter Warpaints Air
Base 1
- Matt Black
The Army Painter Warpaints Fanatic 19
Acrylic 14
- Aquamarine
- Ash Grey
- Blood Chalice
- Company Grey
- Daemonic Yellow
- Deep Azure
- Matt Black
- Matt White
- Pure Red
- Raging Rose
- Runic Cobalt
- Space Dust
- Uniform Grey
- Wolf Grey
Metallic 3
- Greedy Gold
- Plate Mail Metal
- Tainted Gold
Wash 2
- Dark Red Tone
- Dark Tone
Vallejo Game Color
Base 1
- 72.012 Scarlet Red
Vallejo True Metallic Metal
Base 1
- 77.126 Ruby Red