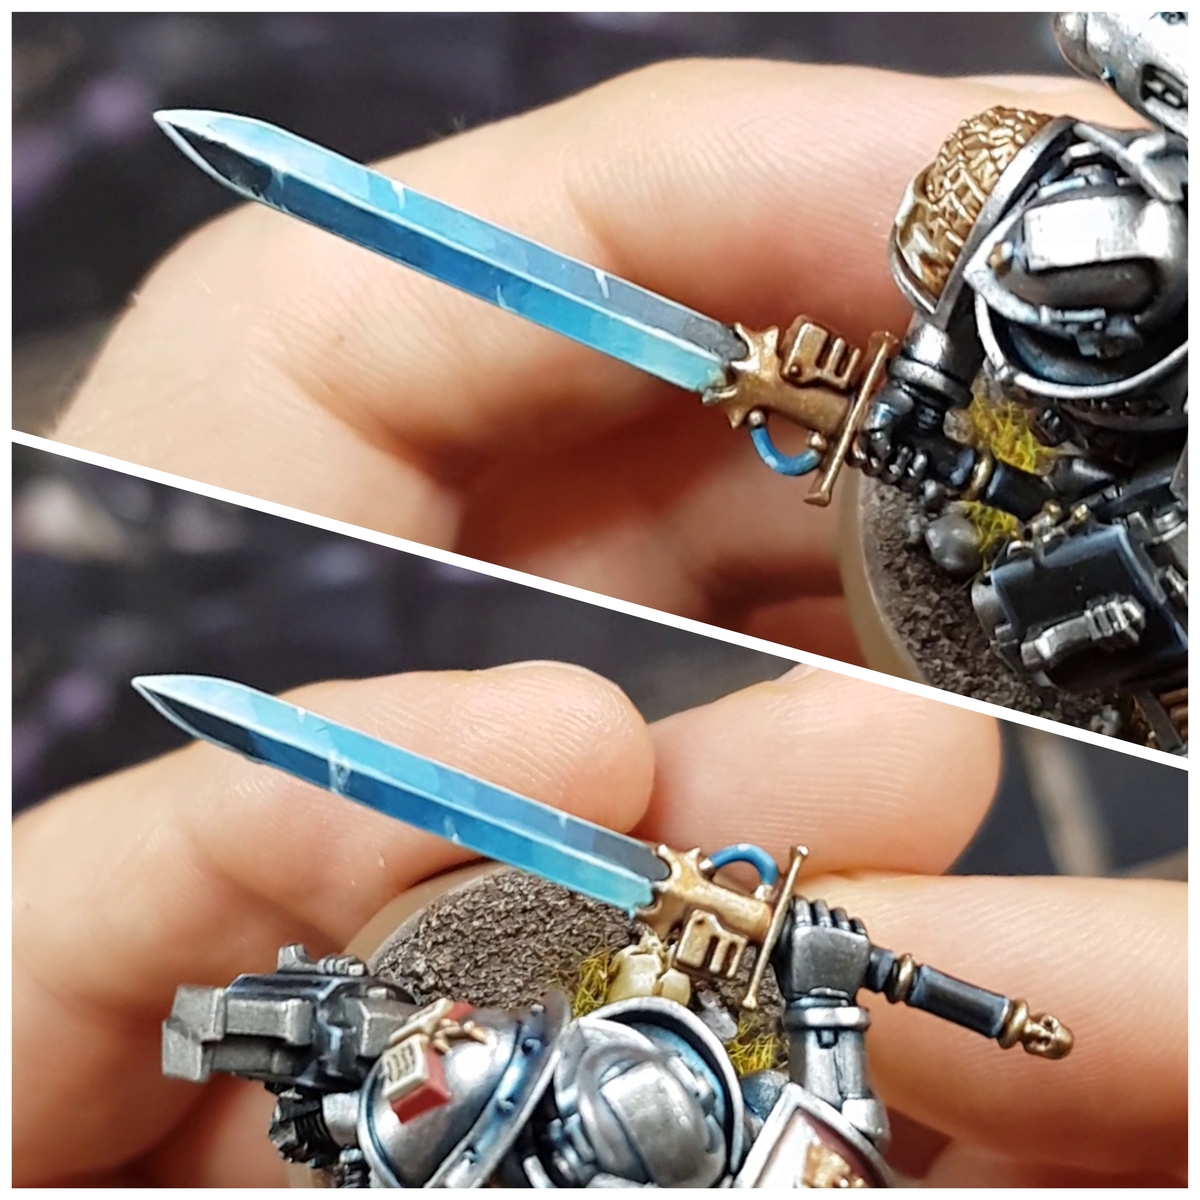
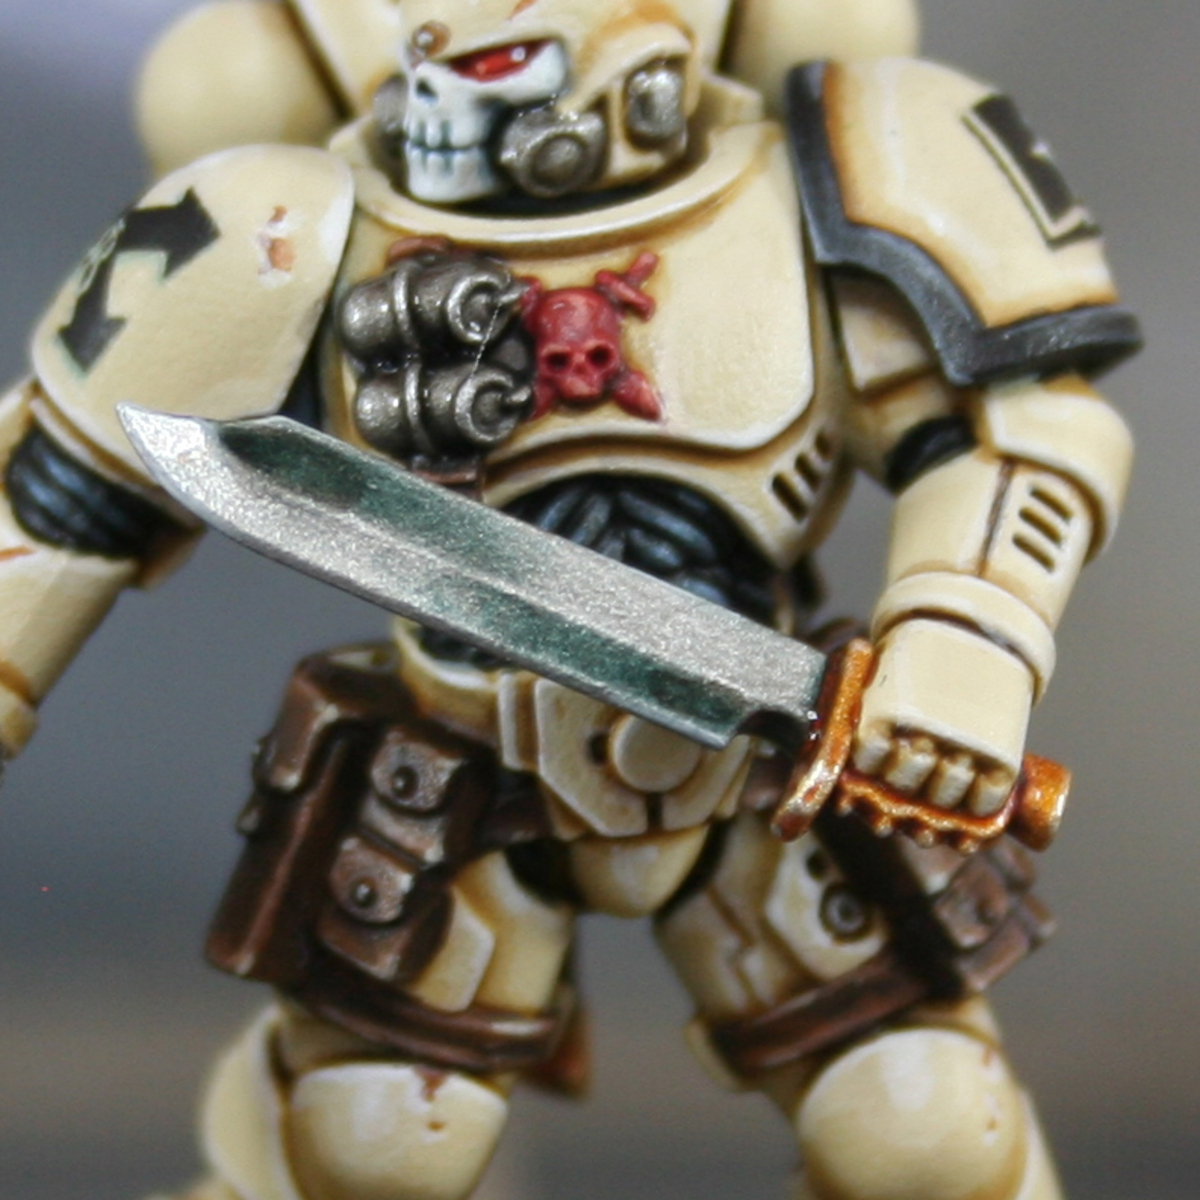
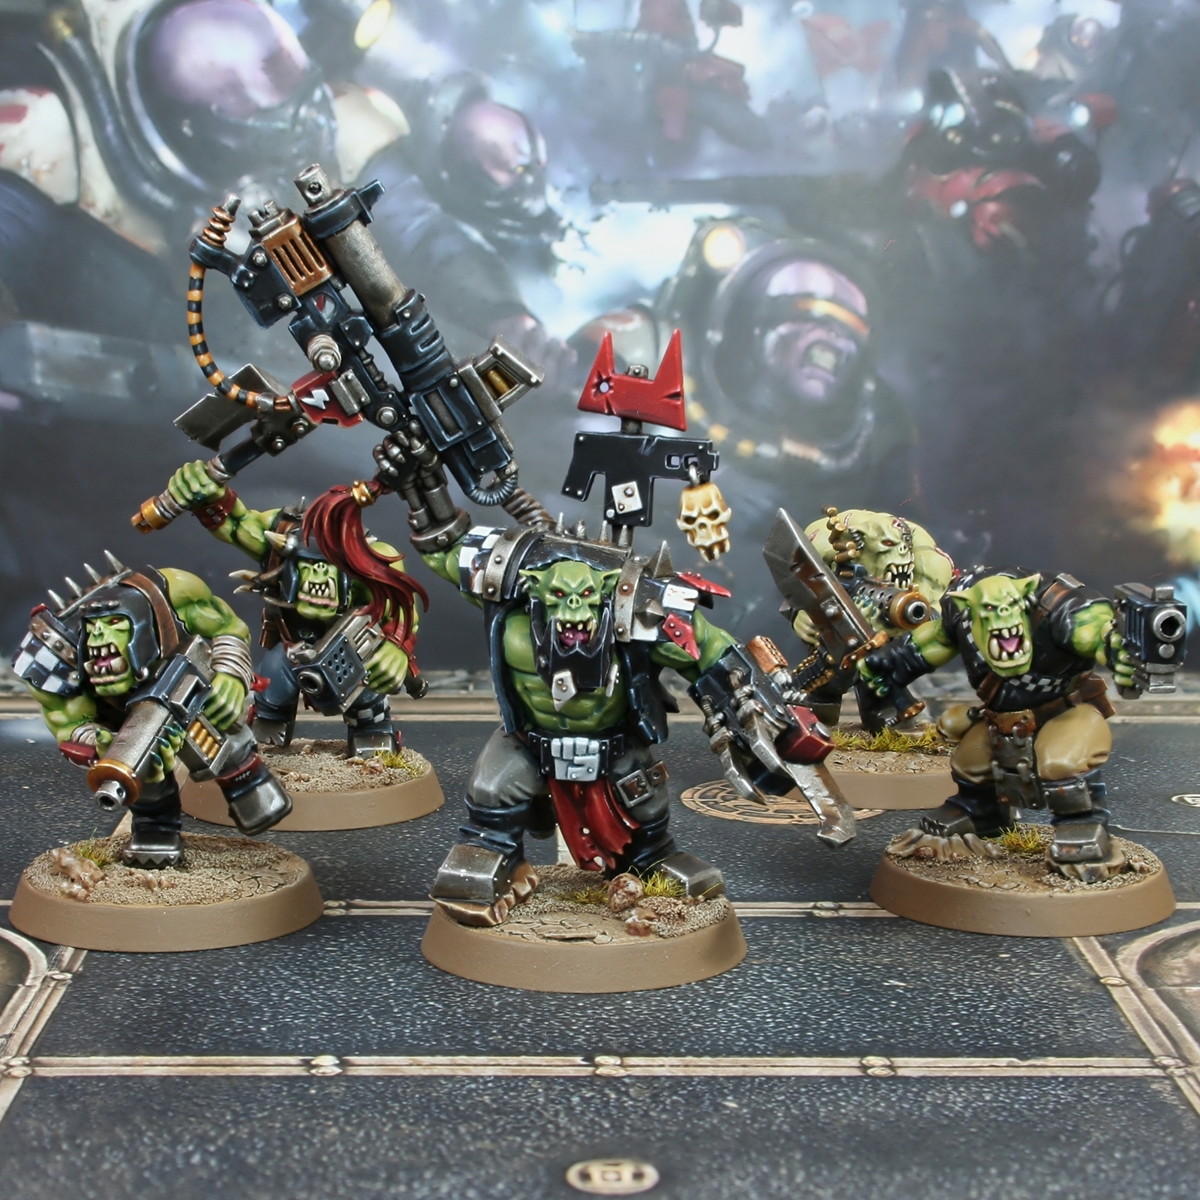
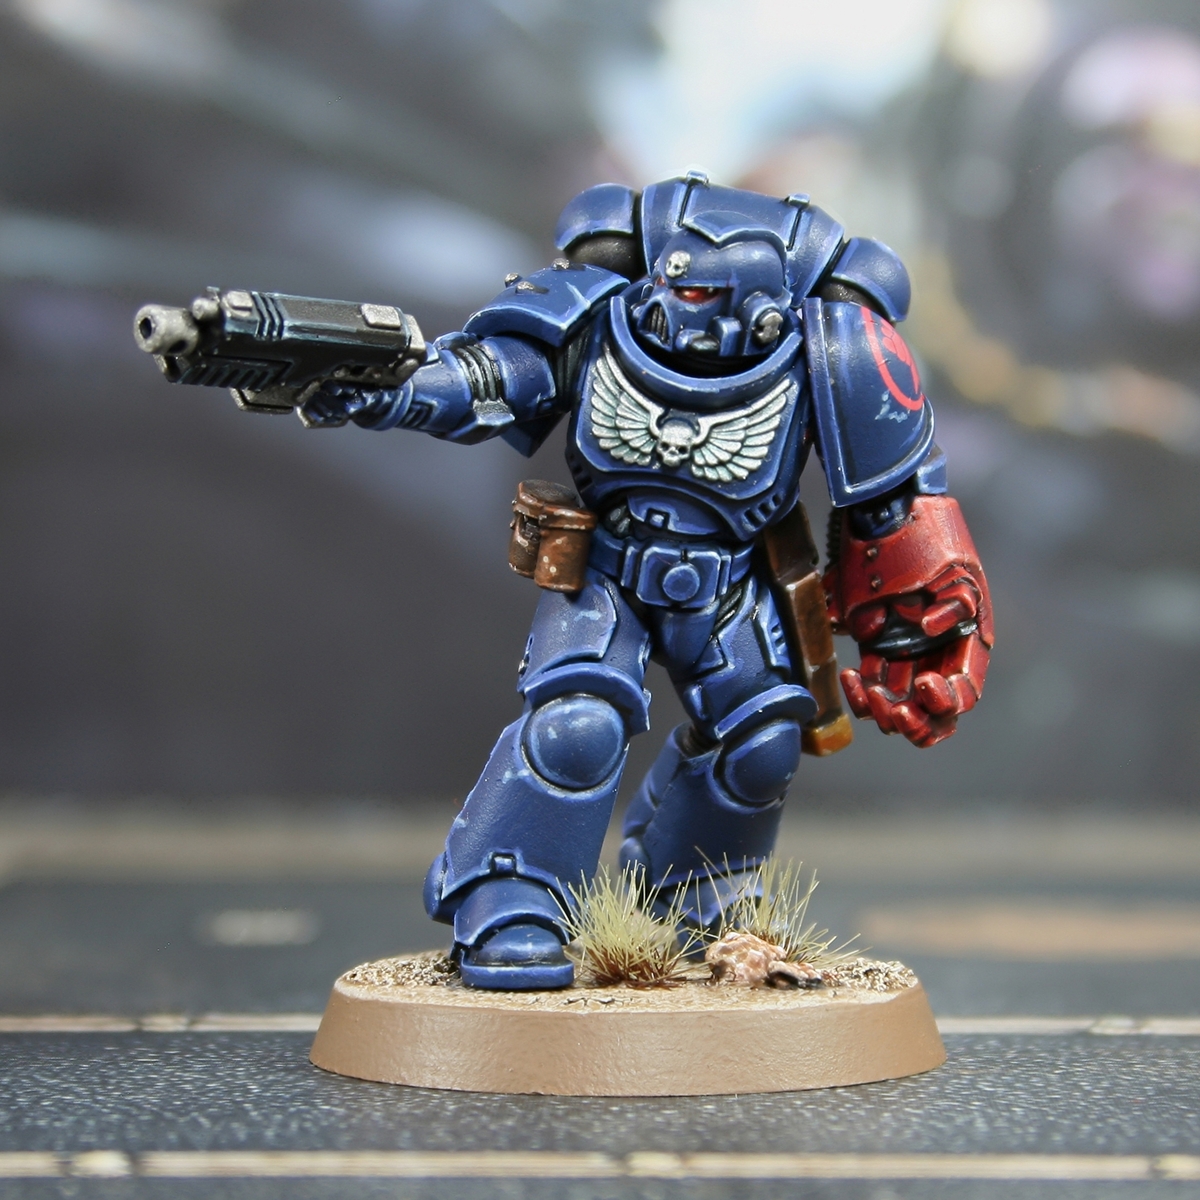
How I painted these fantastic Njorse sculpts in anticipation of the full 'Njorsvald' Kickstarter. Heavily inspired by the artwork.
Skin
- Basecoat with a mix of 2 parts Cadian Fleshtone , 2 parts Ushabti Bone and 1 part White .
- Mix a portion of your basecoat 1:1 with Doombull Brown and shade the skin.
- Add more selective shading of pure Doombull Brown around eye sockets and other deep recesses.
- Gradually mix White into the basecolour, then pick out raised details. Each time you mix in more White , highlight more selectively, until you are defining details like the point of the nose and knuckles with almost pure White .
For the shaved portions, I mixed a little Dawnstone into the basecolour, then gentle glazed the completed skin and re-highlihted as needed.
Blonde Hair
- Basecoat with Zamesi Desert .
- Shade with Skeleton Horde . I thinned mine with an equal amount of Contrast Medium and run it into recesses with a thin brush.
- Highlight with 1:1 Zamesi Desert and Ushabti Bone .
- Edge highlight with Ushabti Bone .
- Selectively highlight with Wraithbone .
Dirty Blonde Hair
- Basecoat with Tallarn Sand .
- Wash with 1:1 Reikland Fleshshade and Seraphim Sepia .
- Highlight with Tallarn Sand and Ushabti Bone .
- Selectively highlight with Ushabti Bone .
- Finish with specular Wraithbone highlights, where needed.
Brown Hair
- Basecoat with Mournfang Brown .
- Shade with 1:1 Mournfang Brown and Abaddon Black .
- With 1:1 Mournfang Brown and Cadian Fleshtone , highlight the strands.
- Mix a little Ushabti Bone into the above and highlight more selectively.
- Finish with a few specular Ushabti Bone highlights.
Red Hair
- Basecoat with Skrag Brown .
- Wash with 1:1 Reikland Fleshshade and Agrax Earthshade . I thinned mine with a little Contrast Medium to make it easier to control.
- Edge highlight with Troll Slayer Orange .
- Mix Troll Slayer Orange and Screaming Skull 1:1 then selectively highlight exposed curls.
- Increase the amount of Screaming Skull in the mix and finish with a few small highlights.
Blue Cloth
- Basecoat with 1:1 Dark Reaper and Administratum Grey .
- Shade the cloth with some thinned Dark Reaper .
- Mix the base colour 2:1 with some White and highlights.
- Increase the amount of White in the above mix and highlight more selectively, focusing on corners and curves.
- Finish with a few specular White highlights where needed.
Dark Blue Cloth & Shields
- Basecoat with a mix of 2 parts Incubi Darkness , 2 parts Thunderhawk Blue and 1 part Abaddon Black .
- Shade with a thin mix of 1:1 Incubi Darkness and Abaddon Black .
- Mix the base colour 1:1 with some more Thunderhawk Blue and apply chunky highlights.
- Now mix a small portion of the above, 2:1 with some Administratum Grey and add fine highlights.
- Increase the amount of Administratum Grey in the mix, so it is pretty close to pure Administratum Grey . Now highlight corners and curves selectively.
- Finish by mixing some white into the above paint and adding specular highlights where needed.
Brown Cloth
- Basecoat with 1:1 Dryad Bark and Abaddon Black .
- Shade with some thinned Abaddon Black .
- Glaze raised portions with Dryad Bark .
- Add chunky highlights of 1:1 Dryad Bark and Stormvermin Fur within the previous stage.
- Add finer highlights of Stormvermin Fur , making them a little thicker on sharp corners and curves.
- Mix a little Screaming Skull into your Stormvermin Fur and highlight more selectively.
- Add a few specular highlights of Screaming Skull where you think it is needed.
It is pretty easy to go overboard with the highlighting of this material. If they end up looking a little chalky, I would suggest glazing the highlights down with Dryad Bark gently and re-highlighing.
Dark Brown Leather
- Basecoat with Rhinox Hide .
- Shade recesses with a 1:1 mix of Rhinox Hide and Abaddon Black .
- Add chunky highlights of Doombull Brown .
- Add fine highlights of Mournfang Brown .
- Selectively highlight with XV-88 .
- Mix some White into the XV-88 and finish with specular highlights.
Fur
- Basecoat with 1:1 Grey Seer and White .
- Wash with Grey Seer thinned with an equal amount of Lahmian Medium .
- Repeat with 1:1 Stormvermin Fur and Grey Seer , shading a more select area.
- Finally, shade with pure Stormvermin Fur . I used it for both glazes, and as a thin lines to seperate materials.
- Now pick out raises biths of fur with a 1:1 mix of the basecolour and White .
- Finally, finish with more select highlights of pure White .
Wood
- Basecoat with 1:1 Mournfang Brown and Dryad Bark .
- Wash with Agrax Earthshade or shade with Dryad Bark , depending upon how textured the wood is.
- Mix some of the basecoat 1:1 with Karak Stone and add some chunky highlights to raised details and edges of the woodgrain.
- Highlight within the previous stage, using pure Karak Stone . Be more selective and focus on corners and curves.
- Mix a little White into your Karak Stone and add very small highlights on the most pronounced details.
Scales
- Basecoat with 2:1 Vulkan Green and Sotek Green .
- Wash with some very thin Caliban Green , with just a little Abaddon Black .
- Highlight scales with a mix of the base colour and a little Skarsnik Green .
- Selectively highlight ezposed edges with selective highlights of Skarsnik Green .
- Finish with specular highlights of 1:1 Skarsnik Green and White .
Brass
- Basecoat with 1:1 Runelord Brass and XV-88 .
- Wash with some Wyldwood , thinned with twice as much Contrast Medium .
- Mix a little Silver RLM01 Metallic into your original base colour and highlight the metal. Make sure you pick out all edges and go extra heavy on curves and corners.
- Finish with selective highlights of pure Silver RLM01 Metallic , ensuring you hit the areas that got a chunkier highlight in the previous stage.
Griffin
- Basecoat with 1:2 Celestra Grey and White .
- Shade the body with some thinned Administratum Grey and the feathers with a 1:1 mix of the basecoat and Stormvermin Fur . You can keep the shading quite general at this stage.
- Now shade the recesses more selectively with fine lines of Stormvermin Fur .
- Highlight with White , making sure you hit allhard edges. White paint tends to not cover perfectly, so consider doing a couple of passes to ensure corners and curvers have a distinct, small White highlight.
For the markings, I established the rough pattern with Dawnstone , before defining with smaller markings using Eshin Grey .
Front Legs
- basecoat with Bugman's Glow .
- Shade with some thin Doombull Brown .
- Highlight with Cadian Fleshtone .
- Now, more selectively highlight with Kislev Flesh .
- Finish with a few specular Flayed One Flesh highlights.
Mist
- Basecoat with 1:1 Dark Reaper and Ushabti Bone .
- Shade with some thinned Dark Reaper .
- Enhance the shading with 1:1 Dark Reaper and Abaddon Black .
- For the highlights, mix increasing amount of White into your basecolour, and highlight a smaller area with each pass.
Beaks and Claws
- Basecoat with Black .
- Highlight with Skavenblight Dinge .
- Mix increasing amount of Wraithbone into your Skavenblight Dinge and highlight.
- Finish with specular highlights of pure Wraithbone on the point.
Eyes
- Basecoat with Averland Sunset .
- Shace around the eyeballs with some thinned Wild Rider Red .
- Pick out the centre with Flash Gitz Yellow .
- Paint the pupil with a line of Black .
- Finish with a specular highlight of White for the glint. Ensure it is off centre, ideally over lapping both the black and yellow, and is in the same place on the other eye.
Silver
- Basecoat with Leadbelcher .
- Shade with Nuln Oil . I also followed up with some Gryph-charger Grey glazes near the hilt on blades, to add some interest.
- Highlight with Ironbreaker .
- Finish with edge highlights of Silver RLM01 Metallic , focusing them towards the point of blades.
Gold Details
- Basecoat with Retributor Armour .
- Wash with 1:1 Reikland Fleshshade and Agrax Earthshade .
- Mix a little Silver RLM01 Metallic into your Retributor Armour and highlight.
- Highlight more selectively with pure Silver .
Bases
- Basecoat with Mechanicus Standard Grey .
- Wash with Nuln Oil .
- Drybrush with Karak Stone .
- Drybrush more lightly with some Screaming Skull .
- Glaze the rocks with Dawnstone , pulling your brush towards where they will be highlighted.
- Highlight with Administratum Grey .
- Mix some White into your Administratum Grey and highlight more selectively.
- Finsih with a few small White highlights.
- Paint the base rim Black .
Finish with tufts and a little snow flock. I mixed my flock with PVA glue with watter, PVA glue and a little Ardcoat to create a paste and applied patches. For the tufts, I used Army Painter Wasteland bases, but any dried, yellow tufts should be fine.

Rookie Brushes
RookieBrushes
Aspiring miniature painter and biscuit enthusiast. Here to share my hobby and help where I can.
Citadel Painting System 50
Base 15
- Abaddon Black
- Averland Sunset
- Bugman's Glow
- Caliban Green
- Celestra Grey
- Dryad Bark
- Grey Seer
- Incubi Darkness
- Leadbelcher
- Mechanicus Standard Grey
- Mournfang Brown
- Retributor Armour
- Rhinox Hide
- Wraithbone
- XV-88
Shade 4
- Agrax Earthshade
- Nuln Oil
- Reikland Fleshshade
- Seraphim Sepia
Layer 25
- Administratum Grey
- Cadian Fleshtone
- Dark Reaper
- Dawnstone
- Doombull Brown
- Eshin Grey
- Flash Gitz Yellow
- Flayed One Flesh
- Ironbreaker
- Karak Stone
- Kislev Flesh
- Runelord Brass
- Screaming Skull
- Skarsnik Green
- Skavenblight Dinge
- Skrag Brown
- Sotek Green
- Stormvermin Fur
- Tallarn Sand
- Thunderhawk Blue
- Troll Slayer Orange
- Ushabti Bone
- Vulkan Green
- Wild Rider Red
- Zamesi Desert
Technical 3
- Ardcoat
- Contrast Medium
- Lahmian Medium
Contrast 3
- Gryph-charger Grey
- Skeleton Horde
- Wyldwood
Vallejo Model Air
Base 2
- 71.001 White
- 71.063 Silver RLM01 Metallic
Vallejo Model Color
Base 1
- 70.951 White