
Based on linked video, with changes in paints used.
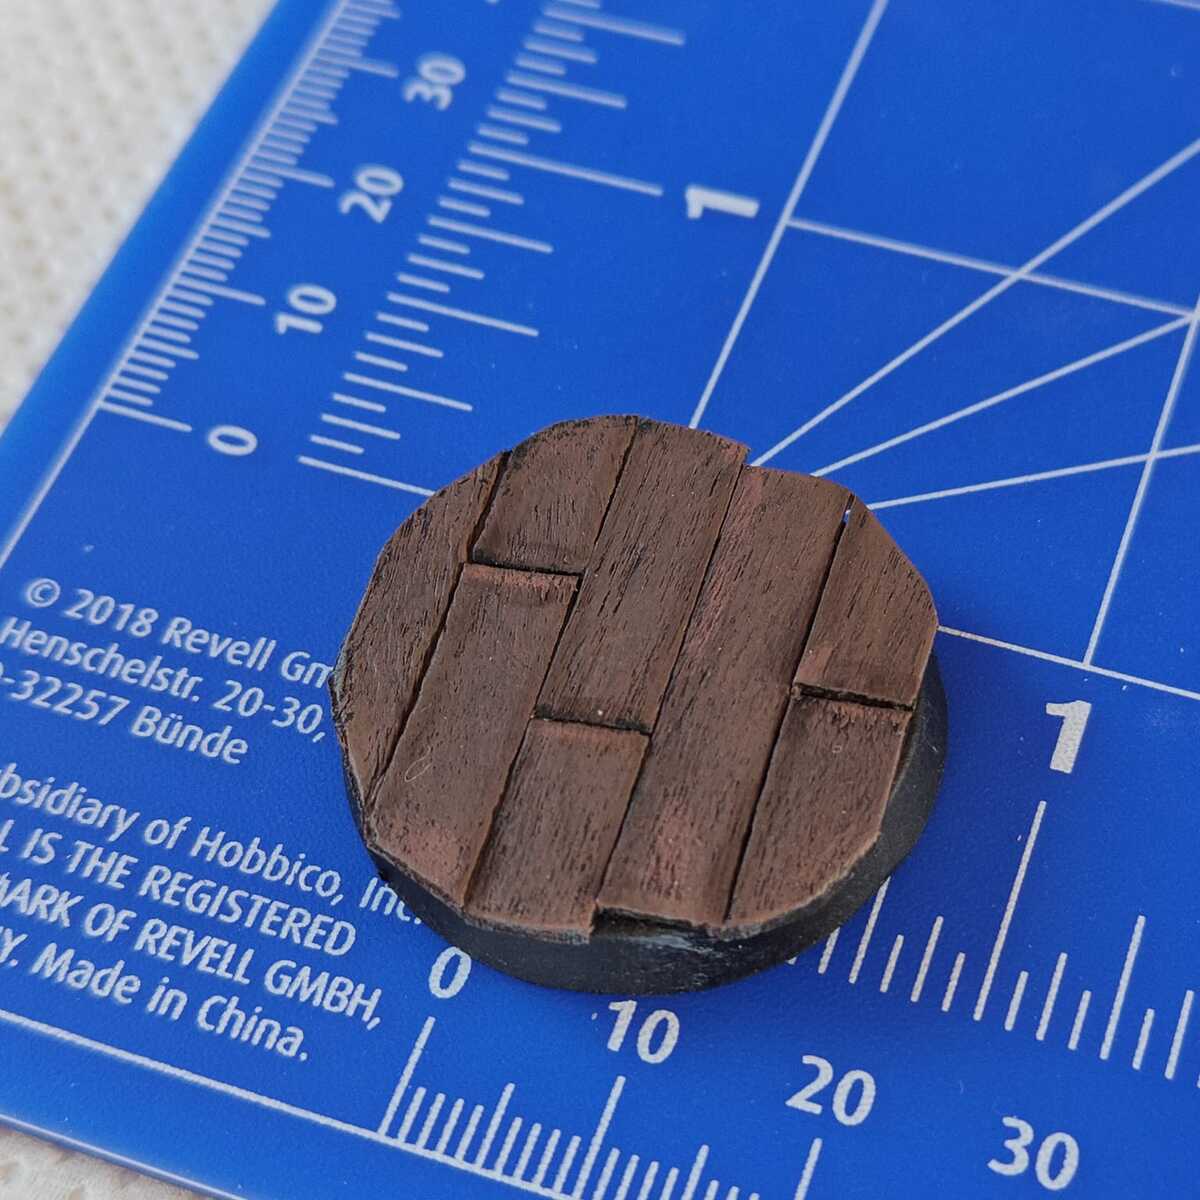
Creating the base
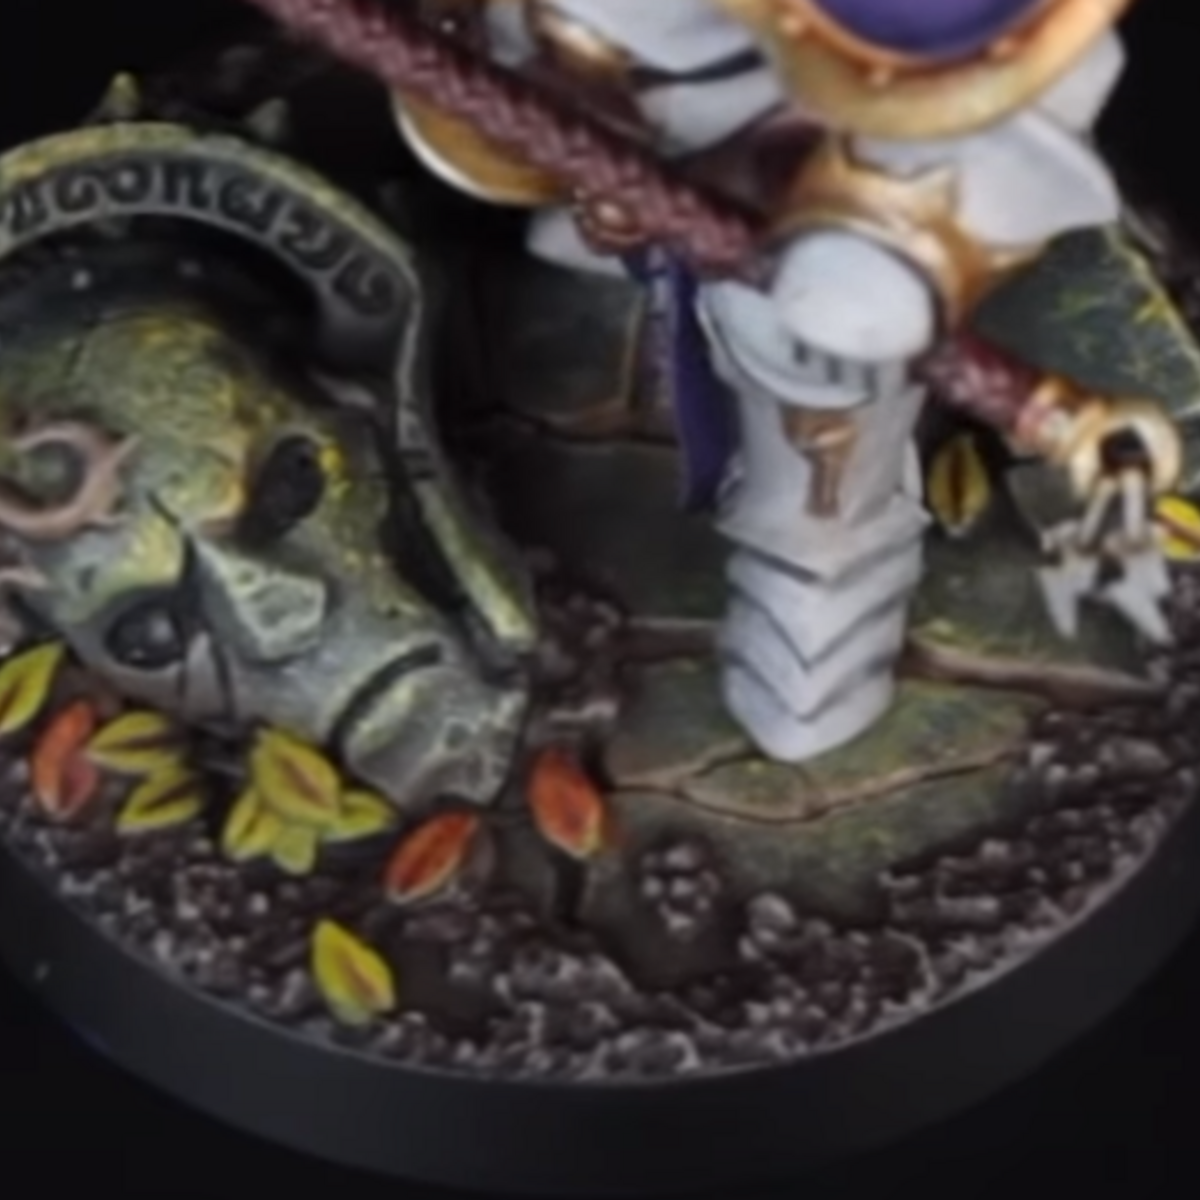
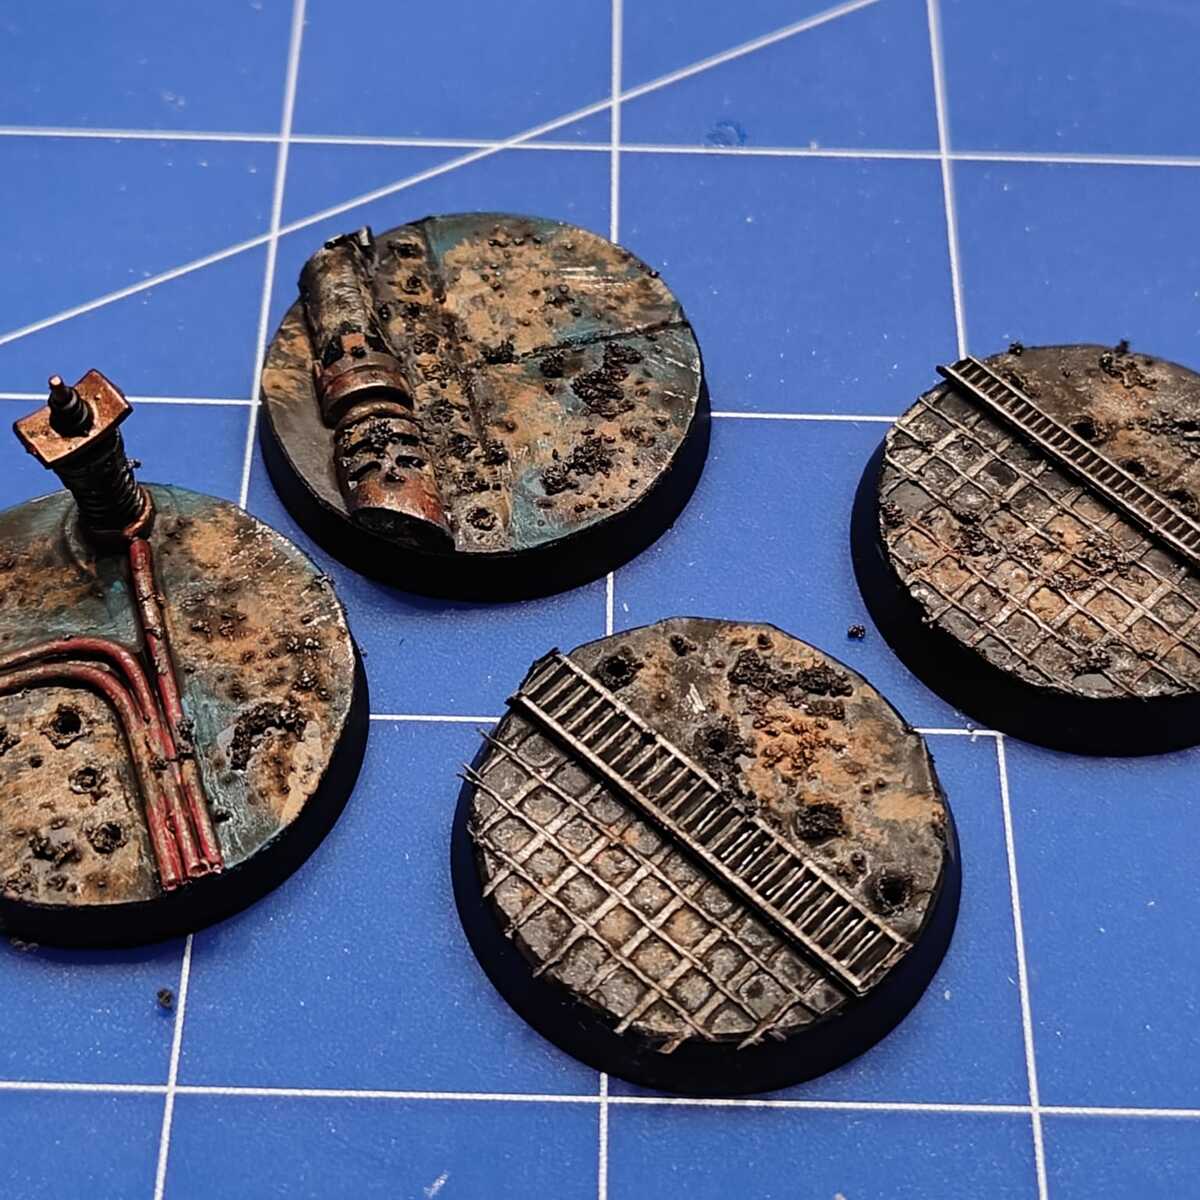
- For the random items and textures, collect any combination of the following; plastic with texture, flower stem wire, strings of any kind, zipties, mosquito mesh / wire mesh (gaasband), random bits of sprue and / or spare bits from other kits, and finally some cardboard (such as old warhammer boxes).
- Trace the size of the base (top side) on the cardboard, and cut out the shapes. Don't cut them smaller than the base. Glue them onto the bases with the shiny / printed side up.
- Grab something straight like a ruler or file, and using a ballpoint pen, trace lines into the cardboard by really pushing the pen into the cardboard. Make sure the lines touch at 90 degree angles to make it seem like different plates / surfaces joining together.
- Using a hobby knife, drill out some holes along the lines to make it look like rivets. Round these out using the tip of the pen.
- Add the osquito mesh / wire mesh to a random surface area to look like grated walkway. Trim it down using a knife.
- Glue down a ziptie along the surface line next to the mesh, as a border.
- Likewise for the other bases, place / glue down the other collected bits along the traced surface lines or around the rivet points. Anything looking industrial will work.
Painting
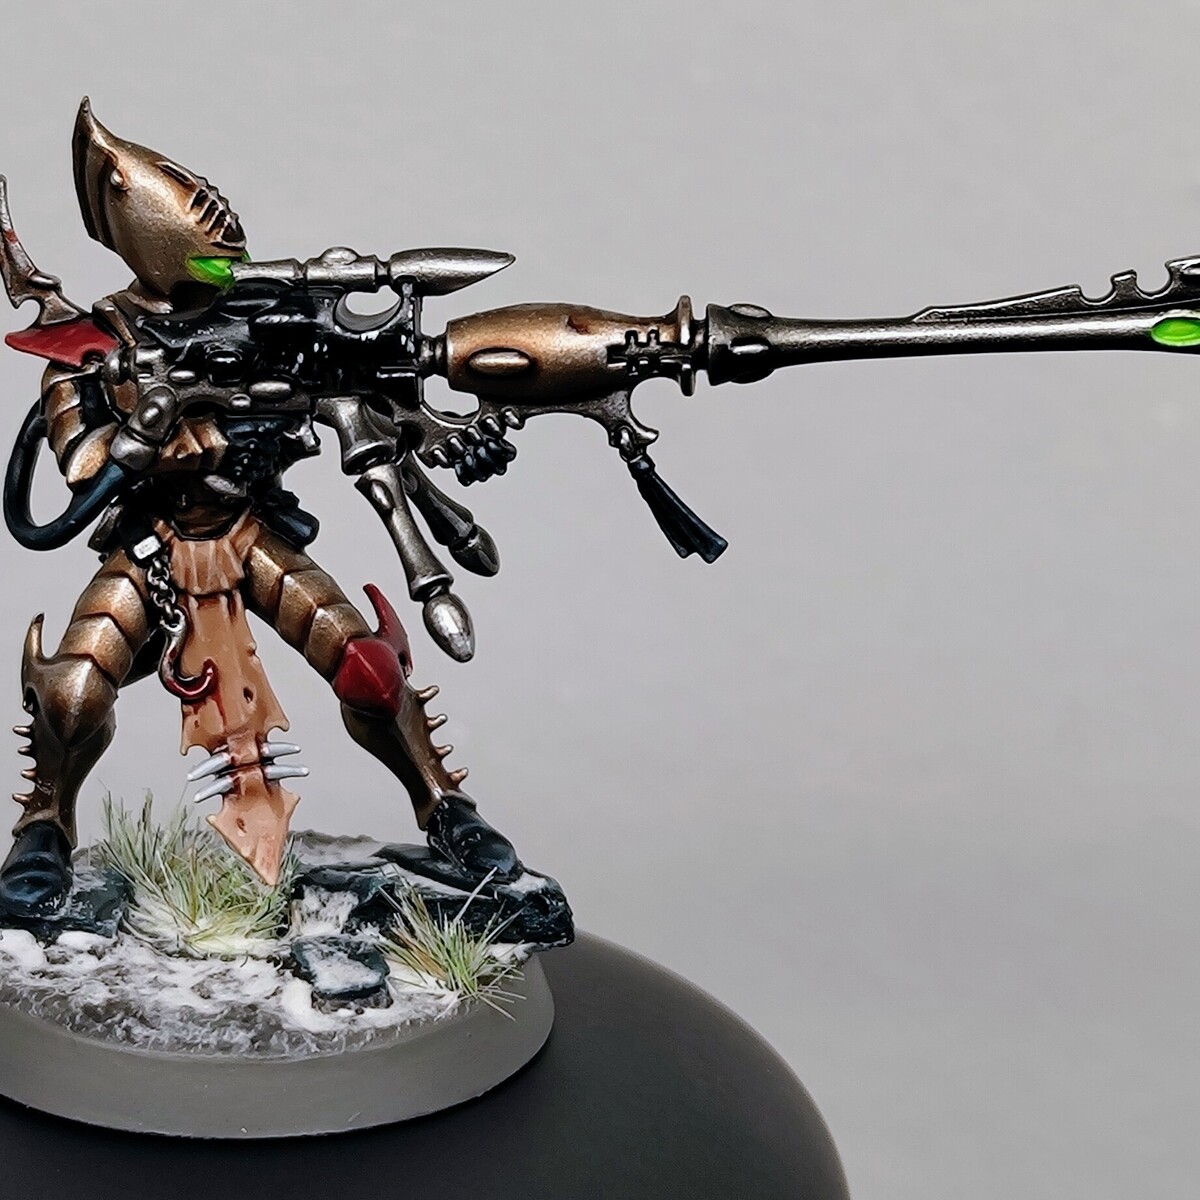
- Basecoat the bases with Chaos Black
- Choose an accent colour such as Baharroth Blue for some of the panels, this will contrast nicely with the orange / brown rust colours. This might take several layers to get good coverage. Don't be afraid of it becoming too bright.
- Paint the leftover sections / panels with a gray, such as Eshin Grey .
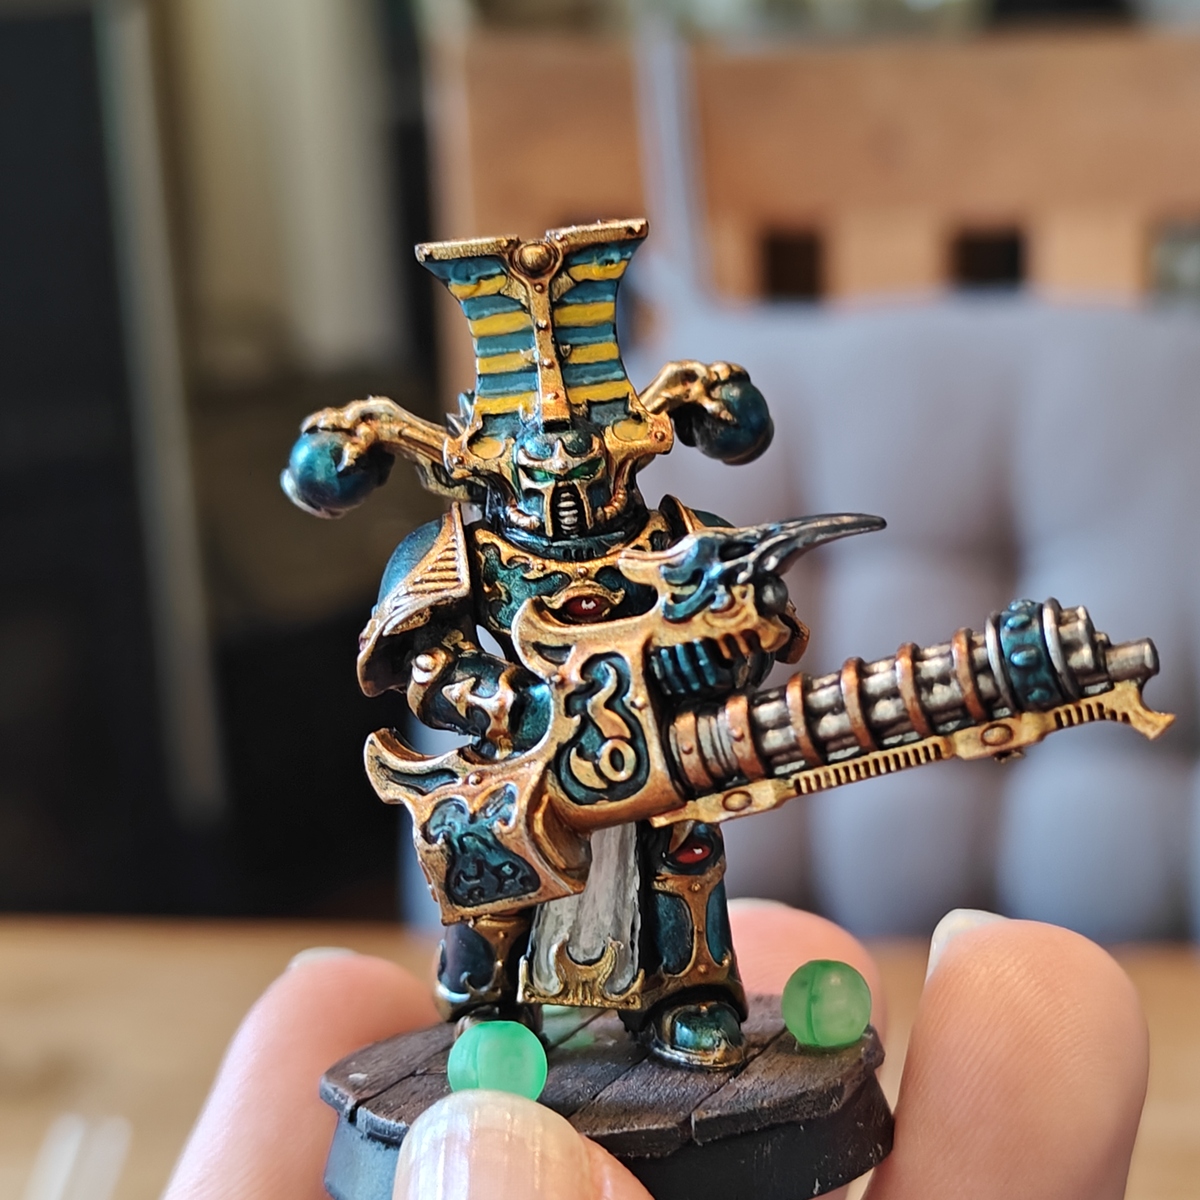
- Paint the main areas of the other bits and items with colours of your choosing, for the image example Mephiston Red , and Balthasar Gold were used.
- Randomly spread, move and dump around some Astrogranite Debris . Try to move the brush randomly and with light touches and dabs. Don't cover up all the original colours, but make it look proper grimy. The debris / texture will be used as dirt or dust laying around. Focus the texture mostly into corners or nooks where real dirt would more easily collect.
Let the texture dry for quite some time. - Grab a bright yellow / orange, such as Bestigor Flesh , and use a sizable brush to lighty stipple it around the dirtiest parts or the bases. Again use random movements and techniques to make it look filthy and messy.
- Drybrush some metallic onto the bases, Leadbelcher works well for this.
- Pile on a good layer of Nuln Oil mixed with a bit of Agrax Earthshade , in such a ratio that the shade looks a dirty muddy brown. Any puddles are fine, as they just add to the overall texture.
- Drybrush the used metallic onto the base again, to bring back a little bit of shine and scratchy texture.
- If needed, lightly stipple back on the original accent colour and / or the rust brown on some spots to make it look like there's just a few clean spots left.

Citadel Painting System 10
Base 3
- Balthasar Gold
- Leadbelcher
- Mephiston Red
Shade 2
- Agrax Earthshade
- Nuln Oil
Layer 3
- Baharroth Blue
- Bestigor Flesh
- Eshin Grey
Texture 1
- Astrogranite Debris
Spray 1
- Chaos Black