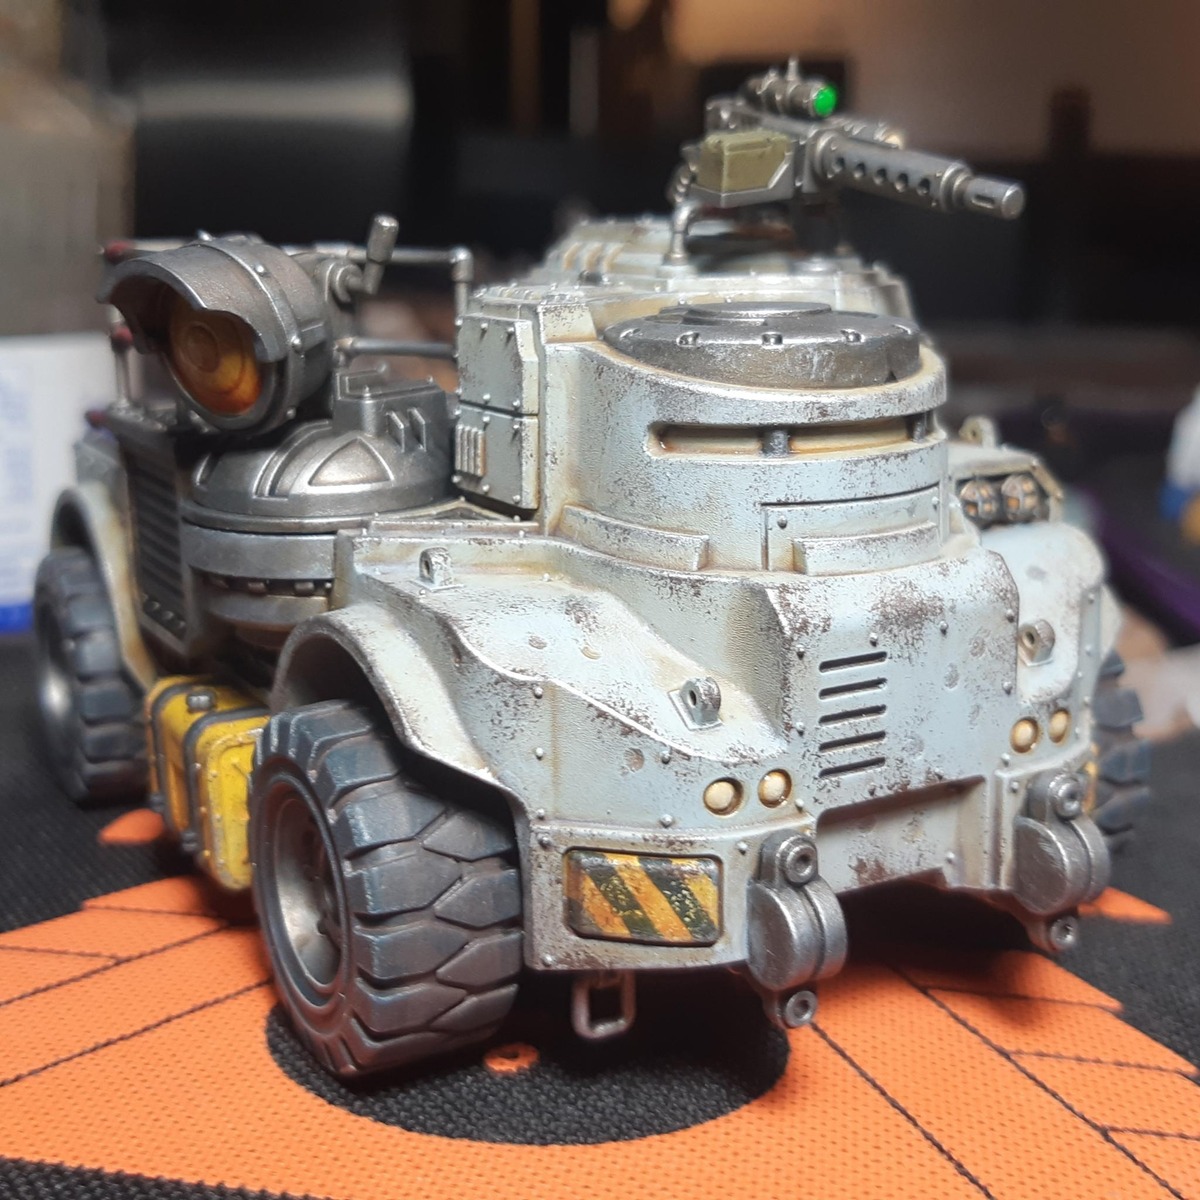
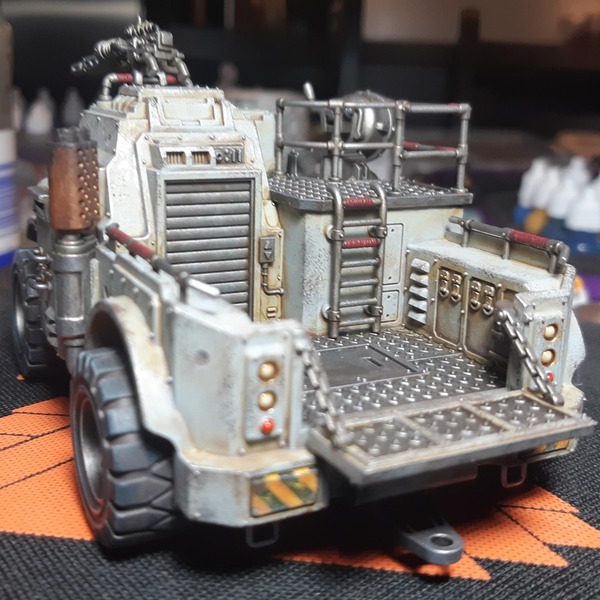
- Prepare in sub assemblies, leave the wheels, stubber, autocannons, railings, fuel tank and exhaust seperate.
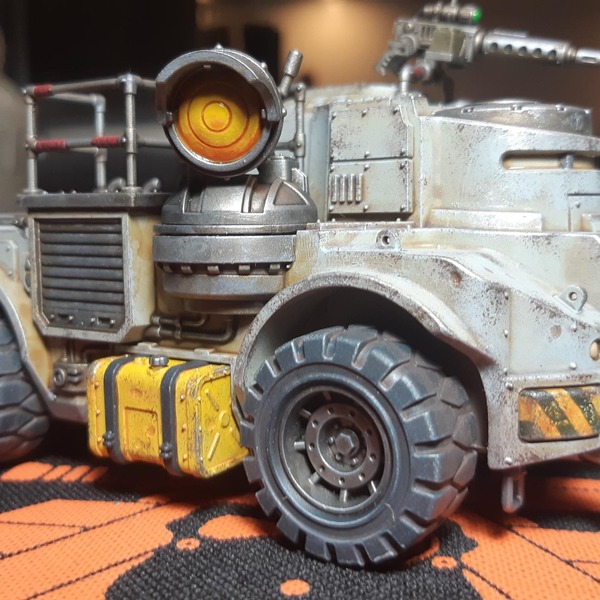
I also had a converted searchlight which I also left seperate and which is interchangeable with the autocannons. - Prime with Grey , prime seperate parts that are gonna be metallic with Gunmetal
Main Truck Body
- Basecoat with Celestra Grey
- Wash with Seraphim Sepia
- Drybrush with Celestra Grey
- Sponge on battle damage with Charred Brown and Cold Steel
Windows
- Basecoat with Corax White
- Wash with Seraphim Sepia
- Apply gloss varnish
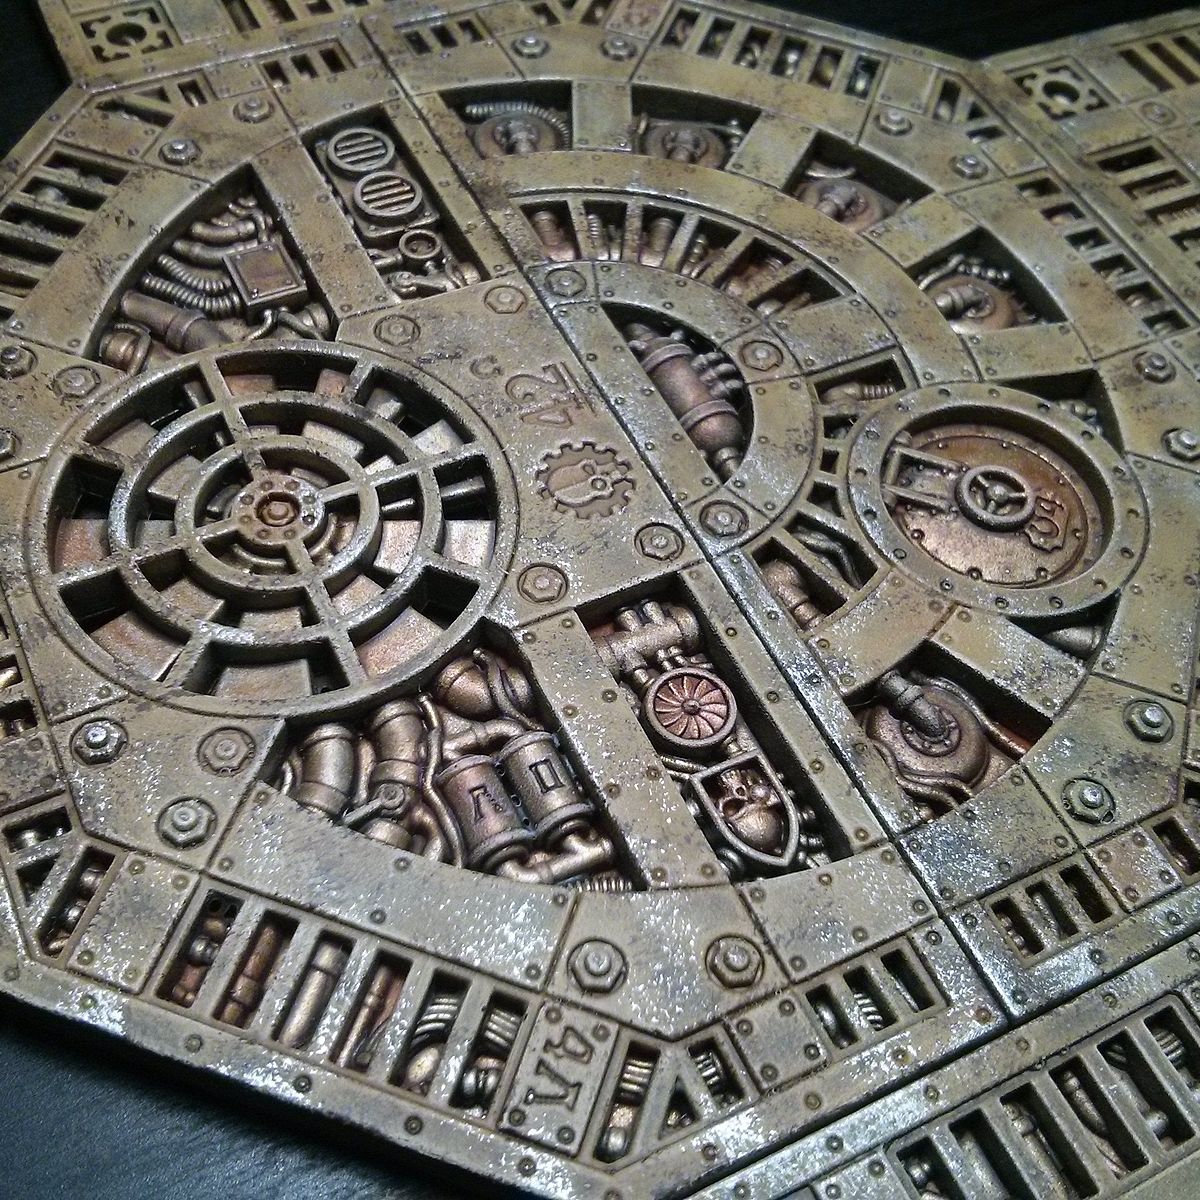
 Metal (railings, rollgates, diamond plate floors etc.)
- Basecoat with Gunmetal Metallic
- Wash with Agrax Earthshade and some spots of Seraphim Sepia
- Highlight or drybrush depending on area with Gunmetal Metallic
- Paint any fabric parts on the railings with Khorne Red , wash with Agrax Earthshade and highligh with Khorne Red
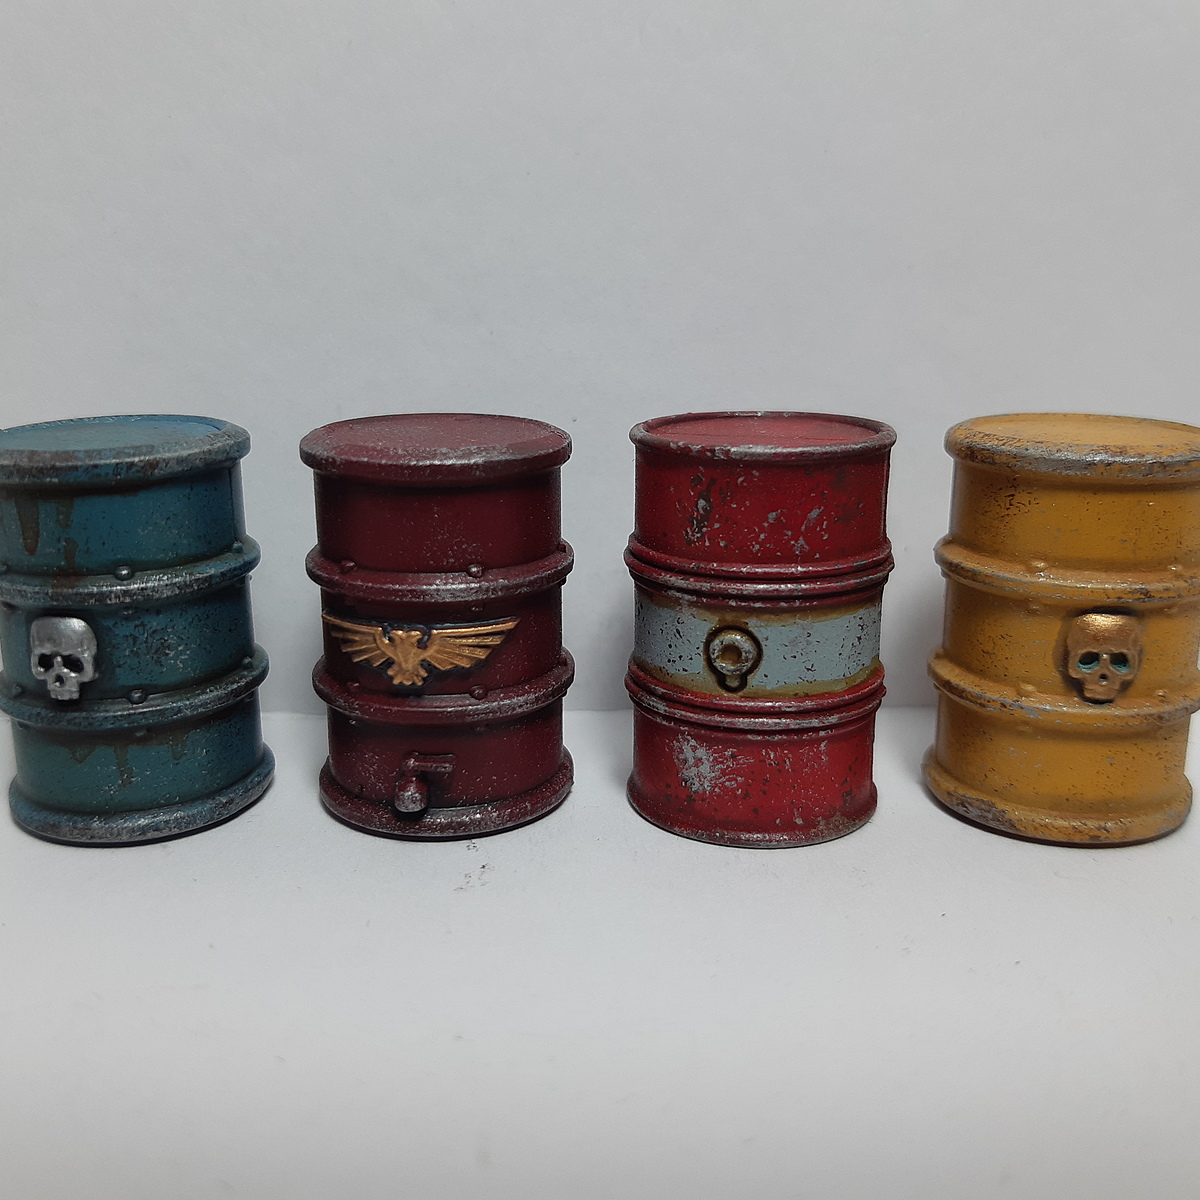
Fuel Tank
- Basecoat with Corax White
- Apply a generous coat of Iyanden Yellow
- Drybrush with Yriel Yellow
- Basecoat banding with Heavy Charcoal
- Basecoat tank cap with Gunmetal
- Wash banding and cap with Agrax Earthshade
- Sponge on battle damage with Charred Brown and Cold Steel
 Wheels
- Basecoat with Incubi Darkness
- Basecoat the inner part of the wheels with Gunmetal Metallic
- Wash with Agrax Earthshade
- Heavly thin down Leather Brown and wash the tires with it, once it's dry add a little black to the mix and wash it again, but a smaller area
- Also apply this mix to the wheel housings on the truck
- Drybrush with Bone White
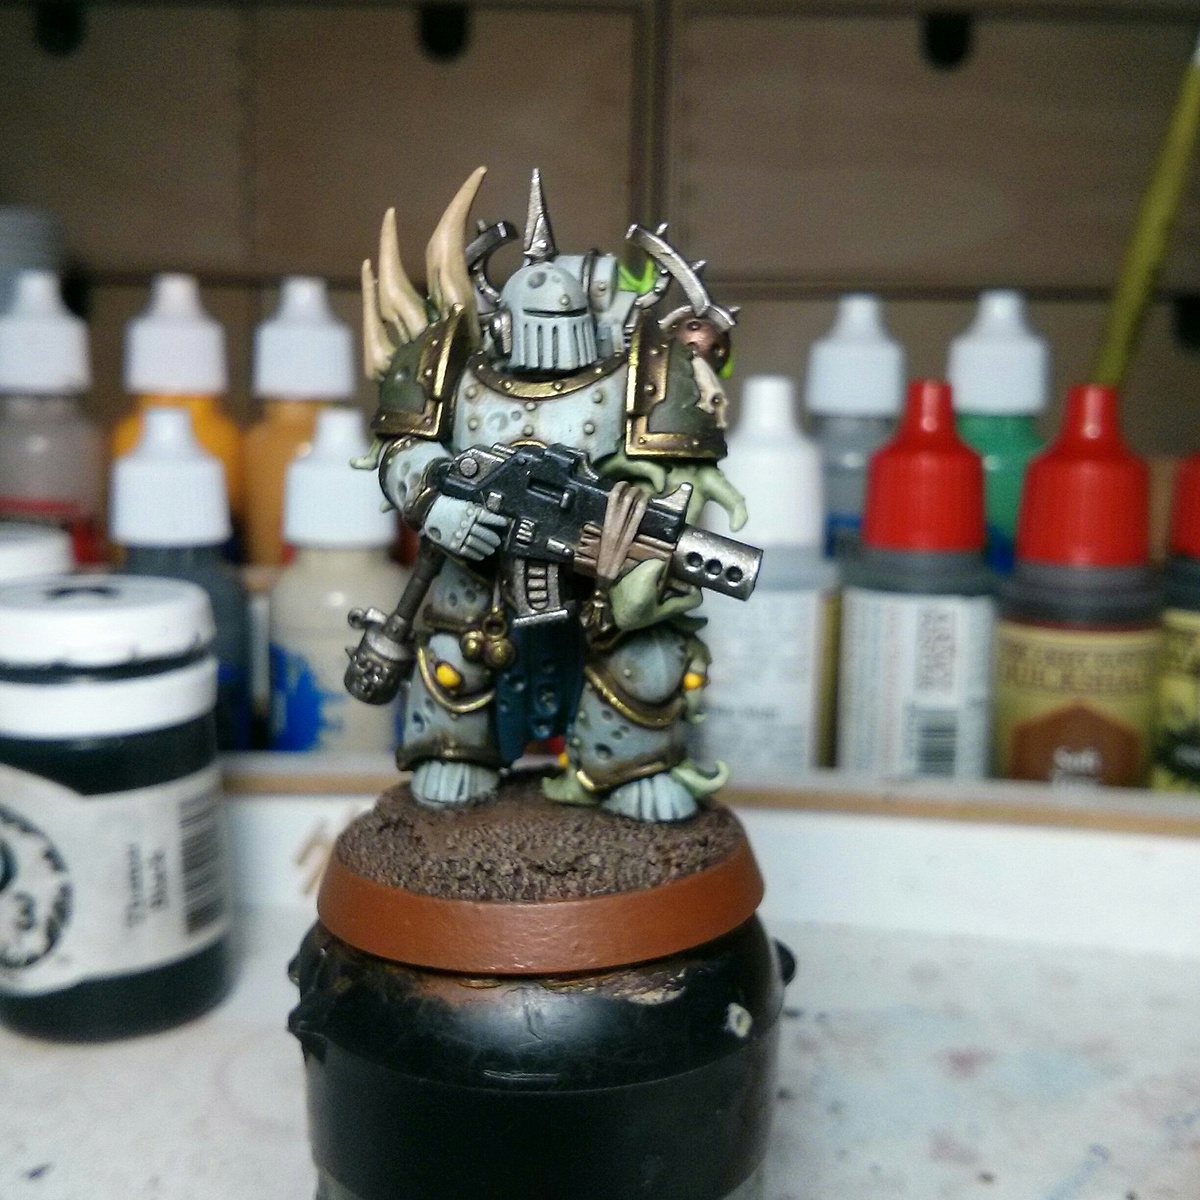
Heavy Stubber
- Basecoat wash and highlight like other metals
- Apply Black Templar to the conduits
- Basecoat ammo box with Heavy Grey and wash with Agrax Earthshade
- Basecoat the leneses with Corax White
- Apply Light Tone to the lamp and Warpstone Glow to the targeting lense
- Apply gloss varnish to these lenses
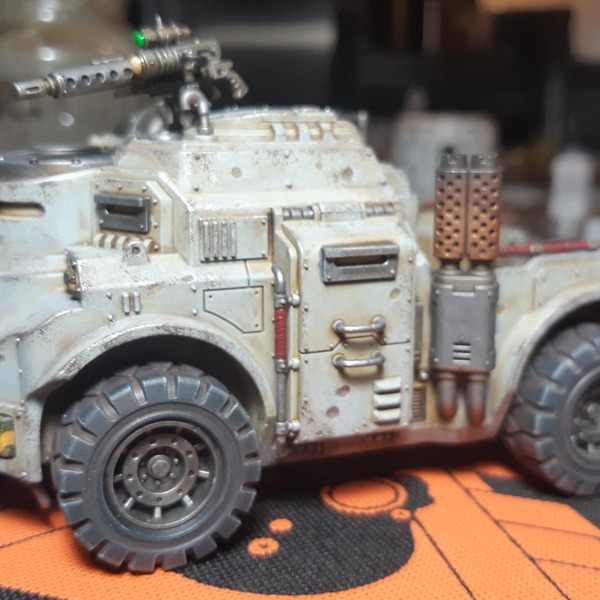 Exhaust
- Basecoat wash and highlight like other metals
- Apply Copper Metallic to the heatsink also wash with Agrax Earthshade
- Drybrush Charred Brown followed by Thamar Black on to the upper end of the exhaust
Hazard Plates
- Basecoat with Corax White
- Apply stripes at about 45° with Thamar Black
- Sponge on some Corax White on to the black stripes
- Apply Iyanden Yellow to the whole thing
- Sponge on battle damage with Charred Brown and Cold Steel
Headlights, Taillights and cagelights
- Basecoat all with Corax White
- Paint in the bars on the cage light with Thamar Black
- Apply Light Tone
- Apply Agrax Earthshade Gloss to the cagelights
- Drybrush the cagelights with Bone White
- Apply gloss varnish
Stoplights
- Basecoat Corax White
- Apply Blood Angels Red
- Highlight with Wild Rider Red
- Apply gloss varnish
Searchlight
- Basecoat wash and highlight like other metals
- Basecoat lamp with Corax White
- Apply Iyanden Yellow
- Apply a second layer of Iyanden Yellow on the lower part of the lamp
- Thin down Yriel Yellow and apply it to the top part of the lamp
- Apply gloss varnish to the lamp
Base
4
-
Celestra Grey
-
Corax White
-
Incubi Darkness
-
Khorne Red
Shade
3
-
Agrax Earthshade
-
Agrax Earthshade Gloss
-
Seraphim Sepia
Layer
3
-
Warpstone Glow
-
Wild Rider Red
-
Yriel Yellow
Contrast
3
-
Black Templar
-
Blood Angels Red
-
Iyanden Yellow
Base
2
-
72.034
Bone White
-
72.045
Charred Brown
Extra opaque
2
-
72.145
Heavy Grey
-
72.155
Heavy Charcoal
Base
2
-
28.011
Grey
-
28.031
Gunmetal
Base
2
-
71.068
Copper Metallic
-
71.072
Gunmetal Metallic
Sign up to compare these recipe requirements to your own paint collection