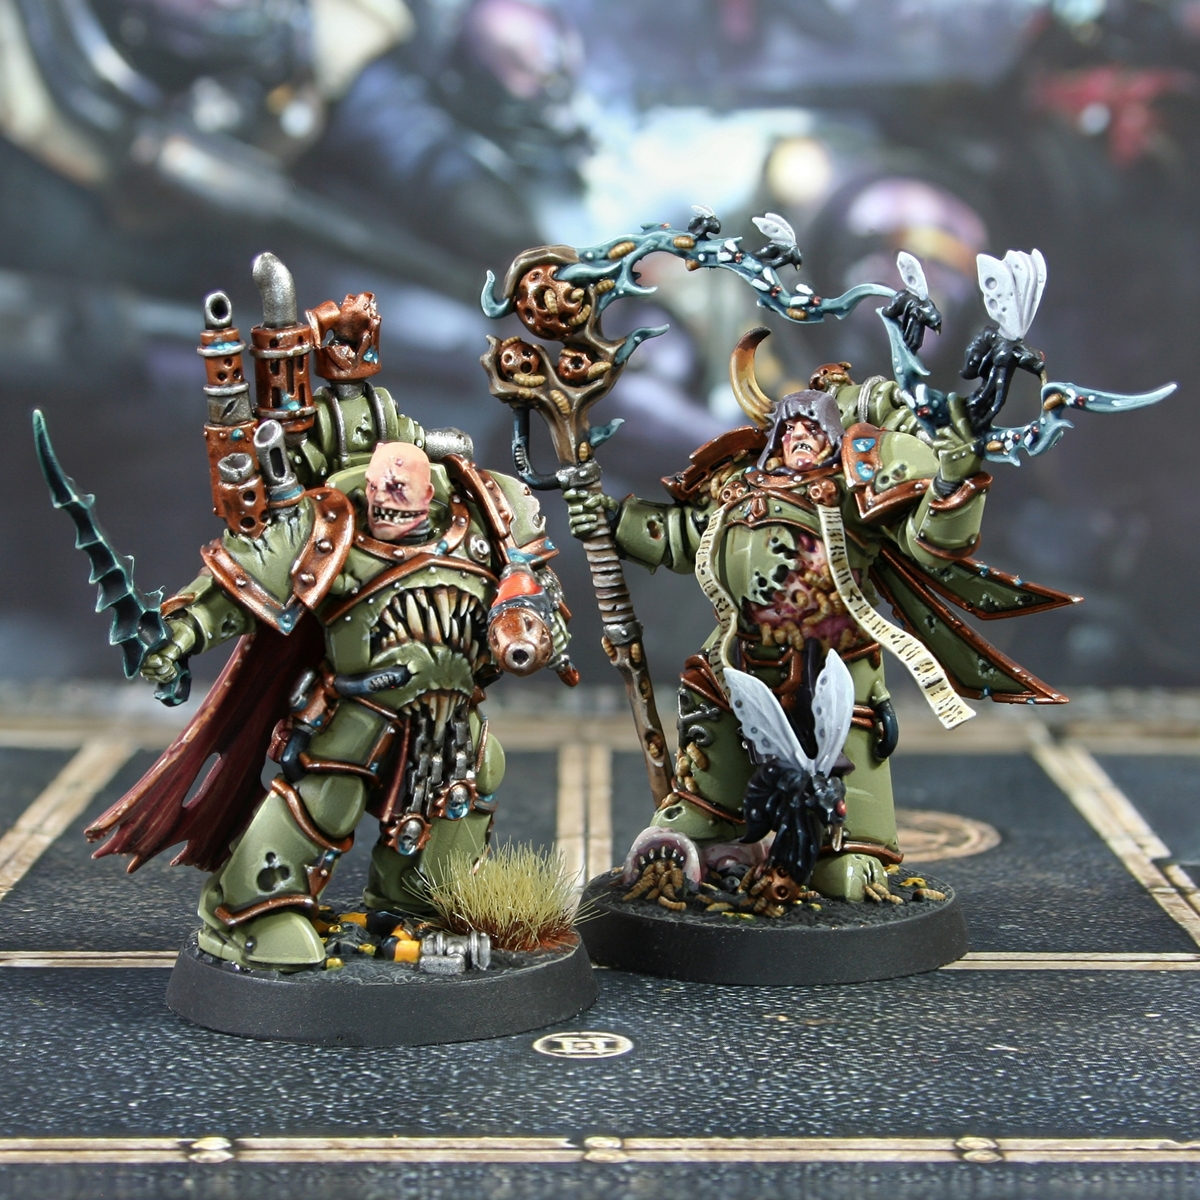

 Black Skin
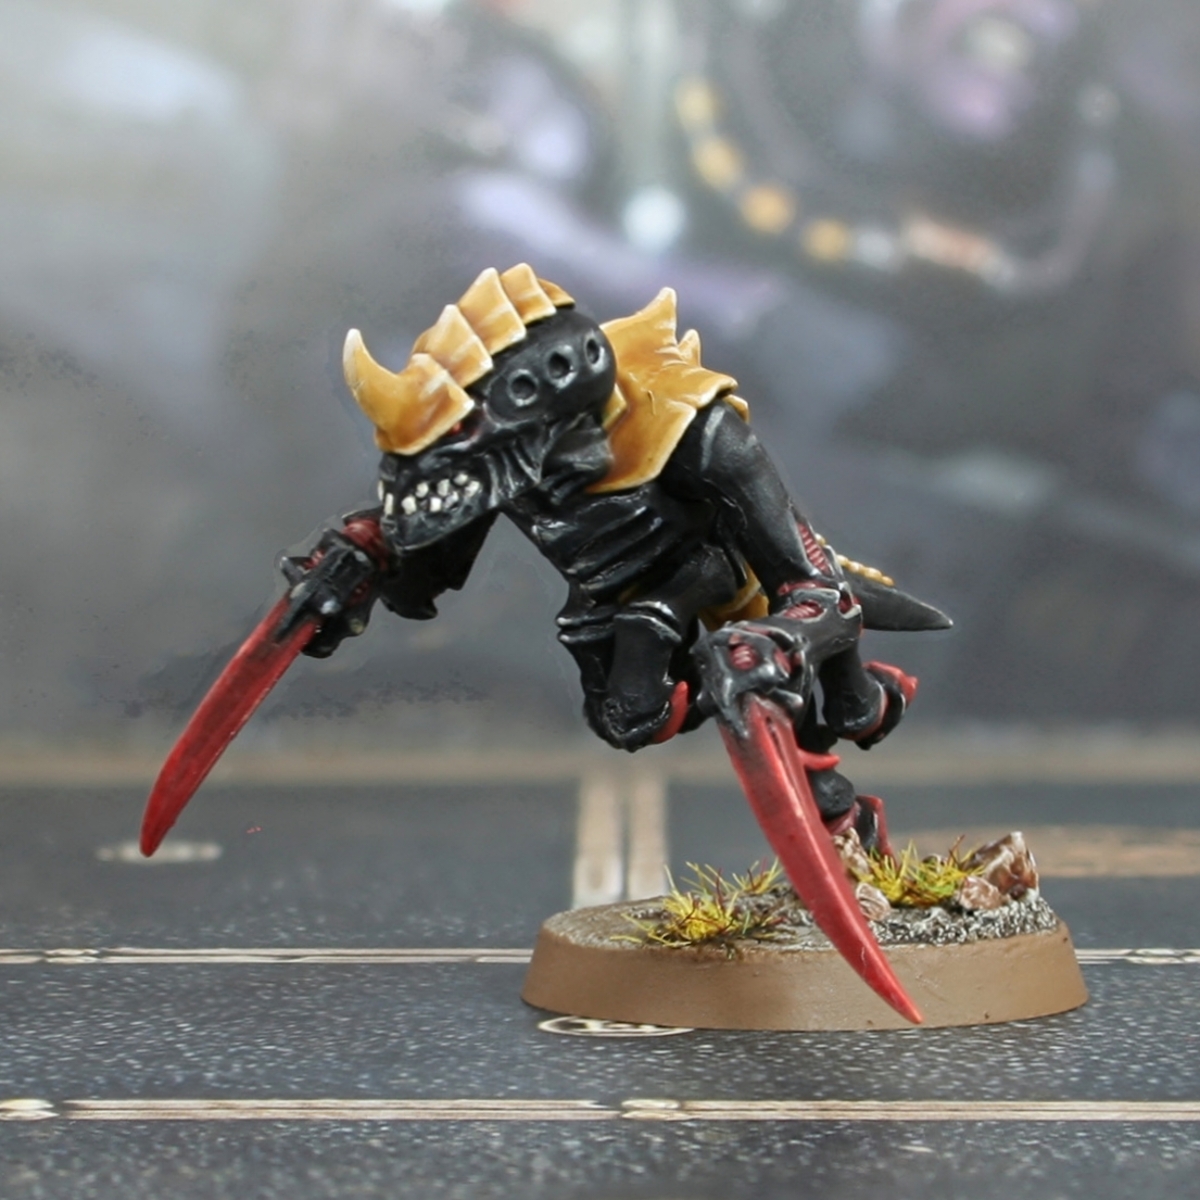
- Start by priming the whole miniature with Chaos Black . To ensure the whole thing had a solid basecoat, I went over it again with a thin coat of Abaddon Black .
- Then heavily drybrush the whole thing with a 1:1 mix of Abaddon Black and Skavenblight Dinge . This drybrush should hit pretty much everything but darkness in the recesses.
- Now drybrush again, this time with pure Skavenblight Dinge . I kept my brushstroke lighter and in a townwards direction, so it was similar to a zenithal highlight.
- Basecoat the fleshy bits with Bugman's Glow .
- Go over the fleshy parts with some Carroburg Crimson , to bring back colour. I used a drop of Lahmian Medium to thin it.
- When the wash above is dry, pick out small highlights on the fleshy bits with Kislev Flesh .
- Edge highlight the skin with Stormvermin Fur .
- Selectively highlight with a 1:1 mix of Stormvermin Fur and Kislev Flesh .
- FInally, pick out specular highlights with Pallid Wych Flesh .
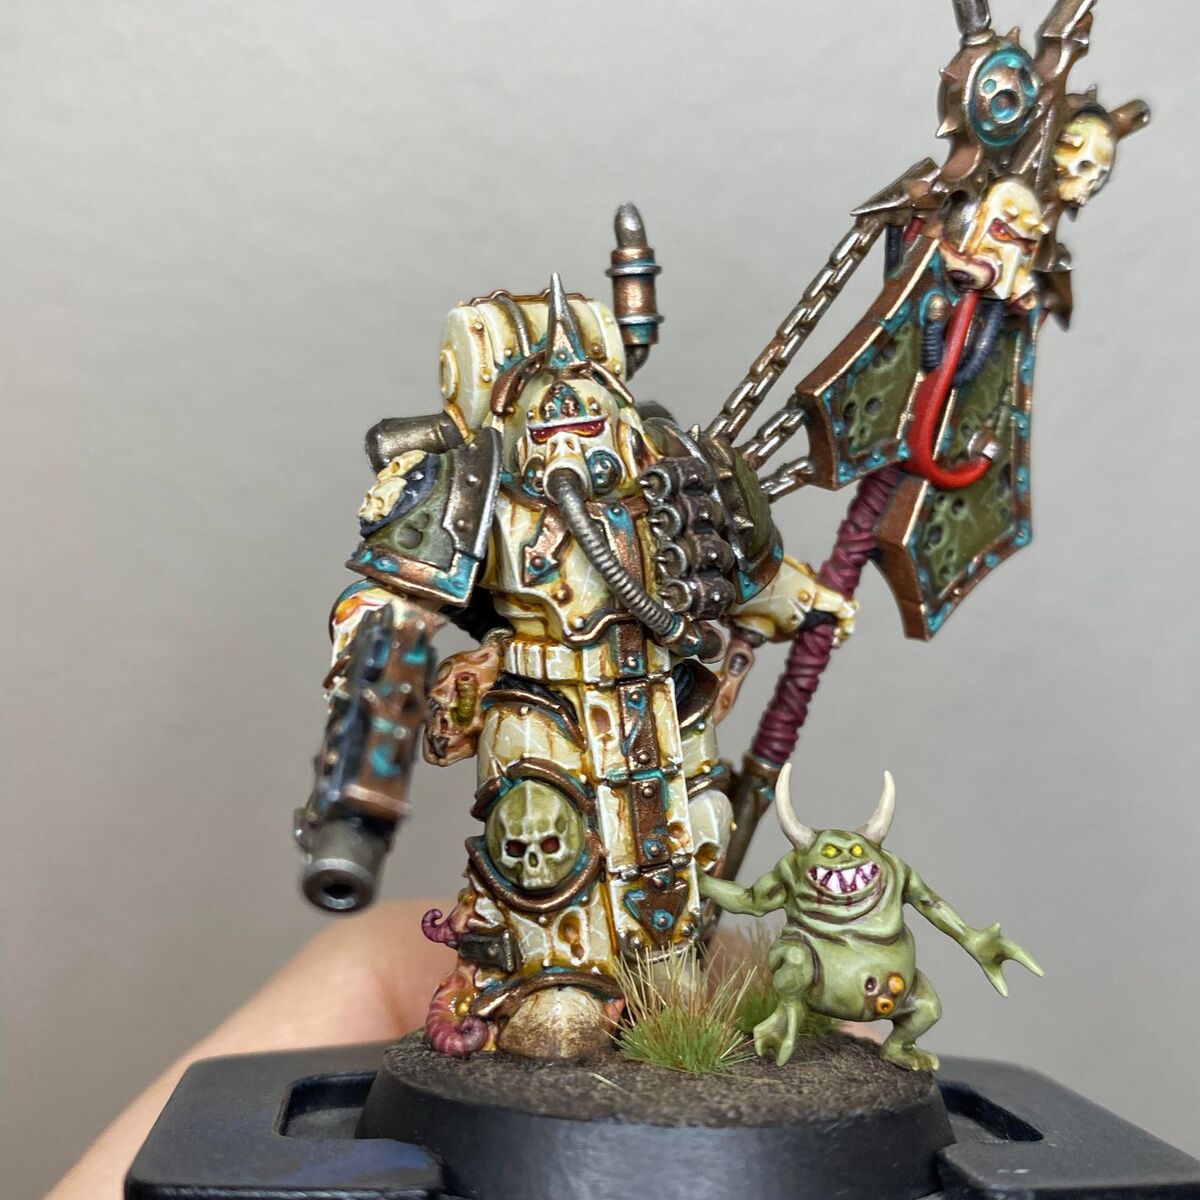
 Yellow Bone Carapace
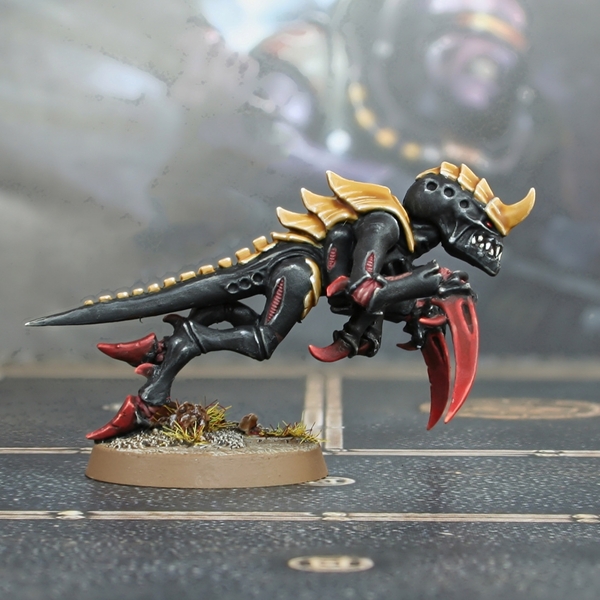
- Basecoat with a mix of Averland Sunset and Zandri Dust . I used a ratio of roughly 2:1, leaning slighltly more in favour of the yellow.
- Wash the carapace with a 1:1 mix of Skeleton Horde and Contrast Medium .
- Add chunky edge highlights of Averland Sunset mixed 1:1 with Ushabti Bone to all of the plating. Also add striations on the edges of large plates with the same chunky lines.
- With Ushabti Bone , edge highlight it all again with fine lines. Place these fine lines within the striations from the last stage too.
- Finish off with selective highlights of Wraithbone . Make these highlights very small or even specular highlights. These should be placed on the edges of the striations too.
- On points and sharp coners, you may want to add dots of White Scar too.
 Dark Red Bone Claws/Weapons
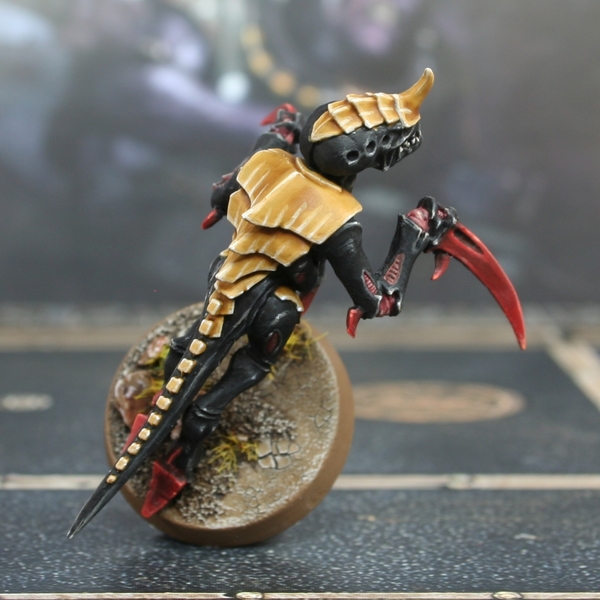
- Mix Abaddon Black and Word Bearers Red , then basecoat the area.
- Now glaze towards the lightest area, using Word Bearers Red . I did a couple of passes, just to smooth the transition.
- Now mix Word Bearers Red with Squig Orange and add chunky highlights to all edges. I mixed a tad more :squig orang into the mix than Word Bearers Red .
- Apply a fine highlight of Squig Orange to all edges. I mixed in a little Lugganath Orange to make it more distinct.
- Mix in more Lugganath Orange , so it is at least 1:1 with the Squig Orange and selectively highlight relevant edges on corners, curves and points.
- Finish off with small amounts of pure Lugganath Orange , make these specular highlights mostly.
- When I was done, the claws looked a little flat and desaturated for my tastes. So I took a drop of Contrast Medium and mixed in a touch of Blood Angels Red , applying it as a glaze to add some much needed colour.
Red Eyes
- Basecoat the eye with Mephiston Red .
- Highlight a smaller area towards the front with Troll Slayer Orange .
- Finally pick out a specular highlight with White Scar .
Teeth
- Pick out each tooth with a couple of layers of Ushabti Bone .
- Add a smaller layer of Wraithbone to make each tooth look more cylindrical.
- Finally, add specular highlights of White Scar to the points.

Rookie Brushes
RookieBrushes
Aspiring miniature painter and biscuit enthusiast. Here to share my hobby and help where I can.
Citadel Painting System 22
Base 6
- Abaddon Black
- Averland Sunset
- Bugman's Glow
- Mephiston Red
- Wraithbone
- Zandri Dust
Shade 1
- Carroburg Crimson
Layer 10
- Kislev Flesh
- Lugganath Orange
- Pallid Wych Flesh
- Skavenblight Dinge
- Squig Orange
- Stormvermin Fur
- Troll Slayer Orange
- Ushabti Bone
- White Scar
- Word Bearers Red
Technical 2
- Contrast Medium
- Lahmian Medium
Spray 1
- Chaos Black
Contrast 2
- Blood Angels Red
- Skeleton Horde