
This method is based on the method and scheme by @crabstuffedmushrooms on Instagram. I've changed a few bits, but the general scheme and initial approach are his.
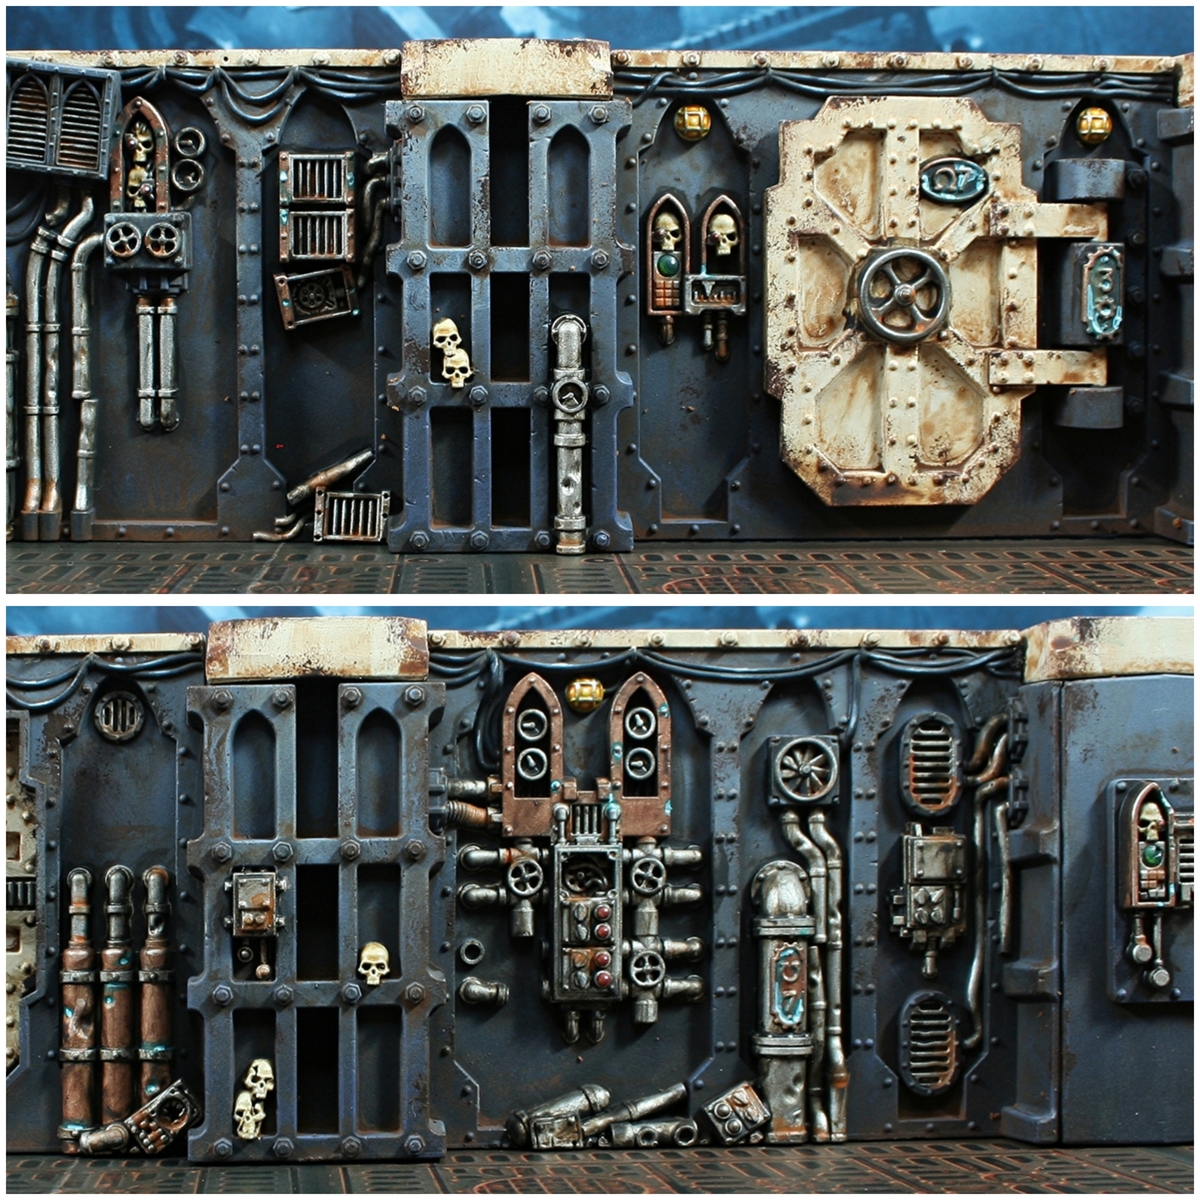
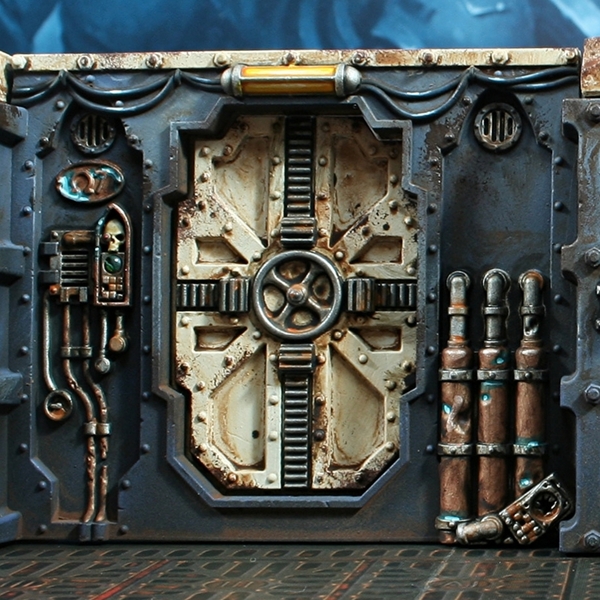
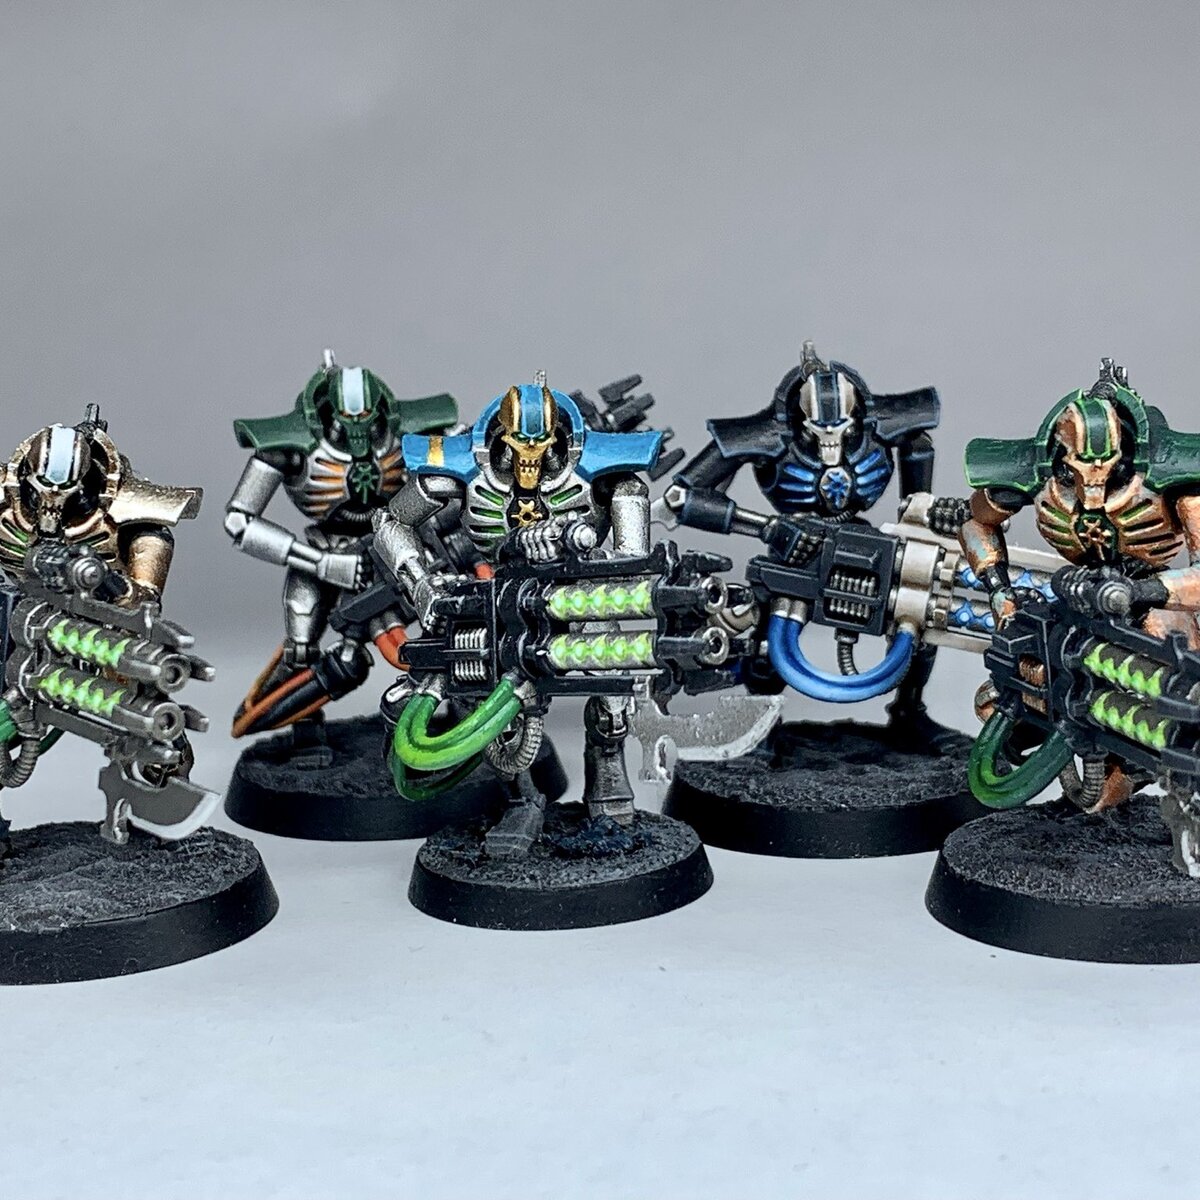
 Blue and White Walls
- Prime with the black of your choice, like Chaos Black .
- Zenithal highlight with The Fang , from a downward 45 degree angle. Go over the whole thing lightly, but give the top two thirds a few passes to create a bit of a gradient.
- Enhance this gradient with Russ Grey grey, coverring the top third only , spraying from that same downwards angle.
- Now drydrush the bottom third with The Fang , the middle with Russ Grey and the top with Fenrisian Grey . The idea being, we are drybrushing each area in the shade lighter than the dominant colour.
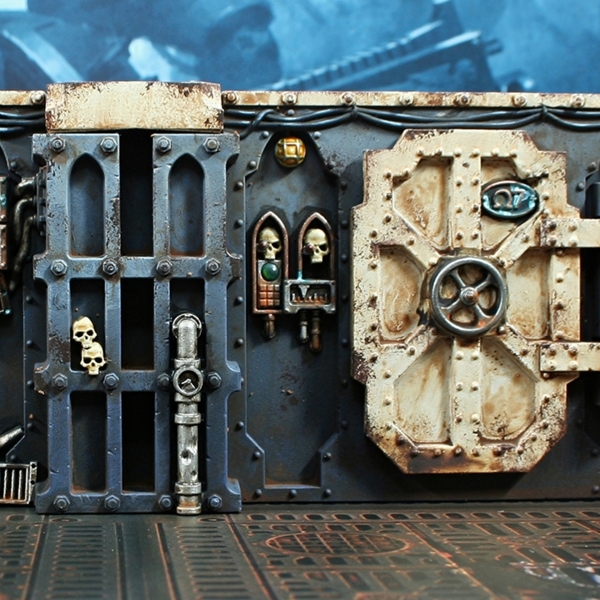
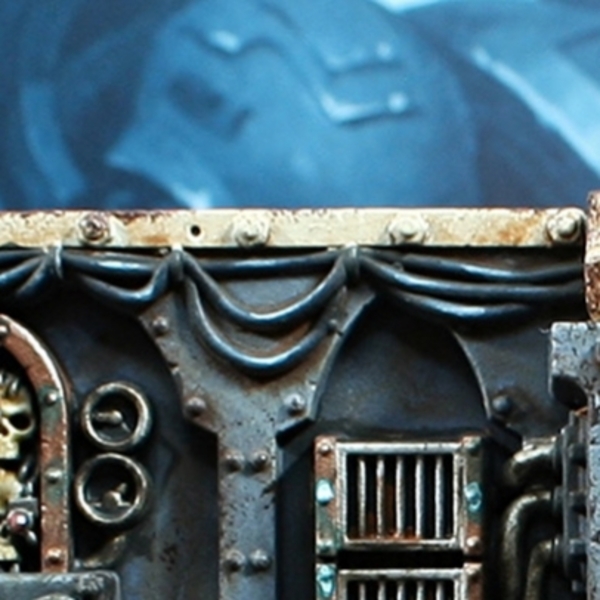
- Now pick out the doors, and trim along the top of thye walls with Wraithbone .
- Using small amounts of Rhinox Hide on a sponge, dab small patches of weathering onto adges and corners that look like they would most easily get caught. I like to focus on the pillers, around doors and control panels.
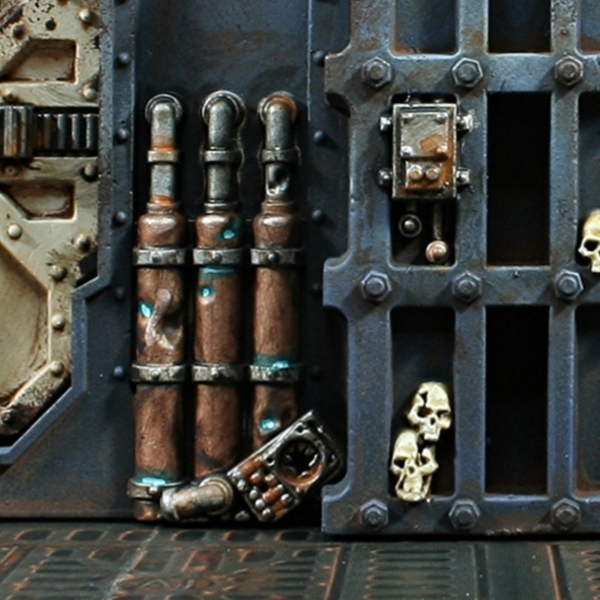
- With all the messy bits done, pick out the skulls with Screaming Skull . To make the jump from black/blue easier, I would recommend a quick coat of :Citadel/ZandriDust first.
 Metallics
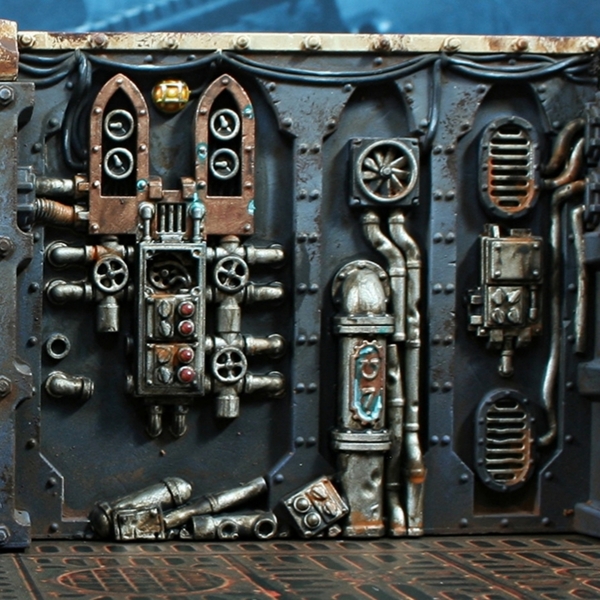
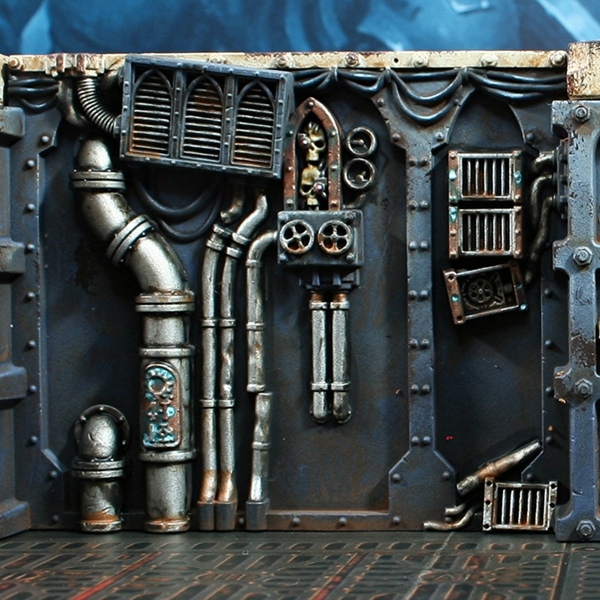
- Basecoat all the piping, casing and vents with a 1:1 mix of Silver and Steel . I like this Vallejo Metal Color paint, because if it's coverage, but feel free to to stick to Leadbelcher if you are more comfortable.
- To enhance the volumes of the metal, run a drybrush of Silver over the raised ares of the piping.
- I like to break up the silver with Copper on plaques and some trim. The warm colour works well next to the blue and will be especially helpful when it comes to the weathering.
- If you wanted to, you could add a few rough edge/drybrush highlights with Silver RLM01 Metallic , to really sell the shine.
 Weathering
- I started by washing the whole wall with a Burnt Umber oil paint from "Winton", thinned with plenty of artists' white spirit. This will make everything look pretty dirty and where the wash collects in recesses, it gives a pretty nice looking grime effect, which can also be used as a solid base for some rust effects.
- With the last wash still wet, I went over the metallings with a thicker wash made up of 3 parts 'Ivory Black', 1 part 'Burnt Sienna' and just a touch of 'Cobalt Violet Hue'. This adds a lot of colour variety and really sells the used metal effect, especially on the steel parts.
- With a makeup sponge, I went over the model while it was stil wet, roughly brushing down with a makeup sponge, wiping the paint away from exposed areas.
- I then left the wall to dry for a day, before locking in my colours with some Vallejo satin varnish. I used satin varnish specifically, to retain some of the shine on the metals.
You could of course use you choice of traditional bottled washes for this, like Nuln Oil and Agrax Earthshade . However, with the amount of scenery in the box, it will definately work out cheaper to invest in a couple of oil paints and it is always advantagous to add another string to your bow.
Whilst the metals look nice now, we can add an extra bit of realism quickly with a few extra steps.
 Rust
Rust
- On the steel and other areas that could do with some rust, run some thin Skrag Brown in there.
- You can then take some waterred down Ryza Rust and pop it into recesses if you wanted. This adds some nice vibrancy to the rust.
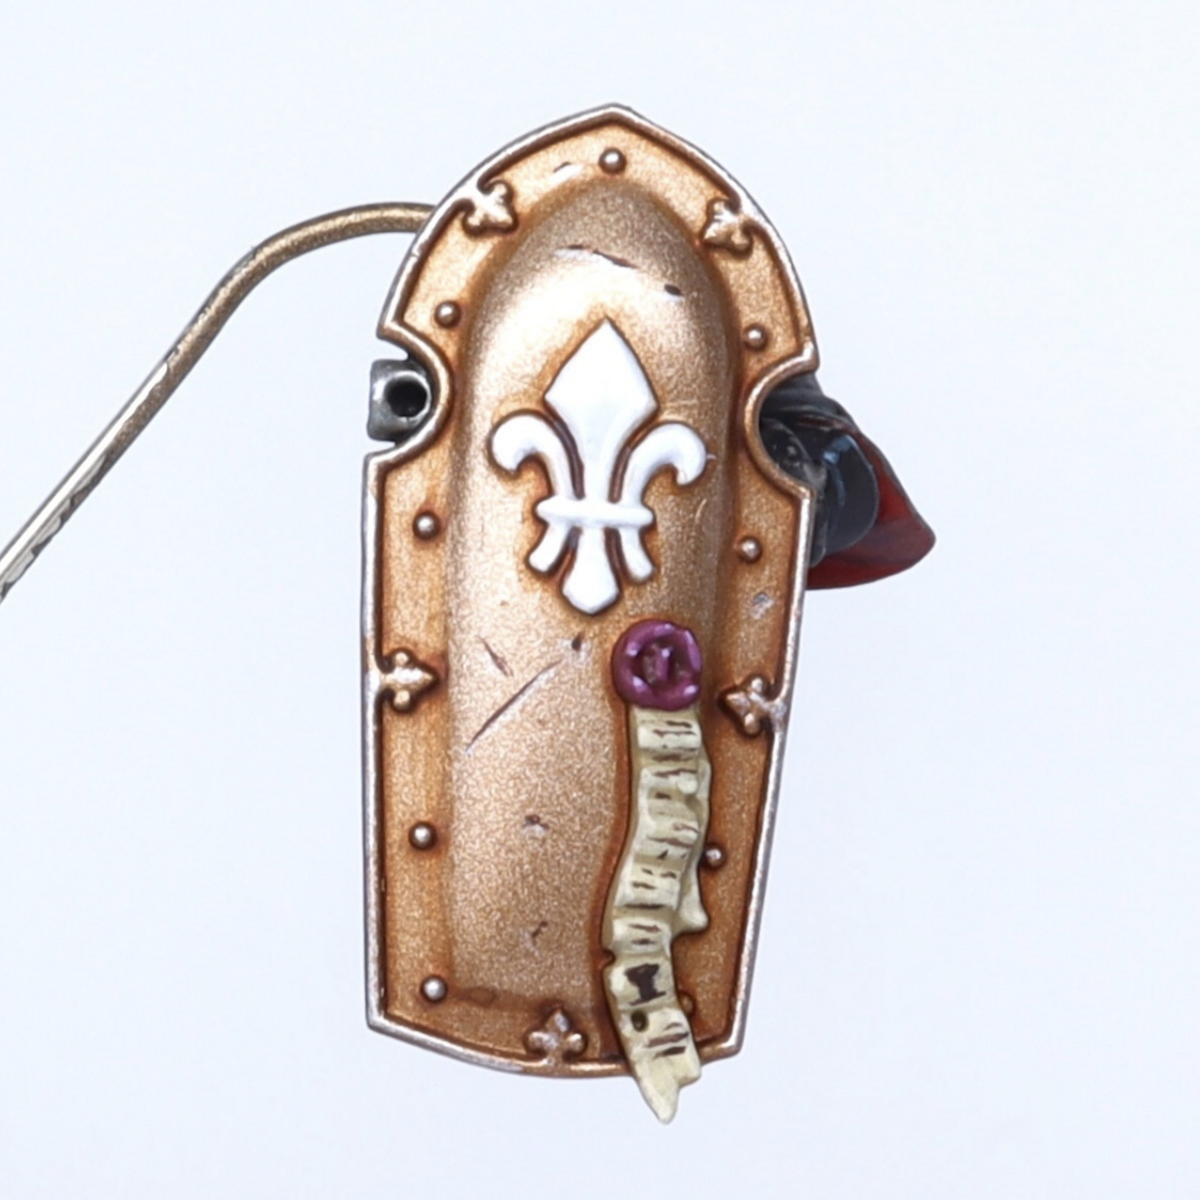
 Verdigis
- To add some oxidisation to the copper, mix Sotek Green and Kabalite Green 1:1. Then water it down and run it offer the area you want to colour.
- To enhance the effect, pop a little Nihilakh Oxide ito recesses.
 Black Rubber Tubing
- Basecoat with Abaddon Black .
- Paint chunky highlights of Incubi Darkness onto raised details.
- Mix the Incubi Darkness 1:1 with Deepkin Flesh and add fine highlights onto edges.
- Add selective hihglights of Deepkin Flesh on courners and points that would catch the light.
- Mix a little Ivory or Pallid Wych Flesh into your Deepkin Flesh and add specular highlights where needed.
These last few details vary in size and complexity across this kit. So if you need to simplify the method at all for smaller areas, I would excourage you to do so. Just make sure you are still going from the darkest to the lightest suggested colour, despite the size of the area.
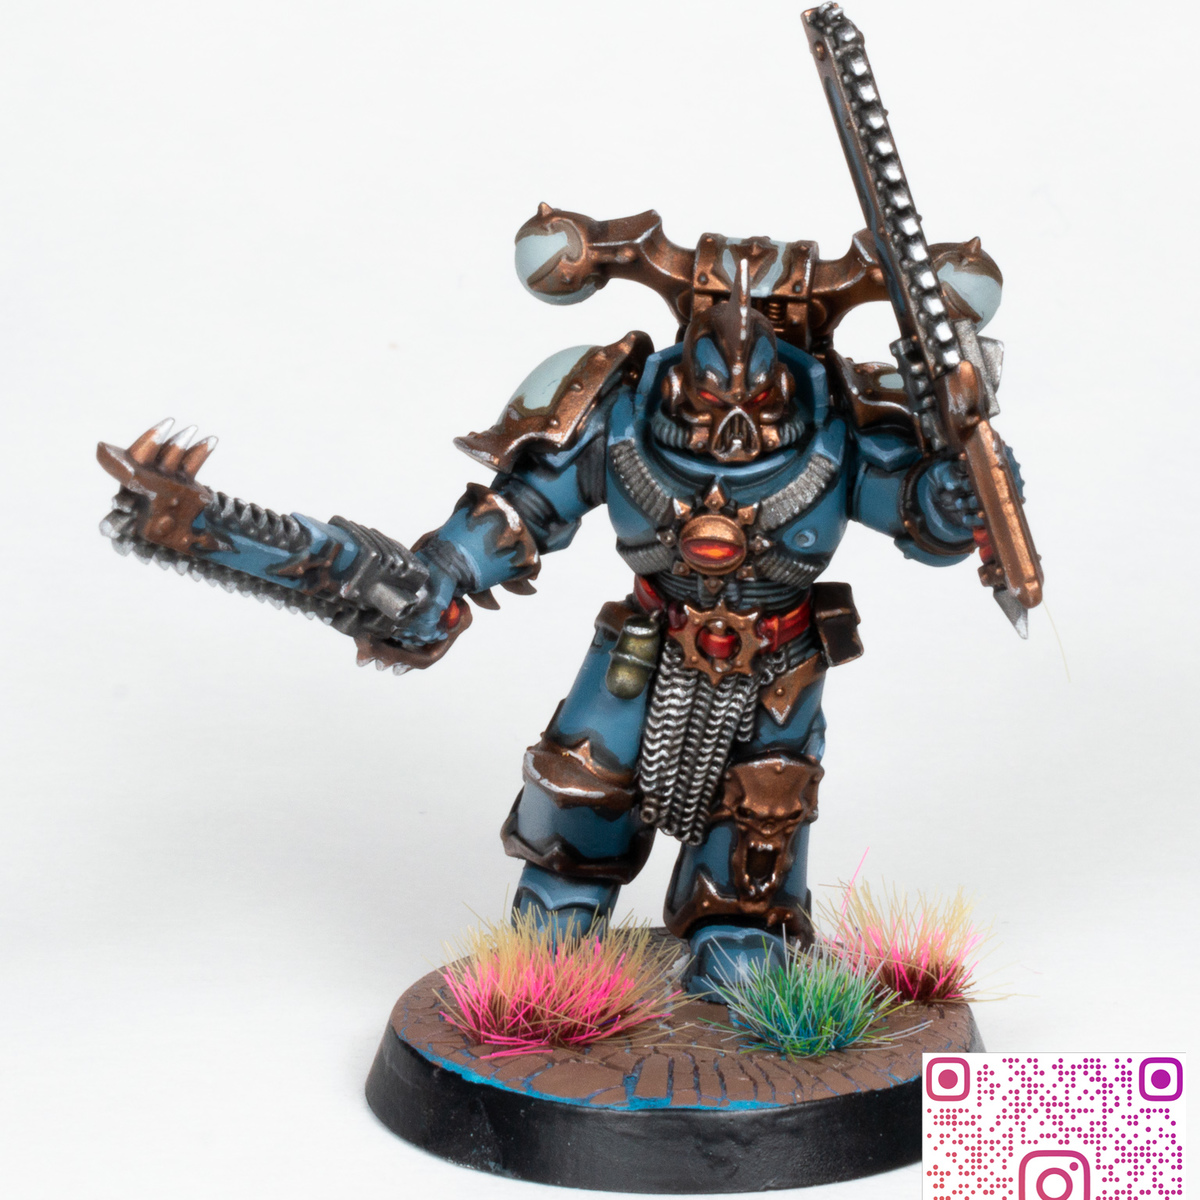
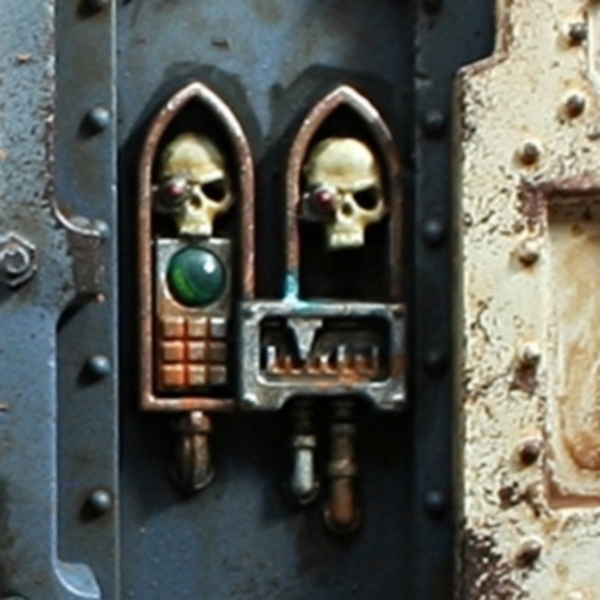 Green Screens
- Basecoat with Caliban Green .
- Paint the lower left or right portion with a layer of Warpstone Glow , leaving enough room for reducing its size 2 or 3 more times.
- Paint a smaller area with Moot Green .
- Add some Ice Yellow to your Moot Green and paint an even smaller patch, working further into your chosen side.
- If you have enough room, paint an even smaller patch with pure Ice Yellow .
- On larger lenses, consider painting a small Abaddon Black patch on the exact opposite side, leaving a swathe of Caliban Green exposed.
- Finally, add a dot of white on the same side as the black, mirroring your brightest green/yellow highlight.
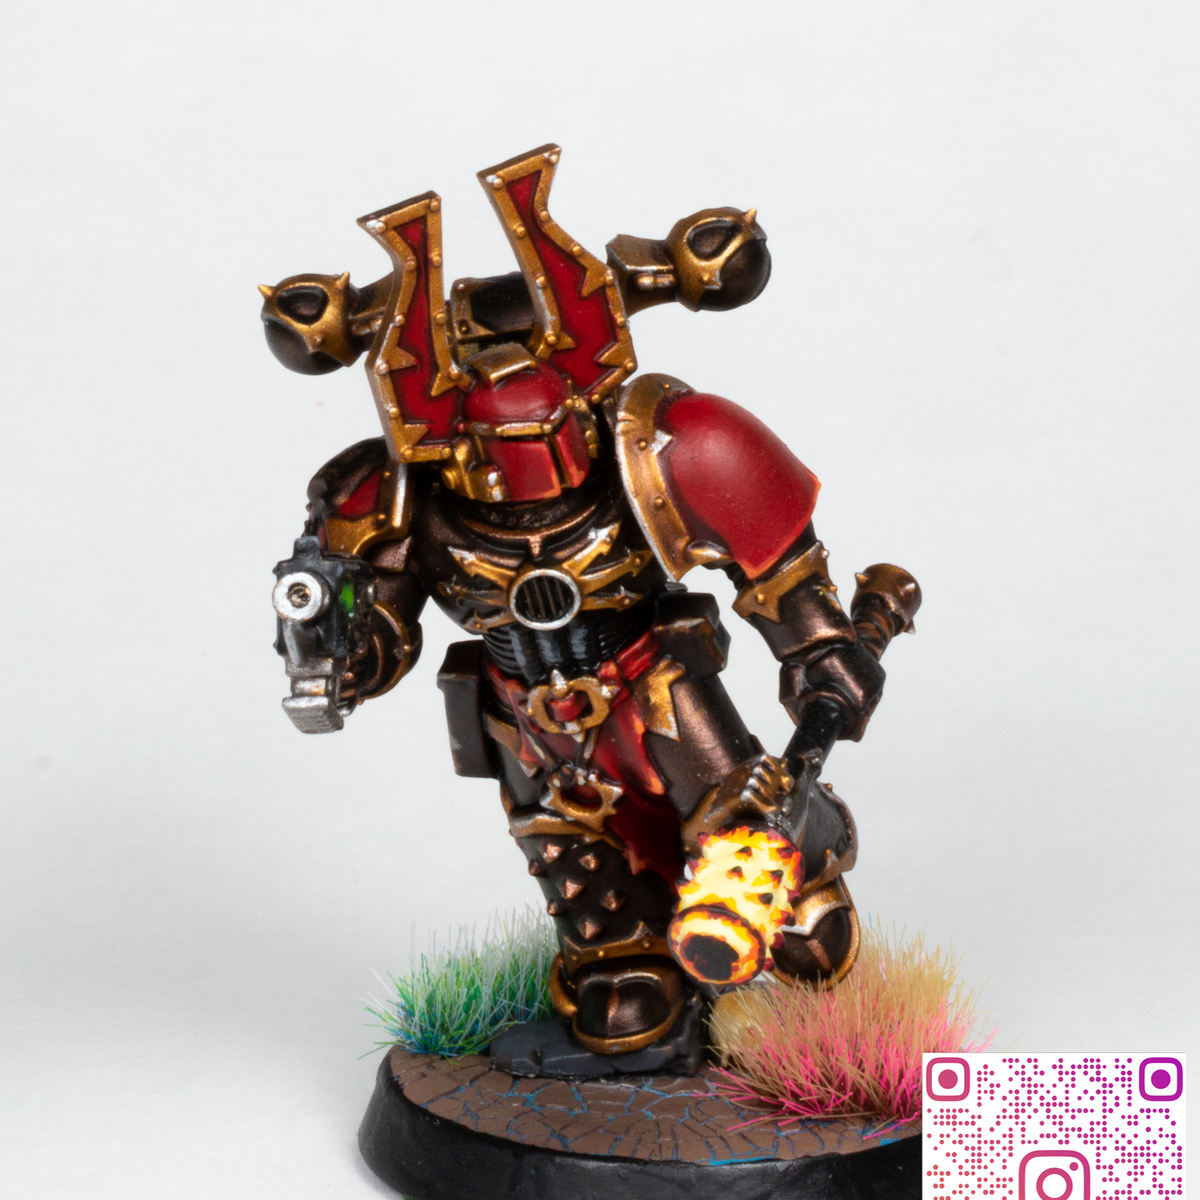
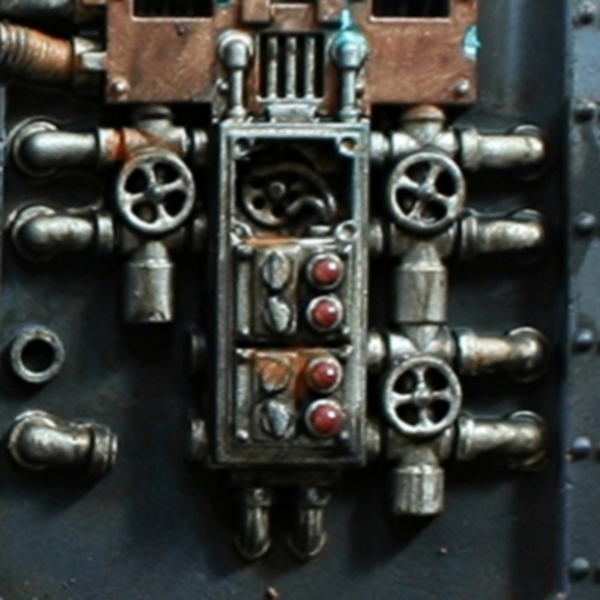 Red Lenses
- Basecoat with Khorne Red .
- Paint the lower left or right portion with a layer of Evil Sunz Scarlet , leaving enough room for reducing its size 2 or 3 more times.
- Paint a smaller area with Wild Rider Red .
- Add some Lugganath Orange to your Wild Rider Red and paint an even smaller patch, working further into your chosen side.
- If you have enough room, paint an even smaller patch with pure Lugganath Orange .
- On larger lenses, consider painting a small patch of Khorne Red and Abaddon Black mix on the exact opposite side. Make sure you leave a swathe of pure Khorne Red exposed.
- Finally, add a dot of white on the same side as the red-black, mirroring your brightest orange highlight.
 Yellow Lamps
- Basecoat with Golden Yellow (the citadel equivilent being close to Yriel Yellow ).
- Picky out the wires with Leadbelcher , Ironbreaker or a mix of the two. Alternatively, use your metallics from earier.
- Wash the yellow area with Iyanden Yellow .
- Highlight the parts closest to the light source with Flash Gitz Yellow .
- Finish with a small highlight of White , within the last stage.
- If your contrast paint earlier has spilled onto the metallics too much, reestablish a thin highlight with Silver RLM01 Metallic or a bright silve rof your choice.

Rookie Brushes
RookieBrushes
Aspiring miniature painter and biscuit enthusiast. Here to share my hobby and help where I can.
Citadel Painting System 30
Base 8
- Abaddon Black
- Caliban Green
- Incubi Darkness
- Khorne Red
- Leadbelcher
- Rhinox Hide
- The Fang
- Wraithbone
Shade 2
- Agrax Earthshade
- Nuln Oil
Layer 16
- Deepkin Flesh
- Evil Sunz Scarlet
- Fenrisian Grey
- Flash Gitz Yellow
- Ironbreaker
- Kabalite Green
- Lugganath Orange
- Moot Green
- Pallid Wych Flesh
- Russ Grey
- Screaming Skull
- Skrag Brown
- Sotek Green
- Warpstone Glow
- Wild Rider Red
- Yriel Yellow
Dry 1
- Ryza Rust
Technical 1
- Nihilakh Oxide
Spray 1
- Chaos Black
Contrast 1
- Iyanden Yellow
Vallejo Metal Color
Base 3
- 77.710 Copper
- 77.712 Steel
- 77.724 Silver
Vallejo Model Air
Base 1
- 71.063 Silver RLM01 Metallic
Vallejo Model Color 5
Base 4
- 70.858 Ice Yellow
- 70.918 Ivory
- 70.948 Golden Yellow
- 70.951 White
Metallic 1
- 70.997 Silver


.jpg)