Sky Raiders - Corsair Voidscarred
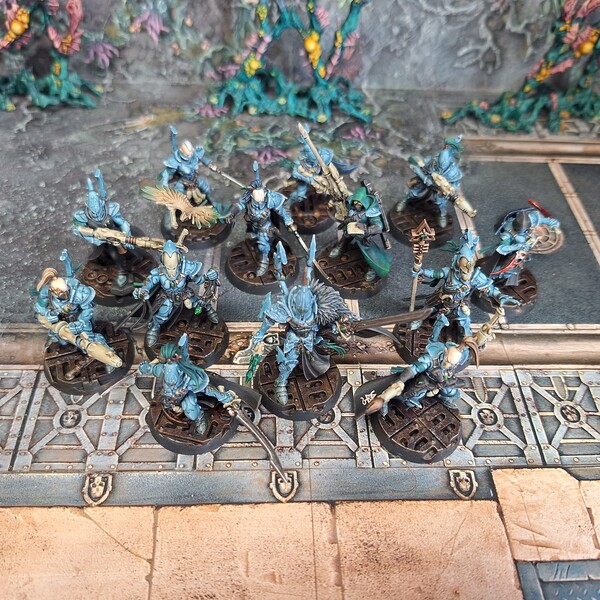 I love the colour scheme of the Sky Raiders and wanted to recreate it, but with a darker, dirtier, battle-worn look. My main inspiration was a Cult of Paint tutorial called 'How to Paint CORSAIR VOIDSCARRED | AELDARI | SKY RAIDERS'. However, I don't have an airbrush and struggled to find a paint that looked similar to the original Sky Raiders colour scheme or the one created by Cult of Paint, who used several different paints. After a long search, I finally chose Vallejo Xpress Space Grey and several Citadel paints.
Priming
I used the Zenithal technique with Grey Seer over The Fang but the Space Grey Xpress paint is so opaque that it's difficult to see the result. You may just basecoat with Grey Seer.
Armour
- Paint the entire armour with Vallejo Xpress Space Grey.
- Shade armour recessess and helmet's visor with Dark Reaper
- Use Drakenhof Nightshade in the darkest places and narrowest corners. For the patterns on the armour, I used a lighter shade: Drakenhof Nightshade diluted at a ratio of 1:1 with Lahmian Medium
- Paint off-black narrow, serpentine camouflage stripes with Heavy Charcoal . I painted about 1 stripe per armour section (eg. 1 on forearm, 1 on a thigh etc.).
- Paint helmet's optics with Grey Seer and then with Warp Lightning
- Highlight the armour with Fenrisian Grey and on top of the edges Ulthuan Grey
- Highlight camouflage stripes on the edges with Thunderhawk Blue
- You can correct mistakes with Thunderhawk Blue (lighter recessess), mixes of The Fang , Russ Grey and Fenrisian Grey in darker and lighter sections of the armour.
Cloths, coat, tabbard, belts and pouches
- This was the stage when I made a big mistake with consequences that were worse than I thought. I used Heavy Charcoal instead of Black (I thought they were almost the same). It turned out that the Heavy Charcoal is visibly lighter — it was dark grey, not black. As I only realised my mistake after painting the Heavy Charcoal on all the models, I didn't want to correct it and had to adjust the colour scheme, using slightly lighter colours than in the Cult of Paint tutorial (for example, Thunderhawk Blue instead of Dark Reaper ).
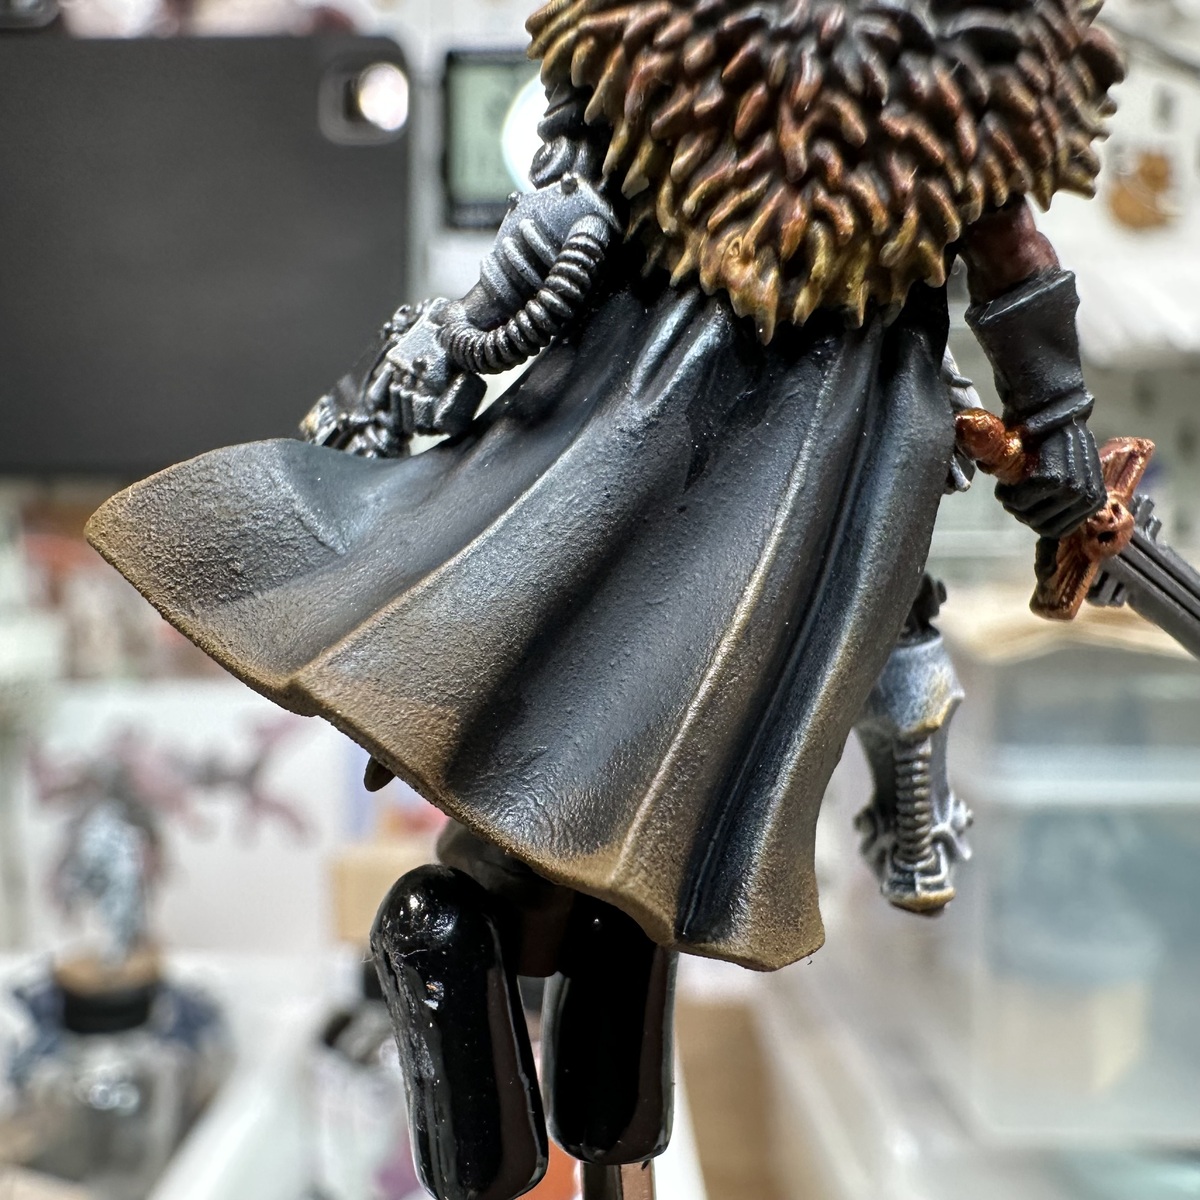
- Paint the coat, cloth and tabbard Heavy Charcoal
- Highlight the coat, cloth and tabbard with Skavenblight Dinge and then Mechanicus Standard Grey and then Dawnstone
- Leather belts and pouches Heavy Charcoal
- Highlight leather belts and pouches with Thunderhawk Blue and than fine higlight not quite evenly, with lines and dots with Steel Legion Drab
- Shade everything above with Agrax Earthshade
- Paint bands/ribbons/plums with Incubi Darkness and then highlight with Kabalite Green add Moot Green on top of the edges.
Weapons and gems
- Paint golden elements with Runelord Brass
- Paint the blade Leadbelcher
- Paint shuriken guns and sword's hilt Ionrach Skin
- Shade everything above with Agrax Earthshade
- Paint the gems with Incubi Darkness , Kabalite Green and Moot Green
- Highlight bone-color parts with Ionrach Skin
- Sophisticated guns, such as the Shredder: I painted the darker parts with Vallejo Xpress Black Lotus and then highlighted with The Fang and Russ Grey . I painted the metallic parts with Runelord Brass
Weathering armour
- Use a small cut sponge to do weathering on the edges and selected surfaces with Ulthuan Grey and then using a small brush with Heavy Charcoal (it looks especially good when you paint dark color inside a dot of light grey paint). At the beginning I also used a sponge for the dark color, but it was hard to control.
- Shade the lower parts of the legs and boots with one layer of Agrax Earthshade , then apply another layer, but only to the feet to create a darker, dirtier look.
The base
- Paint the whole base Heavy Charcoal
- Paint external, visible parts with Leadbelcher
- Shade the whole base with Agrax Earthshade (I used it also to paint the black rim to add some dirty look)
- Use some brown paint diluted with water or Dirty Down Rust to create a layer of rust. Then you can paint some Troll Slayer Orange diluted with water to create rust of lighter color (I painted it mostly around bolts and in recessess).
- Drybrush metal edges with Leadbelcher
The bird
- Zandri Dust then Agrax Earthshade then drybrush Ushabti Bone . Then several layers of Coelia Greenshade creating more intense color towards the edges of the wings.
Varnishing and last details
- I highlighted the selected brass elements using Liberator Gold . Then I varnished the models with acrylic Molotow clear varnish spray. Finally, I painted the gems, weapon optics and crystals with Ardcoat .
Citadel Painting System 29
Base 9
- Grey Seer
- Incubi Darkness
- Ionrach Skin
- Leadbelcher
- Mechanicus Standard Grey
- Runelord Brass
- Steel Legion Drab
- The Fang
- Zandri Dust
Shade 3
- Agrax Earthshade
- Coelia Greenshade
- Drakenhof Nightshade
Layer 12
- Dark Reaper
- Dawnstone
- Fenrisian Grey
- Kabalite Green
- Liberator Gold
- Moot Green
- Russ Grey
- Skavenblight Dinge
- Thunderhawk Blue
- Troll Slayer Orange
- Ulthuan Grey
- Ushabti Bone
Technical 2
- Ardcoat
- Lahmian Medium
Spray 2
- Grey Seer
- The Fang
Contrast 1
- Warp Lightning