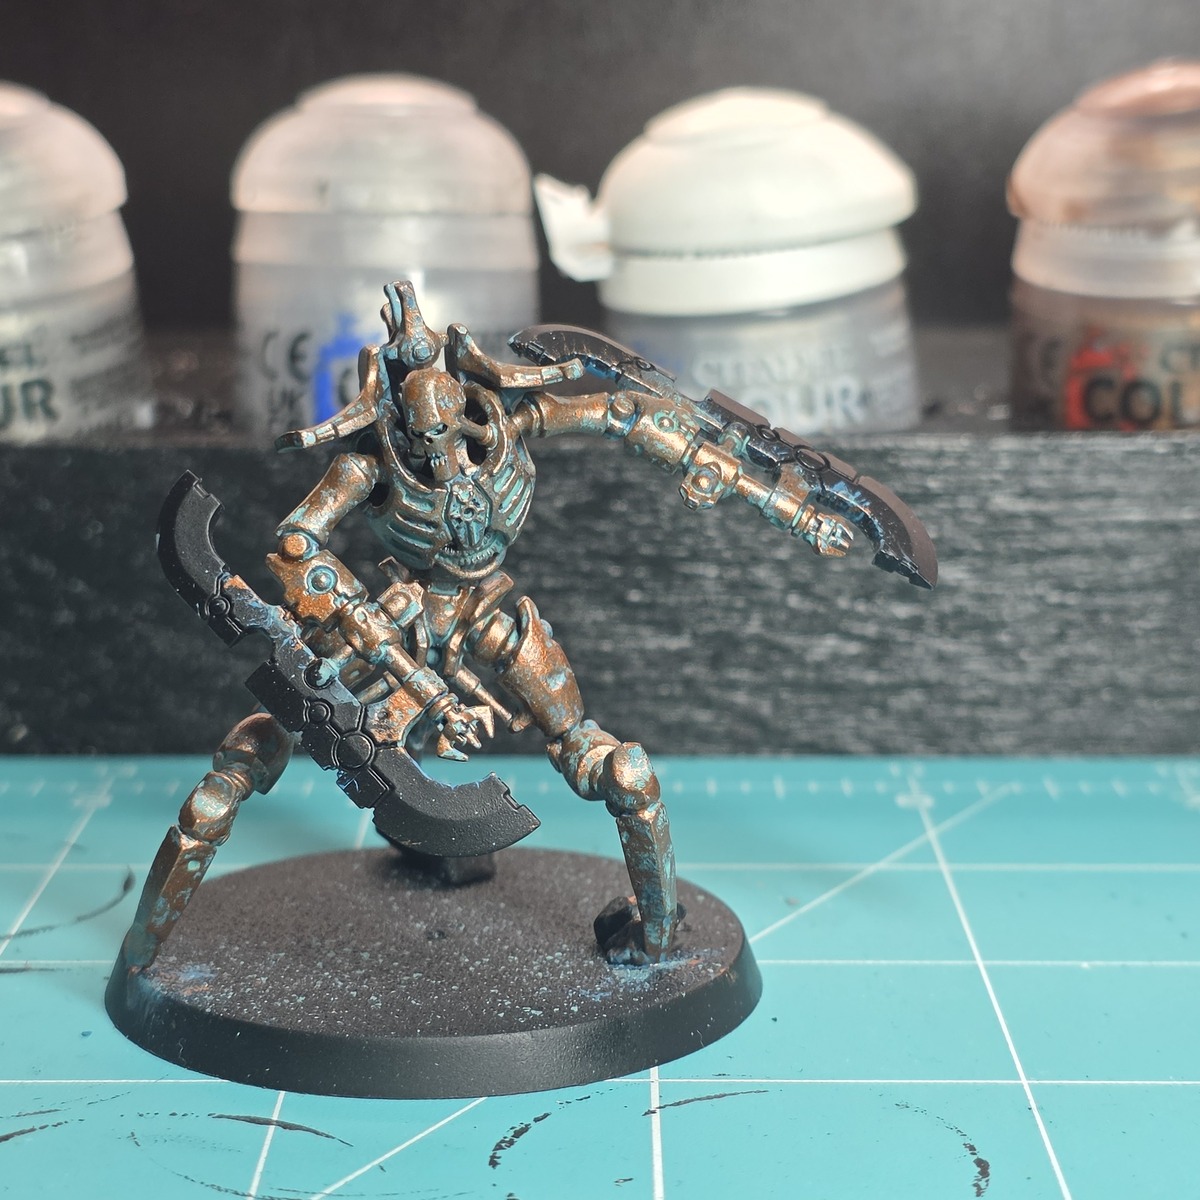
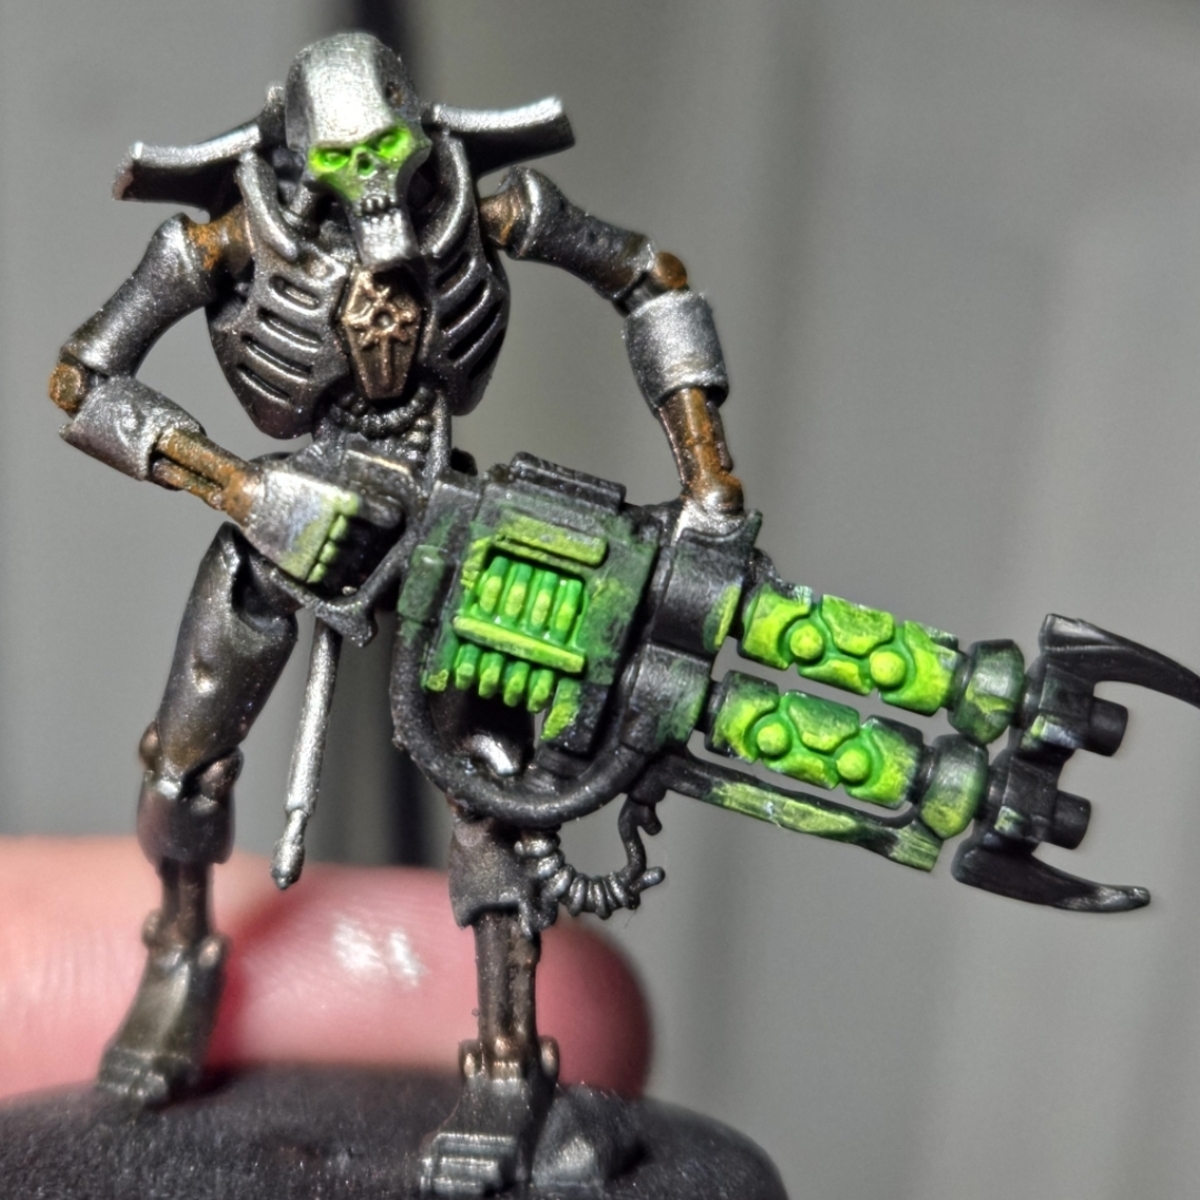
- Basecoat the entire model with Iron Warriors . I like to prime black and do a heavy drybrush of this.
- Ratling Grime in the joints and ribs.
- Base the regal elements and sigil with Runelord Brass .
- Using a textured sponge, go over the model with Gunmetal .
- Wash the model with Nuln Oil . Give the joints a wash of Agrax Earthshade
- Go back over with a light drybrush of Gunmetal , avoiding the inner/lower/under parts of the model. You can additionally do a final super light drybrush highlight with Canoptek Alloy .
- Edge highlight the armor with Stormhost Silver , the joints with Leadbelcher , the regal elements with Sycorax Bronze , and the gun with Iron Warriors .
- Paint the weapons and cables with Black Templar .
- Glaze Caliban Green over the cables.
- Glaze Warpstone Glow over the cables, aiming to create a gradient that is brightest towards the center of the cable and dark towards the ends. You can optionally mix Sotek Green in as well for more layering
- For any glowing objects, start by basing in white. Be prepared to water this down pretty heavily and paint several layers over the object.
- Cover the white in Warp Lightning .
- Drybrush the object with white, and catch the nearest surfaces and edges too.
- Do another pass around the white with an even lighter drybrush of Company Grey , blending with the white. You want a gradient of white to grey to nothing.
- Coat the object with Tesseract Glow .
- On the further away white/offwhite, take most of the tesseract glow off your brush and build the glow up slowly.
- Add white as a highlight. Take most of it off your brush and glaze it over. For orbs, it should be a dot. For blades, it should be an edge highlight. For longer objects (i.e the deathmark's weapon), it should be a line.
- For objects that are further away that may still reflect some of the glow, just glaze tesseract over it.
- Don't go overboard! Most of the time the glow should be subtle and the white shouldn't be drybrushed heavily enough to fully cover the surface. Save the intense glows for large objects like the overlord's blade.
.jpg)