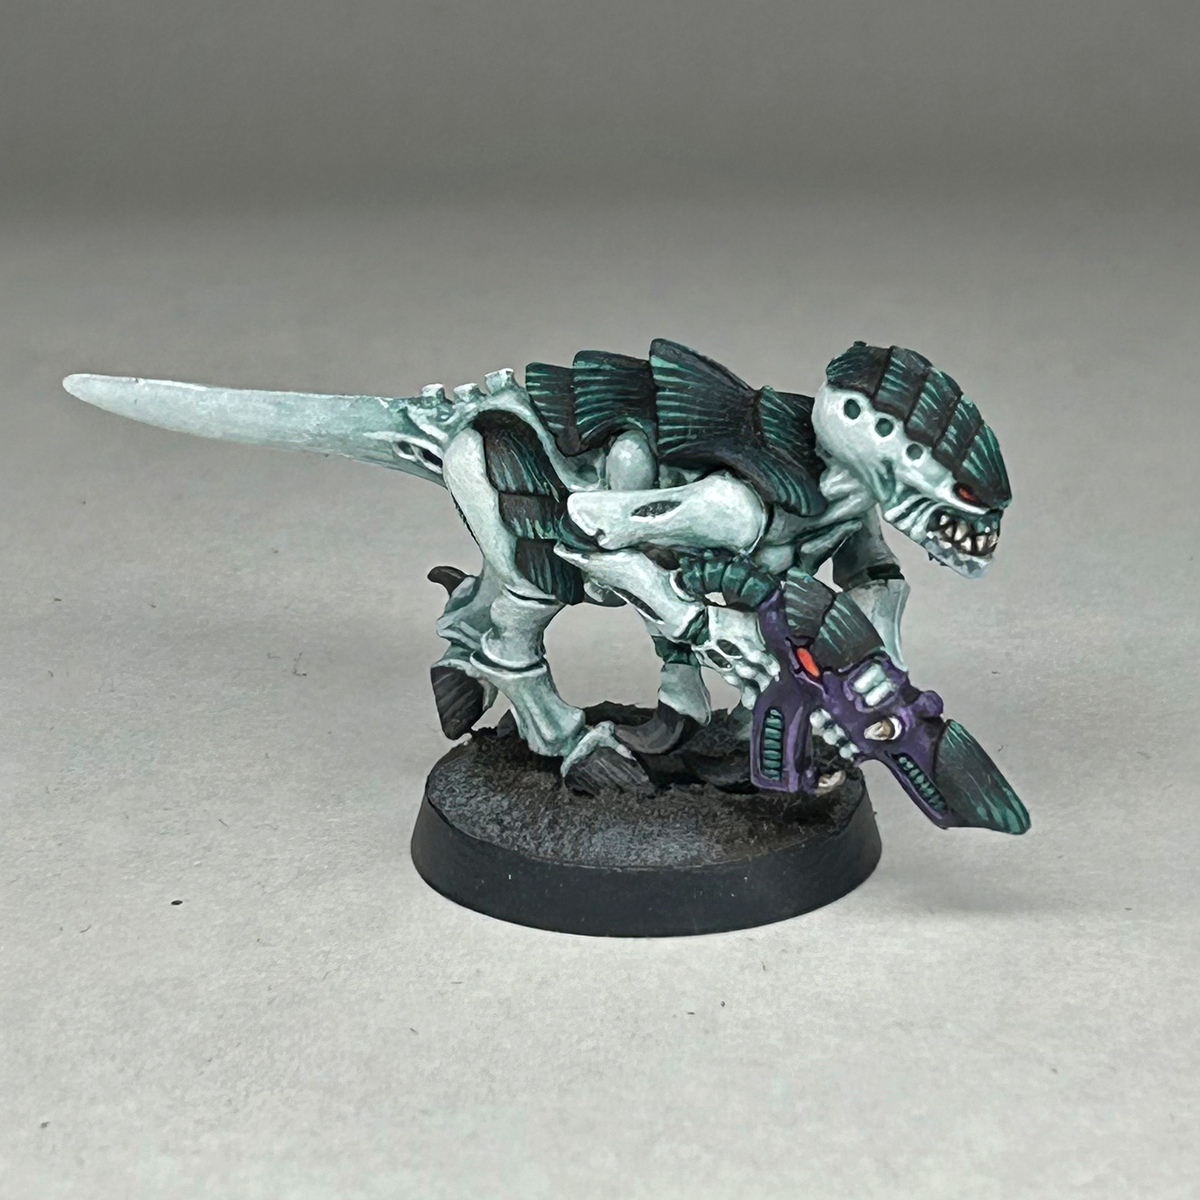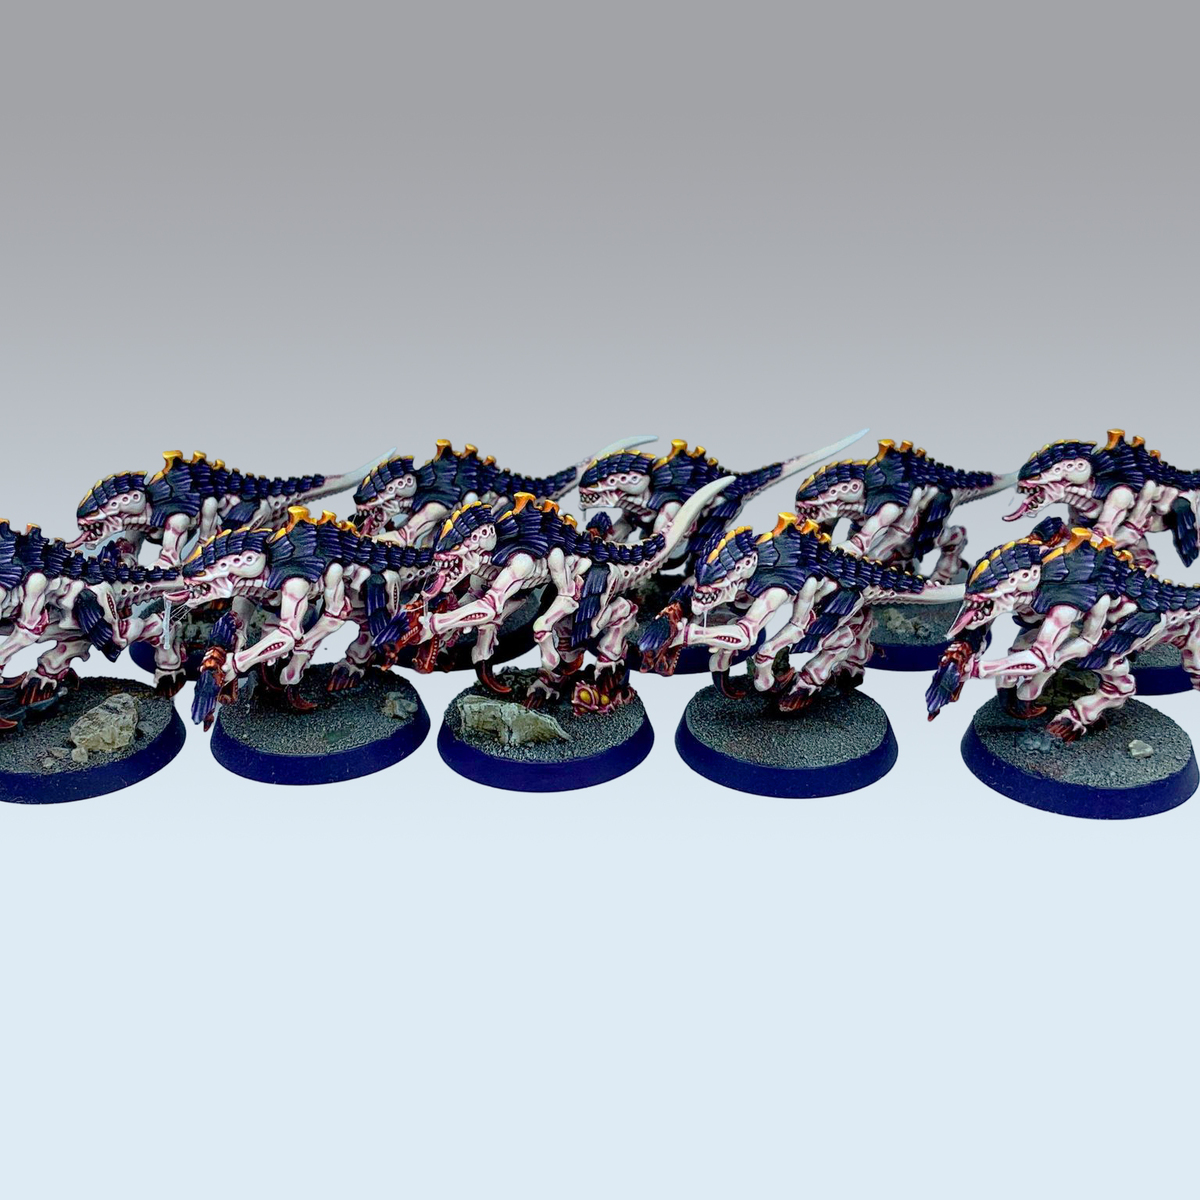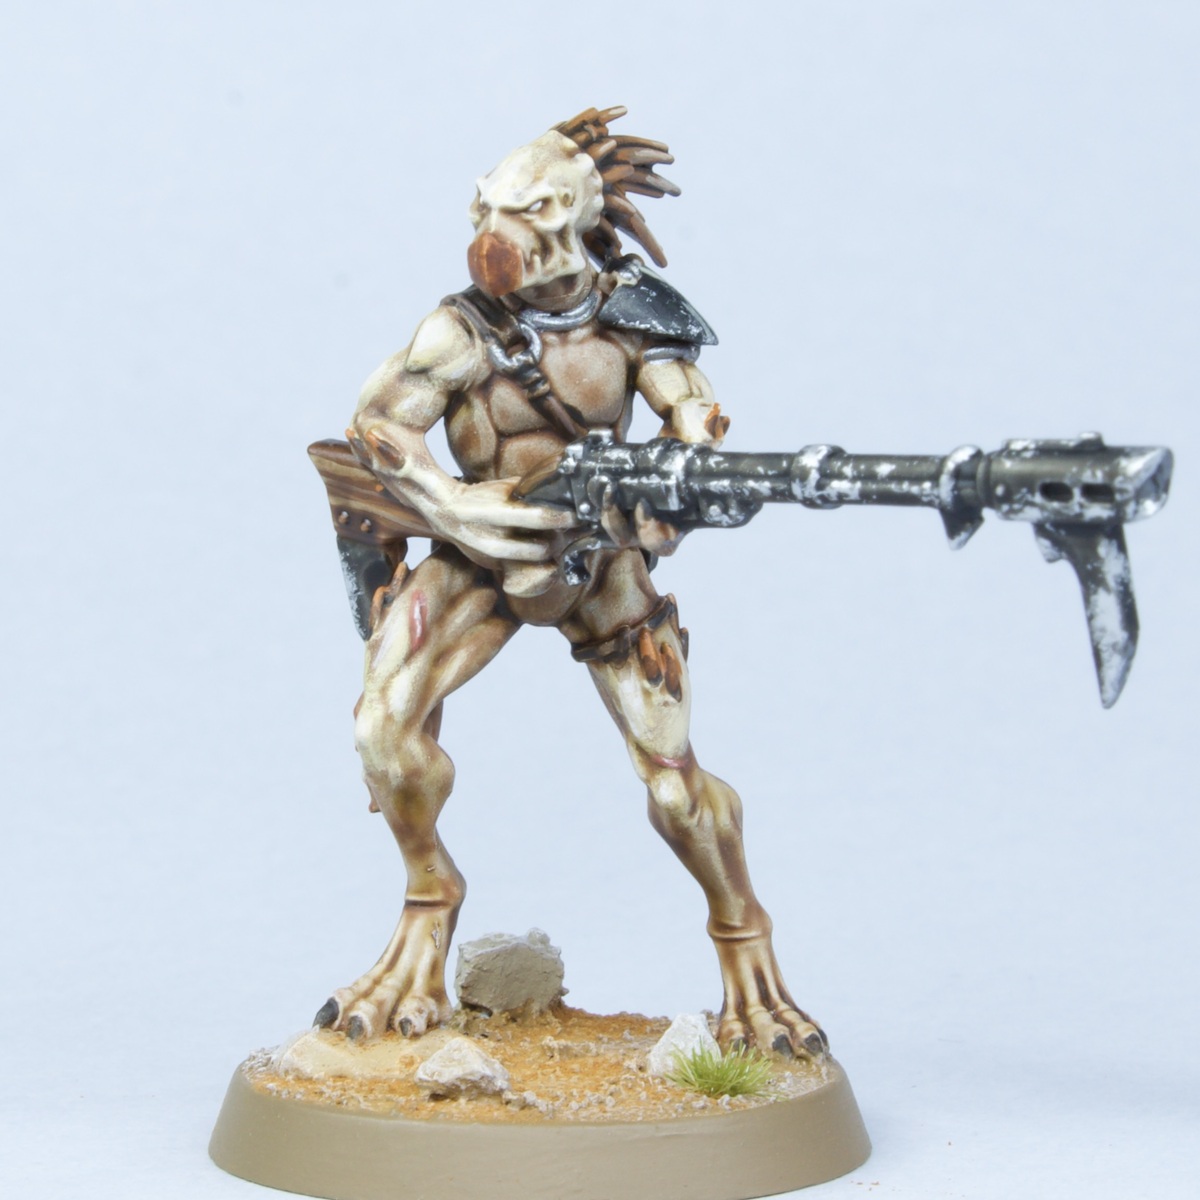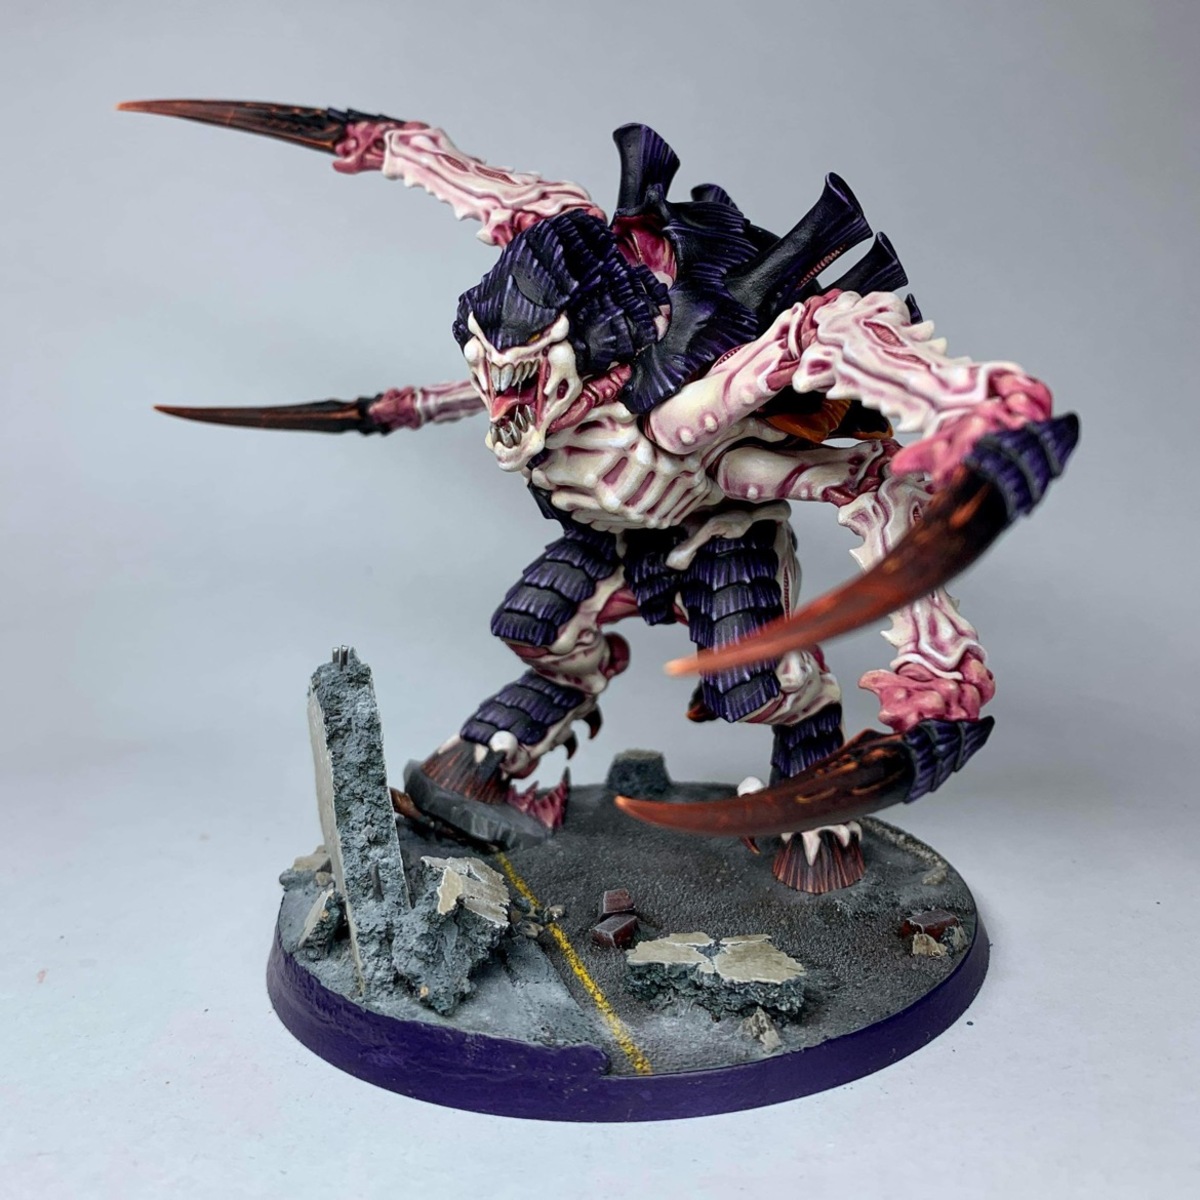

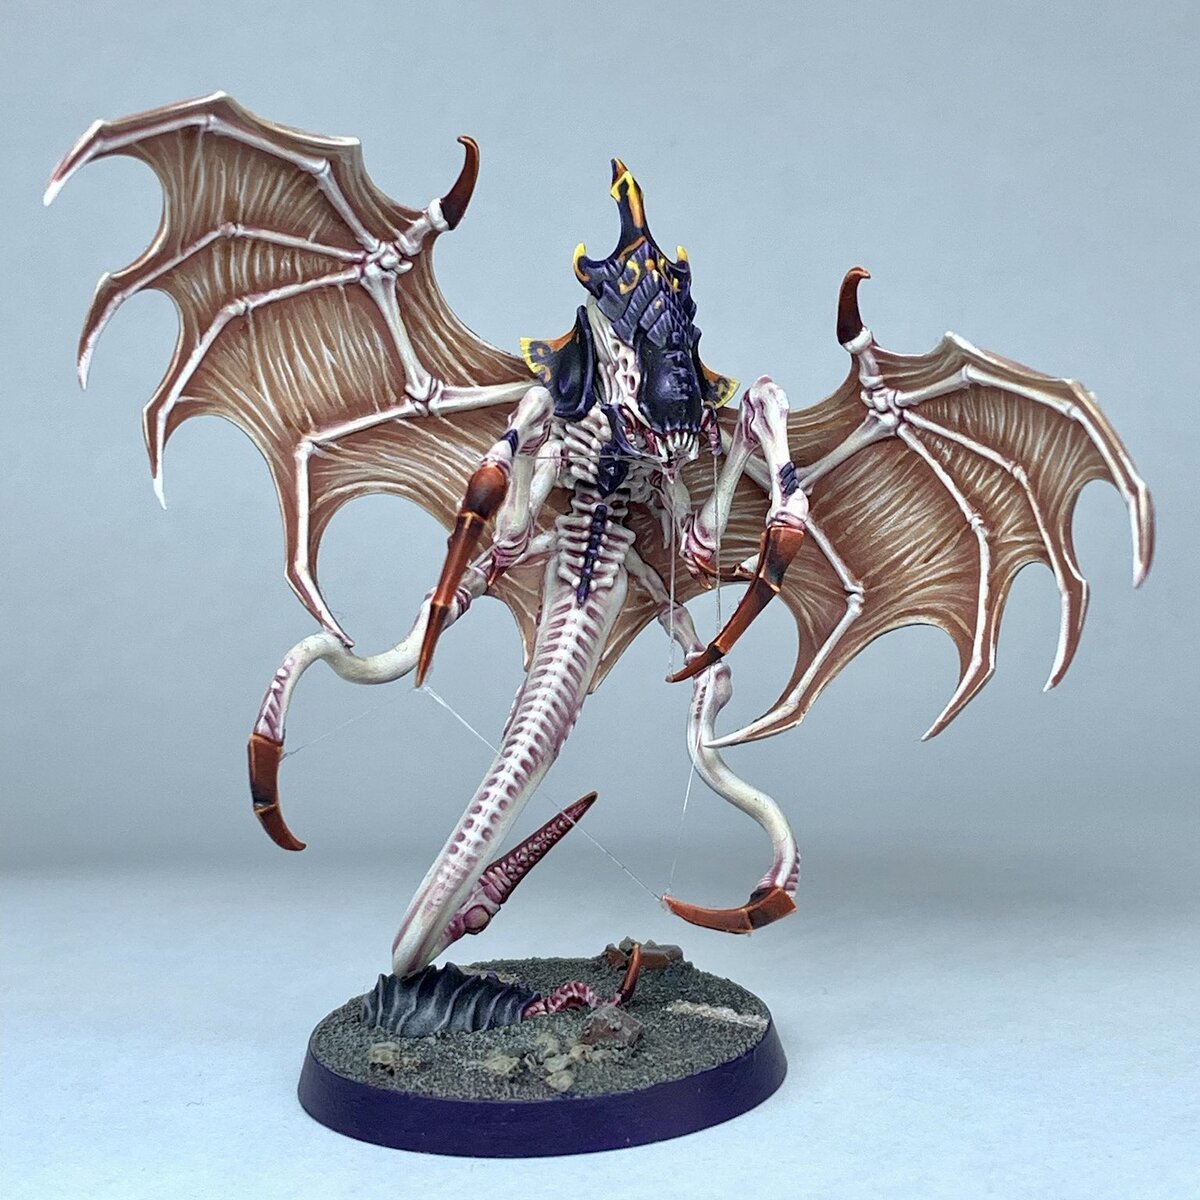
Step by step on how I painted my Screamer-Killer
Cream Flesh
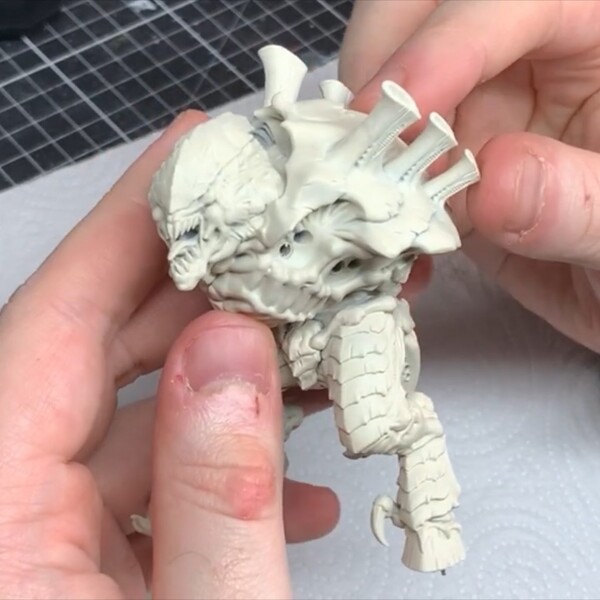 Basecoat the skin with Wraithbone . I used the spray can to coat the whole mini, but feel free to use a pot and brush.
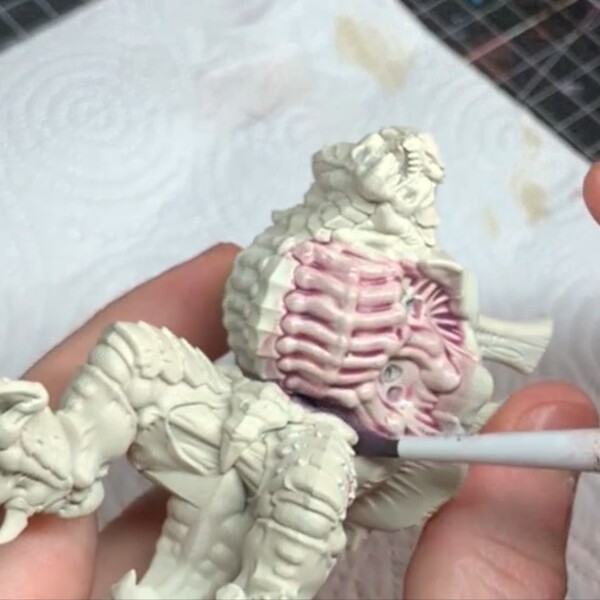 Wash the skin with a 1:2 mix of Magos Purple and Contrast Medium . Be aware of pooling too heavily, but be liberal.
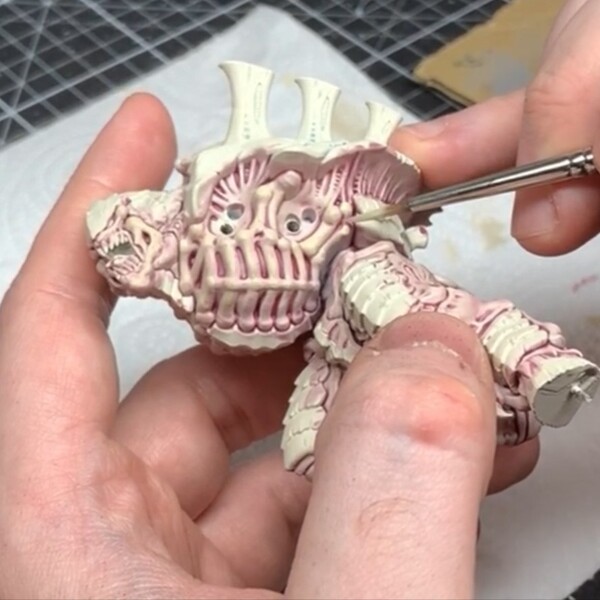 Work your way around the with Screaming Skull , relayering over the skin but leaving the Contrast in the recesses. Watering down your paint more than usual will help to make an easier gradient from the shade.
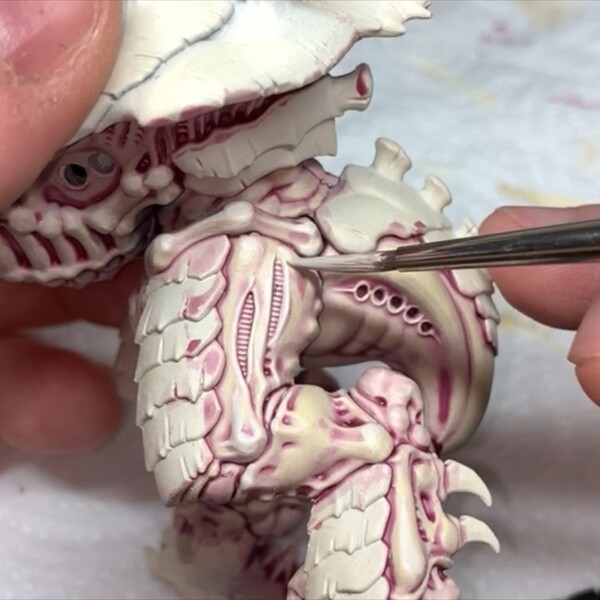 Highlight with Pallid Wych Flesh . Focus on hard muscles, edges and glazing where necessary to mimic where light falls on the skin.
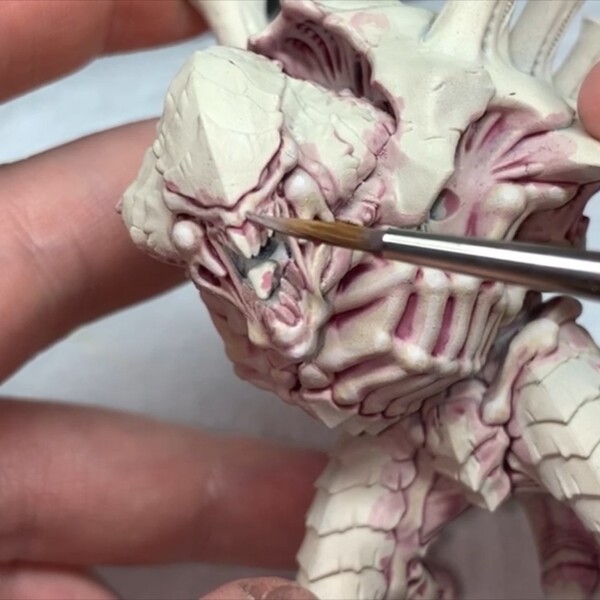 Last highlight with a white of choice, I use White .
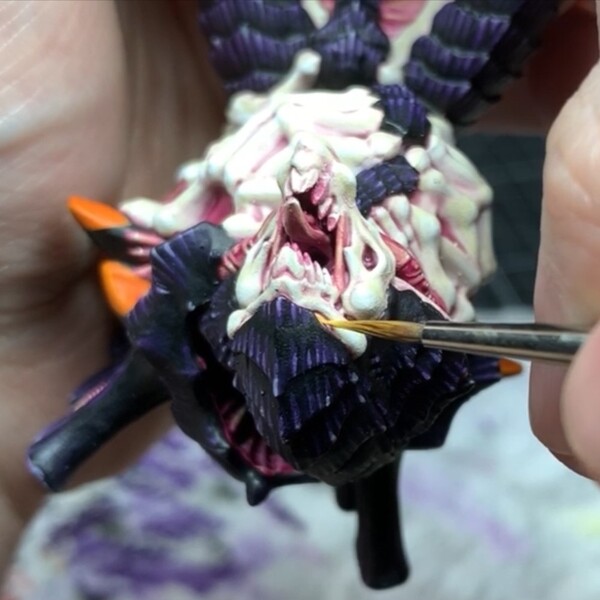
Internal Flesh
 Wash splits in the skin or any areas of flesh that you don't want to be cream with a 2:1 mix of Volupus Pink and Contrast Medium . Careful with pooling and be as accurate as you can, tidying up with white paints is a pain!
 Some of the larger areas, like the back of the legs, can come out a little blotchy just because of the nature of Contrast paints. To remedy that, I throw on a layer of Pink Horror to smoothen out the finish.
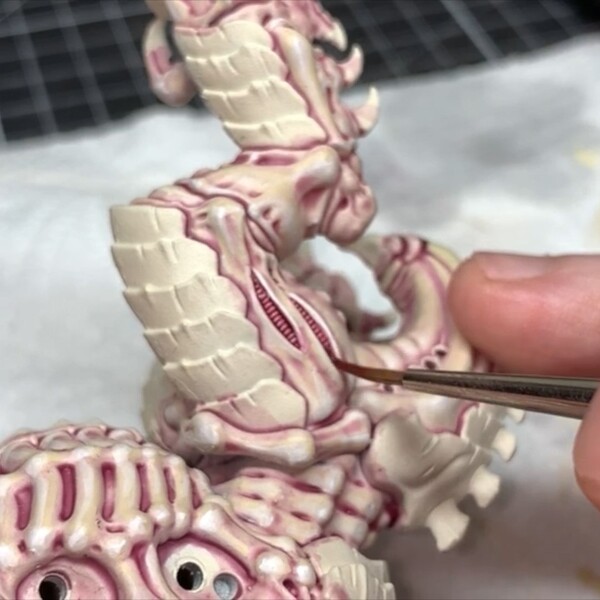
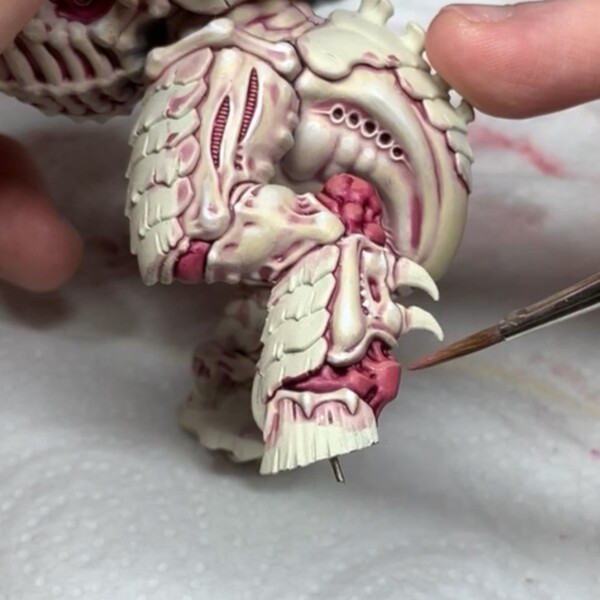 Highlight these larger areas with a 1:1 mix of Pink Horror and Kislev Flesh . Thin this out to start building in a gradient.
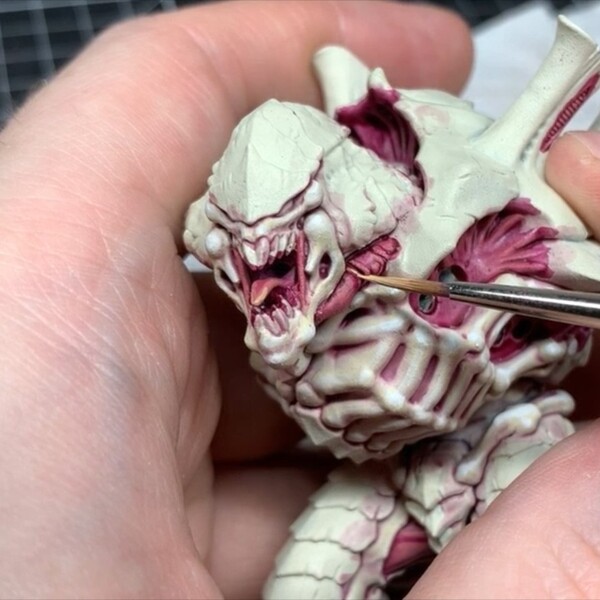 Highlight all the internal flesh now with Kislev Flesh .
 Add a final top highlight with Pallid Wych Flesh .
Hooves and Claws
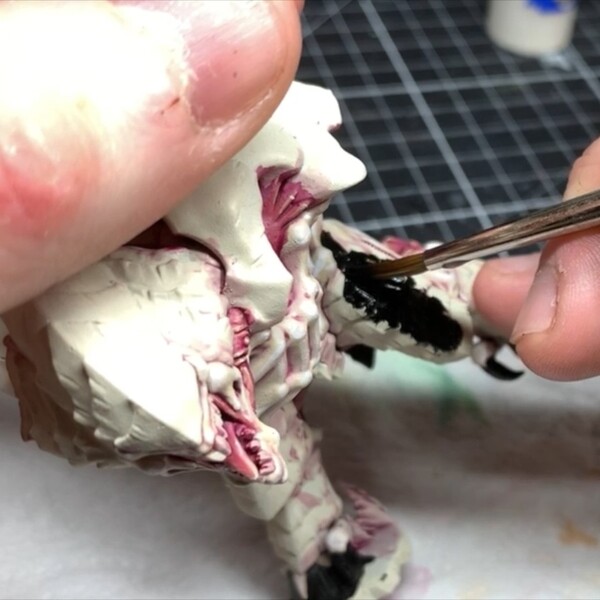 Carefully base all the carapace areas with your black of choice - I like Doom Death Black but use whichever you like best.
As a note, I also blocked in the chitin on the legs and on the chest in black at this point.
 Glaze Khorne Red down towards the sharp end of the hooves and claws on the legs, creating a black to deep red gradient. You could also drybrush if you're not comfy with glazing, just be careful around the flesh areas.
 Edge highlight with Evil Sunz Scarlet , focusing on ridges on the hooves and sharp edges of the claws. I also add some striation patterns on more open spaces in the hooves.
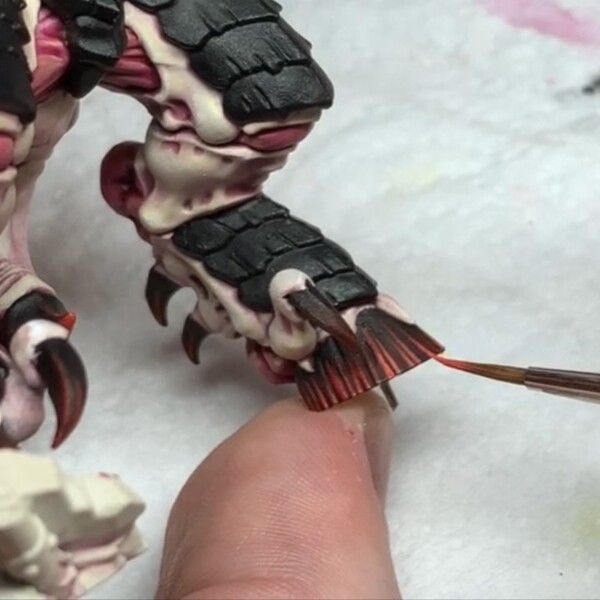 Highlight again with Wild Rider Red , covering a smaller area than before.
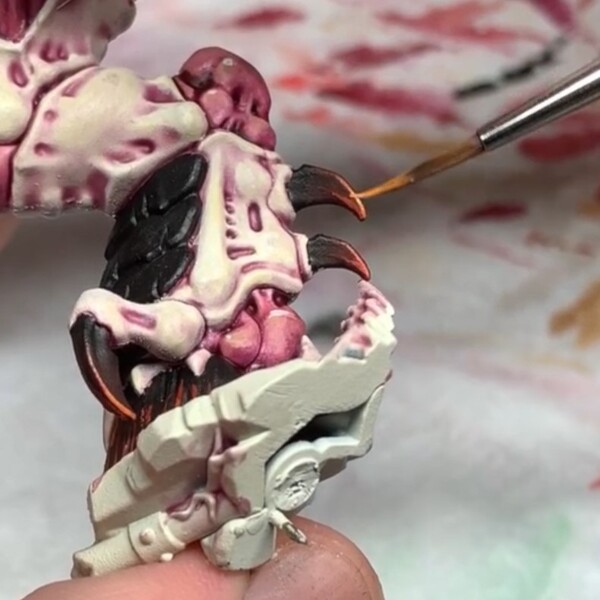 Once again with Fire Dragon Bright , focusing more towards the ends of any sharp detail now.
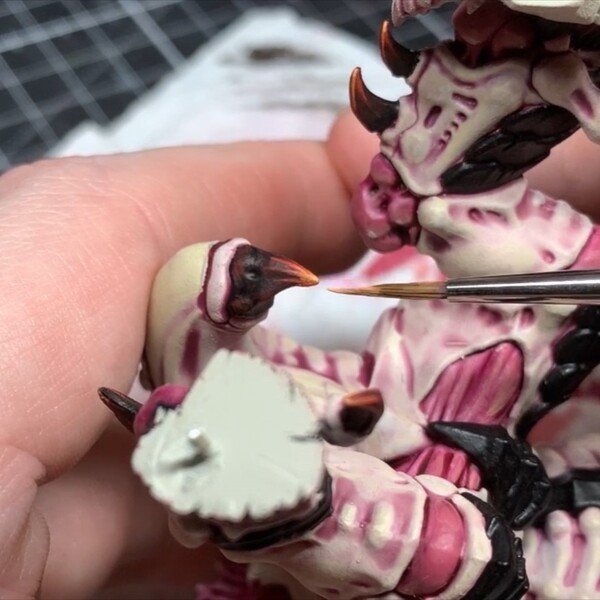 A last point highlight with Lugganath Orange to really make the sharp points look sharp.
As a note, at this point I pushed to get the model glued to the base for ease of handling - I don't want to be rubbing paint off with my grubby mitts. I painted in the chitin areas on the legs and chest at this point (With steps that I'm about to detail, so read ahead if you're doing the same), sorted the base out and got her glued on and sturdy.
Purple Carapace
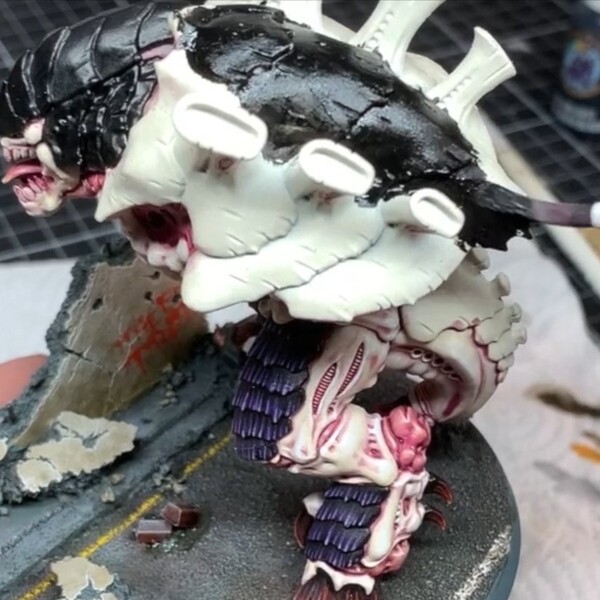 Now block in the carapace with black, being careful around your pale areas now. Overspill is a pain to clean, but do-able by using your previous colours to fix any errors.
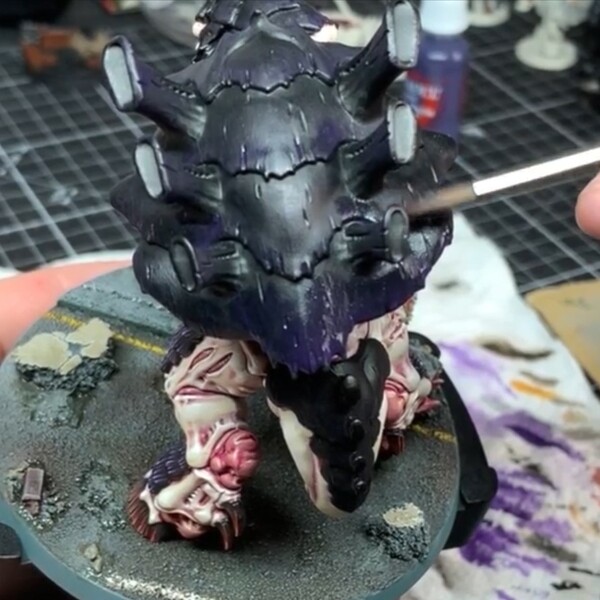 Glaze Naggaroth Night down each plate of the carapace, creating a black to deep purple gradient. You can drybrush instead if you're not comfy with glazing, just be careful around the flesh areas.
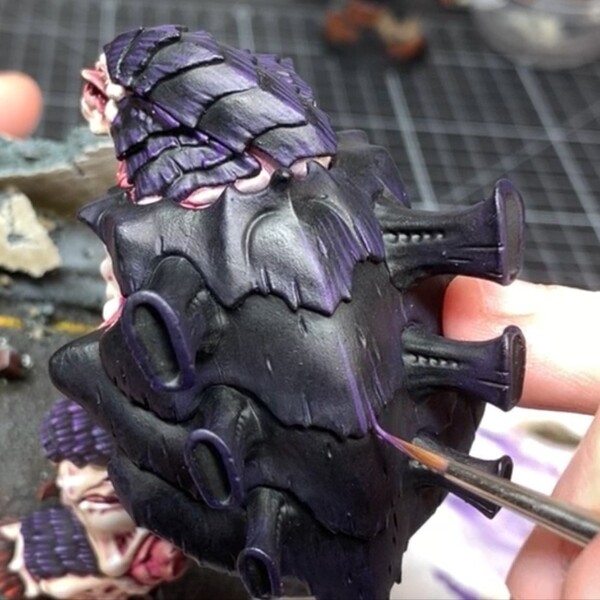 Paint Xereus Purple across the whole carapace in lined striation patterns. This'll take a while, but it'll be worth it in the long run. Take your time!
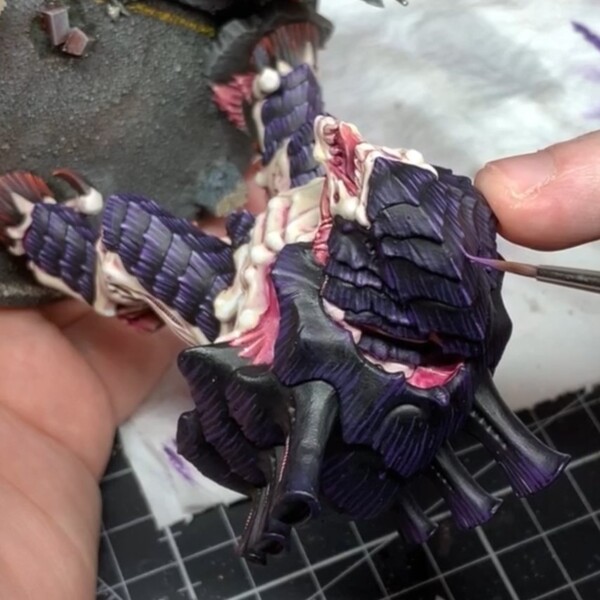 'Highlight' the striations with Genestealer Purple - Literally retrace your steps, just cover less area with the paint.
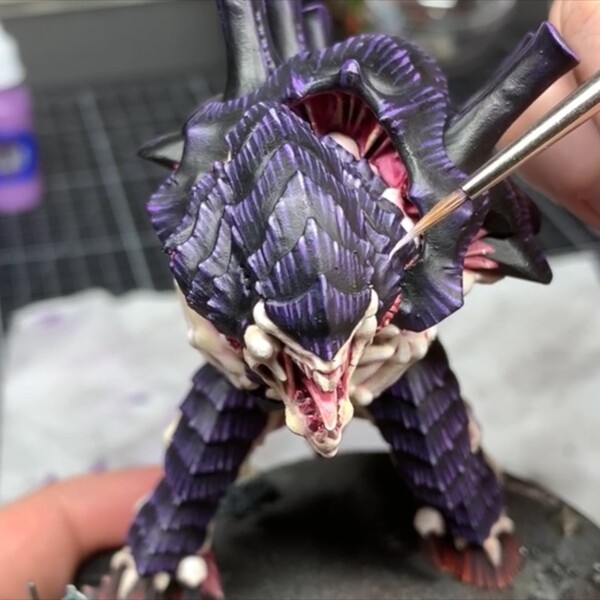 Add a few choice point highlights of Slaanesh Grey across the sharpest points. You can do this on every striation if you want, but I like the variety of just a few of them being really sharp.
Yellow Markings
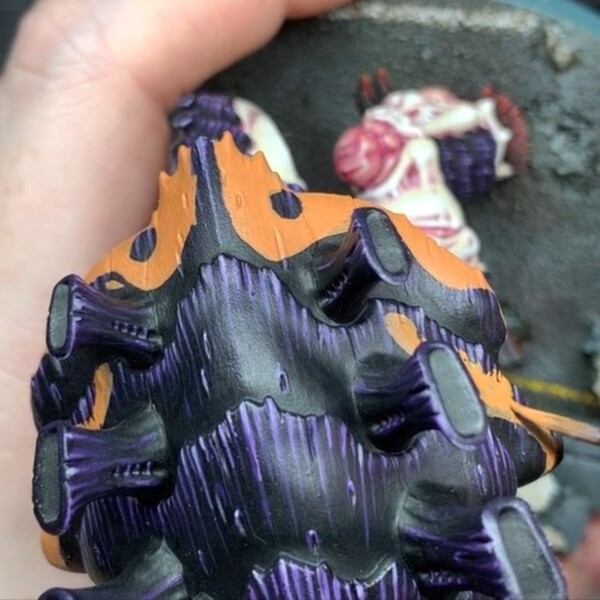 Draw on the marking patterns with Jokaero Orange . Use references if you want a starting point, keep your paint thin, and draw on the pattern, thickening it out as you need. Take a couple passes with the paint to get a nice strong base for the next steps.
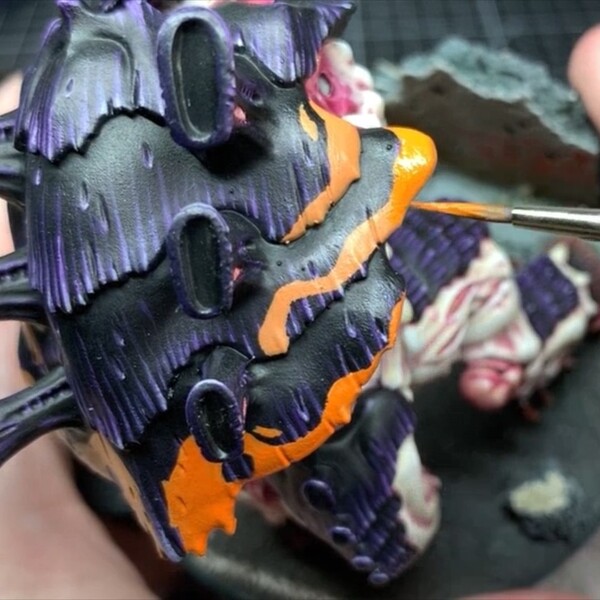 Relayer with Troll Slayer Orange to bump up the colour.
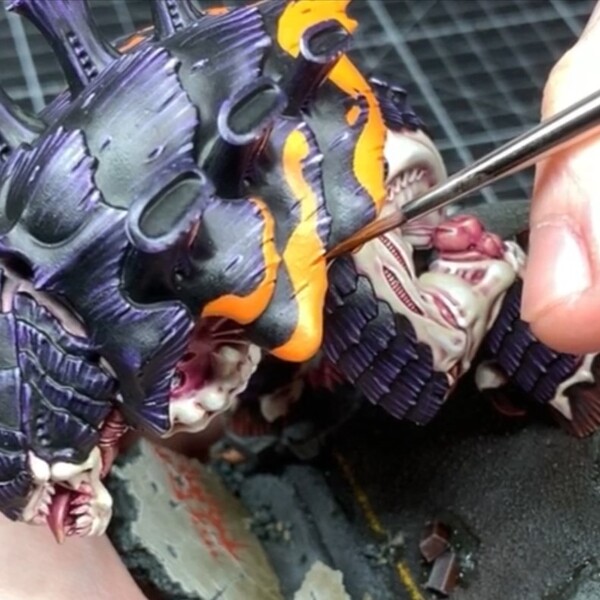 Washed the adjoining surfaces of each plate and any deep notches with Fuegan Orange .
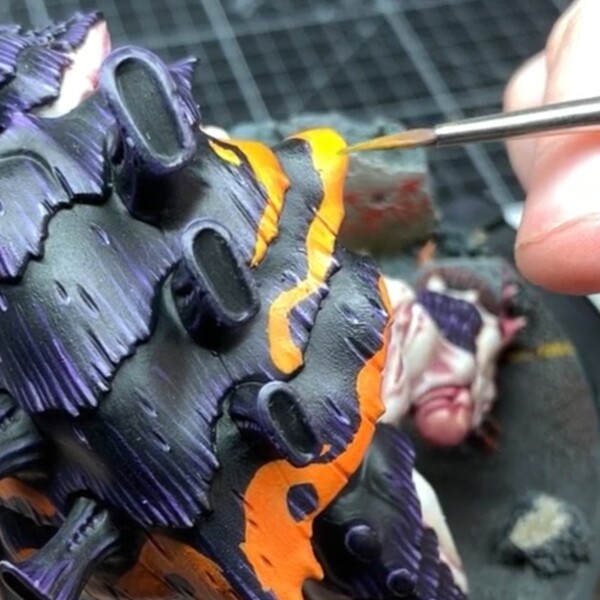 Glaze Yriel Yellow on the patterns towards the bottom halves of the plates, taking care to 'paint within the lines'.
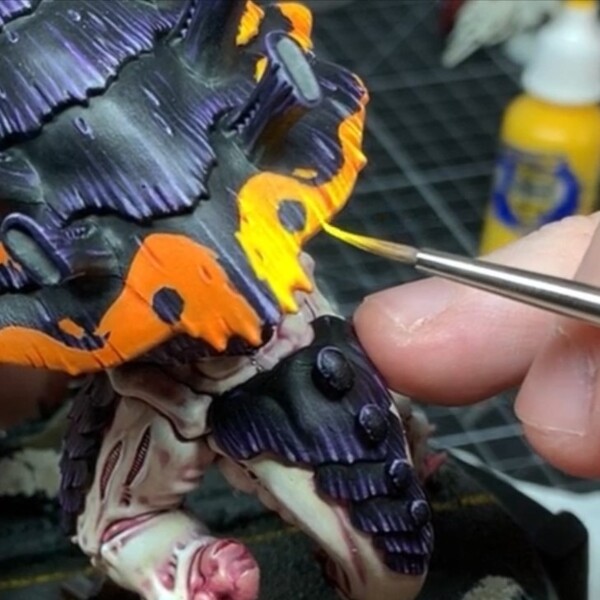 Repeat with Flash Gitz Yellow . I also edge highlighted any ridges that didn't catch a yellow glaze with this to keep the impression of the colour consistent.
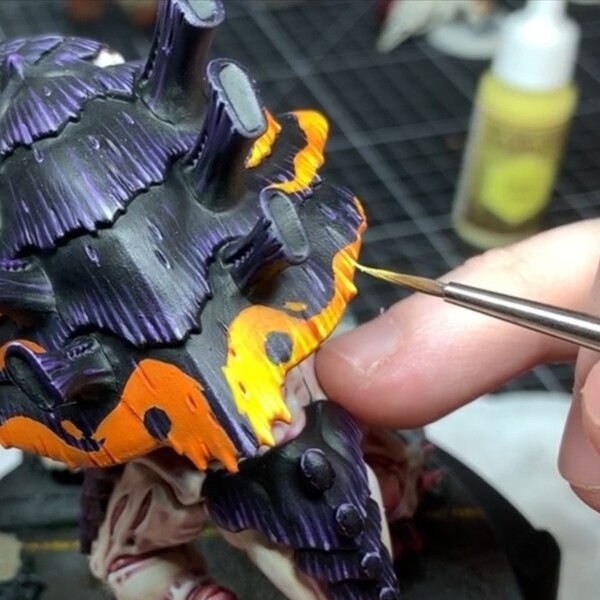 Edge the sharp points and redraw any striations with Moon Dust .
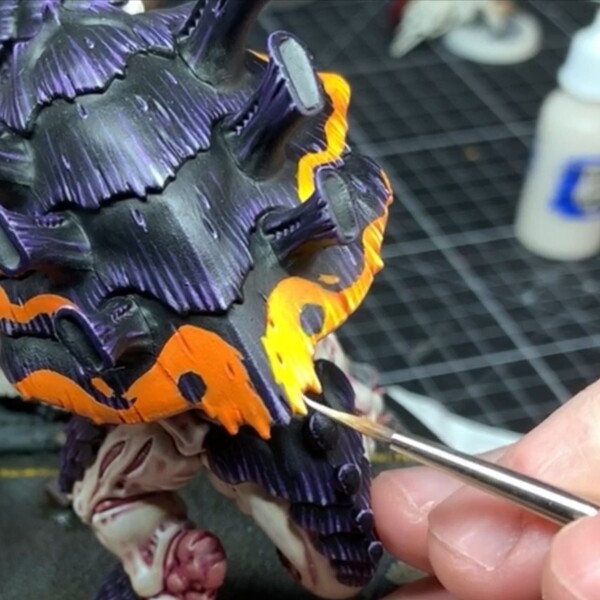 Final point highlight of Pallid Wych Flesh .
Eyes
 Base both eyeballs in carefully with Averland Sunset . Bring your brush in from the side of the head to make it a bit easier, rather than stabbing in from head on.
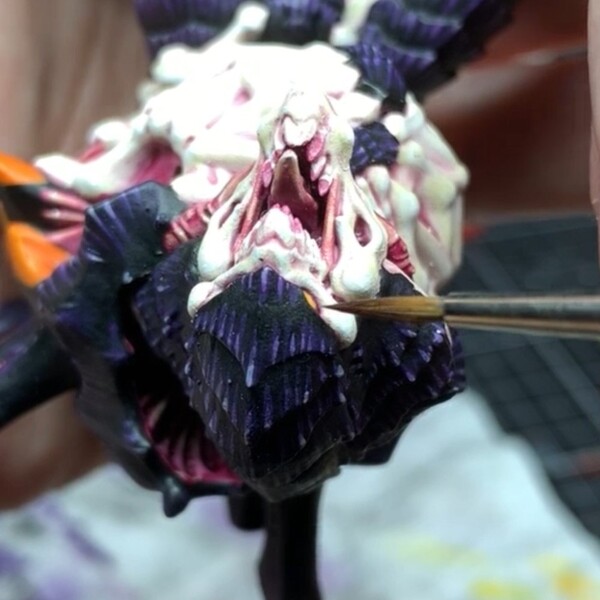 Wash around the eye cavity with Druchii Violet .
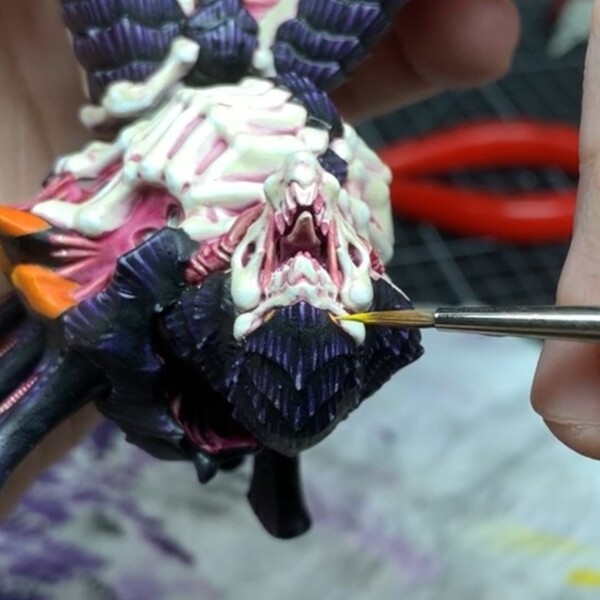 Relayer the eyeballs with Yriel Yellow , leaving some of that purple tinted yellow around the outside of the eye.
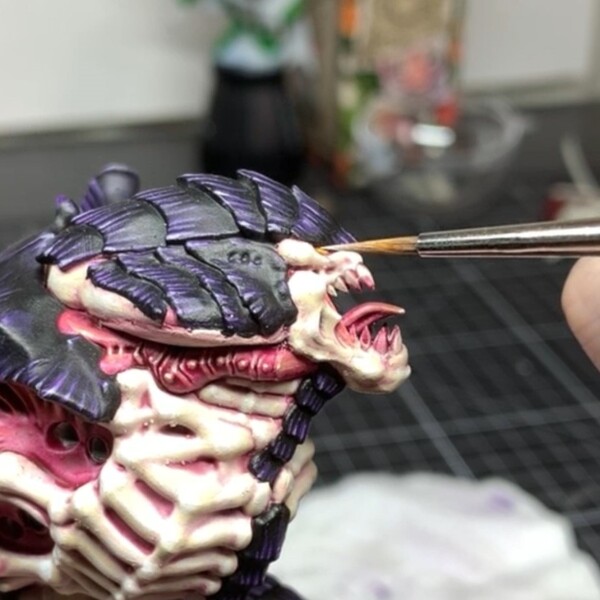 Add a dot of White for sheen. You can add a pupil and gloss varnish here if you'd like, I opted not to.
Teeth
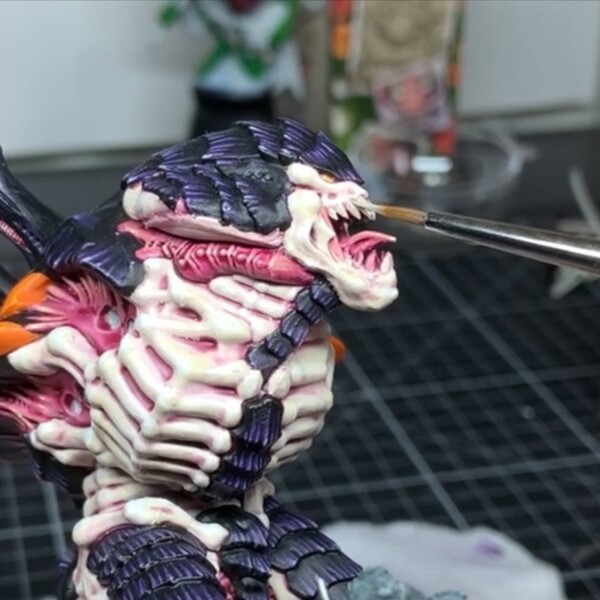 Base the teeth in Rakarth Flesh .
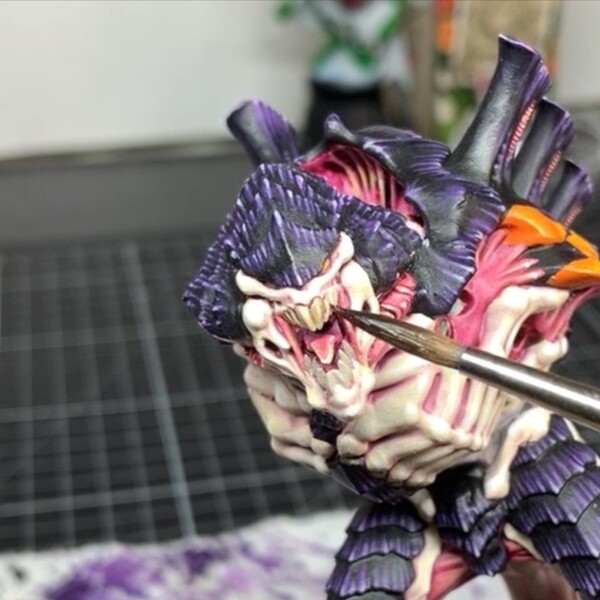 Wash back with Agrax Earthshade .
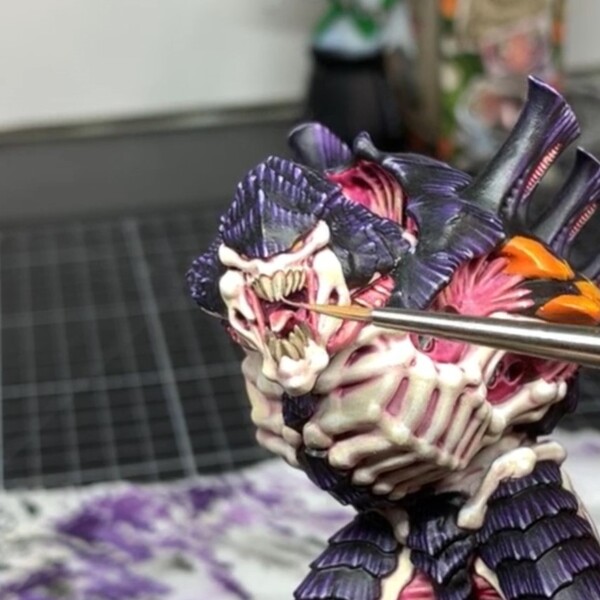 Relayer with Rakarth Flesh , leaving some of that Agrax staining up around the gum line.
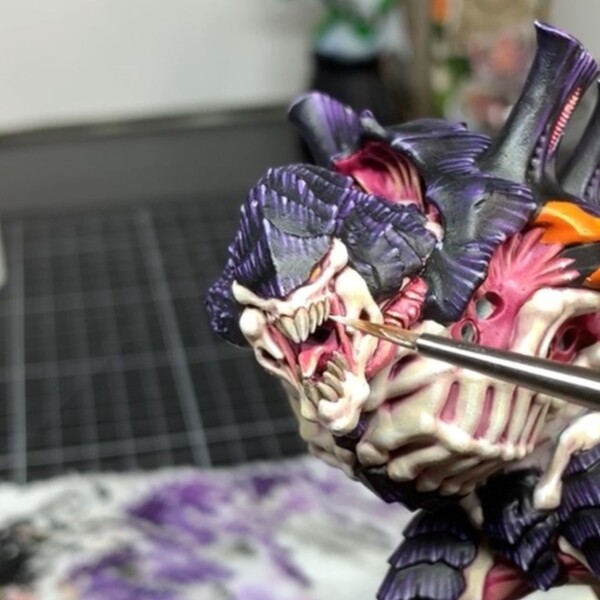 Highlight with Pallid Wych Flesh . I try to do a highlight down the middle and on either side of each tooth, but do what you can where you can.
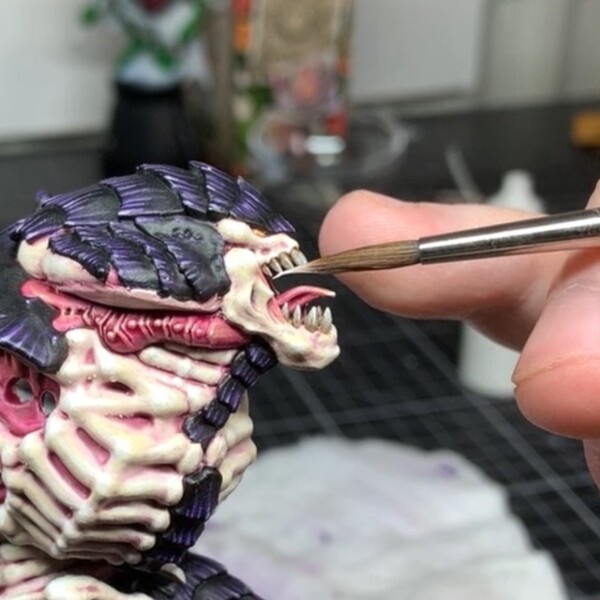 A last point highlight of White for sharpness at the end of the teeth.
At this point I painted the skin on each arm and attached them to the torso one at a time. This is, again, to stop me handling the pieces too much and risk rubbing paint off.
Scything Talons
 Base each scythe with your preferred black. Again, I use Doom Death Black .
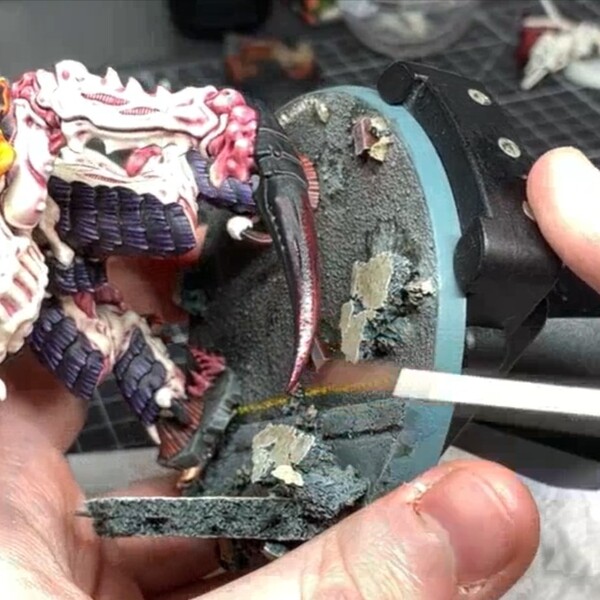 Glaze Khorne Red down towards the end of each scythe to make a nice black to deep red transition. Again, if glazing isn't your thing you can drybrush the colour on instead.
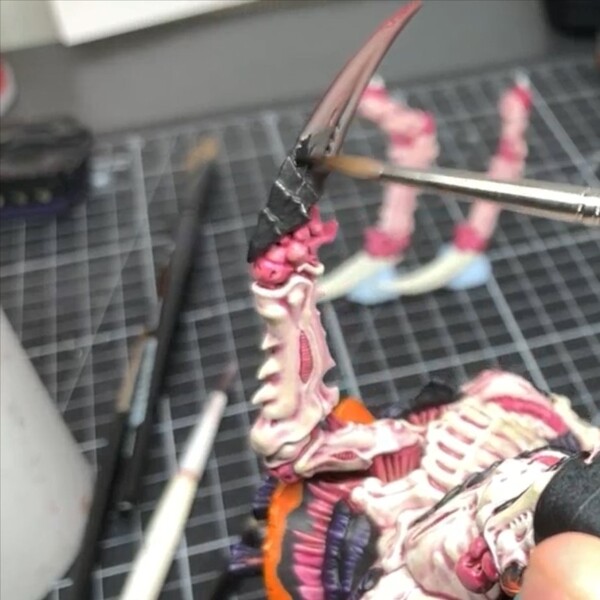 If your transition looks a little funky or you get tide marks from the glaze, bring back your black and glaze from the red to smoothen it out.
 Glaze again with Evil Sunz Scarlet , as well as adding edge highlights on the harder details.
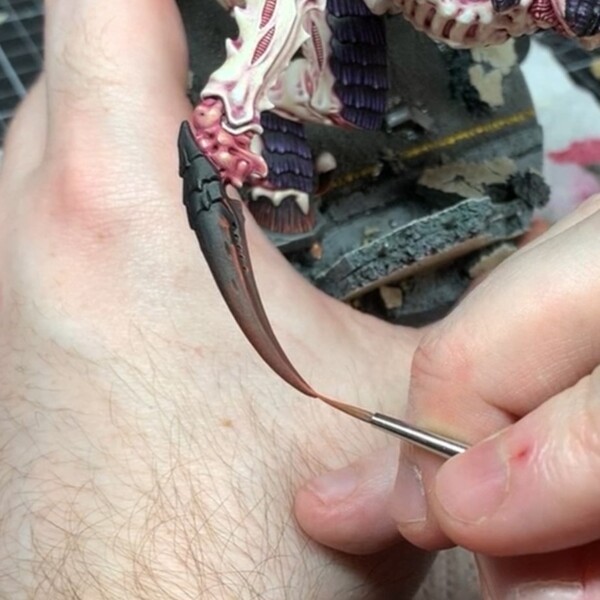 Add a smaller highlight of Wild Rider Red .
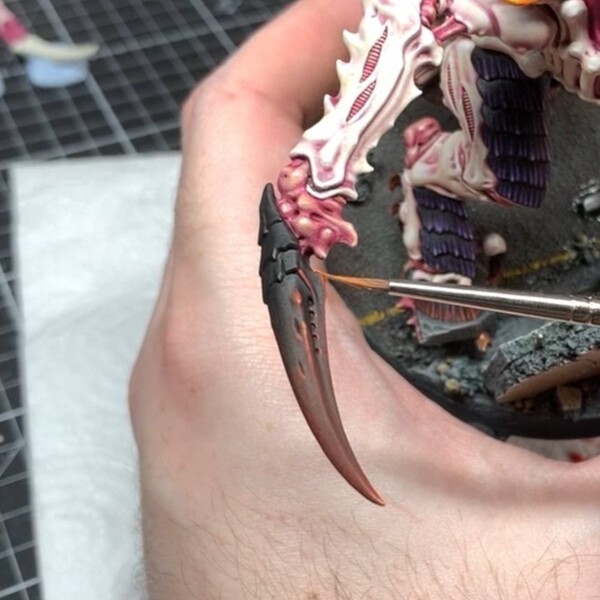 Same again, but with Fire Dragon Bright .
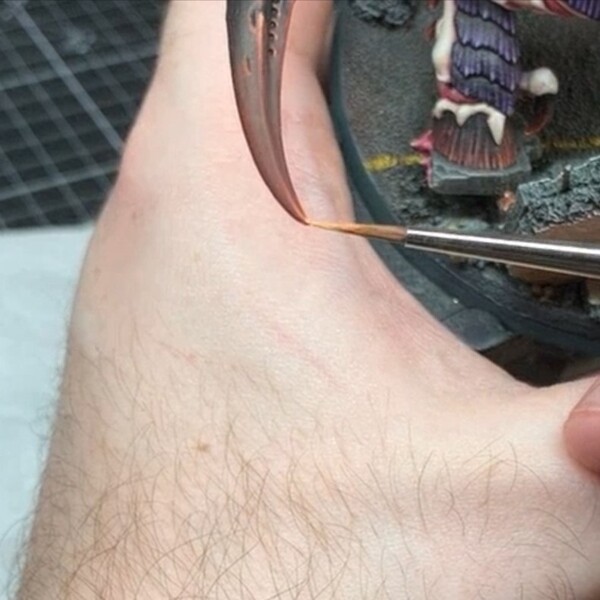 Tip the edges of each scythe with Lugganath Orange for sharpness
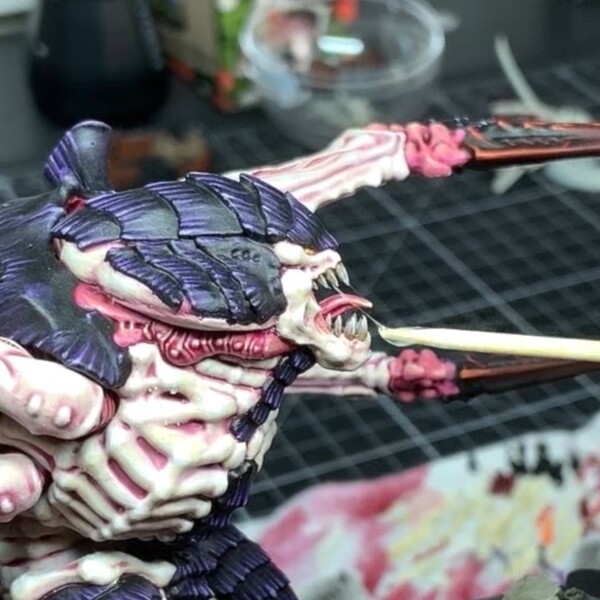 At this point add any special effects to your model and rim the base! I use UHU glue in the mouth for spittle and some old pastels for weathering powder on the base.

Adz
HowAdzPaints
I'm a casual mini painter who's fallen into the tutorial space. Documenting my progress and recipes as I go!
Citadel Painting System 26
Base 5
- Averland Sunset
- Jokaero Orange
- Khorne Red
- Naggaroth Night
- Rakarth Flesh
Shade 3
- Agrax Earthshade
- Druchii Violet
- Fuegan Orange
Layer 14
- Evil Sunz Scarlet
- Fire Dragon Bright
- Flash Gitz Yellow
- Genestealer Purple
- Kislev Flesh
- Lugganath Orange
- Pallid Wych Flesh
- Pink Horror
- Screaming Skull
- Slaanesh Grey
- Troll Slayer Orange
- Wild Rider Red
- Xereus Purple
- Yriel Yellow
Technical 1
- Contrast Medium
Spray 1
- Wraithbone
Contrast 2
- Magos Purple
- Volupus Pink
Daler-Rowney
FW Acrylic Ink 1
- White
The Army Painter Warpaints
Acrylic 1
- Moon Dust
Two Thin Coats
Shade 1
- Doom Death Black
.jpg)