.jpg)

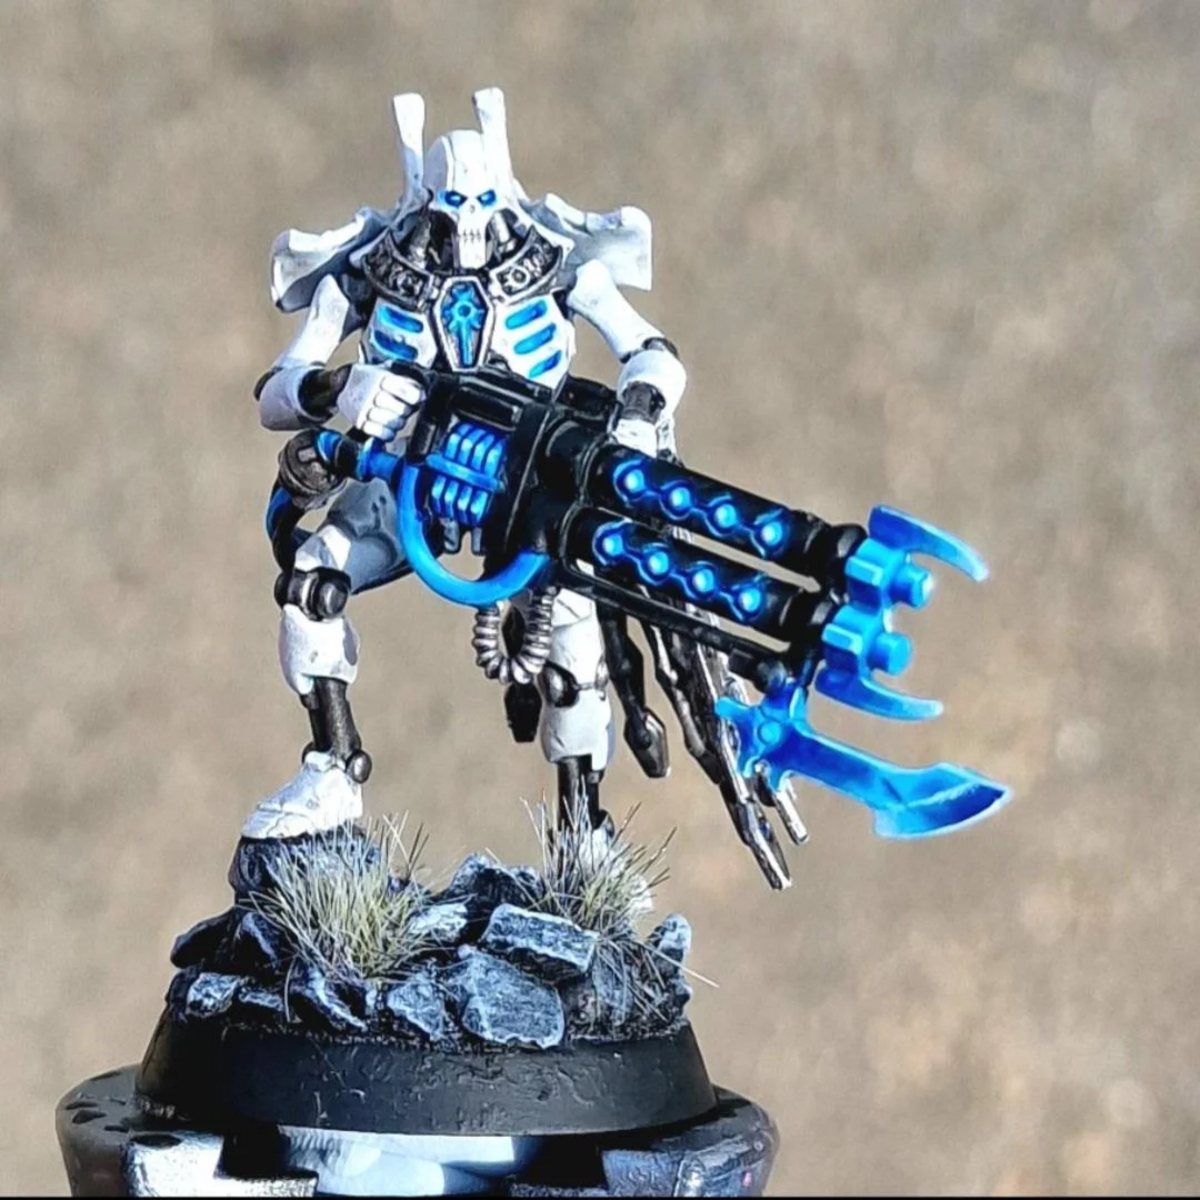
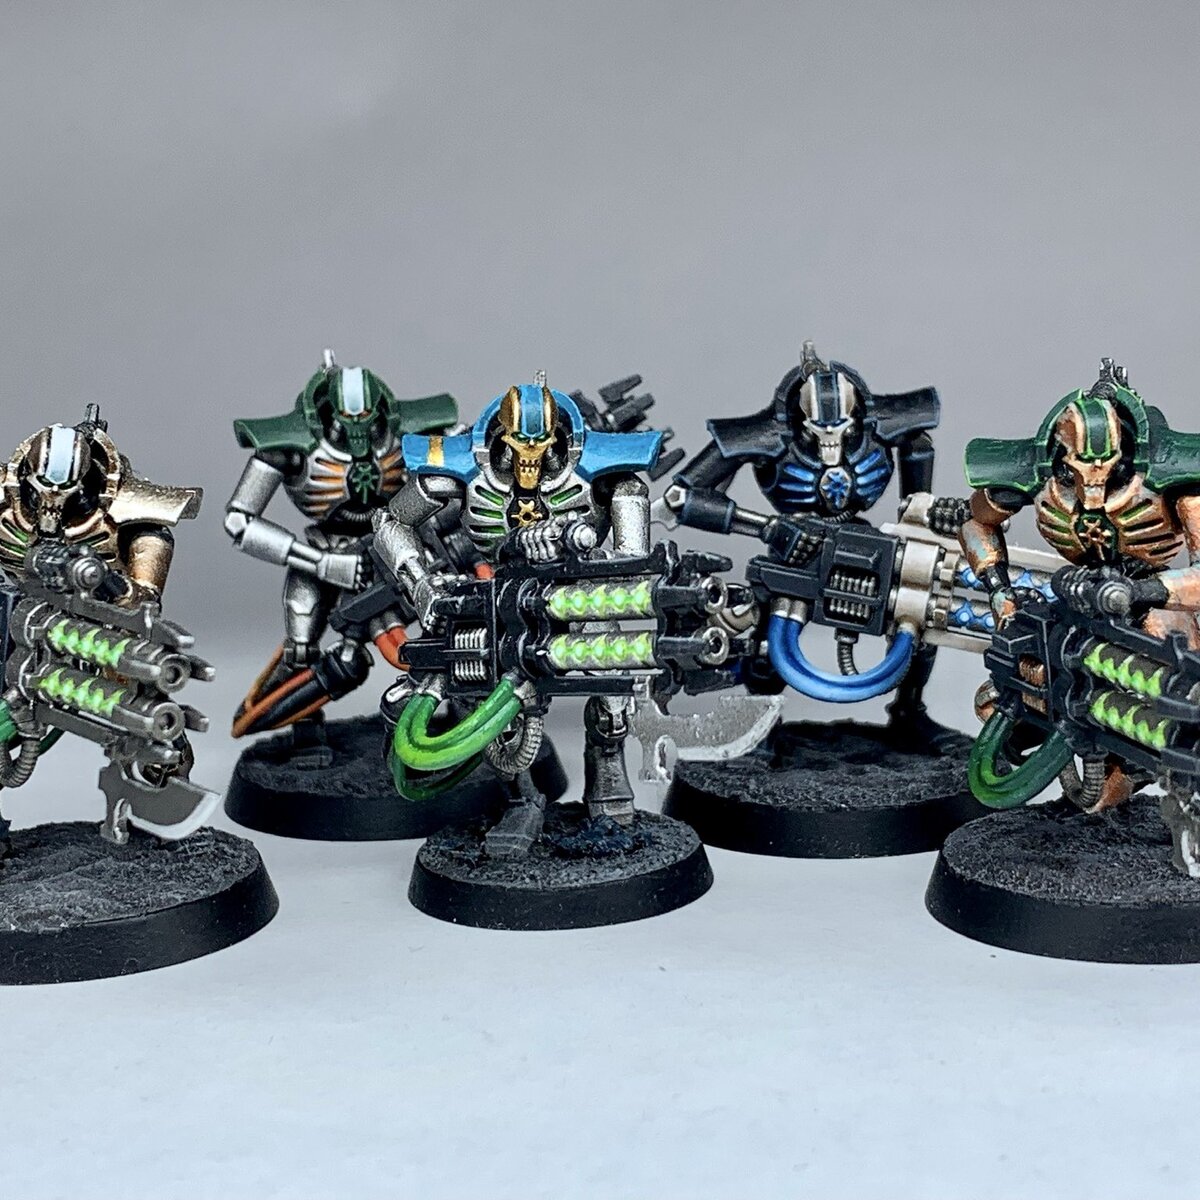
How I paint my Sautekh Warriors, as a text supplement to my video tutorial.
Silver
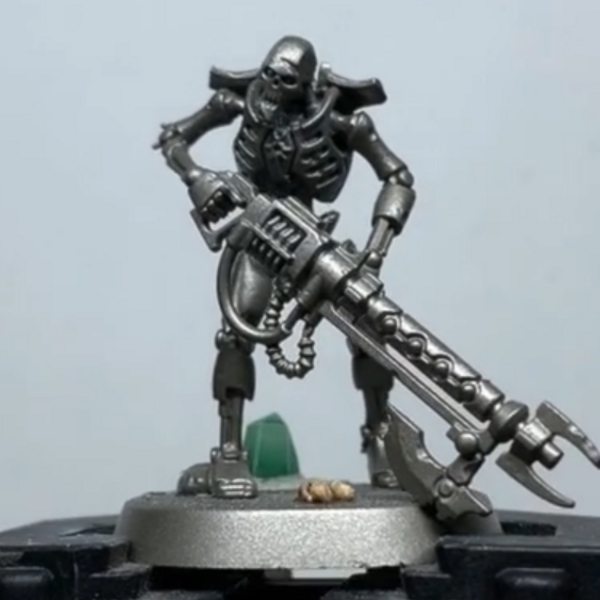 Start from a Leadbelcher base coat. I used the spray can for this, but the brush on paint works fine too.
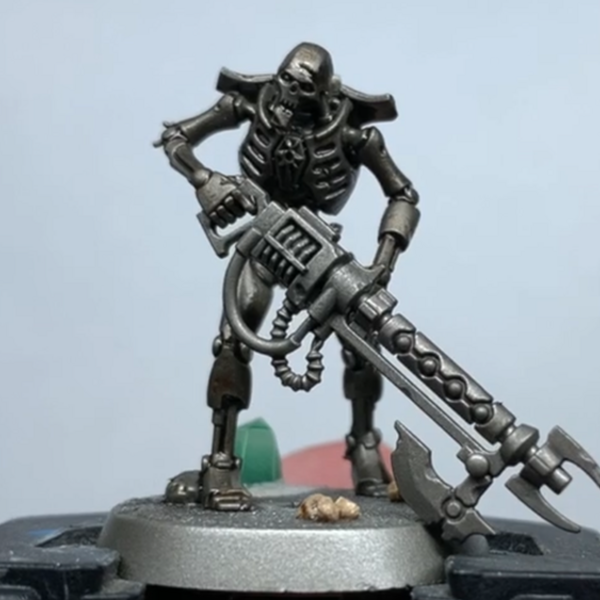 Wash the whole mini with Nuln Oil , then again with Agrax Earthshade .
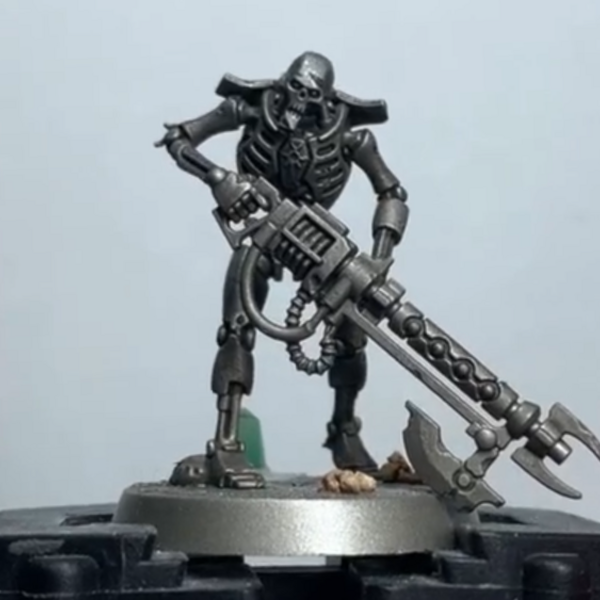 Drybrush the silver areas with Necron Compound . A brighter silver like Ironbreaker or Runefang Steel will work just as good if you don't have dry paints.
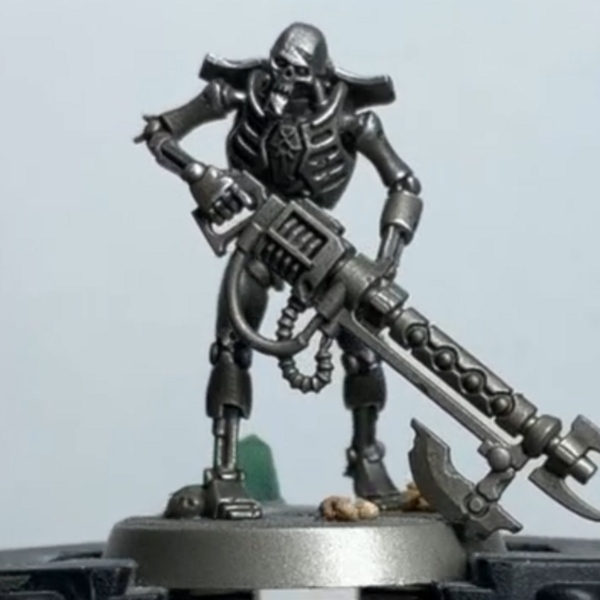 Add an edge highlight of Stormhost Silver , as well as coating any 'moving' parts - think balls joints and pistons.
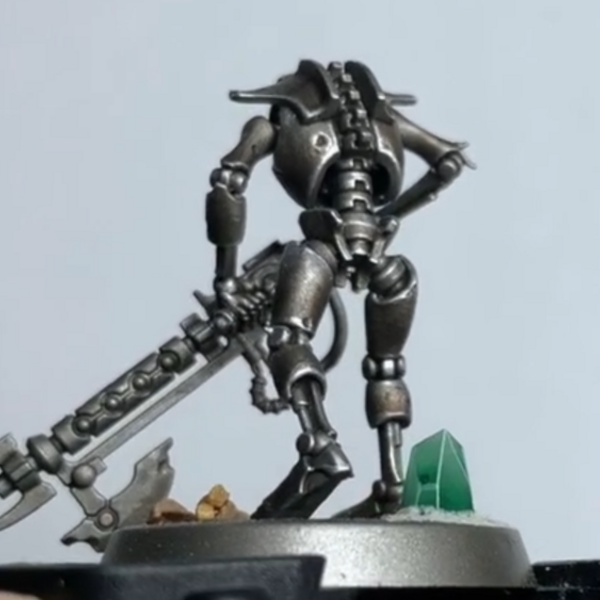 Bring back Agrax Earthshade to dirty up the lower sections of each part of the skeleton. Build in with as many coats as desired, I like two or three for mine. Pull the paint towards the bottom most point to keep the gradient.
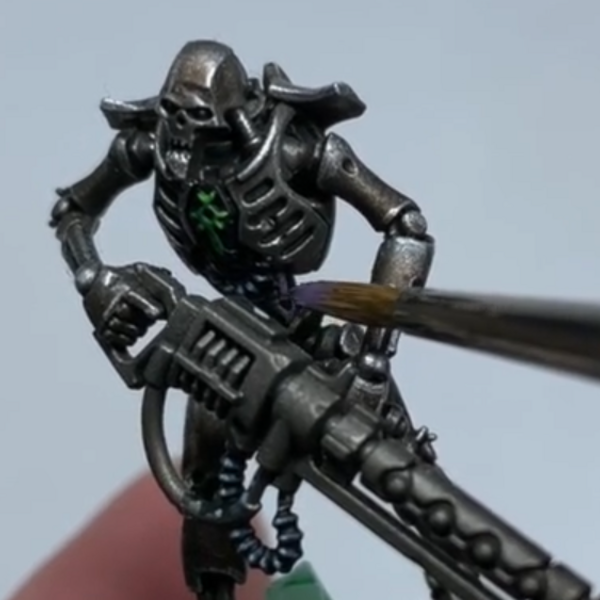
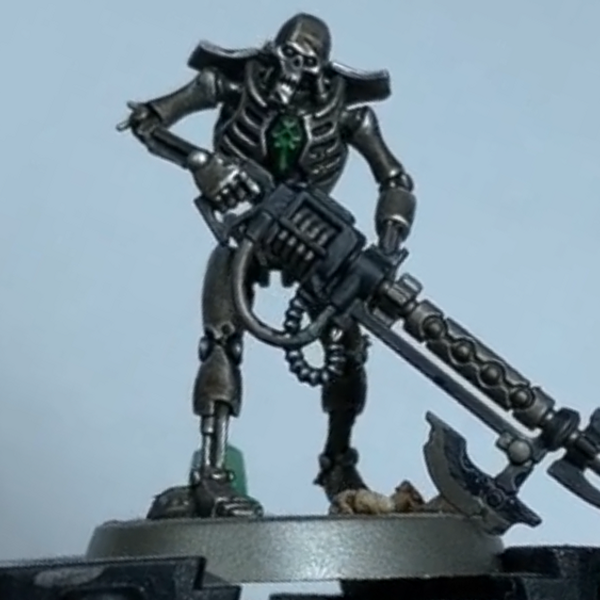
Cartouche
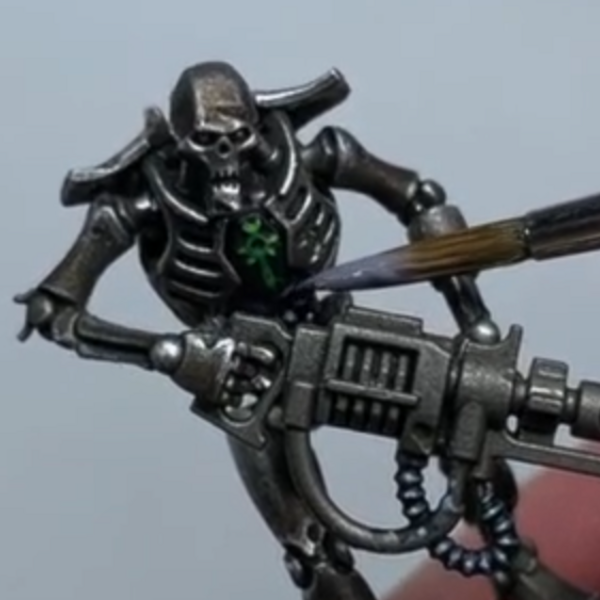
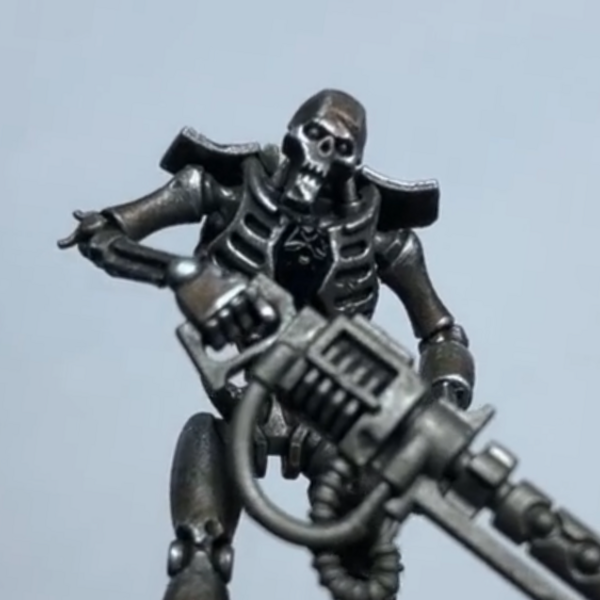 Base in the cartouche on the chest with Matt Black .
 Glaze Caliban Green down from around the center of the cartouche to build the look of a real dark green.
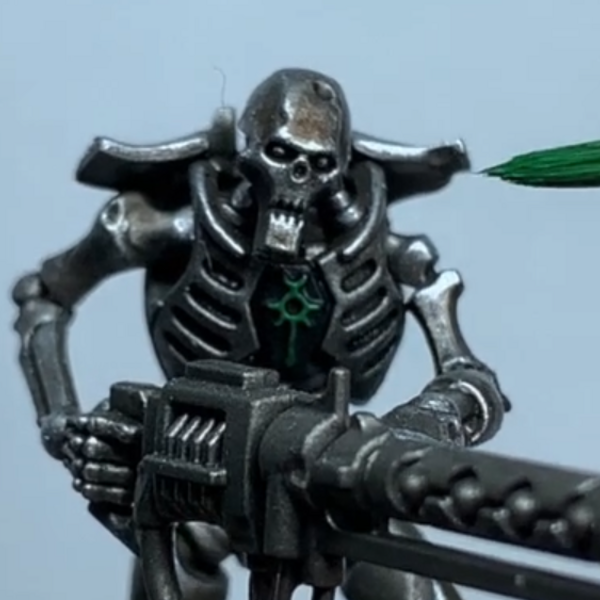 Base the symbol on the cartouche with Warpstone Glow . Give this a couple coats to get a solid colour.
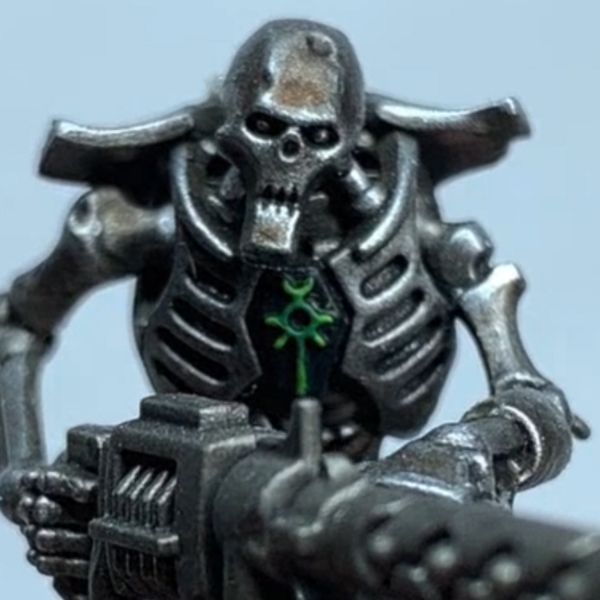 Paint the 'arms' of the symbol with Moot Green , leaving the center ring as Warpstone Glow.
Black cables
 Base any ribbed cables with Corax White .
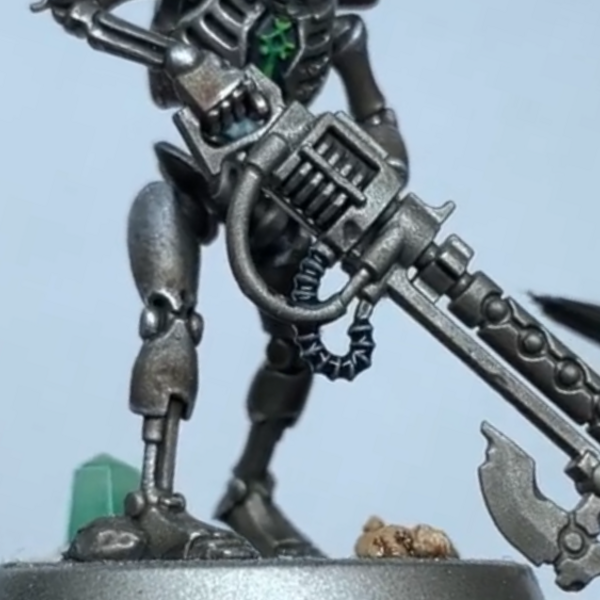 Wash over completely with Gryph-charger Grey , then again with Black Templar . I'm using the nature of Contrast paints here to get a quick cold-black colour, without needing to individually highlight the ribs as many times as I would with layer paint.
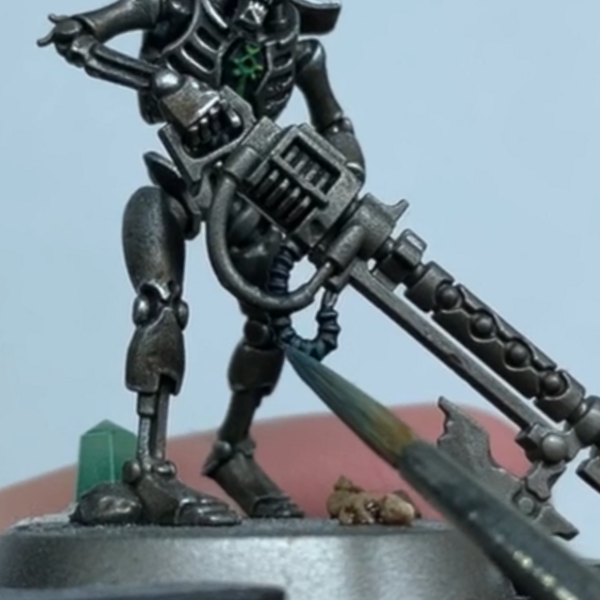 Highlight the ribs with Thunderhawk Blue . If you wick off most of the paint and you're careful, you can run the side of the brush along the ribs to hit these quickly - Can't get paint in the recesses if the brush never gets in there, after all!
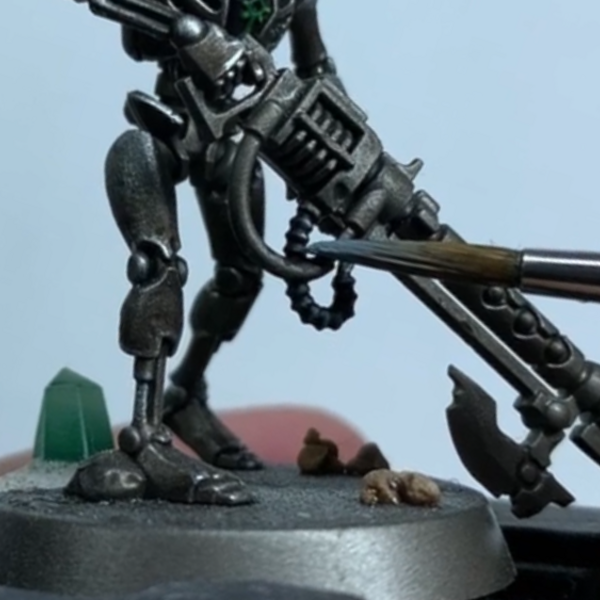 Add a second smaller highlight with Fenrisian Grey .
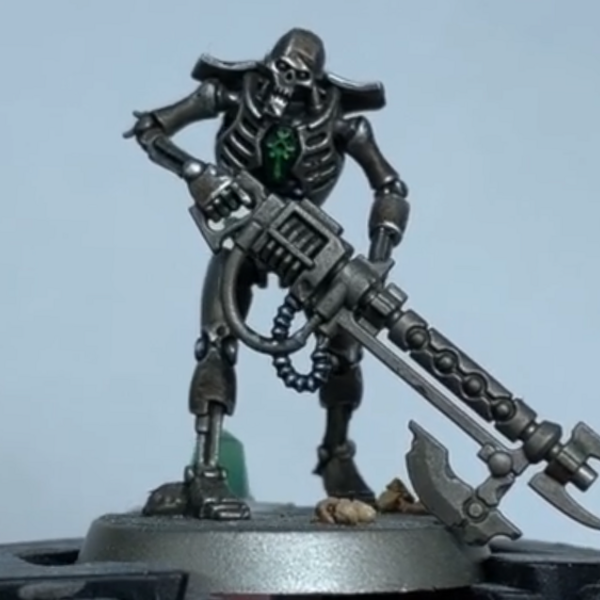 A last line of point highlights with Ulthuan Grey .
Purple cables
 Carefully base in the smooth cables with Daemonette Hide .
- Wash them back with Nuln Oil , pulling the shade towards either end of the cable to add a bit more shading.
 Add a thick highlight with Warpfiend Grey .
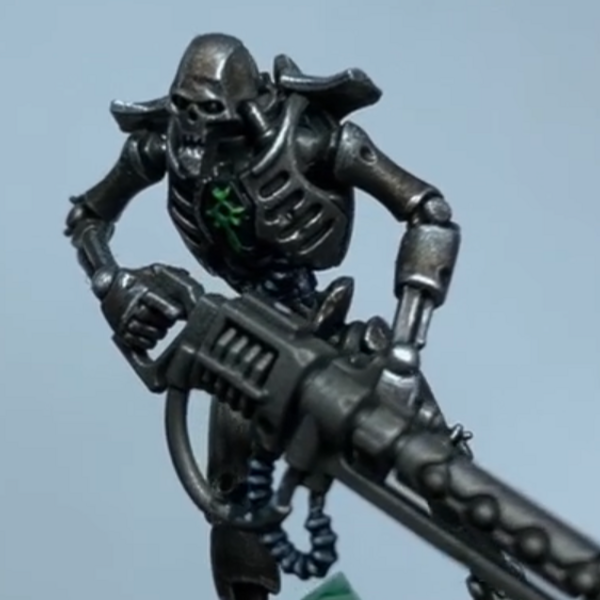 Then one last smaller highlight with Slaanesh Grey .
Copper details
 For a bit of colour variance, I base the frayed wires around the Warriors with Runelord Brass .
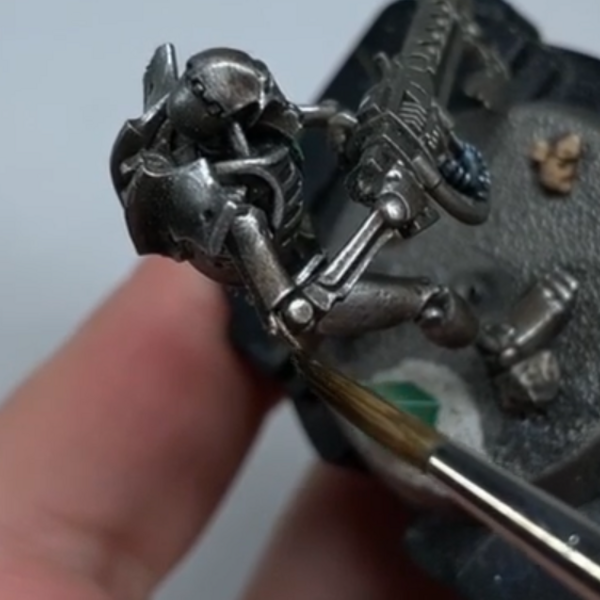 Wash these details back with Agrax Earthshade .
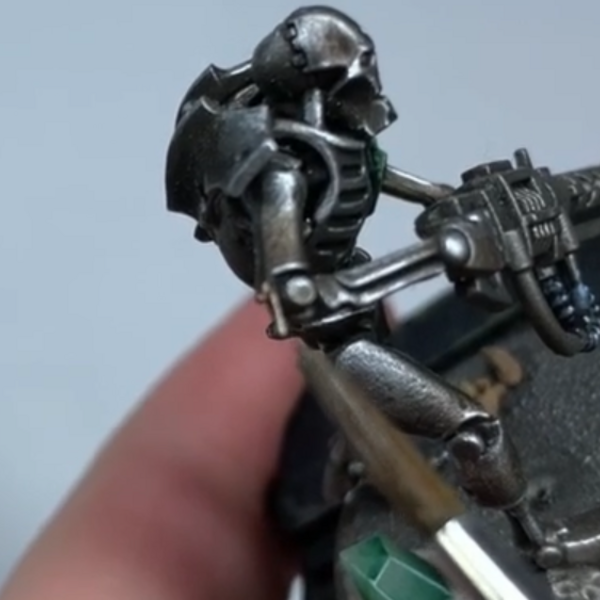 Add a quick highlight with Canoptek Alloy .
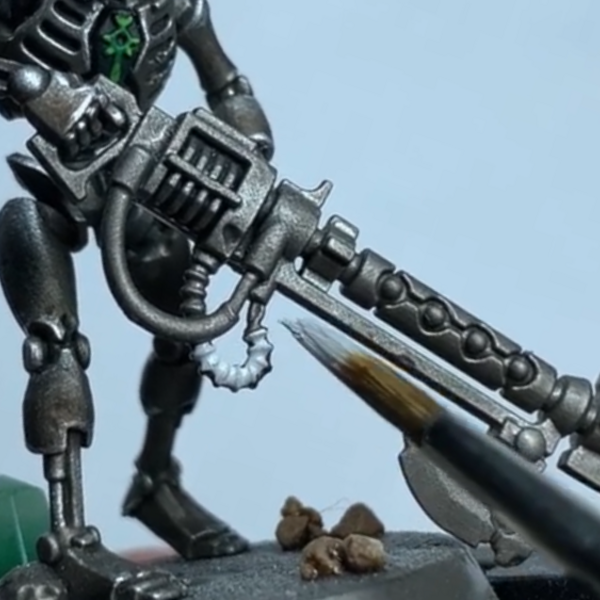
Weaponry
 For the casing on the gun I used Corvus Black as the basecoat.
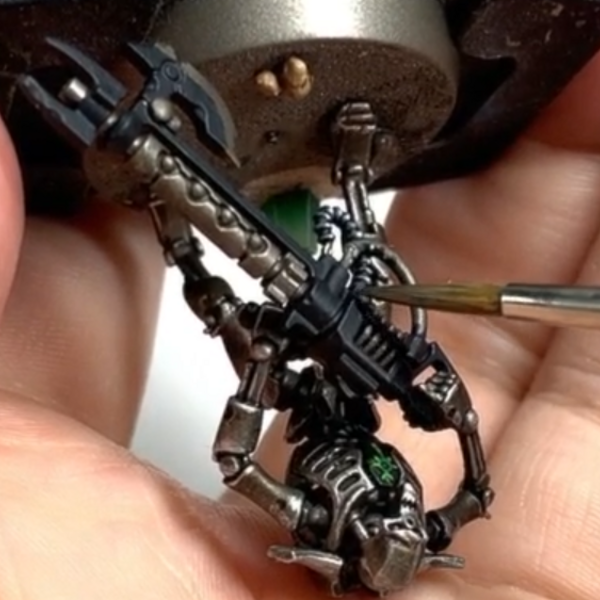 All the hard edges were highlighted with Eshin Grey .
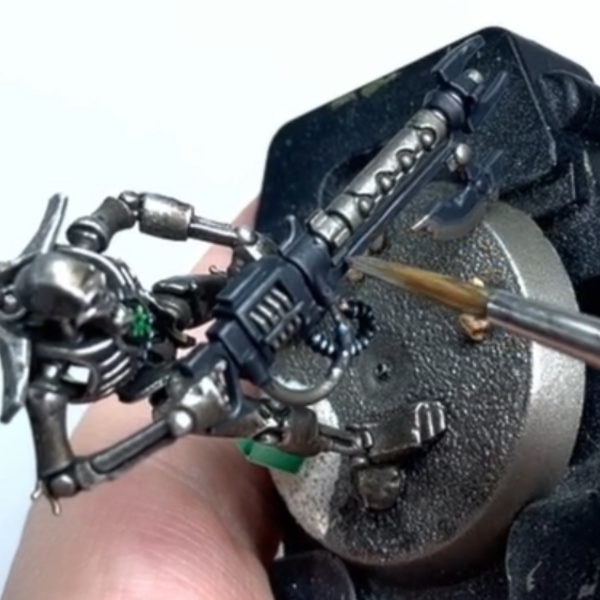 Any upper facing surfaces got one more thinner highlight of Dawnstone .
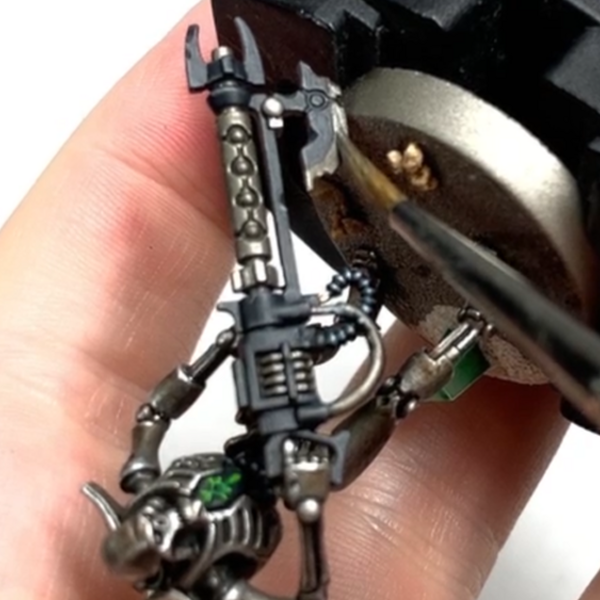 The silvers are already washed from painting the skeleton, so they just need a pass over with an Ironbreaker relayer.
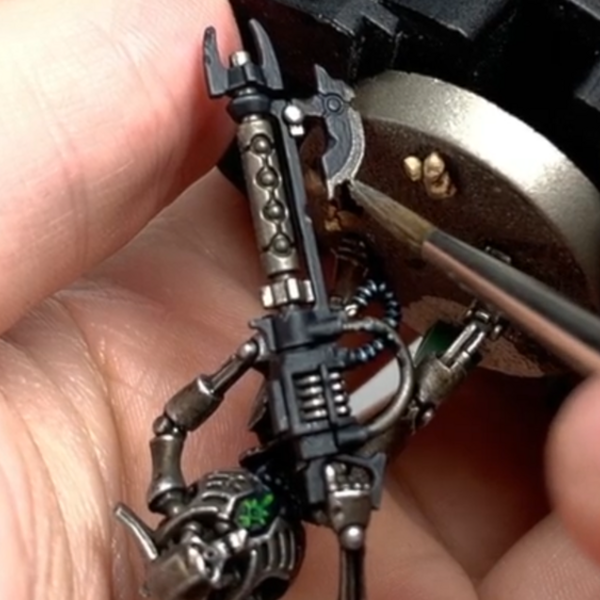 Then a quick highlight with Stormhost Silver .
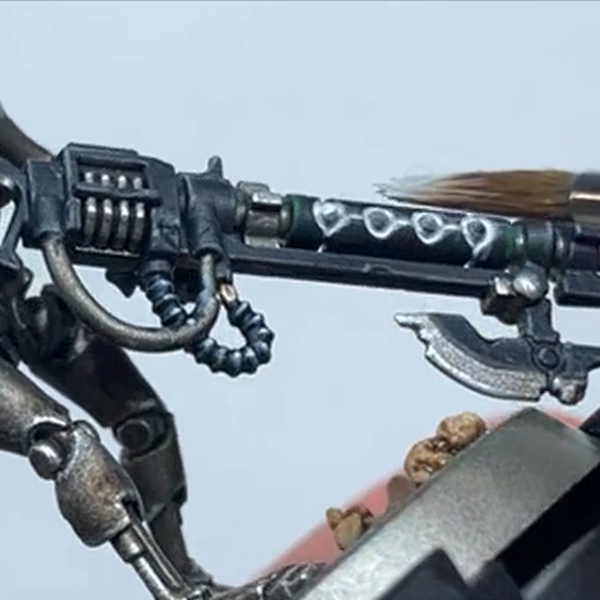 The glowing orbs on the weapons were given a basecoat with Corax White . I heavily watered this down to run it a couple times into the wells around the orbs.
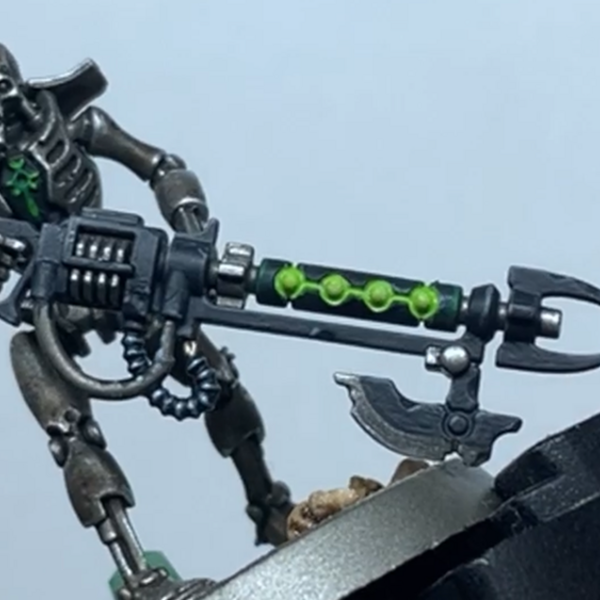 I repeat the process with Moot Green .
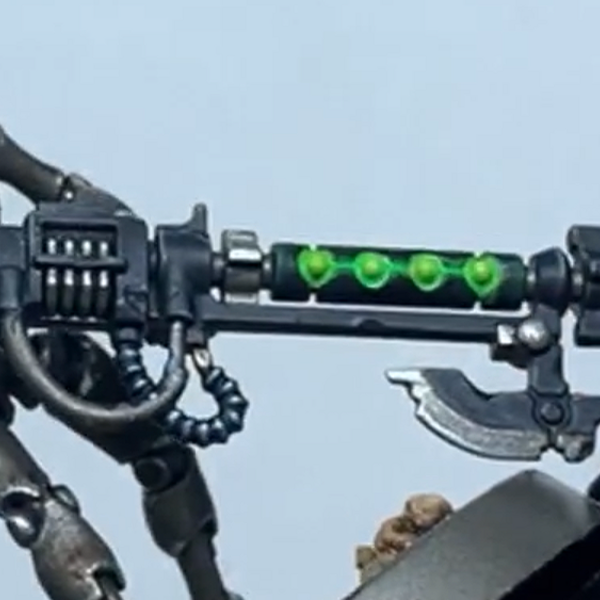 And once more with Green Fluorescent .
 The center of the orbs was highlighted with Gauss Blaster Green .
Bright green glow
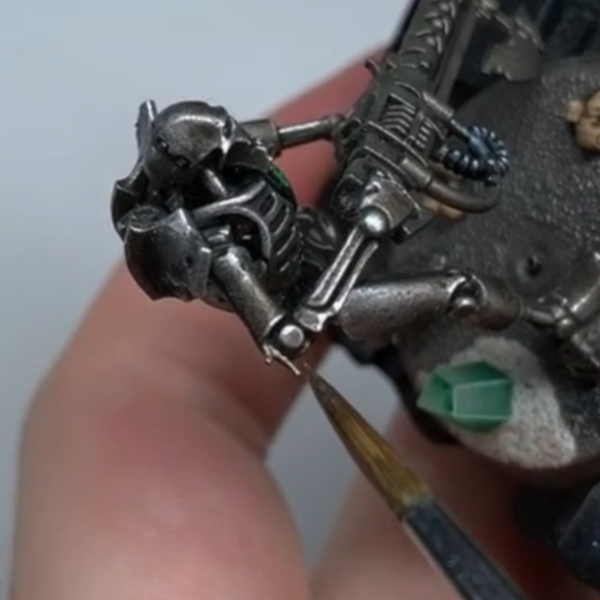
 Any cables I wanted to have the 'glowing' effect to them I based with Caliban Green .
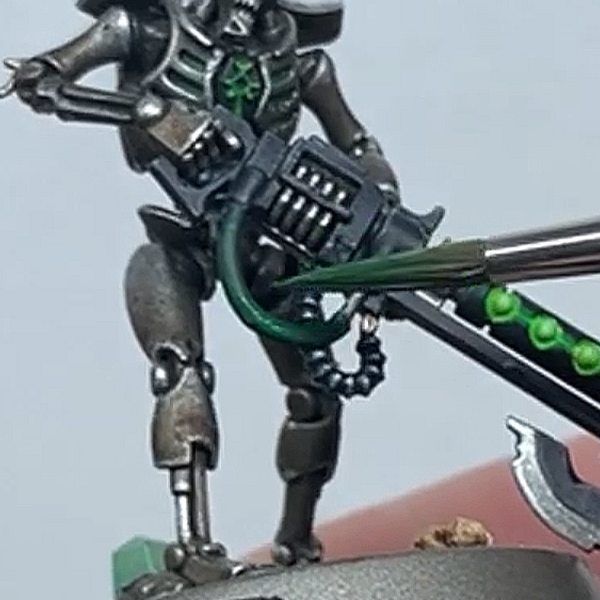 I watered down Warpstone Glow to a glaze at this point and introduced a gradient onto the cables, pulling the brush from either end to the center. I did a few coats of this until I had a nice gradient on there. While I have a thin Warpstone Glow, I also ran this into the gaps in the ribcage and also wholly into the eye sockets.
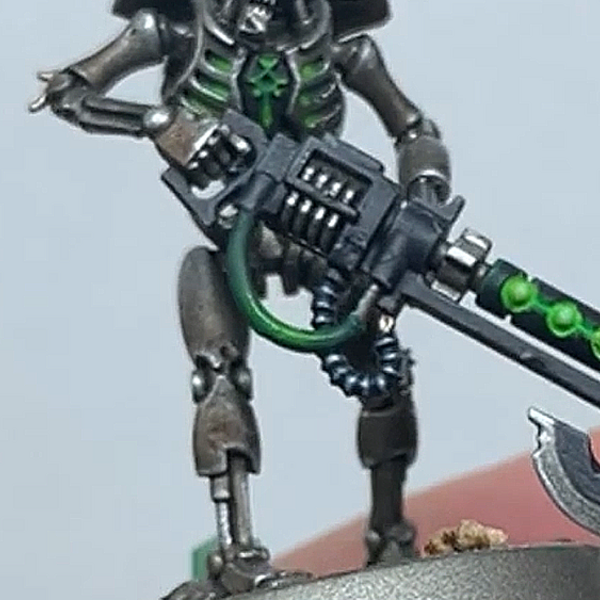 Next I mix Moot Green and Lahmian Medium about 1:4, water it down to help it apply, then repeat the same process on the cables covering a smaller area than last time. Again, a few coats of this gives a convincing gradient. I also added this into the ribcage again, just dropping it next to the cartouche. I also fully layered the eyeballs with some unthinned Moot Green.
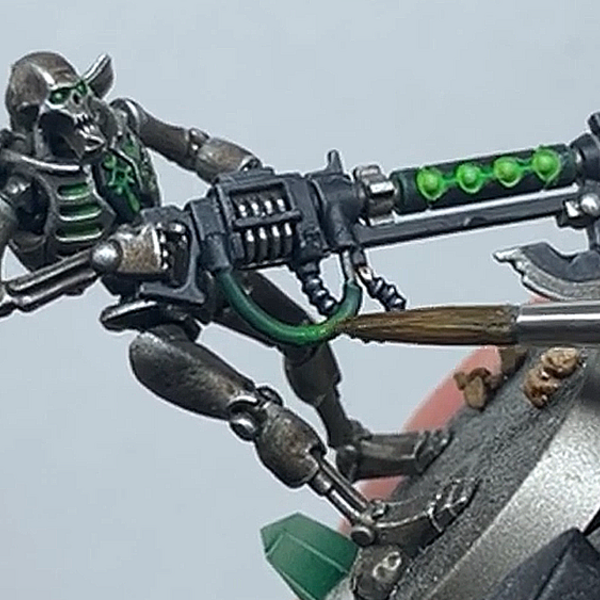 I finished the cables with a tiny touch of very thin Yriel Yellow , to make the 'hot spot' of the gradient.
 Lastly, I dotted the eyes of the Warrior with Gauss Blaster Green .

Adz
HowAdzPaints
I'm a casual mini painter who's fallen into the tutorial space. Documenting my progress and recipes as I go!
Citadel Painting System 26
Base 5
- Caliban Green
- Corax White
- Corvus Black
- Daemonette Hide
- Runelord Brass
Shade 2
- Agrax Earthshade
- Nuln Oil
Layer 14
- Canoptek Alloy
- Dawnstone
- Eshin Grey
- Fenrisian Grey
- Gauss Blaster Green
- Ironbreaker
- Moot Green
- Slaanesh Grey
- Stormhost Silver
- Thunderhawk Blue
- Ulthuan Grey
- Warpfiend Grey
- Warpstone Glow
- Yriel Yellow
Dry 1
- Necron Compound
Technical 1
- Lahmian Medium
Spray 1
- Leadbelcher
Contrast 2
- Black Templar
- Gryph-charger Grey
The Army Painter Warpaints
Acrylic 1
- Matt Black
Vallejo Model Color
Fluorescent 1
- 70.737 Green Fluorescent
.jpg)