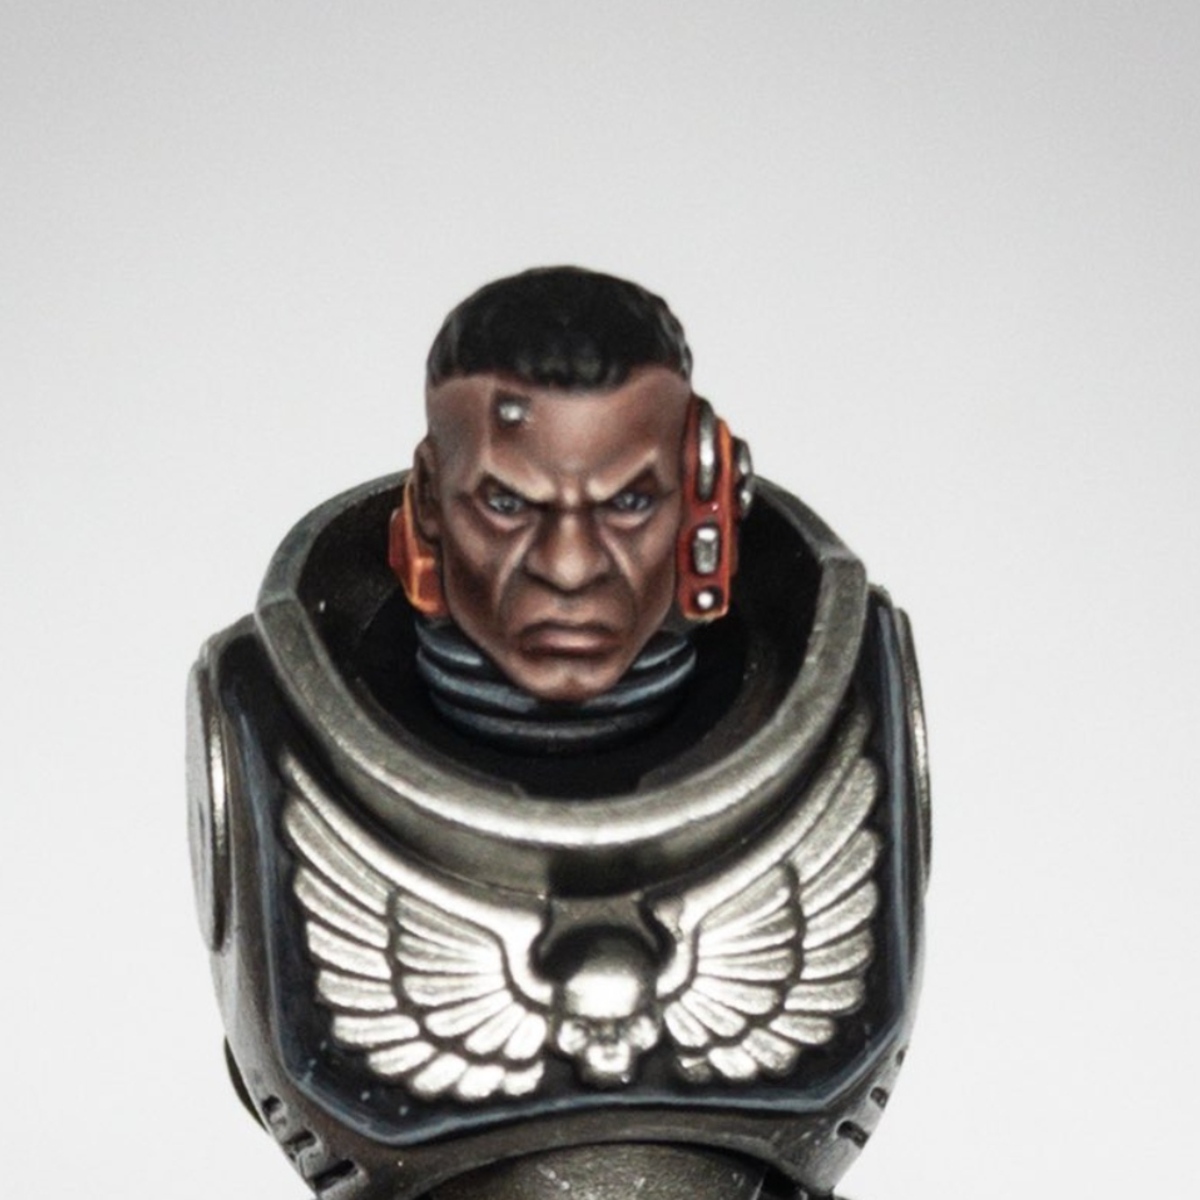
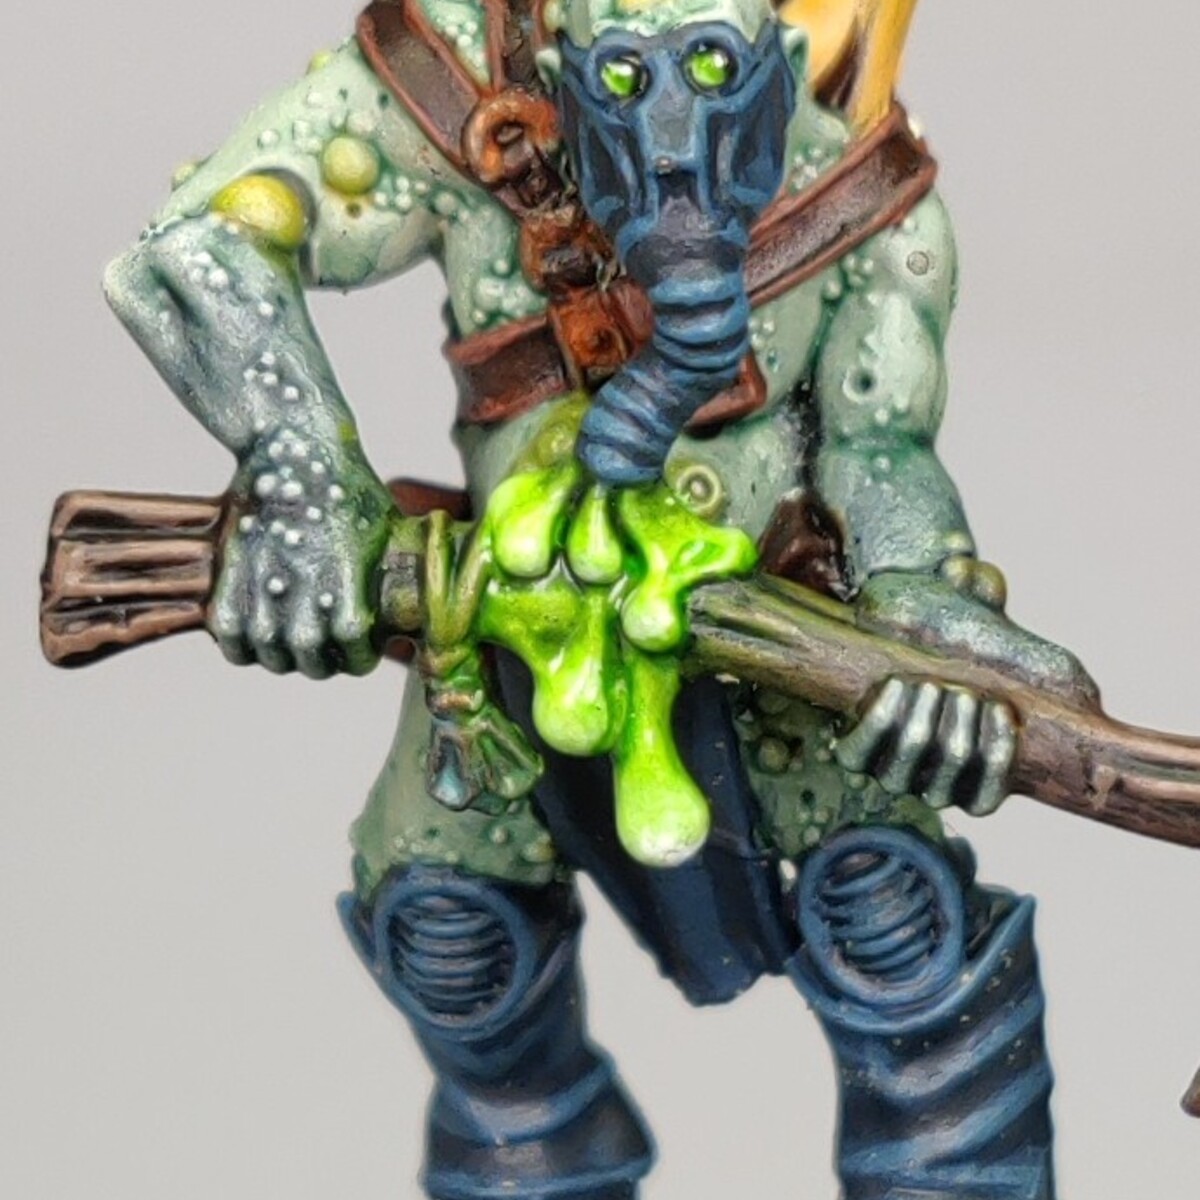
- Jade Obelisk Warband Painting Guide - Version 1 (Updated)
Model Preparation and Priming:
1. Cleaning the Miniatures:
Remove Mold Lines:
Use a mold line remover or the back of a hobby knife to carefully remove any mold lines or imperfections left from the casting process. Take your time to smooth out rough edges.
Wash the Miniatures:
Resin or plastic miniatures may have a release agent from the casting process, which can make paint adhere poorly. Wash the miniatures in warm, soapy water using a soft brush (like an old toothbrush) to clean off any residue. Rinse them thoroughly and let them dry completely.
2. Assembly:
Dry Fit Components:
Before gluing, dry fit the parts together to ensure everything fits smoothly. If needed, use a file or hobby knife to smooth any joints or pegs for a better fit.
Glue the Miniature:
Use plastic glue for plastic kits or super glue for resin parts to assemble the miniatures. Allow the glue to fully dry before proceeding.
3. Priming the Miniature:
Priming is essential for creating a surface that the paint will adhere to. Choose the primer color based on the dominant colors of your paint scheme:
Black Primer: Use Chaos Black Spray if you want a darker, more shadowed look for your Jade Obelisk Warband. It helps to deepen the shades, especially with metallics and jade.
Gray Primer: For a more neutral option, Mechanicus Standard Grey Spray is excellent. It allows for brighter colors without the starkness of white.
White Primer: If you want the colors to pop and plan to use brighter highlights, use Corax White Spray as a primer, though this might require more shading to control how dark the shadows become.
1. Armor and Robes:
Robes (Using Barak-Nar Burgundy):
Basecoat:
Start with Barak-Nar Burgundy as the base color. This will give a strong, deep, and rich foundation for the reddish-purple robe.
Shade:
Apply Druchii Violet into the recesses and deeper folds of the fabric. This adds depth and enhances the natural shadows of the robe.
Layer:
For mid-tone highlights, use a mix of Screamer Pink or Xereus Purple with Barak-Nar Burgundy to transition between the shadowed areas and the more exposed areas of the robe.
Highlight:
Use Pink Horror mixed with Kislev Flesh to create the final highlights on the most raised edges and ridges of the fabric. Apply sparingly, focusing on the parts of the robe that would catch the most light, such as raised folds and edges.
Glaze (Optional):
To blend the transitions between layers and highlights, use Barak-Nar Burgundy thinned down with Lahmian Medium to glaze over the robe. This will smooth out the color transitions and create a more seamless finish.
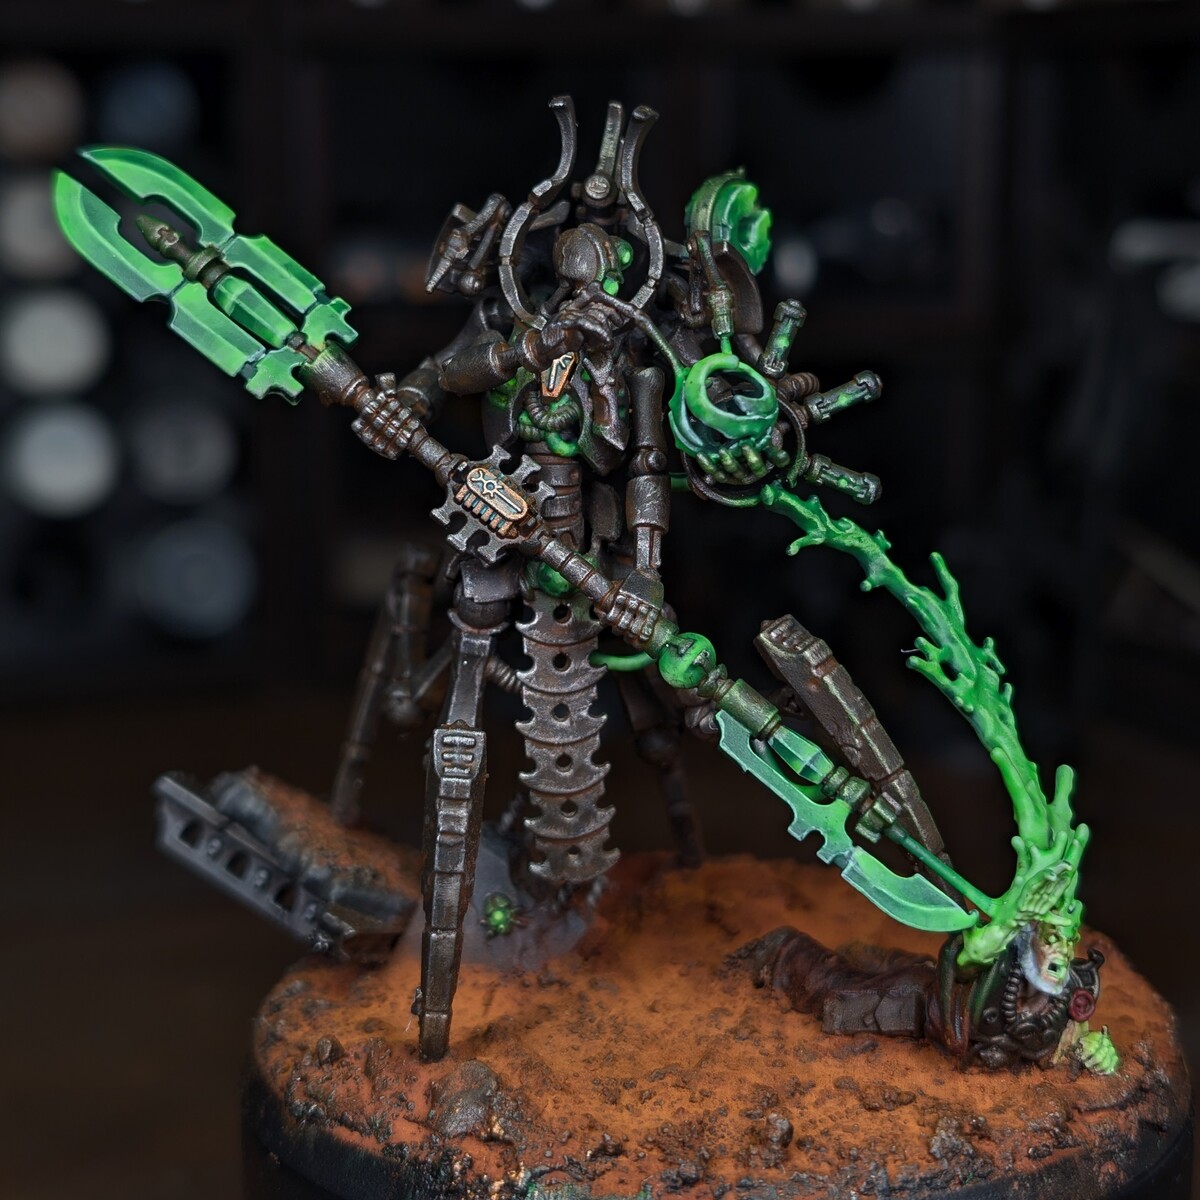
2. Jade Detailing (Obelisks and Weapon Accents):
Option 1: Incubi Darkness Basecoat
For a richer, darker green effect on the weapons and obelisks:
Basecoat:
Start with Incubi Darkness as the base color. This dark, cool green will create a shadowy foundation for the jade-like appearance.
Layer:
Apply Kabalite Green over the raised areas and larger surfaces, leaving Incubi Darkness in the recesses to provide depth and shadow.
Shade:
Apply Coelia Greenshade as a wash, focusing on recesses and transitions between Incubi Darkness and Kabalite Green. This will blend the colors and enhance the depth.
Highlight:
Use Sybarite Green for the first highlight, focusing on the edges and raised surfaces. For the final sharp highlights, use Gauss Blaster Green on the most prominent edges and details to make the jade stand out.
Option 2: Kabalite Green Basecoat
If you prefer a brighter jade look without the darker undercoat:
Basecoat:
Use Kabalite Green as the foundation color for the jade-like stones and weapon accents.
Shade:
Apply Coelia Greenshade to darken the recesses and give depth.
Highlight:
Use Sybarite Green for the first layer of highlights, followed by Gauss Blaster Green for sharp edge highlights and to make the green accents stand out.
3. Flesh and Faces:
Face Masks (Jade-Like Appearance):
Basecoat:
Use Gauss Blaster Green as the base for the light jade color of the masks.
Shade:
Apply Coelia Greenshade carefully into the recesses, avoiding pooling on flat areas.
Highlight:
Use White Scar mixed with Gauss Blaster Green to give a sharp jade effect, particularly on the cheeks, brow, and around the eyes.
Exposed Flesh (for the Leader Model):
Basecoat:
Use Cadian Fleshtone for the exposed skin.
Shade:
Apply a careful wash of Reikland Fleshshade to bring out the details.
Highlight:
Use Kislev Flesh or Flayed One Flesh to bring out muscle definition and facial details.
4. Leather and Cloth Accessories:
Belts, Boots, and Pouches:
Basecoat:
Use Rhinox Hide for the darker leather areas.
Shade:
Apply Agrax Earthshade to deepen the leather look.
Highlight:
Use Gorthor Brown or Baneblade Brown for edge highlighting, catching straps and folds.
5. Metallic Details (Weapons and Accessories):
Weapons and Metal Adornments:
Basecoat:
Use Leadbelcher for the weapon’s metallic portions (blades, hammers, etc.).
Shade:
Apply Nuln Oil to the recesses and around bolts or joints.
Highlight:
Use Stormhost Silver or Ironbreaker for sharp edge highlights on the blades or metal surfaces.
Bronze Adornments:
Basecoat:
Use Balthasar Gold for any bronze-colored areas (found on their chest symbols and weapon detailing).
Shade:
Apply Agrax Earthshade to darken and give depth to the bronze.
Highlight:
Use Runelord Brass to add shine to the raised sections.
6. Stone and Base Detailing:
Obelisk Bases:
Basecoat:
Use Mechanicus Standard Grey to provide a neutral gray stone foundation.
Shade:
Apply Nuln Oil to the recesses to add depth to the stone.
Highlight:
Lightly drybrush with Dawnstone to give a weathered stone appearance.
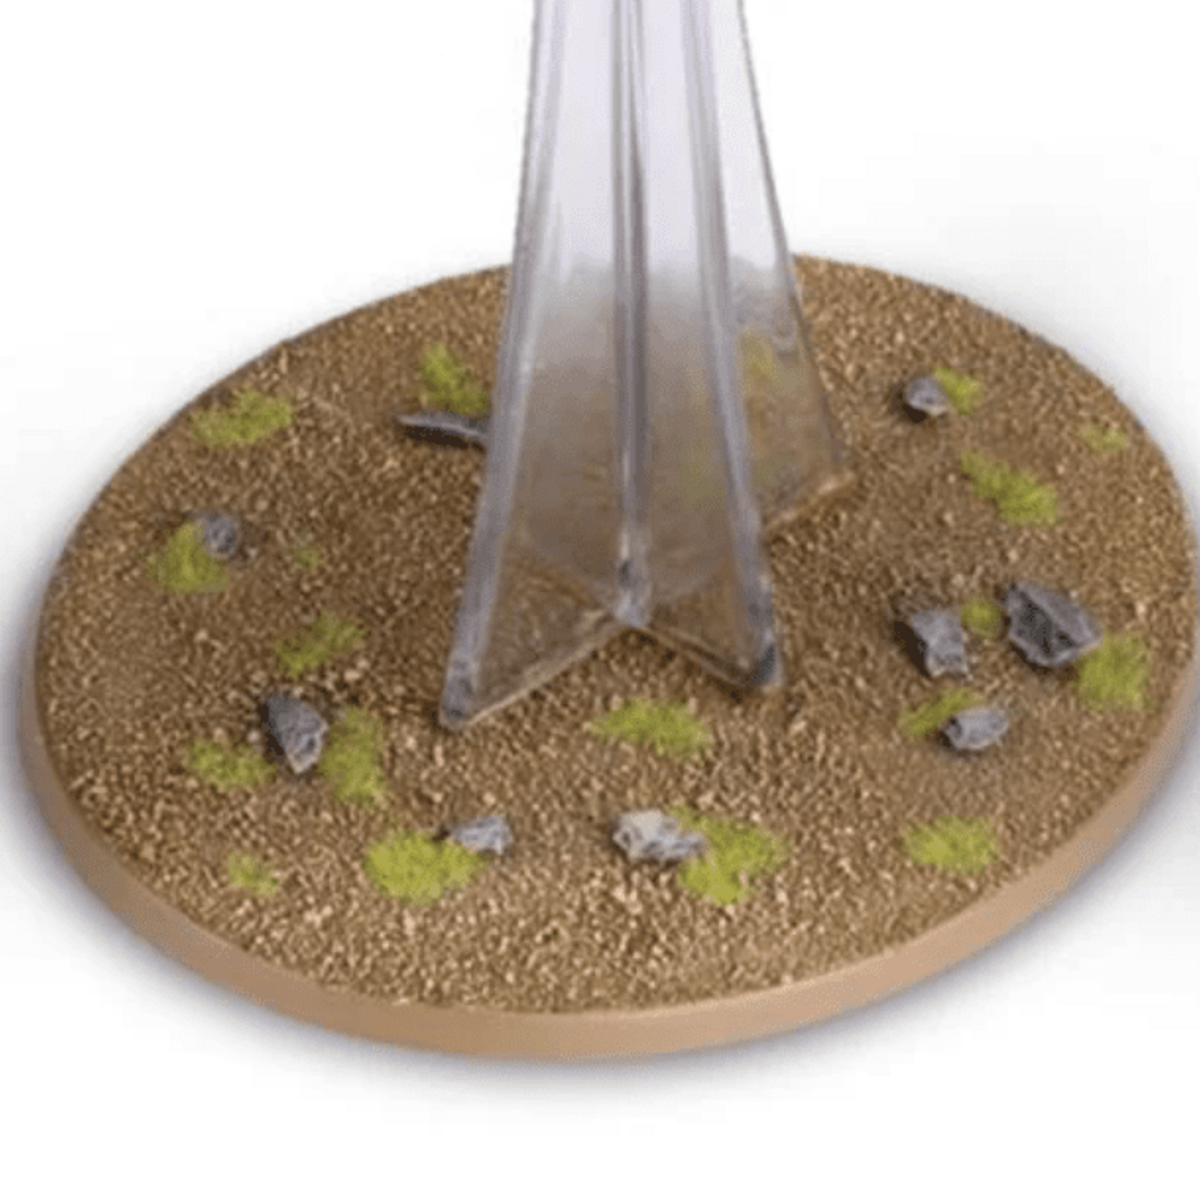
Ground and Sand:
Basecoat:
Use Steel Legion Drab or Gorthor Brown for the dirt base.
Drybrush:
Lightly drybrush with Tyrant Skull or Karak Stone for a more dusty, realistic look.
Grass Tufts:
Add tufts of Mordheim Turf or Valhallan Grass for additional texture and variation on the base.
7. Specific Model Details:
Leader Model (Consolidated Details):
Green Crystal Blade Accents:
These blades feature the same jade-like finish as the obelisks. Use Sybarite Green for the base and highlight with Gauss Blaster Green for a crystal effect.
The Hair and Beard:
Basecoat: Use Celestra Grey to create a strong grey foundation for the hair and beard.
Shade: Apply Nuln Oil or Drakenhof Nightshade to the recesses to bring out texture and create depth.
Layer: Use Administratum Grey to highlight raised strands and define the hair, blending with the shaded areas.
Highlight: Apply White Scar sparingly to the highest points and tips for a final, sharp contrast.
The Big Round Orb on the Chest:
Basecoat: Start with Abaddon Black for the orb to create a deep, dark foundation.
Subtle Gradient Layer: Use a mix of Incubi Darkness with a touch of Abaddon Black and apply this to the lower edges of the orb, feathering it inwards.
Mid-tone Transition: Lightly layer Dark Reaper and Stegadon Scale Green around the lower outer rim, keeping the majority of the orb dark.
Shade: Apply Nuln Oil to darken the upper edges and enhance the shadowed effect.
Highlight: Use a mix of Dark Reaper and Fenrisian Grey for edge highlights at the uppermost edge of the orb.
Reflection Points: Add small reflection points using White Scar, focusing on subtle light reflections near the top of the orb.
Chest Armor Gem:
The gem in the chest armor can be highlighted similarly to jade stonework, applying a small dot of White Scar for reflection.
Sorceress Model:
Cape (Light Blue Cape):
Basecoat: Use Fenrisian Grey as the base color.
Shade: Apply Drakenhof Nightshade into the recesses for depth.
Highlight: Use Pallid Wych Flesh for edge highlights along the raised folds and edges of the fabric.
The Heart (Held by the Sorceress):
Basecoat: Use Khorne Red for the heart.
Shade: Apply Carroburg Crimson to darken the recesses and create a fleshy, visceral look.
Highlight: Use Wazdakka Red followed by Evil Sunz Scarlet for bright highlights on raised areas.
Finish: Add Blood for the Blood God or gloss varnish to give it a wet, gory finish.
Hair:
Basecoat: Use Abaddon Black for the hair.
Highlight: Apply Eshin Grey for the first highlight, followed by Dawnstone for edge highlights on the curls and raised strands.
Scars:
Basecoat: Use Pallid Wych Flesh for the scars.
Shade: Apply Reikland Fleshshade around the scars to blend them into the skin and give them a realistic, fresh appearance.
Highlight: Use Kislev Flesh or Flayed One Flesh to make the raised portions of the scars stand out.
The Disc on the Chest:
Basecoat: Use Stegadon Scale Green as the base color.
Shade: Apply Coelia Greenshade in the recesses to create depth.
Highlight: Use Gauss Blaster Green to highlight the raised edges and central details.
Glow Effect: Use Moot Green for the glowing lines around the disc, and a small dot of White Scar in the center to represent a glowing core.
This concludes the Jade Obelisk Warband Painting Guide - Version 1 (Updated). Enjoy painting!
