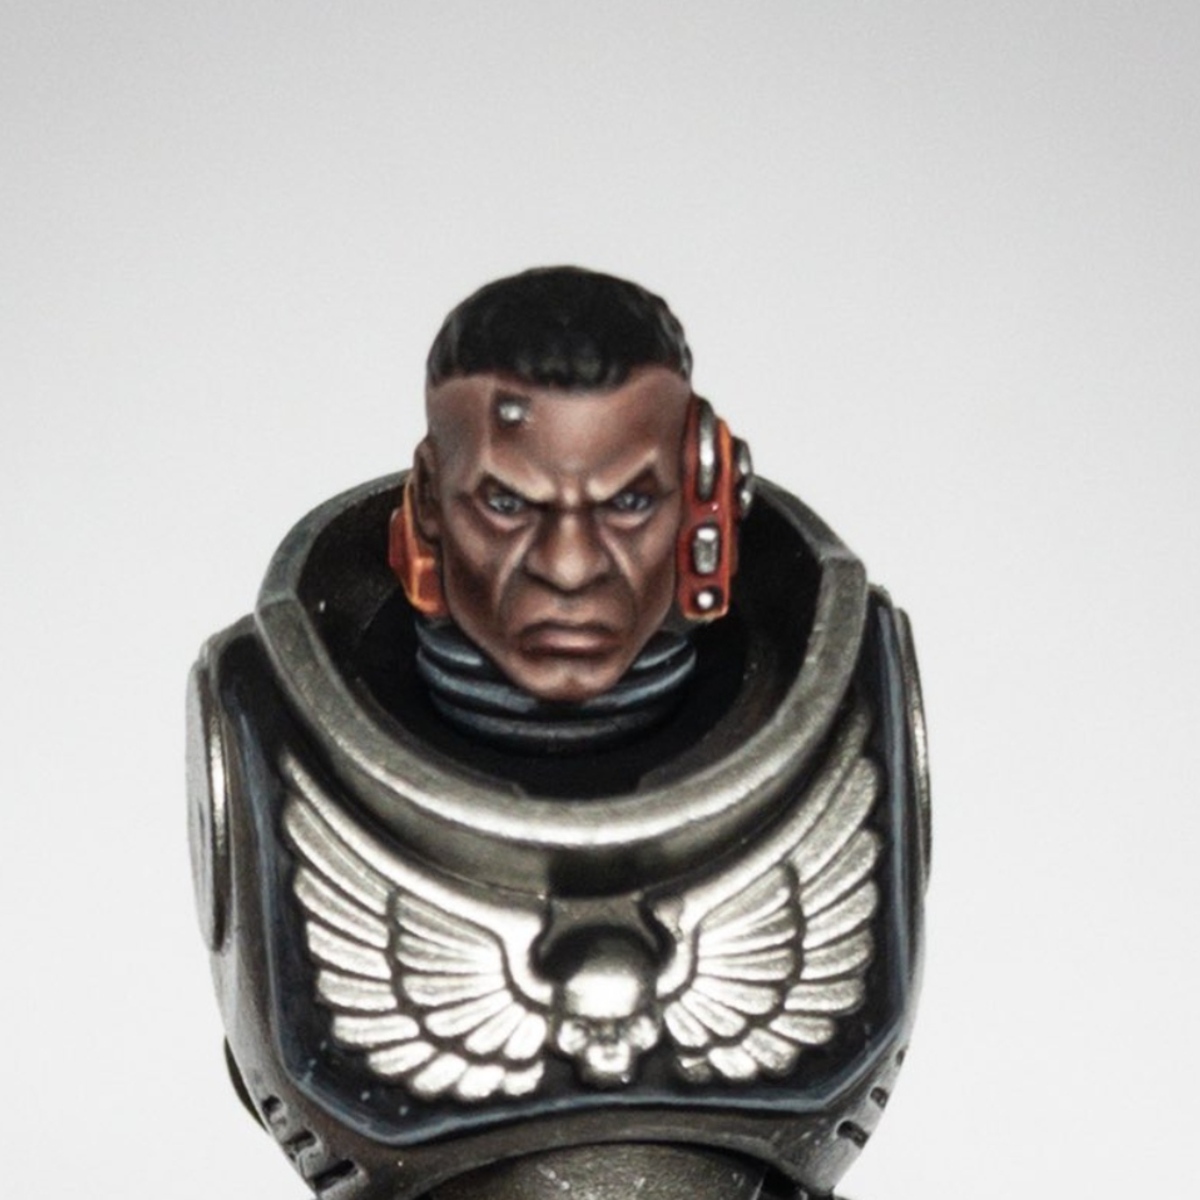
- The Questor Soulsworn are elite warriors of the Stormcast Eternals, clad in resplendent gold armor and wielding ancient, powerful weapons. These champions are sent forth by Sigmar to fight across the realms, bringing justice and order wherever they tread. Each detail on these models reflects their divine mission, from the gleaming celestial sigils to the rugged bear pelts that adorn their backs, symbolizing their endurance and ferocity.
This guide will walk you through painting every key aspect of the Questor Soulsworn, focusing on their striking gold armor, regal blue or black cloaks, contrasting black leather, and detailed weaponry. Every element—down to the intricate sigils, hanging scrolls, and fur textures—is covered, ensuring your models will stand out on the battlefield with a crisp, polished finish. The guide is optimized for efficient painting, with each section ordered to minimize overpainting and maximize ease of access to the model’s details.
1. Preparing the Model
Proper preparation ensures a smooth painting process and great final results:
Clean the Model: Remove mold lines and excess sprue using a hobby knife or mold line remover.
Subassembly (Optional): Consider painting subassemblies, like arms, cloaks, or weapons separately, for better access to details.
Priming: Apply a black primer as the base, followed by a zenithal white spray to highlight key areas and provide pre-shading.
2. Black Leather Elements: Gloves, Suit Under Armor, and Straps
The black leather elements include gloves, sections of the suit under the armor, and any black straps. This section is painted first since it's harder to reach once the armor and other details are done.
Basecoat:
Apply Abaddon Black as the foundation for all black leather areas: gloves, sections of the undersuit, and black straps.
Layering and Highlights:
First Highlight: Use Eshin Grey to highlight raised portions, such as folds in the gloves, the ribbing of the undersuit, or the edges of leather straps. Apply this in thin lines along the creases and folds to bring out detail without overwhelming the black.
Final Highlight: For the sharpest highlights, use Dawnstone. Apply this sparingly on the edges of the gloves, around knuckle joints, and on the highest points of the undersuit folds.
Optional Glaze for a Worn Leather Effect:
Use a very thin layer of Nuln Oil Gloss to give the black leather areas a subtle sheen, adding to the worn leather look without making them too glossy.
3. Armor: Golden Plate
The golden armor is a defining feature of the models and is painted after the black leather to avoid overpainting.
Basecoat: Start with Retributor Armour for a rich, metallic gold base. Ensure you apply 2 thin coats for smooth coverage.
Shade: Apply Reikland Fleshshade Gloss to settle into the recesses and add depth and warmth.
Layer: Reapply Retributor Armour on the raised sections, leaving the shaded recesses intact.
Highlight: Use Liberator Gold to highlight the edges of the armor, focusing on prominent areas like the helmet, shoulder pads, and knee guards.
Final Highlight: For the sharpest edges, mix Stormhost Silver with Liberator Gold (50/50) and apply fine edge highlights to the helmet spikes, rivets, and other raised features.
4. Cloak: Blue or Black Exterior and White Interior
The cloak adds movement and color contrast to the model. The exterior of the cloak can be either blue or black, depending on the specific model. This section is painted now to avoid accidental overpainting onto other details.
Exterior Cloak (Blue):
For models with blue cloaks:
Basecoat: Apply Kantor Blue across the entire exterior surface.
Layer: Use Caledor Sky on raised areas, leaving Kantor Blue in the recesses for natural shadows.
Highlight: Edge highlight with Lothern Blue along sharp folds.
Final Highlight: Use Baharroth Blue for the finest highlights on the edges to add sharp contrast.
Optional Glaze: Use Guilliman Blue to smooth any transitions and deepen the blue tone if needed.
Exterior Cloak (Black):
For models with black cloaks:
Basecoat: Use Abaddon Black for the entire exterior of the cloak.
Highlight: Apply Eshin Grey to the raised edges and folds.
Final Highlight: Use Dawnstone for the sharpest highlights on the very edges of the cloak to create a stark, defined look.
Interior Cloak (White-Grey):
The inner cloak remains the same soft white across all models.
Basecoat: Start with Celestra Grey.
Shade: Use Nuln Oil (thinned with Lahmian Medium) in the recesses for a subtle grey shadow.
Layer: Reapply Ulthuan Grey on the raised areas.
Highlight: Use White Scar for the final highlights on the most exposed edges and raised sections.
5. Weapons: Hammer, Sword, Axe, and Halberd
The weapons feature sturdy metallics and wrapped hafts/hilts, contributing to the unit’s battle-worn look.
Silver Metallics:
Basecoat: Use Leadbelcher for the silver metallic parts of the weapon (blade, hammerhead).
Shade: Apply Nuln Oil to deepen the shadows in the recesses.
Layer: Reapply Leadbelcher, leaving the shaded areas darkened.
Highlight: Edge highlight with Stormhost Silver for sharp weapon edges and metallic elements on the handles.
Leather Haft/Hilt Wrapping:
Basecoat: Start with Screamer Pink to establish a rich, reddish-brown base.
Shade: Apply Agrax Earthshade to the recesses to deepen the shadows and give the leather a weathered look.
Layer: Use Tuskgor Fur to layer over the raised portions of the leather wrap, leaving the recesses darker.
Highlight: Apply a fine edge highlight of Kislev Flesh or Pallid Wych Flesh to the very edges of the wraps and the high points of the texture to create a worn, well-used look.
6. Brown Straps and Scabbards
The brown leather straps and scabbards are next, as they are easier to access after completing the armor and weapons.
Basecoat: Start with Rhinox Hide for all straps, belts, and scabbards to create a deep brown leather look.
Shade: Apply Agrax Earthshade to deepen the shadows and define the texture of the leather.
Layer: Use Gorthor Brown on the raised edges or folds of the leather straps.
Highlight: For final edge highlights, use Baneblade Brown or Karak Stone along the sharpest edges, focusing on corners, belt loops, and the edges of the scabbard.
7. Sigils, Symbols, and Decorations: White-Grey
These details are crucial for emphasizing the celestial theme of the Stormcast Eternals. We’ll aim for a crisp, non-glowing white finish to complement the white interior of the cloak.
Basecoat: Use Celestra Grey on all sigils and symbols (kneecap sigil, center of the blue pauldron, and any hanging lightning bolt or hammer emblems).
Shade: Carefully shade with Nuln Oil or Nuln Oil Gloss, applied selectively into the recesses to avoid darkening the raised areas.
Layer: Reapply Ulthuan Grey to the raised areas, such as the edges of the sigils and the tops of the hanging decorations, leaving the shaded areas in the recesses.
Highlight: Use White Scar to edge highlight the raised parts and sharp edges for a clean, crisp look.
8. Bear Pelts (Two Variants)
The bear pelts draped over the models add a ferocious, primal look. There are two different variants of pelts, but both share the same recipe for the claws.
Bear Pelt 1: Light Brown Fur with Dark Brown Paw Pads
Fur:
Basecoat: Apply Dryad Bark to the entire fur area.
Layer: Use Gorthor Brown for a lighter brown layer on the upper fur.
Drybrush 1: Drybrush with Baneblade Brown over the fur, focusing on the raised tufts and ridges.
Drybrush 2: For a final highlight, drybrush Karak Stone to bring out the texture of the fur.
Final Highlight: Use Ushabti Bone or Screaming Skull for a very light drybrush on the most prominent fur strands to give a soft, weathered look.
Paw Pads:
Basecoat: Apply Rhinox Hide to the paw pads.
Shade: Use Agrax Earthshade to darken the recesses of the paw pads and give them depth.
Highlight: Use Doombull Brown to highlight the raised areas of the pads, and apply Tuskgor Fur for finer edge highlights.
Bear Pelt 2: Black Fur with Light Brown Paw Pads
Fur:
Basecoat: Start with Abaddon Black for a solid black fur base.
Layer: Lightly layer Eshin Grey over the raised areas of the fur.
Drybrush 1: Apply a drybrush of Dawnstone over the fur to pick out the raised tufts and texture.
Drybrush 2: For the final highlight, use Administratum Grey sparingly on the highest points to accentuate the black fur’s texture.
Paw Pads:
Basecoat: Use Tuskgor Fur for the light brown paw pads to contrast against the black fur.
Shade: Apply Agrax Earthshade to the recesses to create shadows and add definition.
Highlight: Use Bestigor Flesh for highlighting the raised parts of the paw pads.
Final Highlight: For a very sharp highlight, use Ushabti Bone on the very edges of the pads to make them pop.
Claws (Same Recipe for Both Pelt Variants)
Basecoat: Apply Abaddon Black for the claws.
Highlight: Use Eshin Grey for edge highlights, focusing on the tips and sharp edges.
Final Highlight: Apply a very fine highlight of Dawnstone for the sharpest parts of the claws.
Optional Gloss: Apply Ardcoat or Nuln Oil Gloss to make the claws glossy and sharp-looking.
9. Scrolls/Parchments
Several models feature hanging scrolls or parchments, which can be painted to contrast against the darker elements of the model.
Basecoat: Apply Zandri Dust to the scrolls.
Shade: Use Seraphim Sepia to shade the recesses and creases in the parchment.
Layer: Reapply Zandri Dust on the flat areas.
Highlight: Use Ushabti Bone to highlight the edges and creases of the scrolls.
Final Highlight: Apply Screaming Skull to the sharpest edges for a bright parchment finish.
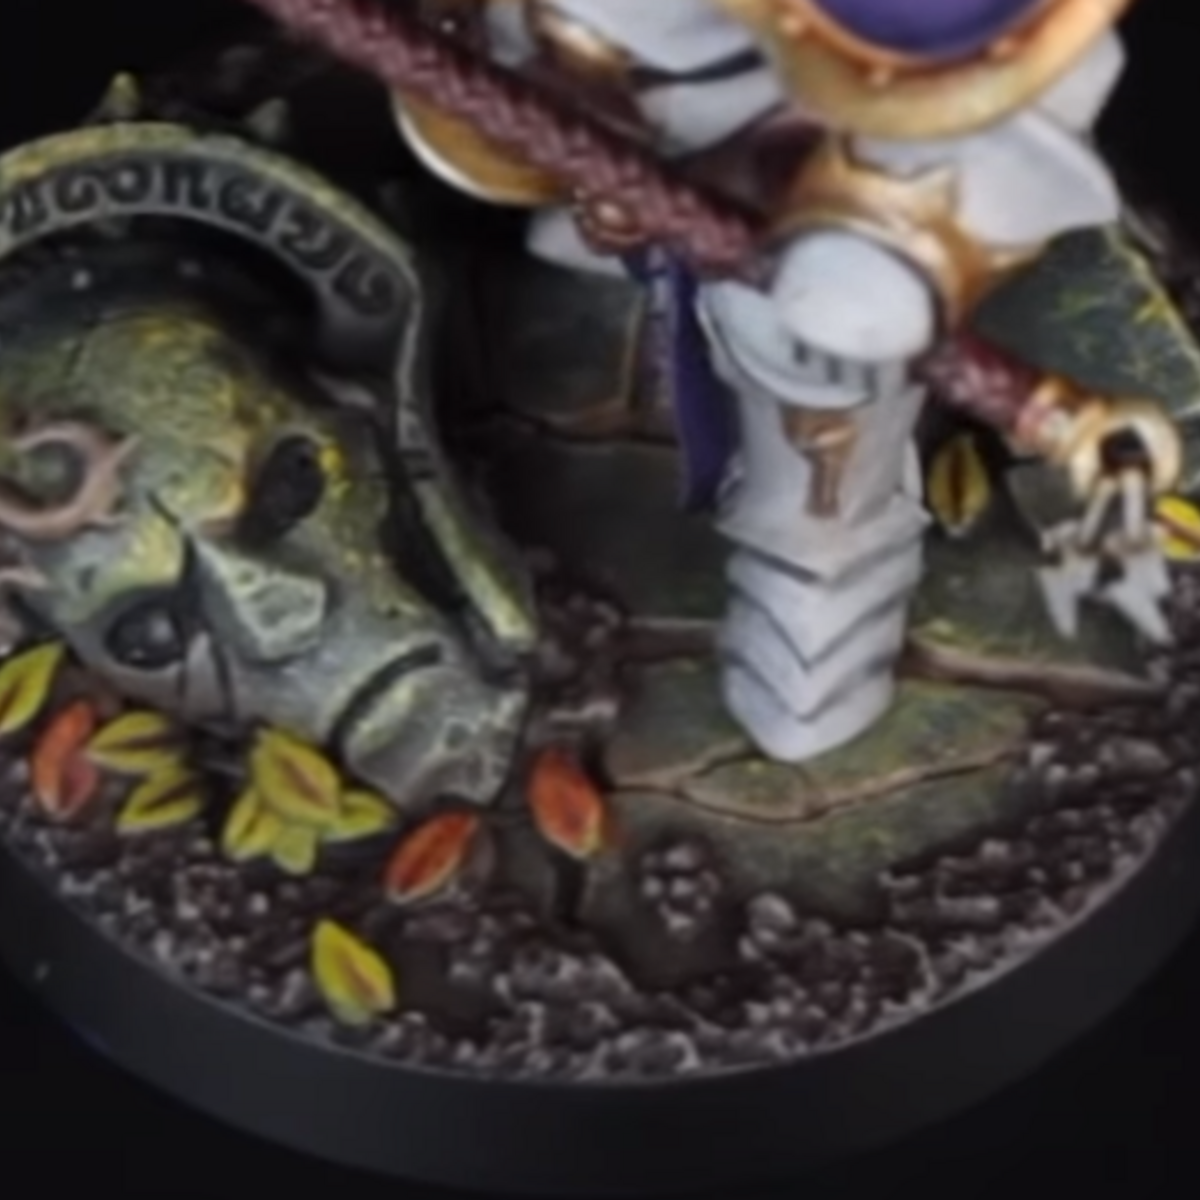
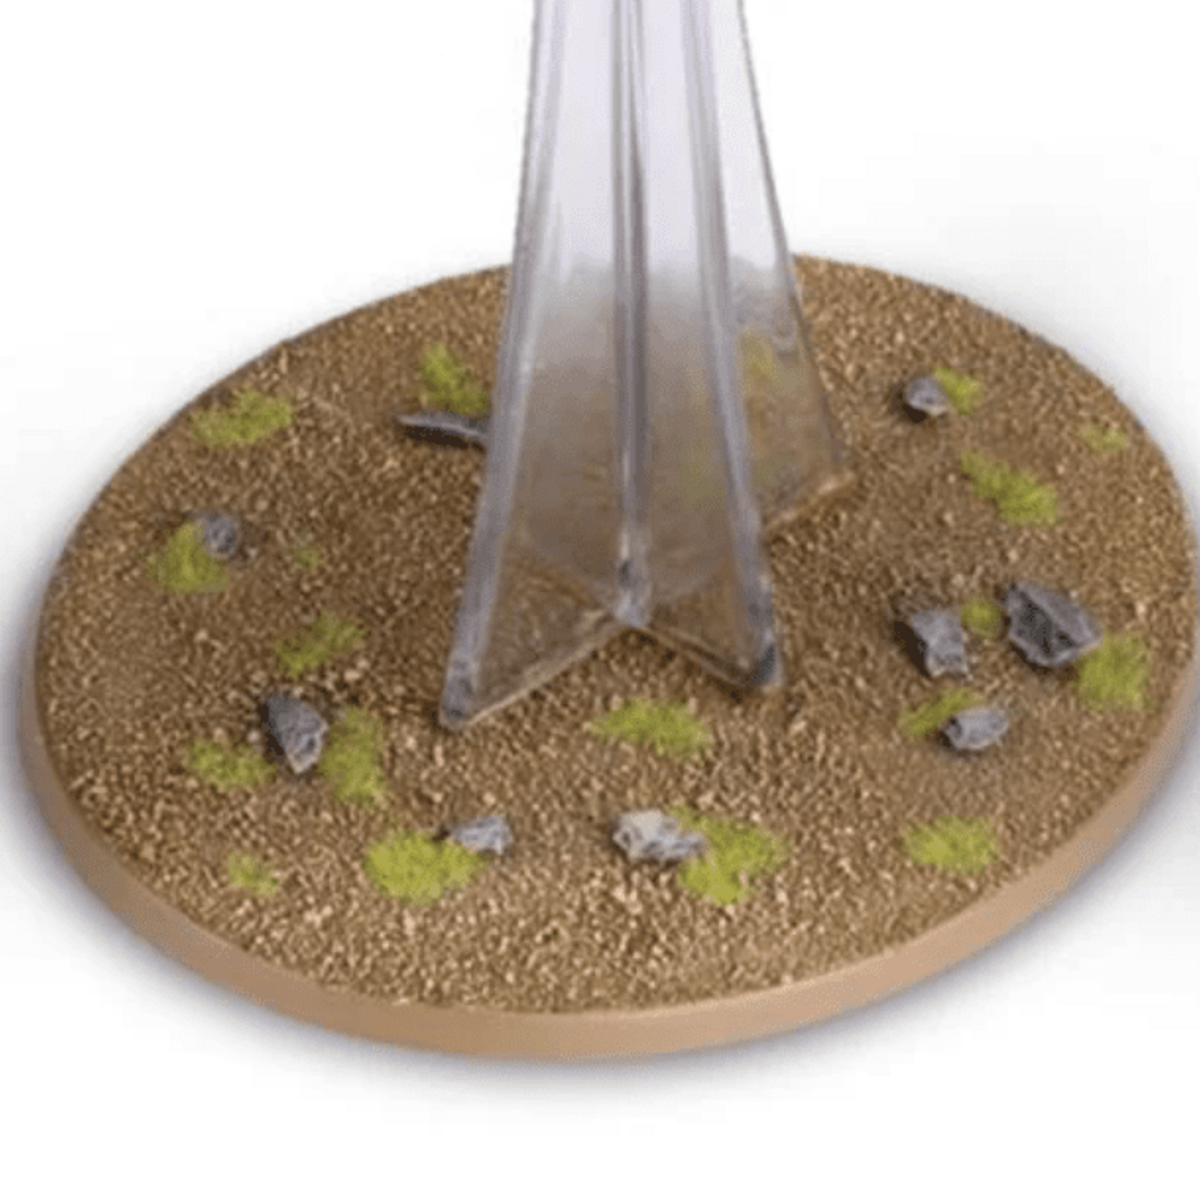
10. Basing: Earthy and Grassy
To complement the regal gold armor and deep blue or black cloak, a natural, earthy base provides contrast and grounds the model in a battlefield setting.
Texture: Apply Sterland Mud or Armageddon Dust for a gritty earth texture.
Drybrush: Use Tyrant Skull or Karak Stone to drybrush over the texture and bring out details.
Tufts: Add Mordheim Turf or other static grass tufts to break up the base and add realism.
Skull Details: Paint skulls with the same bone recipe used for the model’s decorations.
Final Thoughts
By following this comprehensive guide in the optimized order, you’ll be able to paint your Questor Soulsworn models efficiently while ensuring that each section is neatly completed before moving to the next. Each element, from the armor to the weapons, will be highlighted with smooth transitions and strong contrasts, giving your models a striking battlefield presence.
