- The Gorger Mawpack are savage, cannibalistic creatures from the Ogor Mawtribes. Their appearance is monstrous, featuring pale, scarred flesh, embedded bone spikes, brutal weapons, and worn cloths. This step-by-step guide will help you replicate the grotesque and horrifying look of these models, using Citadel paints and techniques to bring out the best in their detailed sculpts.
1. Flesh Tones
We begin with the flesh, as it covers the largest surface area and sets the tone for the model’s overall look. The Gorgers' skin is pale and bruised, giving them a sickly and unnatural appearance. Achieving smooth transitions between pale skin and bruising will bring these monstrosities to life.
Pale and blue:
Basecoat:
Apply Celestra Grey to all exposed skin. This cool grey serves as the perfect base for building up the pale, sickly skin tones that define the Gorgers’ appearance.
Shading:
Mix Druchii Violet and Nuln Oil (1:1), thinning it with Lahmian Medium for smoother transitions. Apply this shade into the recesses of muscles, around scars, and near the embedded bone spikes to create bruising and depth.
Avoid washing the entire surface to maintain the pale color on raised areas.
Glazing for Bruises:
Thin Druchii Violet with Lahmian Medium to create a glaze. Apply this in thin layers around the embedded bone spikes and scars to build up a subtle bruising effect, transitioning smoothly from pale skin to the bruised areas.
Layering:
Reapply Ulthuan Grey to the raised areas of the skin, avoiding the bruised and shaded recesses to maintain the contrast.
Highlighting:
Highlight raised muscles, knuckles, and sharper areas like the ribcage and bone spikes with White Scar. This will create stark contrasts and enhance the unnatural, grotesque look of the skin.
Bruises and Veins:
Lightly glaze Druchii Violet over any raised veins or along muscle striations. Highlight the veins with Pallid Wych Flesh to create a blood vessel-like effect beneath the skin, adding realism and depth.
Slightly warmer tone:
Basecoat:
Start with Rakarth Flesh as the base color. This gives the model a pale, unhealthy tone, ideal for their grotesque skin.
Shade:
Apply a wash of Reikland Fleshshade, concentrating on the recesses around muscles, bones, and any embedded horns.
For areas where the skin is strained by protruding bones or horns, use Druchii Violet or mix it with Reikland Fleshshade to add a bruised, irritated effect.
Layer:
Reapply Rakarth Flesh to the raised areas, leaving the shaded portions in the recesses.
For smoother transitions, mix Pallid Wych Flesh with Rakarth Flesh and layer on the highest points like muscles and bones.
Highlights:
Use Pallid Wych Flesh or Flayed One Flesh on the most prominent areas, like the shoulders and muscle peaks, for sharp highlights.
Details:
Around the bone growths, create irritation by applying Carroburg Crimson or Druchii Violet in targeted washes. Blend the edges using Rakarth Flesh with a touch of Pallid Wych Flesh to smooth the transition.
This will give the bruised areas a natural fade into the surrounding skin, enhancing the grotesque look.
2. Bone Spikes, Trophies, and Skulls
Bone protrusions and trophies are a hallmark of the Gorgers’ savage nature. These details should look aged and worn, contrasting with the pale skin while emphasizing their brutality.
Cleaner Bone (Skulls, Trophies):
Basecoat all bone elements like skulls and trophies with Rakarth Flesh.
Wash with Agrax Earthshade, concentrating it in the recesses to give the bone an aged, weathered appearance.
Layer with Ushabti Bone, leaving the darker wash in the recesses.
Highlight with Screaming Skull and finish with a fine edge highlight of White Scar to give the bone sharpness and definition.
Darker Bone (Embedded Spikes):
Basecoat the embedded bone spikes with Zandri Dust or Steel Legion Drab for a darker, more aged bone tone.
Wash with Agrax Earthshade or Nuln Oil to give the bone a grimy, worn appearance.
Layer with Ushabti Bone, focusing on raised edges while leaving the shadows in the recesses.
Highlight the sharp tips and edges of the spikes with Screaming Skull for a well-worn but dangerous appearance.
3. Leather Straps, Pouches, and Arm Bracers
The leather elements on the Gorgers vary from medium brown to almost black. These leather straps and pouches should look weathered and worn, matching the savage look of the models.
Medium Brown Leather:
Basecoat all medium brown leather areas with Rhinox Hide.
Wash with Nuln Oil to deepen the shadows and give the leather a grimy, aged appearance.
Layer with Doombull Brown, focusing on the raised areas to add depth.
Highlight the edges with Tuskigor Fur or Baneblade Brown to simulate wear and tear, adding texture and realism.
Dark Leather (Almost Black):
Basecoat the darker leather straps with Abaddon Black.
Edge highlight with Eshin Grey to define the edges and give the leather a worn look.
For additional wear, lightly highlight the most prominent edges with Dawnstone to simulate weathering and aging.
4. Cloth Elements
The Gorgers feature a variety of cloth elements, ranging from dark red-brown to grey and pale grey. These tattered, worn cloths add texture and variety to the models, breaking up the monotony of the pale flesh and leather.
Dark Red-Brown Cloth (Loincloths, Hanging Rags):
The dark red-brown cloths, mostly seen in the loincloths and hanging rags, contrast well with the pale skin and give a sense of raw, primitive attire.
Basecoat with Doombull Brown for a deep red-brown color.
Shade with Agrax Earthshade to deepen the recesses and give a worn, dirty look.
Layer with Tuskigor Fur on the raised folds, leaving the deeper recesses dark.
Highlight the edges and frayed sections with Karak Stone or Baneblade Brown for a tattered, worn appearance.
Dark Grey Cloth (Wrapped Around Limbs or Hanging from the Back):
The dark grey cloths, mostly seen wrapped around limbs or hanging loosely, give a subtle, weathered look.
Basecoat with Eshin Grey for a dark, muted grey tone.
Shade with Nuln Oil to darken the recesses and give the cloth depth.
Layer with Dawnstone on the raised folds, avoiding the shaded areas.
Highlight the edges with Administratum Grey for a worn, frayed appearance.
Brown Leather-Like Cloth Straps (Forearm and Wrist Straps):
Some of the forearm and wrist wrappings resemble cloth or treated leather. These elements should look well-worn and fit into the overall brown color palette.
Basecoat with Dryad Bark for a deep brown tone.
Shade with Agrax Earthshade to bring out the texture and depth.
Layer with Gorthor Brown, focusing on the raised areas.
Highlight with Baneblade Brown on the edges to simulate wear.
Faded Pale Grey Cloth (Bandages and Lighter Wrappings):
The pale grey cloth, such as bandages and lighter wrappings, add contrast and texture to the model.
Basecoat with Rakarth Flesh for a faded, worn look.
Shade with Agrax Earthshade to darken the recesses and give the cloth depth.
Layer with Rakarth Flesh on the raised areas, leaving the shade in the recesses.
Highlight with Pallid Wych Flesh to give the cloth a frayed, tattered look, perfect for these savage creatures.
5. Weapons & Metallics
The Gorgers wield brutal, primitive weapons. The mix of stone, metal, and wood should look weathered and bloodied, fitting the monstrous appearance of the models.
Metallics (Chains, Buckles, Weapon Hilts):
The metal parts of the Gorgers' gear should look grimy and rusted, adding to the primitive, battle-worn aesthetic.
Basecoat all metallic parts with Leadbelcher.
Wash with Nuln Oil to darken the recesses and give the metal a worn, dirty look.
Apply Typhus Corrosion or Ryza Rust in patches to simulate rust and wear.
Highlight the raised edges with Stormhost Silver to give a sharp contrast to the worn metal.
Stone Weapons:
The stone parts of the Gorgers' weapons should look chipped and brutal.
Basecoat the stone parts with Mechanicus Standard Grey.
Wash with Nuln Oil to darken the recesses and add depth.
Highlight with Dawnstone, focusing on the sharp edges.
Add a final fine highlight with Administratum Grey on the sharpest edges to give the stone a freshly chipped appearance.
Wooden Handles:
The wooden handles of the weapons should look well-worn, fitting the Gorgers’ brutal nature.
Basecoat the wooden handles with Dryad Bark for a rich brown color.
Shade with Agrax Earthshade to enhance the wood grain and add depth.
Layer with Gorthor Brown, following the grain to simulate wear and tear.
Highlight the edges with Baneblade Brown to give the wood a worn, weathered appearance.
Blood Effects:
Apply Blood for the Blood God sparingly to weapon edges, focusing where the Gorgers’ hands grip the weapons, for a freshly-bloodied look.
6. Mouths and Teeth
The gaping mouths and sharp teeth of the Gorgers are key focal points. Their savage, monstrous appearance is emphasized by these details, so they should stand out.
Mouths:
Basecoat the inside of the mouths with Screamer Pink.
Wash with Druchii Violet to darken the recesses and add depth.
Layer with Pink Horror around the lips and mouth edges to blend the flesh and mouth seamlessly.
Highlight the lips with Emperor's Children for a sharp, defined look.
Teeth:
Basecoat the teeth with Rakarth Flesh.
Wash with Agrax Earthshade near the gums to create depth and a grimy look.
Layer with Ushabti Bone, leaving the darker wash in the recesses.
Highlight the sharp tips with Screaming Skull and a final fine highlight of White Scar to make the teeth look menacing and sharp.
7. Scars and Wounds
The Gorgers are covered in scars and fresh wounds, adding to their battle-worn appearance. These details should look raw and bloody, emphasizing their savage nature.
Scars:
Glaze the scars with Carroburg Crimson to give them a reddish, irritated appearance.
Glaze around the scars with Druchii Violet to simulate bruising and add realism to the scar tissue.
Fresh Wounds:
Basecoat the open wounds with Screamer Pink.
Wash with Druchii Violet to deepen the shadows and add depth.
Apply Blood for the Blood God around the wounds for a fresh, wet blood effect.
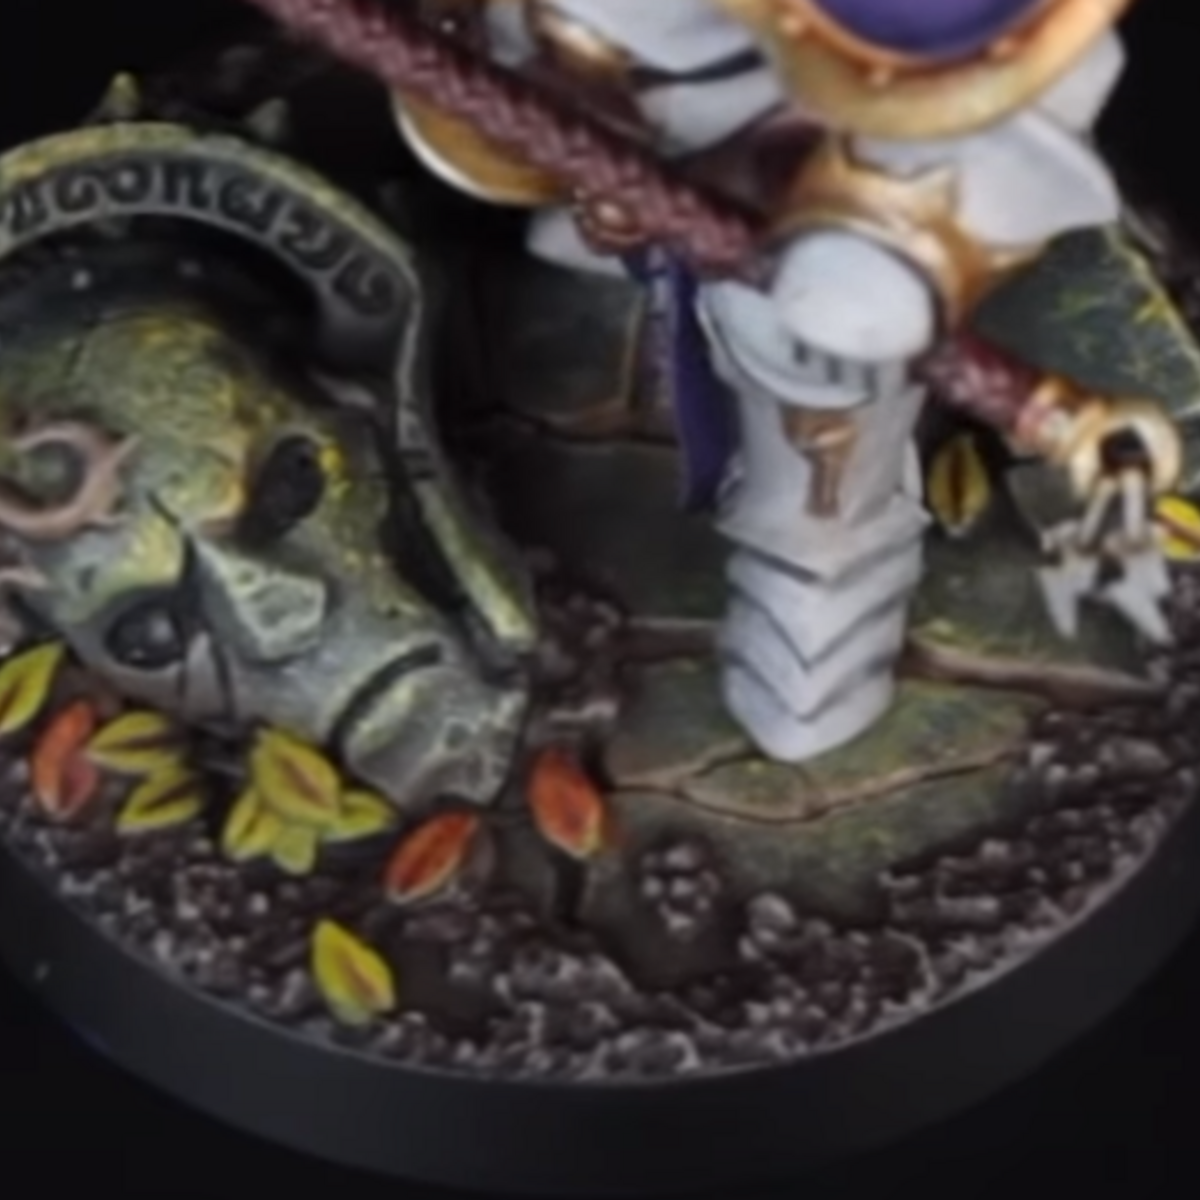
8. Bases
Finish the model by working on the bases to ensure everything ties together without risking damage to your paint job during earlier steps.
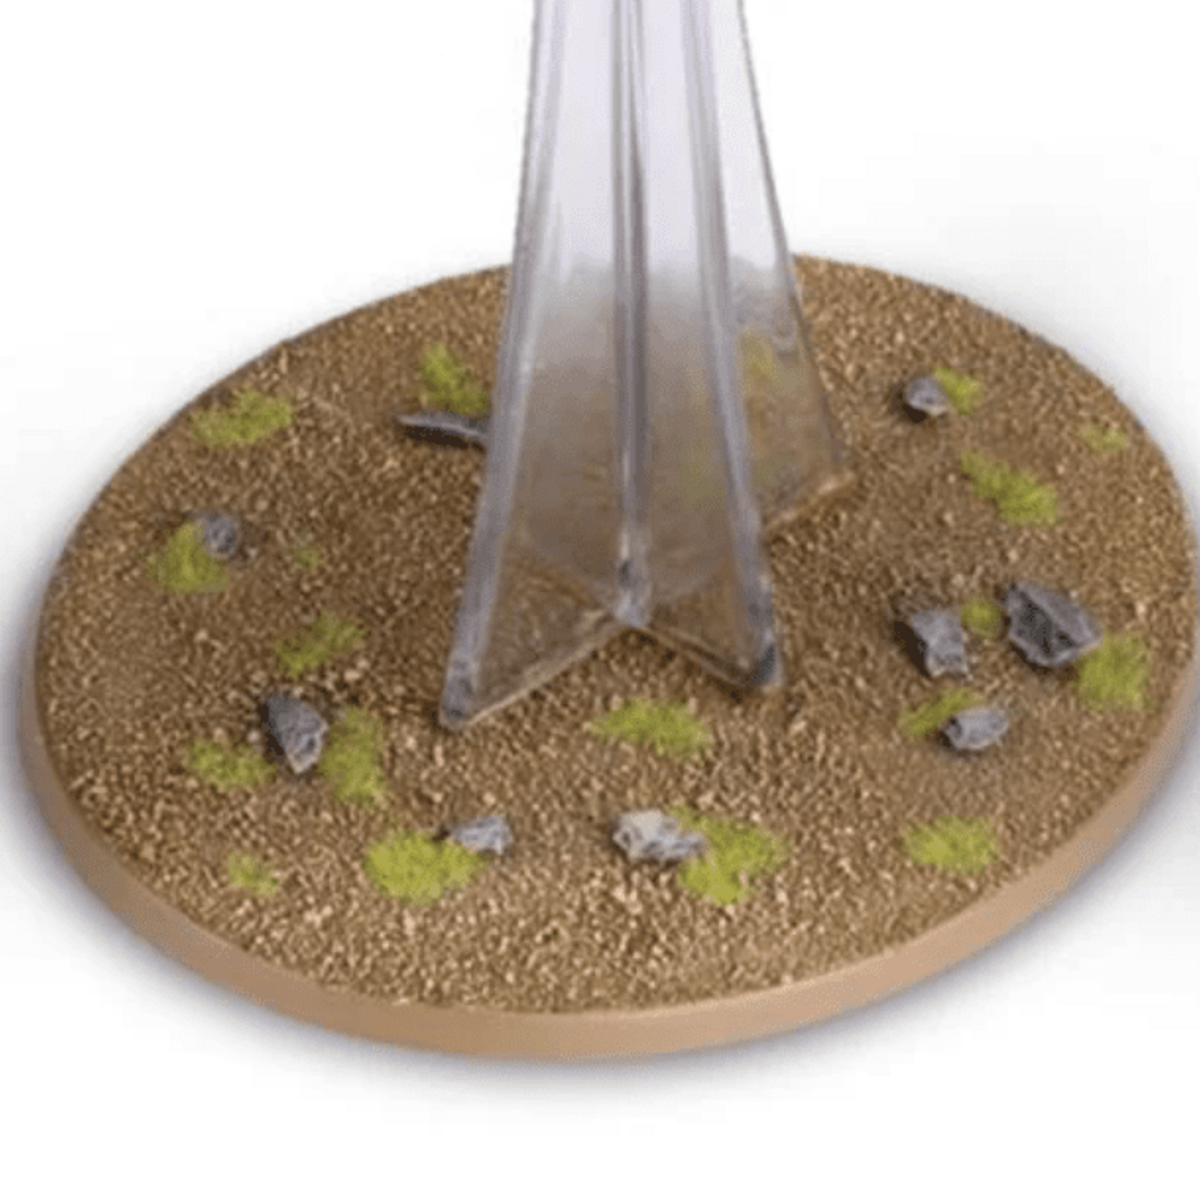
Earth:
Basecoat the ground with Steel Legion Drab for a neutral earth tone.
Wash with Agrax Earthshade to deepen the recesses and shadows.
Drybrush with Karak Stone to bring out texture.
Rocks:
Basecoat the rocks with Dawnstone.
Wash with Nuln Oil and Drybrush with Administratum Grey for highlights.
Grass Tufts:
Add Mordheim Turf or Deadland Tufts to simulate the rugged, untamed environment that these savage creatures call home.
Final Touch: Varnishing
Once all painting is complete, apply Munitorum Varnish to protect your models and give them a smooth, matte finish. If using Blood for the Blood God, reapply it after varnishing to maintain the glossy, wet blood effect.
By following this detailed guide, you'll bring the Gorger Mawpack to life, capturing their horrifying and savage essence. With pale flesh, gory wounds, and brutal weapons, your Gorgers will dominate the battlefield in Warcry. Happy painting!
