Wildercorps Hunters Painting Guide
The Wildercorps Hunters, accompanied by their fierce Mastiffs, are hardened survivors of the wilderness. Their equipment is practical, weathered, and well-used, reflecting the harsh environments they operate in. This guide walks you through painting the models efficiently, with step-by-step instructions to achieve a rugged, battle-worn look without overlap between painted areas.
Model Preparation
Before painting your Wildercorps Hunters, it’s important to prepare them properly. This ensures a smooth painting process and clean results.
1. Cleaning the Model
- Sprue Cleanup: Clip the model parts from the sprue using sprue clippers and file down any leftover plastic.
- Remove Mold Lines: Use a mold line remover or hobby knife to scrape away any mold lines on areas like cloaks, helmets, and weapons.
2. Assembly
- Plastic Glue: Use plastic glue for plastic parts for a strong bond. Dry fit first to check the fit.
- Filling Gaps: Use liquid green stuff to fill in any gaps between assembled parts.
3. Priming the Model
- Black Primer: Use Chaos Black for a strong base. A black primer helps with darker tones and natural shading.
- Spray Tips: Hold the can 6-12 inches from the model, spraying in short bursts while rotating the model for full coverage.
1. Skin and Faces
Start with the skin, as it's one of the deepest layers on the model and should be painted first to avoid accidental overlap from other elements like armor or clothing. The skin tones should reflect the harsh conditions these hunters endure, with weathered and sun-beaten complexions.
- Basecoat: Apply Bugman's Glow to all exposed skin areas. This warm basecoat works well for creating a tanned, rugged skin tone.
- Shading: Use Reikland Fleshshade to add depth and shadow, particularly around the eyes, mouth, and in the recesses of the hands and knuckles. The shading here helps give dimension to the skin, emphasizing the hunters' age and exposure to the elements.
- Highlighting: Use Cadian Fleshtone to highlight the raised areas such as cheekbones, noses, and fingers. For an extra highlight on the sharpest features like the nose bridge and brow, use Kislev Flesh . This step ensures that the skin appears worn and sun-beaten, with natural light catching on the most prominent features.
Hair and Beards
The Wildercorps typically have dark, weathered hair or beards that match their grim aesthetic. Hair should look natural but weathered, fitting their nomadic lifestyle.
- Basecoat: Use Eshin Grey for dark grey hair and beards.
- Highlighting: Lightly drybrush Dawnstone to bring out texture on the hair, focusing on raised areas like the tips of beards or hair strands. This technique adds depth and contrast while maintaining a dark tone appropriate for their worn appearance.
2. Shirts and Inner Cloth
Shirts and inner cloth are the next layers, worn beneath armor or cloaks. These areas should be painted after the skin to avoid overlapping onto delicate areas like the face or hands. The color and texture of the shirts should reflect durable, functional clothing.
- Basecoat: Apply Mournfang Brown to the shirts and tunics. This medium-brown tone provides a warm, earthy base that reflects the practical, everyday clothing these survivors wear.
- Shading: Apply Agrax Earthshade to recesses like folds and seams. This will give the shirt depth and create a worn look by settling into the creases, emphasizing the natural wear of the fabric.
- Highlighting: Use Skrag Brown to highlight raised areas like the edges of cuffs and seams. A final highlight of Karak Stone can be applied to the sharpest edges to add subtle contrast, simulating areas of the fabric that would naturally catch light and become worn over time.
3. Trousers and Cloaks (Grey-Brown Cloth and Leather)
The trousers and cloaks share a similar texture and tone, representing durable, weather-beaten material. By combining them, you maintain consistency across both elements, giving them a rugged and functional look suited to the Wildercorps' environment. This unified approach keeps both the trousers and cloaks looking cohesive, while maintaining a gritty, practical aesthetic.
- Basecoat: Use Skavenblight Dinge for both the trousers and grey-brown cloaks. This dark grey-brown gives a muted, shadowy base.
- Shading: Apply Nuln Oil to the folds and recesses. This will darken the creases, bringing out the depth in the fabric or leather, and giving it a rugged, worn appearance.
- Layering: Reapply Skavenblight Dinge to the raised areas, leaving the shaded recesses dark. This layering step restores the base color without losing the shadows.
- Highlighting: Use Stormvermin Fur for the first edge highlights on raised folds and edges. For sharper edges and the most prominent parts of the trousers and cloaks (such as hems and folds), use Baneblade Brown sparingly to add a warm, slightly worn effect.
4. Lighter Trousers
Some models, such as the one wearing the dark brown tunic, have lighter trousers that contrast with the rest of their darker clothing. These trousers should look rugged but lighter in tone, creating variation within the warband. These lighter trousers, starting from Zandri Dust , provide contrast against the darker elements while still fitting the natural, rugged theme of the Wildercorps.
- Basecoat: Start with Zandri Dust to create the base for the trousers. This gives a light but earthy tone, evoking the look of weathered fabric.
- Shading: Apply Agrax Earthshade generously to the folds and creases, letting it settle in the recesses. This will deepen the shadows and create contrast between the fabric’s raised and recessed areas, giving the trousers a rugged, worn appearance.
- First Highlight: Reapply Zandri Dust to the raised areas of the trousers, avoiding the recesses to preserve the shadows. This step restores some of the original color while maintaining the depth created by the shading.
- Second Highlight: For sharper edges and prominent folds (such as around the knees and the tops of folds), use Ushabti Bone sparingly. This light, creamy tone will give a slightly worn effect to the edges of the trousers, simulating fabric that has caught the light and become frayed over time.
5. Cloaks (Dark Brown Leather)
Some Wildercorps Hunters wear darker brown cloaks, made from thick, rugged leather. These offer protection from the elements and should have a weathered, worn appearance. This approach gives the darker cloaks a strong, protective look that fits well with the overall wilderness aesthetic.
- Basecoat: Use Dryad Bark to paint the dark brown leather cloaks.
- Shading: Apply Agrax Earthshade generously into the folds and recesses to create deep shadows and emphasize the texture of the cloak. Focus on areas where the cloak folds or meets other parts of the model.
- Highlighting: Reapply Dryad Bark to the raised areas, then use Gorthor Brown for edge highlights. For the sharpest edges, such as the bottom hem of the cloak or the most prominent folds, apply Baneblade Brown lightly to simulate natural wear and tear.
6. Dark Brown Tunic
One of the Wildercorps Hunters wears a dark brown tunic that contrasts with the lighter browns used for other shirts and cloth. This tunic adds variation to the warband while still maintaining a rugged, earthy tone. This darker brown tunic adds variety to the warband’s overall appearance while still fitting the rugged aesthetic of the group.
- Basecoat: Use Rhinox Hide to paint the dark brown tunic.
- Shading: Apply Nuln Oil to deepen the folds and create shadows around the creases and seams. This shading step helps to add depth to the darker tunic, emphasizing its heavier material.
- Highlighting: Use Gorthor Brown for the first highlight along the edges and raised folds. To give the tunic a slightly more worn appearance, apply Baneblade Brown to the sharpest edges and folds, such as the cuffs and seams.
7. Sleeping Rolls
- Several models carry sleeping rolls on their backpacks, which are typically made from light, durable fabric to withstand the elements. These should be painted in a light, neutral tone to contrast with the darker clothing and armor. This lighter tone makes the sleeping rolls stand out against the darker clothing and adds an extra layer of practicality to the models.
- Basecoat: Use Rakarth Flesh for the sleeping rolls. This off-white color provides a neutral base, reflecting their simple, functional nature.
- Shading: Apply Seraphim Sepia to the recesses and folds, which will give the sleeping rolls a slightly weathered and used appearance. Focus on the areas where the fabric folds or where straps bind the roll.
- Highlighting: Highlight the raised edges with Pallid Wych Flesh for a clean, slightly worn look. If you want a sharper contrast, add a very light edge highlight of White Scar on the sharpest folds or where the fabric would catch the most light.
8. Rope
Some models carry coiled rope, which adds another layer of functionality to the Wildercorps Hunters' kit. The rope should look well-used but sturdy, matching the natural tones of the wilderness setting. Painting the rope in natural, earthy tones complements the other materials and helps tie the model into the wilderness theme.
- Basecoat: Apply Steel Legion Drab to the rope, giving it a neutral brownish base that looks like natural, weathered fibers.
- Shading: Use Agrax Earthshade to shade the rope, ensuring it settles into the recesses between the strands. This will give the rope texture and depth, simulating the shadows between the twists of the fibers.
- Highlighting: Use Karak Stone to drybrush the rope lightly, focusing on the raised strands. For a final edge highlight, apply Ushabti Bone sparingly to the tips of the fibers or the most raised areas to add extra contrast and make the rope look sturdy and well-used.
9. Armor and Helmets
The armor is the next most prominent element and should be painted once the clothing and skin are complete. The Wildercorps' armor should appear practical and battle-worn, fitting their nomadic lifestyle and long exposure to combat.
- Basecoat: Apply Leadbelcher to all metallic armor pieces like the helmets and shoulder pads. This metallic base provides a strong foundation for a worn metal appearance.
- Shading: Apply Nuln Oil to darken the recesses of the armor and bring out the detail. This will create shadows and give the armor a more weathered, grimy appearance. Let the wash settle into all the crevices to emphasize the wear.
- Highlighting: Use Stormhost Silver to edge highlight the sharpest points of the armor, such as the edges of helmets, shoulder pads, and decorative metal parts. This gives the armor a well-used, yet maintained look, simulating metal that has been sharpened and worn over time.
10. Utility Leather (Belts, Straps, and Pouches)
The belts, straps, and pouches carry the Hunters' gear and weapons. These elements should be painted after the main armor and clothing to avoid smudging already painted areas. Their leather should appear well-worn from years of use.
- Basecoat: Paint the belts, straps, and pouches with Mournfang Brown . This medium brown tone reflects the natural wear of the leather from regular use.
- Shading: Apply Agrax Earthshade to all the recesses, ensuring it settles into the seams and folds of the leather. This creates a well-worn appearance by emphasizing shadows and wear patterns.
- Highlighting: Use Skrag Brown for edge highlights along the pouches and straps, focusing on areas where the leather would naturally wear, such as corners and edges. Add Karak Stone to the sharpest edges to give a final, subtle highlight that simulates leather that has seen much use.
11. Black Leather (Boots, Harnesses, and Straps)
- Black leather is used for boots, Mastiff harnesses, and some straps. This step should come after most other elements are complete, allowing you to finish the black leather areas without affecting other painted sections.
- Basecoat: Use Abaddon Black for any black leather areas, like boots, harnesses, or straps.
- Shading: Apply Nuln Oil to add depth to the black leather. This step deepens the shadows and enhances the natural folds of the boots and harnesses, giving them a worn, functional look.
- Highlighting: Use Eshin Grey for the first edge highlights on raised areas, such as the tops of boots and the edges of straps. To make these areas pop, add a fine highlight of Dawnstone along the sharpest edges, such as boot soles or harness edges, to give them a realistic, worn leather look.
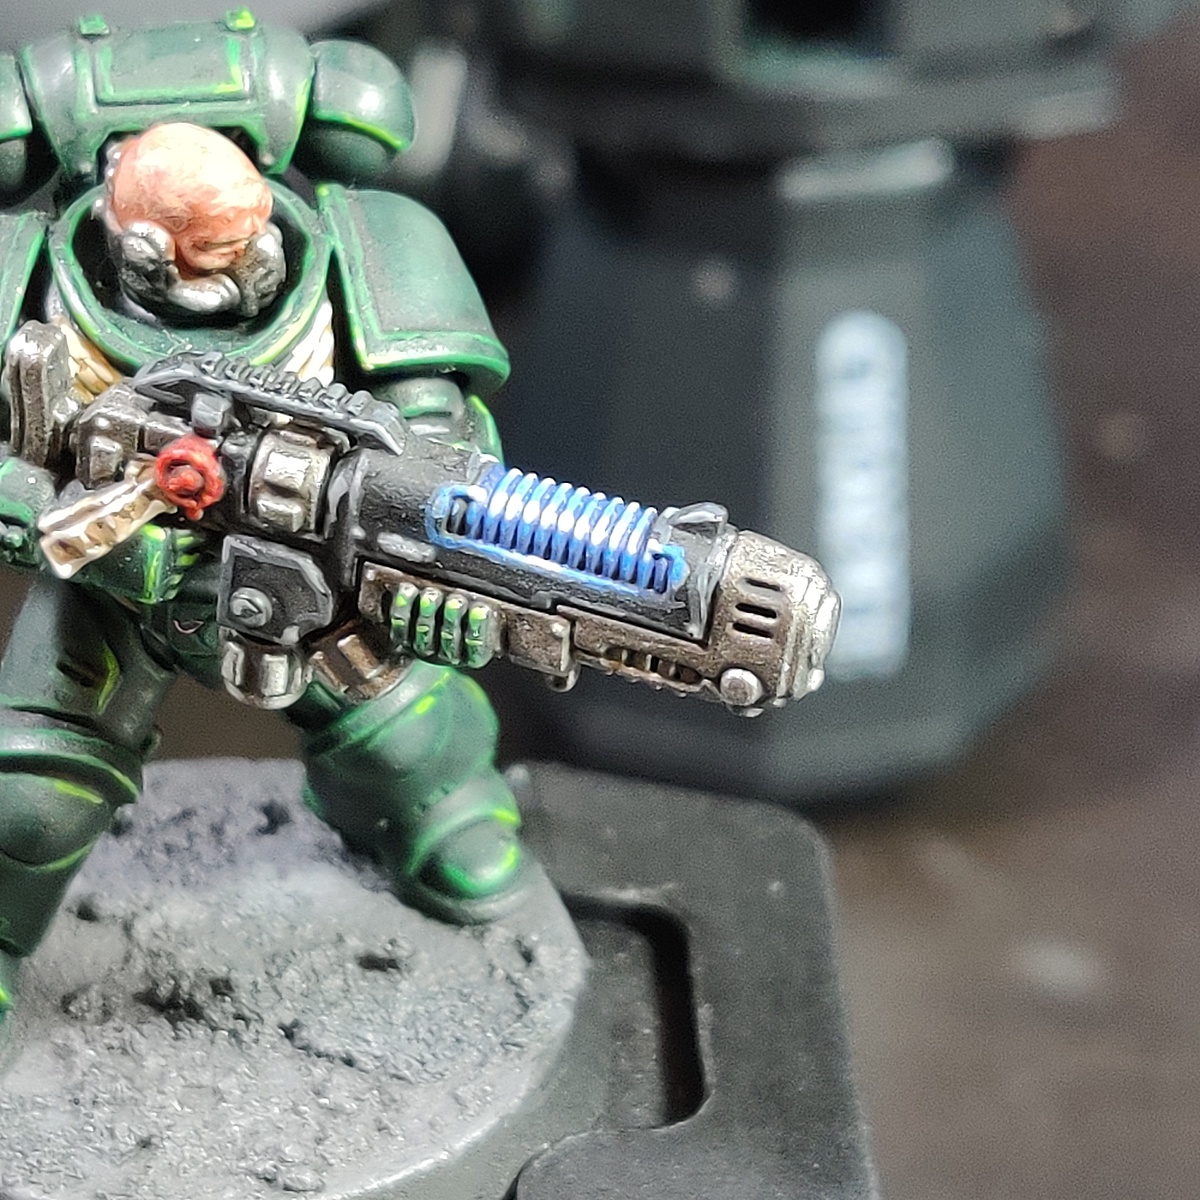
12. Weapons (Swords, Crossbows, and Spears)
- Weapons should be painted after the main body elements to avoid accidental overlap onto hands or clothing. Their worn and practical look should reflect constant use in combat.
Metal Parts:
- Basecoat: Use Leadbelcher for all metallic parts, such as blades, spearheads, or crossbow mechanisms.
- Shading: Apply Nuln Oil to create depth and give the weapons a gritty, worn look. Let the wash settle in the recesses to enhance the details.
- Highlighting: Use Stormhost Silver to edge highlight the sharp edges of the blades and other metallic parts, simulating a maintained but well-used weapon.
Wooden Parts:
- Basecoat: Use Steel Legion Drab or Mournfang Brown for spear shafts or crossbow stocks.
- Shading: Apply Agrax Earthshade to bring out the wood grain and enhance the depth.
- Highlighting: Use Baneblade Brown to highlight the raised areas of the wood, adding depth and realism to the wooden parts.
13. Mastiffs (White, Tan, and Black Variants)
The Mastiffs are key companions for the Wildercorps Hunters, with their fierce, muscular builds and short, practical fur. Each variant should reflect its rugged nature, fitting the overall wilderness theme.
White Mastiff:
- Basecoat: Start with Celestra Grey to create a pale base for the fur.
- Shading: Use Nuln Oil to create shadows and emphasize the muscle definition.
- Highlighting: Apply Ulthuan Grey to raised areas, such as the legs, back, and head. Use White Scar sparingly on the highest points like the tips of the ears or along the spine for sharp highlights.
Tan Mastiff:
- Basecoat: Begin with Zandri Dust for the tan fur.
- Shading: Apply Agrax Earthshade to darken the recesses and add depth to the fur and muscles.
- Highlighting: Use Ushabti Bone for highlighting raised areas like the back and limbs, adding contrast while keeping the fur's natural tone.
Black Mastiff:
- Basecoat: Apply Abaddon Black to create a strong black base for the fur.
- Shading: Use Nuln Oil in the recesses to further darken the areas between muscle groups and around folds.
- Highlighting: Use Eshin Grey to layer subtle highlights on the raised parts of the muscles and along the spine, ensuring a natural transition. For sharper edges, such as the tips of the ears or along the nose, use Dawnstone sparingly for sharp highlights, making the black fur pop without overpowering the overall tone.
Darker Areas (Ears, Feet, Muzzle)
- For lighter Mastiff variants, the darker areas like the ears, feet, and muzzle need smooth transitions from the lighter fur.
Tan Mastiff:
- Basecoat: Rhinox Hide for the darker areas on the ears, feet, and muzzle.
- Blending: Feather Gorthor Brown or Doombull Brown into the lighter tan fur using thinned layers for a smooth transition.
- Highlighting: Use Baneblade Brown on the edges for subtle highlights on these darker areas.
White Mastiff:
- Basecoat: Eshin Grey for the darker parts like the feet, ears, and muzzle.
- Blending: Thin Celestra Grey and feather it into the grey areas, creating a smooth gradient.
- Highlighting: Use Dawnstone for raised areas, with Administratum Grey for sharper highlights.
14. Inside of the Mouth (Open Mouths)
- Some Mastiffs may have open mouths, requiring extra detail on the gums, tongue, and teeth. This detail should be tackled carefully to avoid smudging completed areas.
- Basecoat (Gums and Tongue): Use Screamer Pink for the inside of the mouth.
- Shading: Apply Carroburg Crimson to deepen the recesses of the mouth, particularly around the teeth and base of the tongue.
- Highlighting: Use Pink Horror to highlight the tongue and the edges of the gums. Apply Emperor's Children to the tongue tip for added contrast.
- Teeth: Use Ushabti Bone to paint the teeth, applying Agrax Earthshade around the base for shading. Highlight the tips of the teeth with White Scar to give them a sharp, realistic appearance.
15. Basing
The Wildercorps Hunters are rugged survivalists, trained to endure and thrive in harsh and untamed wilderness environments. Their aesthetic suggests they are accustomed to operating in challenging terrains, often on the fringes of civilization where nature is wild and dangerous. Here are some environmental themes they could be based in, along with ideas on how to reflect these settings in your basing.
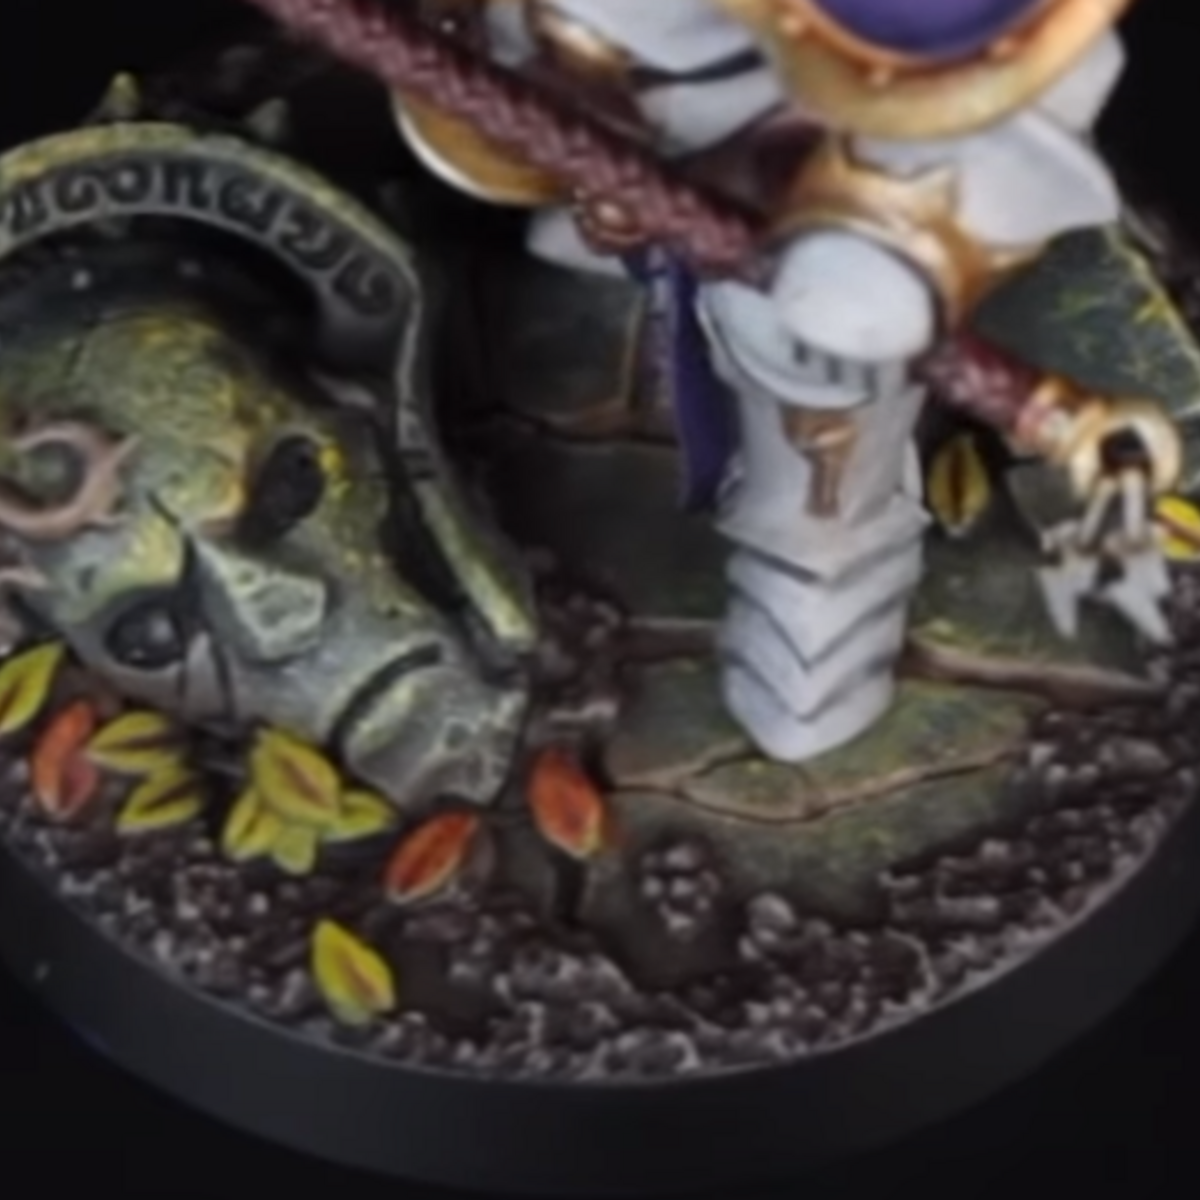
1. Forested Wilderness (Dense Woods, Foliage)
The Wildercorps could be found in deep forests, hunting in the shadows of towering trees. This environment is lush, but also dangerous, with hidden threats lurking behind every tree.
- Texture: Use Stirland Battlemire or Stirland Mud to simulate damp, earthy ground.
- Foliage: Add Mordheim Turf or Woodland Scenics Clump Foliage to simulate moss, shrubs, and undergrowth.
- Tree Roots and Twigs: Glue tiny sticks or pieces of dried roots to the base to represent fallen branches or tree roots breaking through the ground.
- Leaf Litter: Use leaf scatter from hobby stores or natural dried leaves, crushed into small pieces, to add a layer of organic debris.
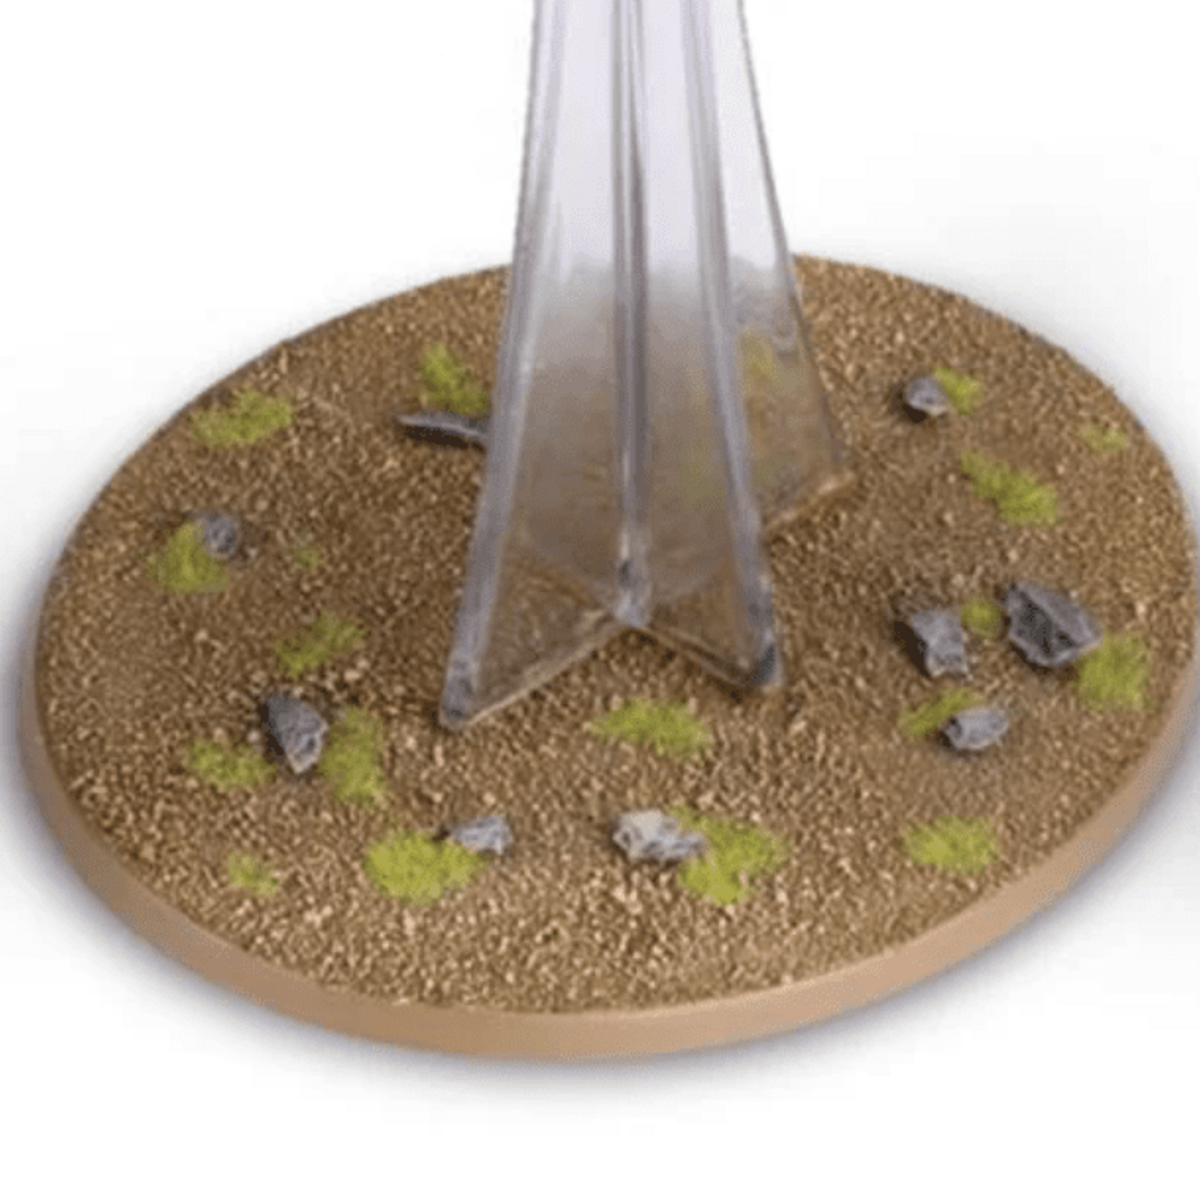
2. Mountainous Highlands (Rocky, Rugged Terrain)
Operating in the highlands or foothills, the Wildercorps may be familiar with scaling cliffs and navigating rocky outcrops in pursuit of their prey.
- Rocky Texture: Apply Armageddon Dunes or Astrogranite to represent rocky terrain. Mix in small pebbles or rocks for added texture.
- Cracked Ground: Use Agrellan Earth for cracked earth, simulating the dry, rocky ground found at high altitudes.
- Gravel and Scree: Glue small chunks of cork or gravel to simulate broken ground or cliff faces.
- Drybrush: Once the base texture is dry, drybrush it with Karak Stone or Dawnstone to bring out the raised areas and create contrast.
3. Tundra or Snowy Wastelands (Cold, Icy Terrain)
In cold, desolate regions, the Wildercorps might find themselves hunting across frozen tundra, where survival is just as much about battling the elements as it is about fending off foes.
- Snow Texture: Apply Valhallan Blizzard for realistic snow effects. Ensure it's built up unevenly to simulate natural snowdrifts.
- Ice Patches: For icy terrain, apply a crackle paint like Agrellan Earth or Martian Ironearth over a blue basecoat (such as Fenrisian Grey or White Scar washed with Drakenhof Nightshade ) to create the look of cracked ice. Once the crackle effect forms, you can lightly drybrush Ulthuan Grey or White Scar over the cracks to enhance the frosty, ice-like appearance.
- Frosted Rocks and Ground: Add small rocks or gravel to the base, then lightly drybrush them with Fenrisian Grey or Ulthuan Grey to give them a frosted, cold look. This adds depth and realism to the frozen ground.
- Frozen Grass Tufts: Use Dead Grass Tufts or Winter Tufts to simulate frozen, sparse vegetation. You can also lightly drybrush these tufts with White Scar to give them a frost-covered look.
- Gloss Varnish for Ice: After applying crackle paint, add a coat of Gloss Varnish to the icy areas to give them a slick, frozen sheen.
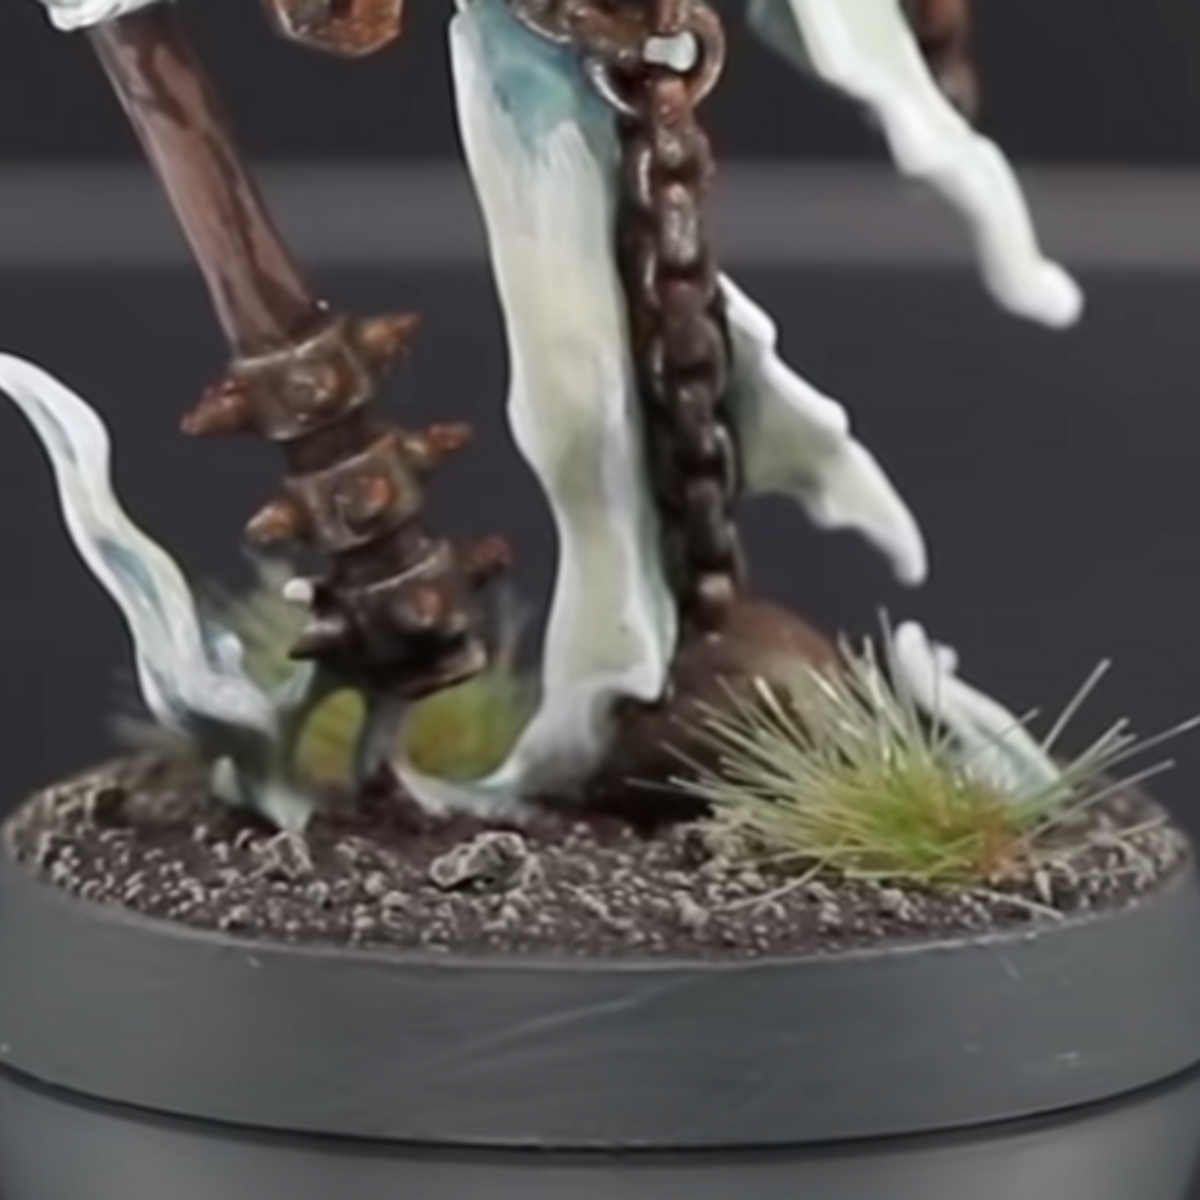
4. Swampland or Marsh (Boggy, Muddy Ground)
The Wildercorps may stalk prey through murky swamps or treacherous marshes, where the ground is soft and the air is thick with mist.
- Wet Ground: Use Stirland Battlemire for a wet, boggy appearance. Add gloss varnish on top to give it a muddy, soaked effect.
- Water Effects: Use Water Effects to create pools of stagnant water, which could be surrounded by swamp grass tufts.
- Reeds and Mud: Glue on small tufts of swamp grass or aquarium plants to simulate reeds. You can also sprinkle fine gravel or sand on top of the mud for texture.
- Dead Logs: Add tiny twigs painted in brown tones to resemble dead logs or swamp roots.
Final Steps
- Once your painting is complete, protect your models with a coat of Munitorum Varnish . This will help preserve your hard work during gameplay and ensure the colors stay vibrant and durable.
Conclusion
This comprehensive guide ensures that each part of the Wildercorps Hunters and their Mastiffs is painted efficiently, with realistic, weathered tones that reflect their lifestyle. Their rugged appearance, from worn leather to fierce Mastiffs, should be cohesive and fit the wilderness theme.
Charlie Biddle
CharlieBiddle
Citadel Painting System 46
Base 11
- Abaddon Black
- Bugman's Glow
- Celestra Grey
- Dryad Bark
- Leadbelcher
- Mournfang Brown
- Rakarth Flesh
- Rhinox Hide
- Screamer Pink
- Steel Legion Drab
- Zandri Dust
Shade 6
- Agrax Earthshade
- Carroburg Crimson
- Drakenhof Nightshade
- Nuln Oil
- Reikland Fleshshade
- Seraphim Sepia
Layer 20
- Administratum Grey
- Baneblade Brown
- Cadian Fleshtone
- Dawnstone
- Doombull Brown
- Emperor's Children
- Eshin Grey
- Fenrisian Grey
- Gorthor Brown
- Karak Stone
- Kislev Flesh
- Pallid Wych Flesh
- Pink Horror
- Skavenblight Dinge
- Skrag Brown
- Stormhost Silver
- Stormvermin Fur
- Ulthuan Grey
- Ushabti Bone
- White Scar
Texture 7
- Agrellan Earth
- Armageddon Dunes
- Astrogranite
- Martian Ironearth
- Stirland Battlemire
- Stirland Mud
- Valhallan Blizzard
Spray 2
- Chaos Black
- Munitorum Varnish