Savlar Chem-Dogs
My personal army painting recipe for the main elements (uniforms, armor, basing, etc.) in my Astra Militarum army.
Prime
I prime these models black (any black is probably fine) and then hit them with a zenithal of Vallejo Grey primer (but any white or off-white is probably fine).
Grey Fatigues
- Basecoat with Mechanicus Standard Grey .
- Wash with Nuln Oil or any black wash you like.
- Do a broad highlight with Dawnstone - raised areas, kneecaps, etc.
- Then a tighter edge highlight with Administratum Grey .
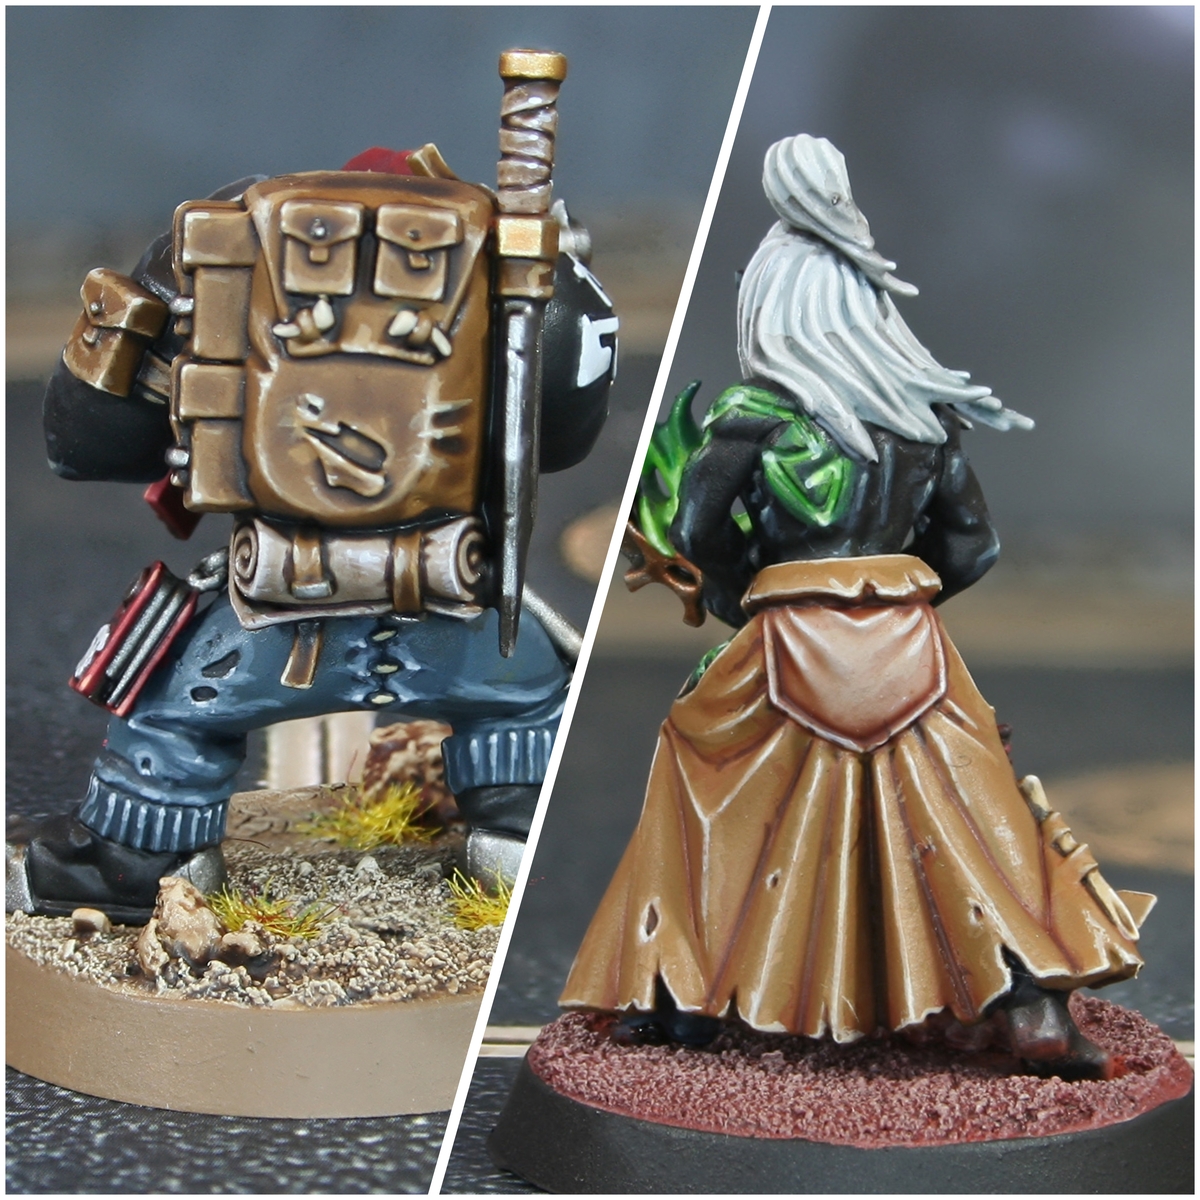
Tan Fatigues & Overcoats
This one is a little less solid than the others, and I may adjust the recipe over time. The color it produces is good, but getting solid coverage can take a while.
- Basecoat with Tallarn Sand .
- Wash with Agrax Earthshade . If you're using the old, larger pot of Agrax, or a heavier brown shade like Pro Acryl's Brown Wash or Two Thin Coats' Battle Mud Wash, then mix it 50/50 with Lahmian Medium .
- Layer back up with Tallarn Sand , avoiding the recesses.
- Do a chunky edge highlight with Hobgrot Hide , hitting raised areas, knees, folds, etc.
- Do a final edge highlight with Skeleton Legion . Ushabti Bone is a good stand-in if you don't have Two Thin Coats paints.
Brown Overcoats
I like to mix it up with this army and paint overcoats and occasionally fatigues in this color rather than the yellowish tan above. I think the two colors fit together while emphasizing the inconsistency of the Chem-Dogs' gear.
- Basecoat with Steel Legion Drab .
- Wash with Agrax Earthshade .
- Layer back up with Steel Legion Drab , avoiding the recesses.
- Do a chunky edge highlight with Baneblade Brown , hitting raised areas, knees, folds, etc. Because there's a pretty big value jump here, consider thinning your paint a bit more than usual – not quite a glaze, but lighter than a regular edge highlight.
- Edge highlight with Karak Stone .
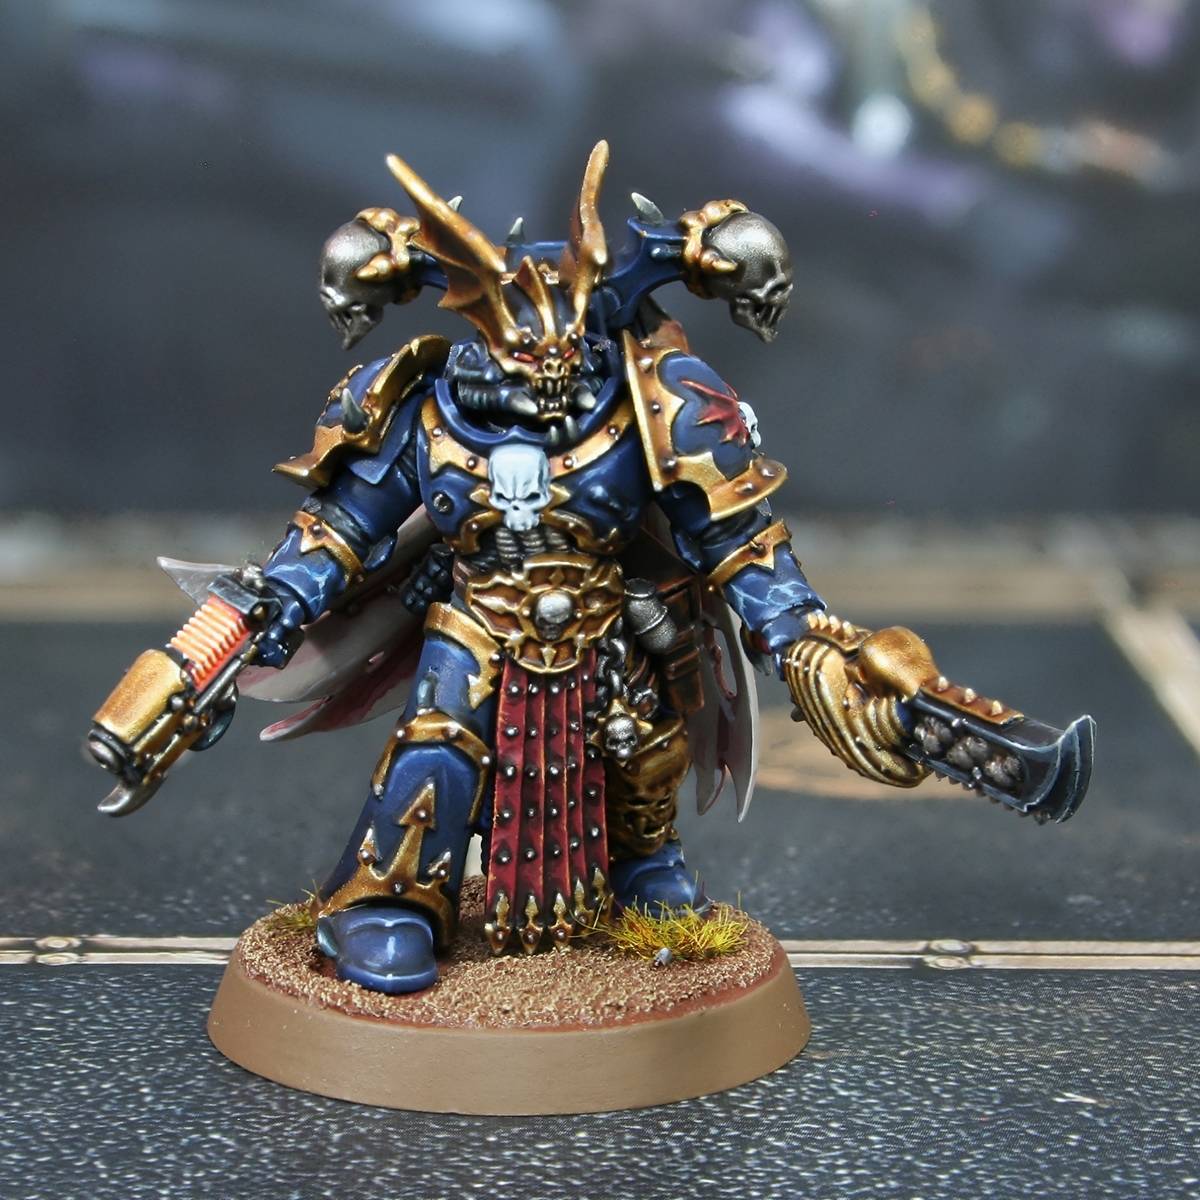
Blue Flak Armor
- Basecoat with Jade (That's Dark Jade, not regular Jade). If you don't have it, Incubi Darkness works just fine.
- Do a chunky edge highlight all around the edges of the armor with Twilight Sky . This barely needs thinning as it's an Air paint, but if you don't have it, use Stegadon Scale Green and thin it quite a bit.
FYI, I skip this entirely on very small pieces of armor or very detailed ones, like on Genestealer padding bits. It's not necessary there. - Stipple and make little scratches with Sotek Green .
- Finally, dot the corners and sharpest edges with Temple Guard Blue .
Leather
- Even if your zenithal prime has been run roughshod by yellows and tans and blue, Wyldwood should still work as a basecoat for your leathers. If it doesn't, just use a nice dark brown like Dryad Bark or Rhinox Hide.
- Edge highlight with Light Umber , which is much paler than it looks here. Gorthor Brown from Citadel will also work.
- Edge highlight more selectively with Baneblade Brown .
Aquilas and other Whites
Lots of ways to get an ivory color here. I generally base with Olive Flesh and highlight with Bold Titanium White , but any warm off-white and then pure white will do the trick.
Eyes & Lenses
- I like bright lenses and lights to add some contrast to this army. For goggles, glasses, and scopes I usually use Wild Rider Red and then add in some Troll Slayer Orange on either the top or bottom of the lens.
- For headlamps, headlights, and other more industrial lights, I basecoat in a pure white like Bold Titanium White and then put a coat of Frostheart on top.
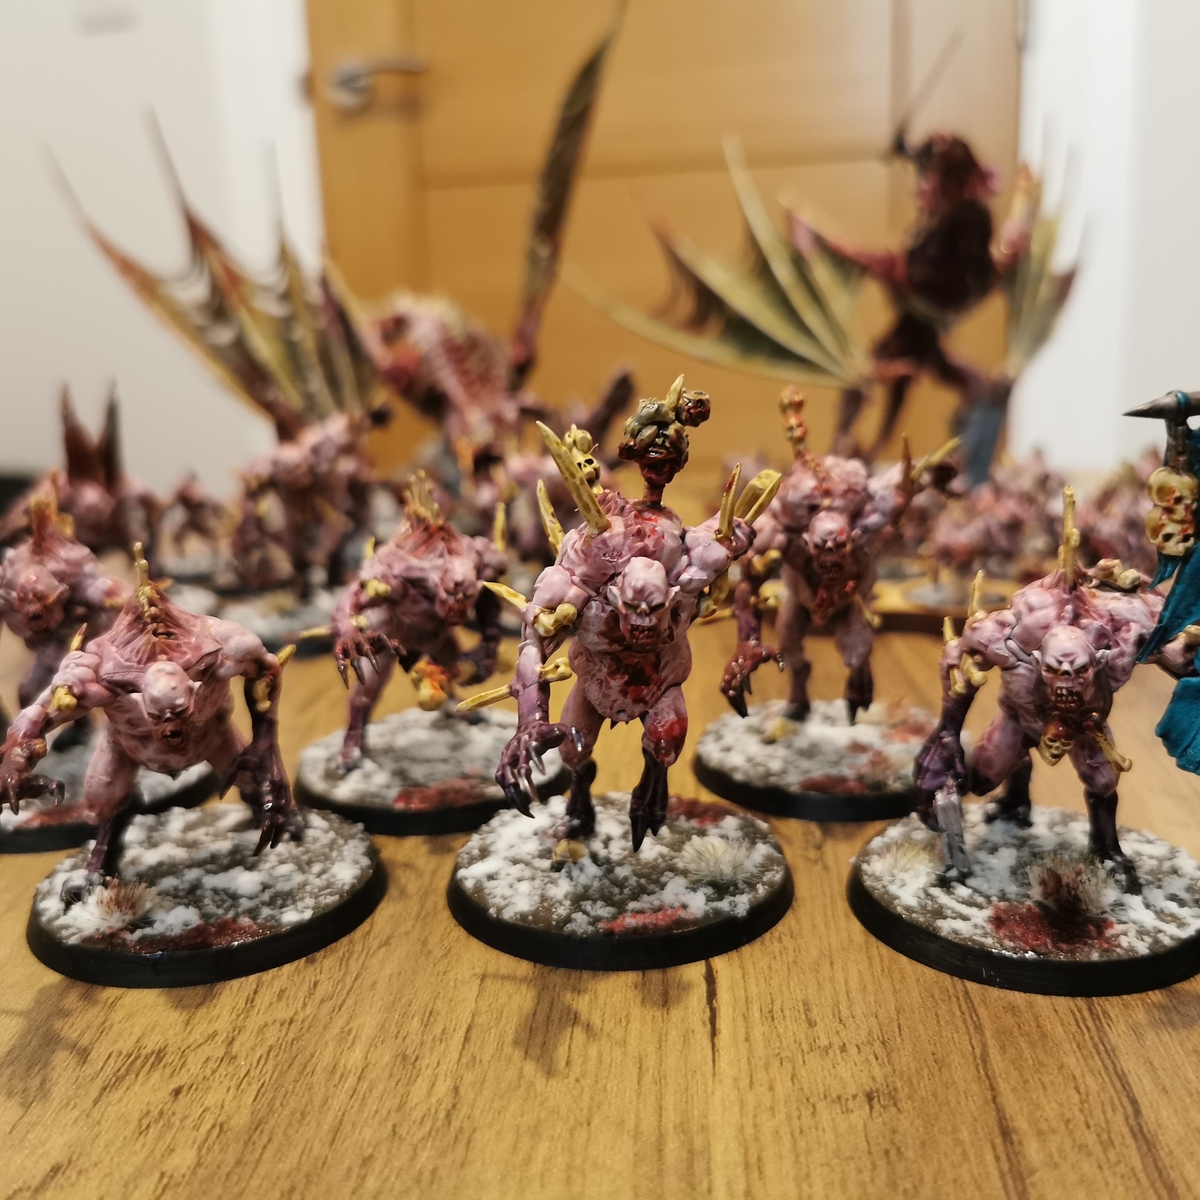
Savlar Skin
In my Chem-Dogs army, I use a variety of skin tones, to represent possible off-world prisoners that had been condemned to Savlar. For the long-term residents, who are all bald and often have weird tattoos, I stick to one particular and sickly skin tone.
- Basecoat with Rakarth Flesh .
- Wash the recesses (eyes, beneath the nose, etc.) with Targor Rageshade . Go back over any spills with Rakarth Flesh if you need to.
- Highlight the skin with Olive Flesh .
- Highlight the sharpest points (tip of nose, brow, etc.) with Pallid Wych Flesh .
Black
I do lots of stuff in black – boots and gloves sometimes, cables and pipes, weapons, grips, etc. It's a pretty standard recipe.
- Basecoat in Black , or literally any black you like.
- Chunky edge highlight with German Grey . You could use Eshin Grey in a pinch.
- Edge highlight with Dawnstone .
- Dot the corners, if it's something blocky like a lasgun, with Administratum Grey .
Basing
- Get your texture on. This can be sand, sand & rocks, texture paint – doesn't really matter. Do what you like.
- Basecoat over the texture with Rhinox Hide .
- Do a heavy drybrush with Indian Shadow . If you don't have that paint, you could probably use something like Citadel's Gal Vorbak Red or Army Painter Warpaints Fanatic's Blanched Berry.
- Do another drybrush with Cavalry Brown . Not a ton of good stand-ins for this paint, but some options are Pro Acryl's Burnt Red, Citadel's Word Bearers Red, or Two Thin Coat's Evil Eye Red.
- Then do a final drybrush with Khorne Red .
- For rocks, I usually paint them according to the Grey recipe above, but wash them in blue rather than black – something like Drakenhof Nightshade .
- For tufts, I use Army Painter's inexpensive Deadland Tufts. Rim the base in any black you like.
Citadel Painting System 27
Base 8
- Hobgrot Hide
- Incubi Darkness
- Khorne Red
- Mechanicus Standard Grey
- Rakarth Flesh
- Rhinox Hide
- Steel Legion Drab
- Stegadon Scale Green
Shade 4
- Agrax Earthshade
- Drakenhof Nightshade
- Nuln Oil
- Targor Rageshade
Layer 12
- Administratum Grey
- Baneblade Brown
- Dawnstone
- Eshin Grey
- Karak Stone
- Pallid Wych Flesh
- Sotek Green
- Tallarn Sand
- Temple Guard Blue
- Troll Slayer Orange
- Ushabti Bone
- Wild Rider Red
Technical 1
- Lahmian Medium
Contrast 2
- Frostheart
- Wyldwood
Monument Hobbies Pro Acryl 4
Base 3
- 001 Bold Titanium White
- 018 Light Umber
- 041 Olive Flesh
Signature Series: Vince Venturella 1
- S01 Jade
Scale75 Scalecolor
Scalecolor 1
- SC-23 Indian Shadow
The Army Painter Warpaints Air
High 1
- Twilight Sky
Two Thin Coats
Midtone 1
- Skeleton Legion
Vallejo Model Color
Base 3
- 70.950 Black
- 70.982 Cavalry Brown
- 70.995 German Grey