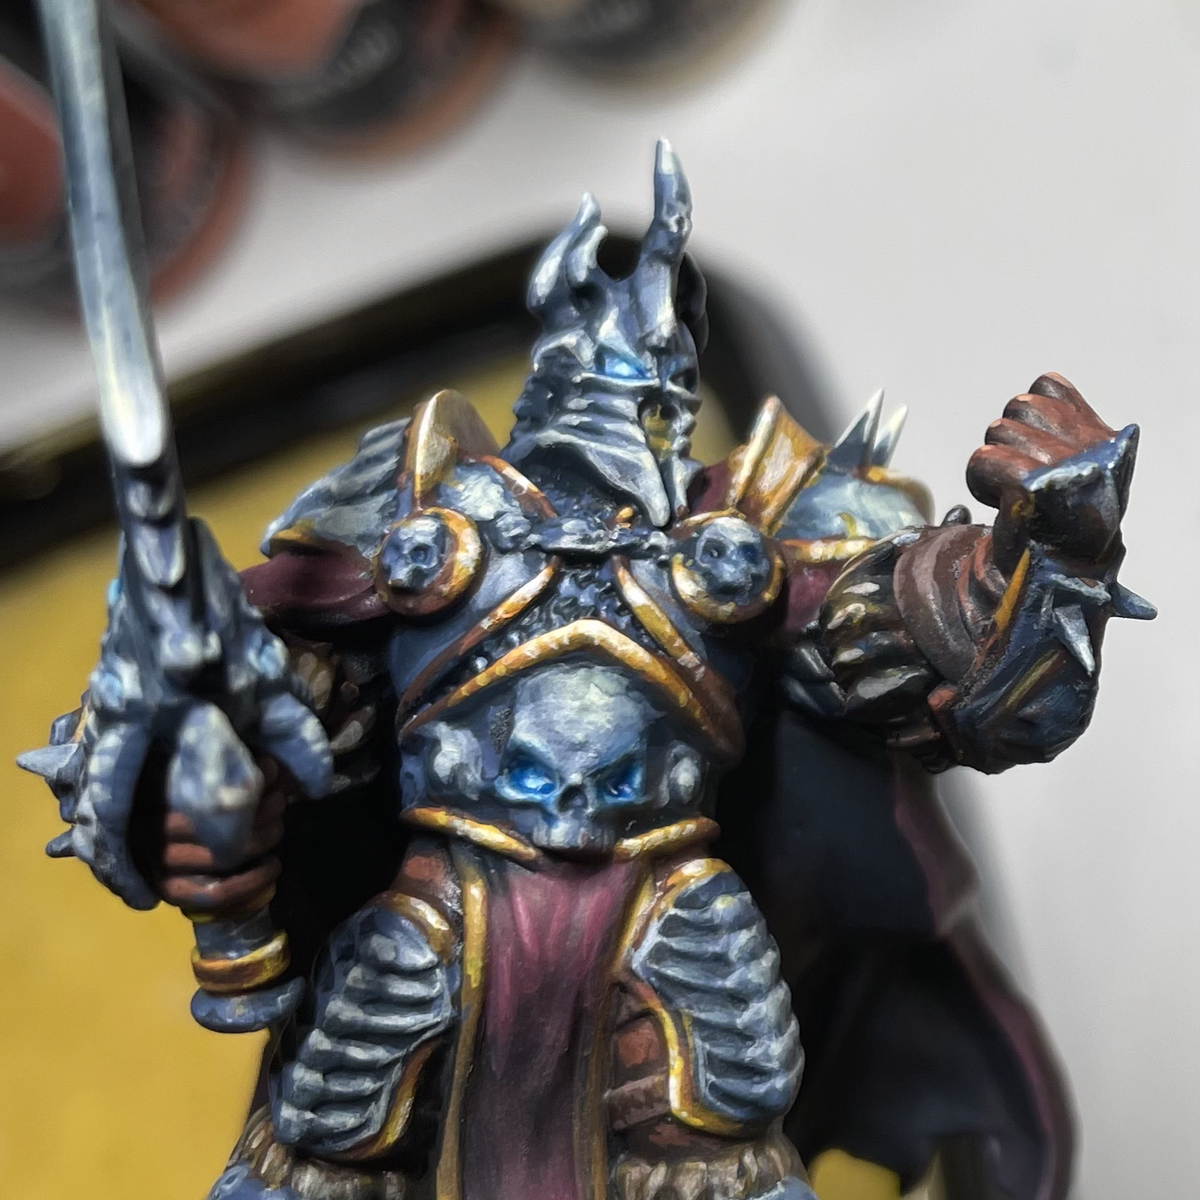
This is a Crimson Fist color scheme with a couple extra touches for visual interest since this is for a single Kill Team.
I'm using Prussian Blue rather than the typical Navy (Kantor) Blue as a reference back to RT-era Crimson Fist art.
If you are using this recipe for a larger force, you will probably want to skip the face mask painting and additional red detailing on the helmets. You could also reduce the number of layer/wash steps on the leather bits or use contrast paints rather than the highlight/wash process for speed.
Power Armor Airbrush Steps
NOTE: If you don't have an airbrush, you can follow the same steps with a dry brush or makeup sponge/beauty blender. This could save you some time in the follow-up detailing steps.
On a personal note, I generally prefer using a makeup sponge for power armor rather than a drybrush. The makeup sponge gives a smoother blend and the resulting texture makes more visual sense for a ceramic-ish material.
- Undercoat the entire model with Black .
- Apply Dark Purple in an anti-zenithal fashion, spraying the model from directly underneath.
- Base Coat everything not painted purple with Dark Prussian Blue
- Apply a second layer of Dark Prussian Blue on upward facing areas, shooting from an angle of ~65°.
- Apply a volumetric highlight with Light Prussian Blue .
- Apply a second volumetric highlight in the center of the first with Light Prussian Blue & Wolf Grey mixed 1:1. Incorporating Wolf Grey brightens this mix quite a bit relative to the last highlight step. Make sure to thin this to filter/glaze consistency so that you can build it up slowly & avoid blowing out the previous highlight.
- Reapply the Dark Purple shadows by repeating the anti-zenithal step, this time with the paint thinned down to filter/glaze consistency.
- Optional: If highlighting with Wolf Grey washes out the blue too much, you can apply a filter with blue ink to reintroduce color saturation.
Power Armor Details
Here we are adding interest with texture and edge highlighting while following the color map created in the airbrush steps.
- Apply a first edge highlight with Light Prussian Blue .
- Apply a second, finer edge highlight with Light Prussian Blue & Wolf Grey mixed 1:1.
- Apply a specular highlight in a few key points using Wolf Grey .
NOTE: For the sponge steps, I typically use a rougher sponge (art sponge, foam brush, etc.) rather than a makeup sponge. We aren't creating highlights with the sponge at this point - the goal is to add texture to the existing highlights. Paint applied with a sponge will be stronger/more saturated than the airbrushed highlights so the texture will still be visible even with using the same color mixes.
- Apply Light Prussian Blue with a sponge to the highlighted areas.
- Add finer texture to the most highlighted areas by sponging on Light Prussian Blue & Wolf Grey mixed 1:1.
Undersuit and Webbing
Phobos armor has larger sections of exposed undersuit than the other Primaris armors. Depending on the pose of the model, you may want to push the contrast on these areas further.
- Base Coat the undersuit with Black .
- Apply a layer of Tenebrous Grey .
- Wash these areas with Black Templar & Contrast Medium mixed 1:1.
Leather
This is a warm reddish-brown leather recipe. It provides nice contrast against the dark blue of the armor and synergizes well with the red hand(s) typical of Crimson Fists.
- Undercoat the leather bits with Mahogany .
- Layer Dark Flesh over 70-80% of the Mahogany undercoat.
- Layer Burnt Sienna in a sketch fashion using lines and dots.
- Wash all parts of the leather bits with Dark Flesh .
- Repeat the Burnt Sienna sketch step, focusing on highlight areas.
- Repeat the Dark Flesh wash step.
- Highlight the leather areas with Burnt Sienna , repeating the sketch style.
- Apply a final highlight sketch on edges and high points using Burnt Sienna & Ivory mixed 1:1.
Red Details
All Crimson Fist brothers & veterans have their left hand painted red. For my KT I added red on the helmet vent. This same recipe is also applied to the chapter badge for all models.
- Base all the red areas with Burnt Red
- Layer Burnt Red over all the red areas
- Apply a first highlight using Burnt Red & Bold Pyrrole Red mixed 1:1.
- Apply a second highlight using Bold Pyrrole Red .
Facemask
Painted facemasks are NOT typical of Crimson Fists. I decided to paint the face masks on the kill team in a grey -> white progression to mark them as members of an elite unit.
You want to make sure that the facemask reads as grey (not white) by the time we're done. The combination of dark blue armor, red helmet details, and a white face mask can give a strong "Primaris Night Lords" feel if you aren't careful
- Base the face mask in Neutral Grey .
- Layer the upper surfaces in Light Neutral Grey .
- Carefully shade and panel line the mask with Dark Neutral Grey . The shade should be thinned as much as you can without breaking the paint.
- Highlight the mask with Bold Titanium White .
Varnishes
Use whatever varnishes you prefer. In my case I use Vallejo Polyurethane Gloss varnish for toughness and because it seems to have a smoother finish than acrylic gloss when applied with an airbrush. For matte varnish I use Pro Acryl Matte.
- Gloss varnish the entire model.
- Apply transfers.
- Panel line the power armor with Payne's Grey oils. I use W&N Winton oil colors.
- Wash the undersuit bits with black oil color.
- Matte varnish the entire model.
- Lightly sponge Light Prussian Blue over the transfers to blend them in.
AK Interactive 3rd Generation Acrylics
Standard 4
- AK11026 Tenebrous Grey
- AK11097 Burnt Red
- AK11186 Light Prussian Blue
- AK11189 Dark Prussian Blue
Monument Hobbies Pro Acryl
Base 11
- 001 Bold Titanium White
- 003 Bold Pyrrole Red
- 008 Burnt Red
- 009 Mahogany
- 023 Ivory
- 035 Dark Purple
- 044 Dark Neutral Grey
- 045 Light Neutral Grey
- 059 Burnt Sienna
- 068 Dark Flesh
- 075 Neutral Grey
The Army Painter Warpaints Fanatic
Acrylic 1
- Wolf Grey
Vallejo Model Color
Base 1
- 70.950 Black


