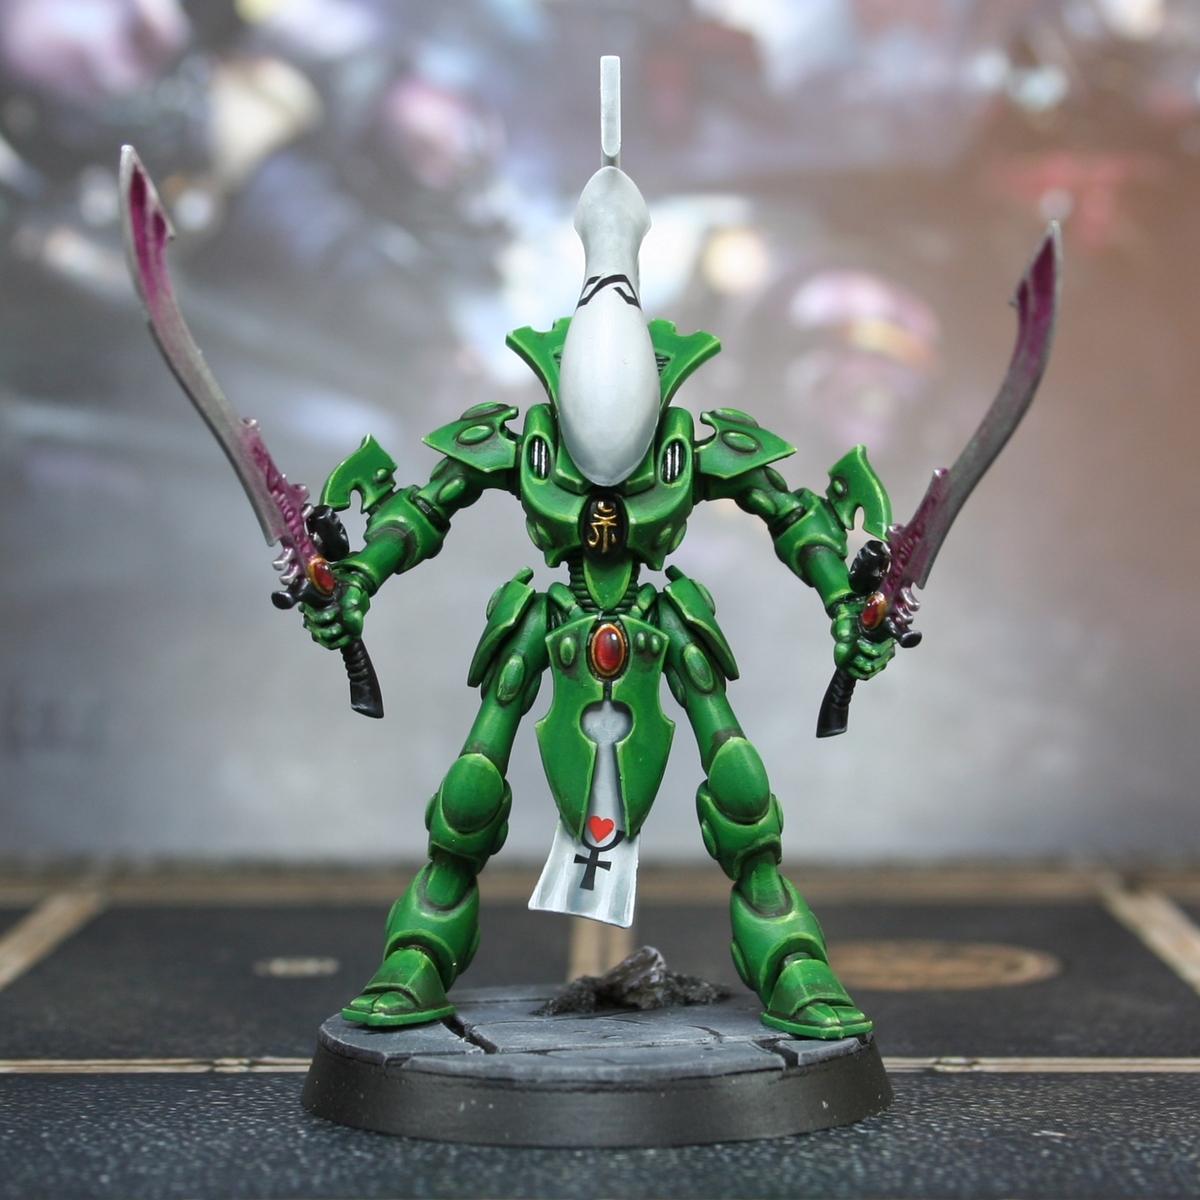
Biel-Tan Wraithblade/Wraithguard
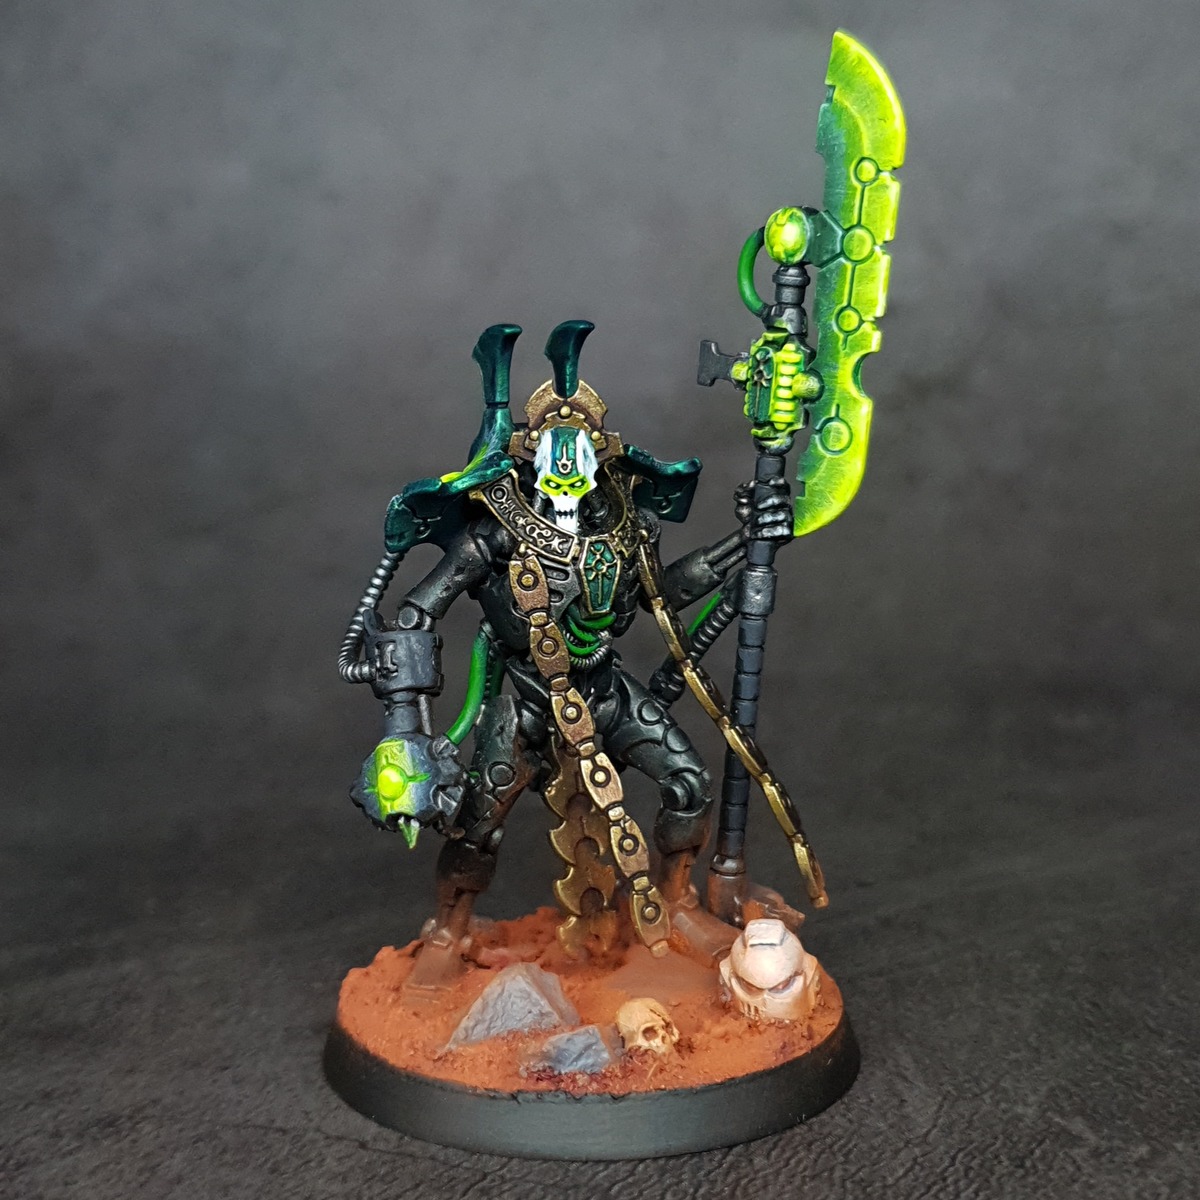
Green Armour
- Basecoat with Warpstone Glow .
- Wash the exposed piping with Black Templar , Wyldwood and Contrast Medium medium, mixed 1-1-2.
- Mix a wash using equal parts Warpstone Glow , Rhinox Hide and Abaddon Black thinned with water. Paint the deepest recesses with thin lines to define them.
- Now mix Warpstone Glow and Rhinox Hide in equal parts and glaze both the lower third of the armour panels and and areas you feel should be shaded. Keep this nice and thin and repeat as needed.
- With a 50-50 mix of Warpstone Glow and Moot Green glaze the upper third of your panels for the first highlight. Again, keep it thin and drag towards edges.
- Mix Warpstone Glow , Moot Green and Screaming Skull in equal amounts and add a fine edge highlight to your edges.
- With a 1:1 mix of Moot Green and Screaming Skull , selectively highlight edges, focusing on those upward facing ones. Drag your brush towards the centre of the highlight, where the light would hit the strongest.
- Finally, add specular highlights of pure Screaming Skull to those focal points of the last stages highlights.
White Helmet (and Details)
- Basecoat with Corax White .
- Wash with Apothecary White , thinned with an equal amount of Contrast Medium .
- General highlights with Corax White .
- Fine highlights with a 1:1 mix of Corax White and White Scar .
- Selective highlights of White Scar .

Rookie Brushes
RookieBrushes
Aspiring miniature painter and biscuit enthusiast. Here to share my hobby and help where I can.
Citadel Painting System 11
Base 3
- Abaddon Black
- Corax White
- Rhinox Hide
Layer 4
- Moot Green
- Screaming Skull
- Warpstone Glow
- White Scar
Technical 1
- Contrast Medium
Contrast 3
- Apothecary White
- Black Templar
- Wyldwood



.png)