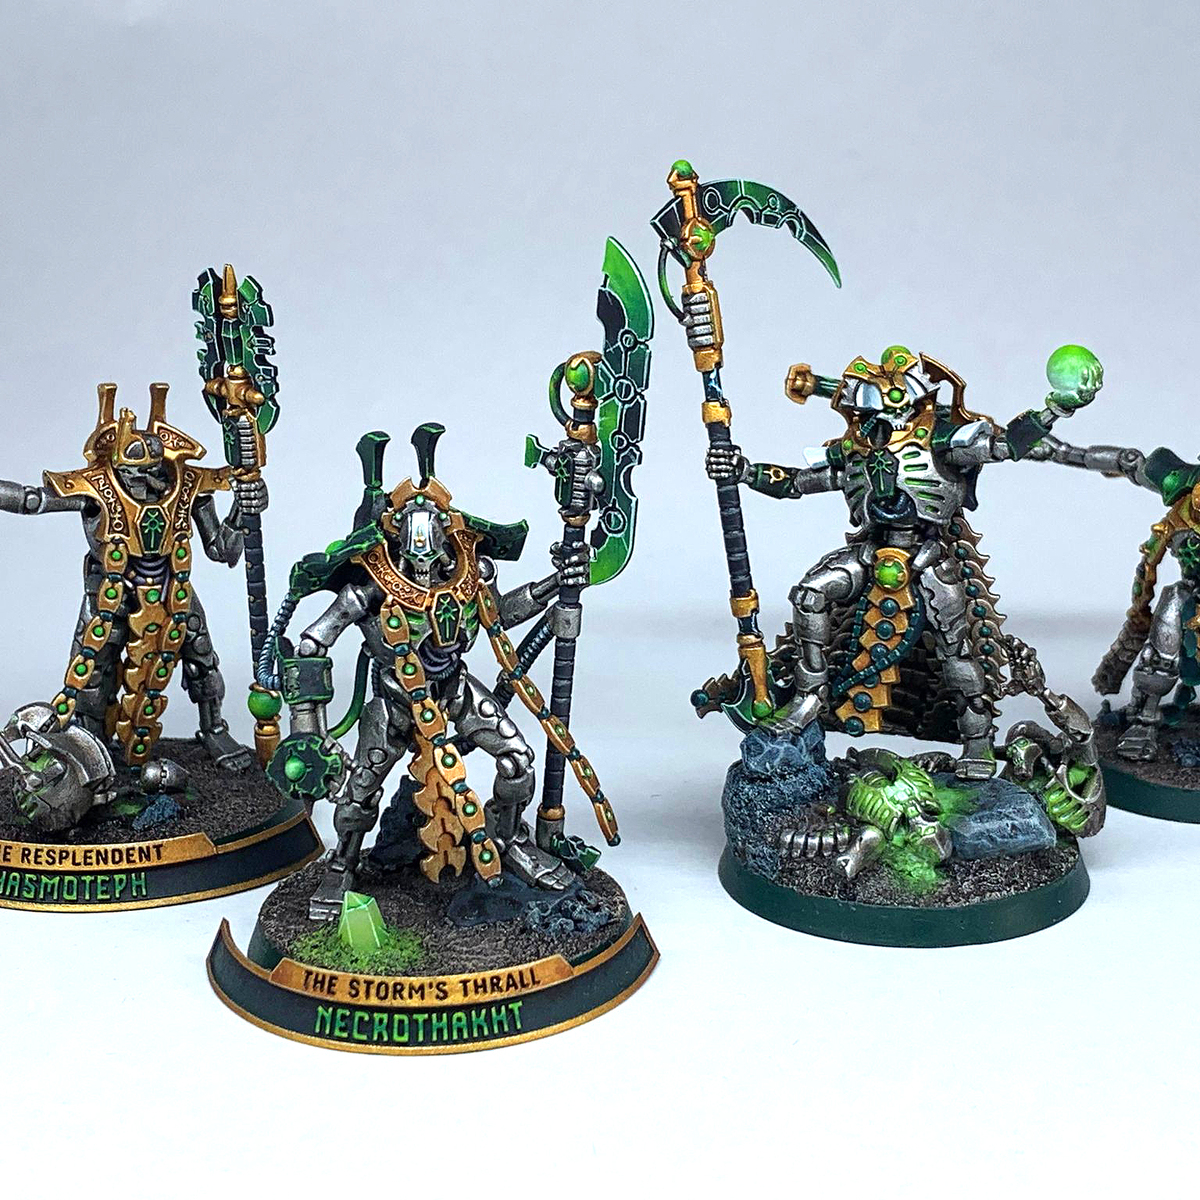

How I paint my Sautekh Overlord, as a text supplement to my video tutorial.
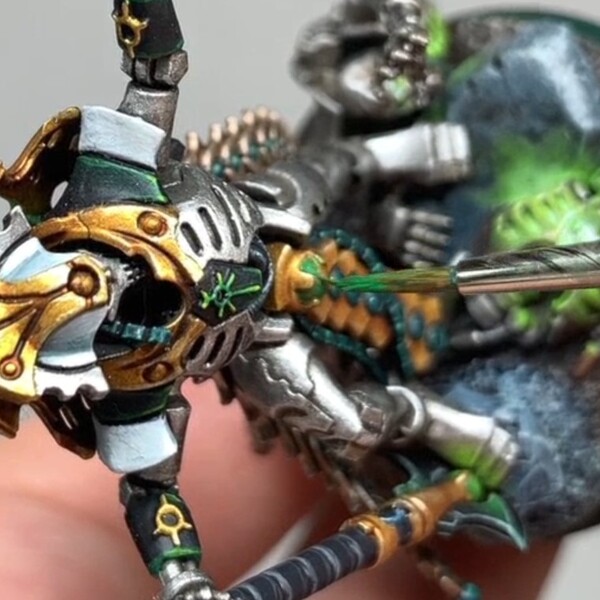
Silver
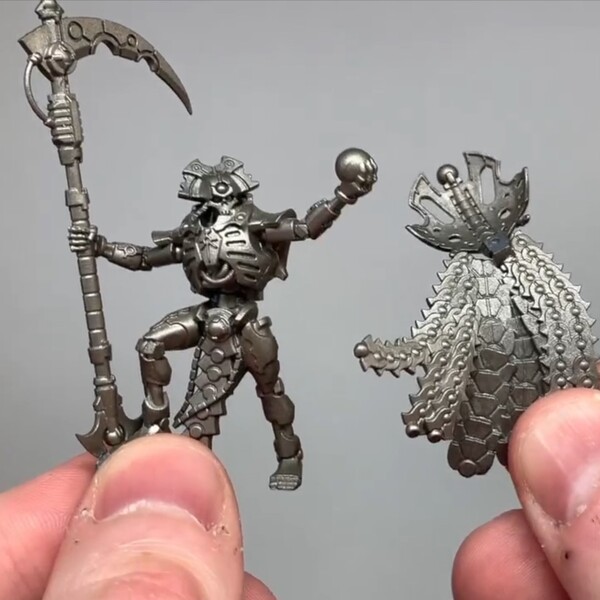 Start from a Leadbelcher base coat. I used the spray can for this, but the brush on paint works fine too.
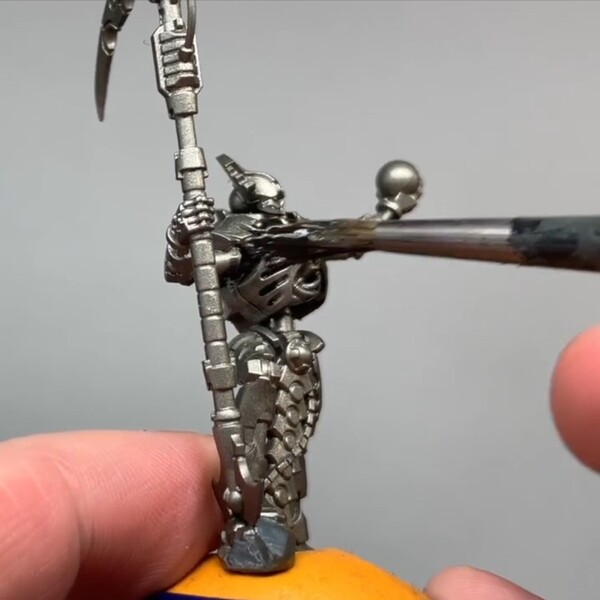 Wash the whole model with Nuln Oil . Doing the whole mini helps with any paints we add on top of the base colour, I've found Leadbelcher dries so smoothly paint can run off of it.
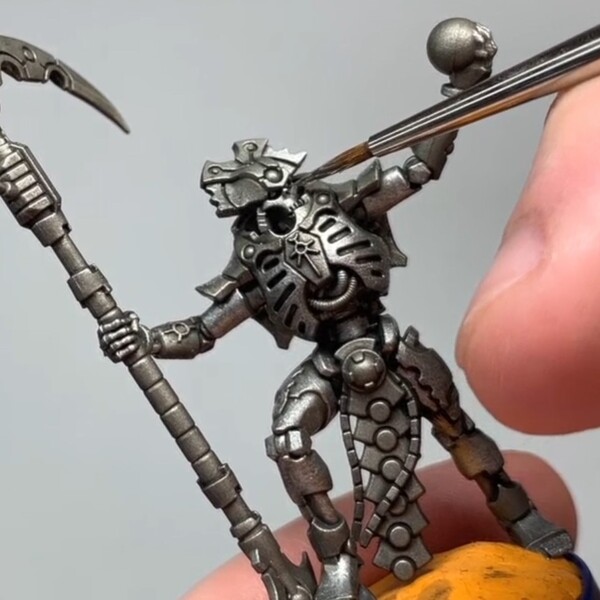 Relayer the silvers with Ironbreaker , leaving Nuln Oil in the recesses.
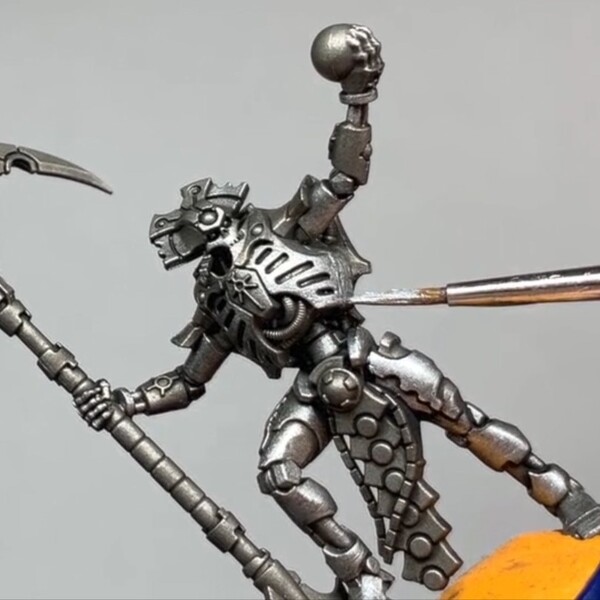 Edge highlight and glaze towards the top of panels with Stormhost Silver .
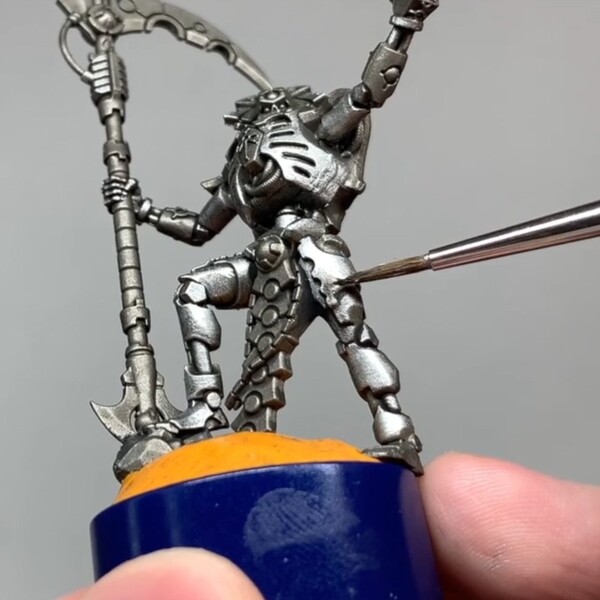 Water down Basilicanum Grey and pull the paint towards the bottom of the silvers, stopping at any Stormhost Silver highlights. This extra step makes the silver look shinier than it is, and shiny silver means he's a very important Necron.
Gold
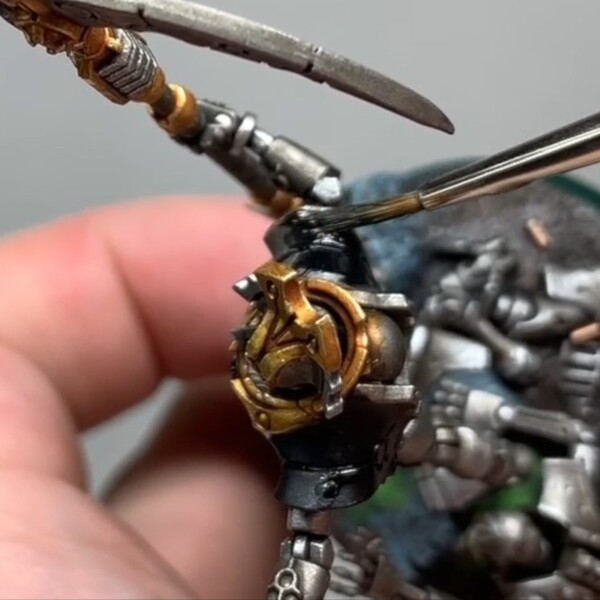
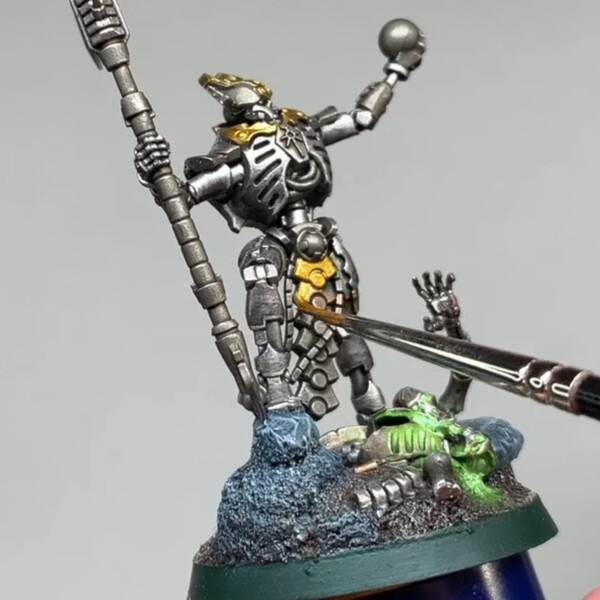 Base any gold details with Retributor Armour .
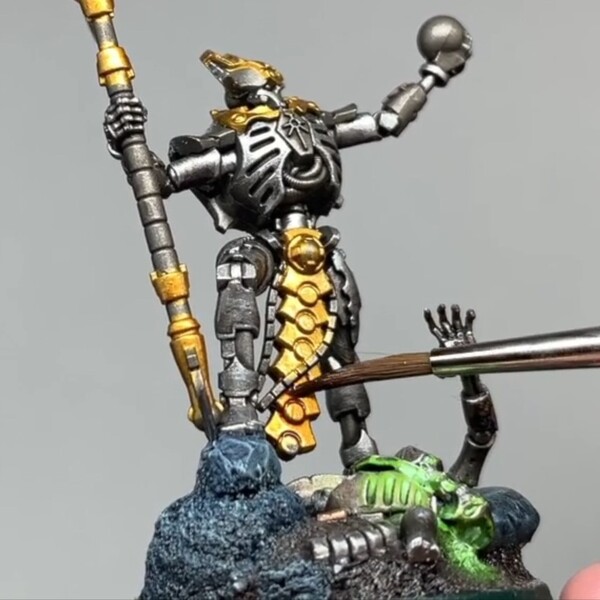 Was these areas back with Reikland Fleshshade .
- Additionally you can add additional depth to any recesses with watered down Wyldwood . Be careful with this paint though, it's potent.
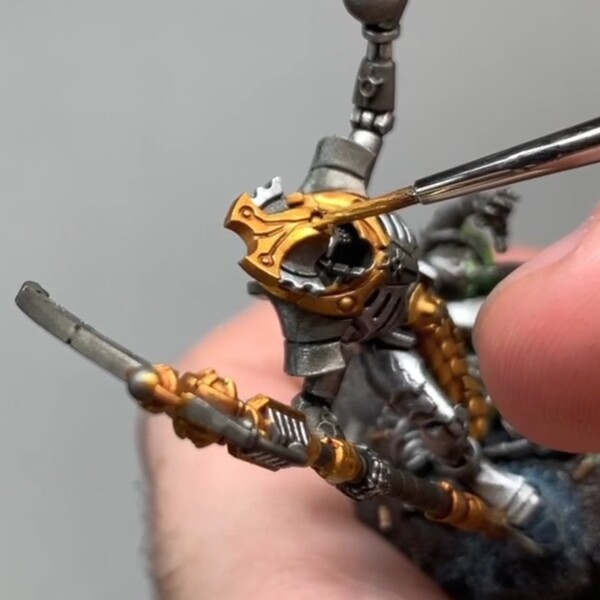 Relayer the flat panels with Auric Armour Gold , leaving the washed back base colour towards the bottom of the gold panels. If you go too far or leave a hard line on your gradients, bring back Reikland Fleshshade and smooth out the transition.
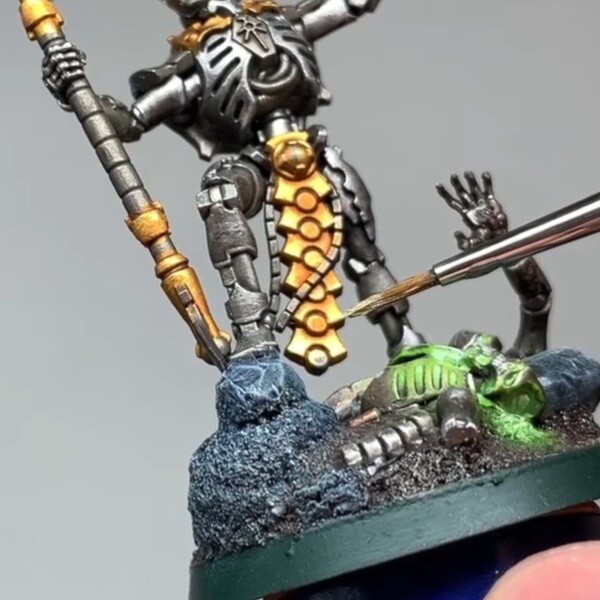 Edge highlight all the gold with a 60:40 mix of Liberator Gold and Stormhost Silver . I don't like jumping straight to silver on gold highlights, it's a bit jarring for me. You can point highlight with pure Stormhost Silver after this if you want then.
Dark Green
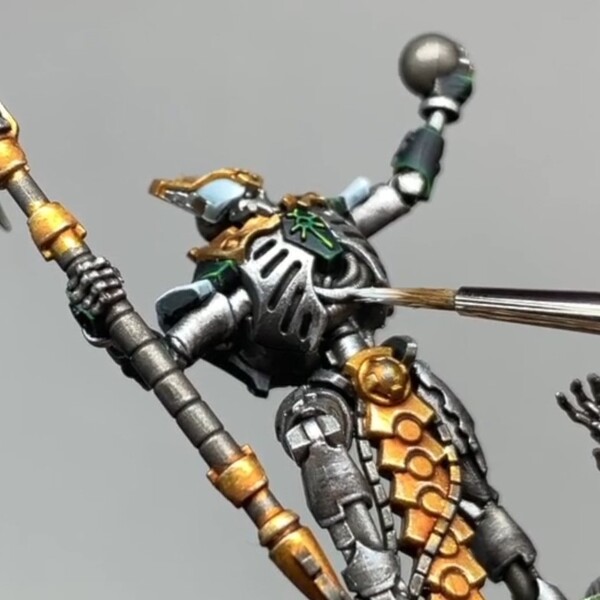
 Base any dark green sections with your black of choice. I used Matt Black .
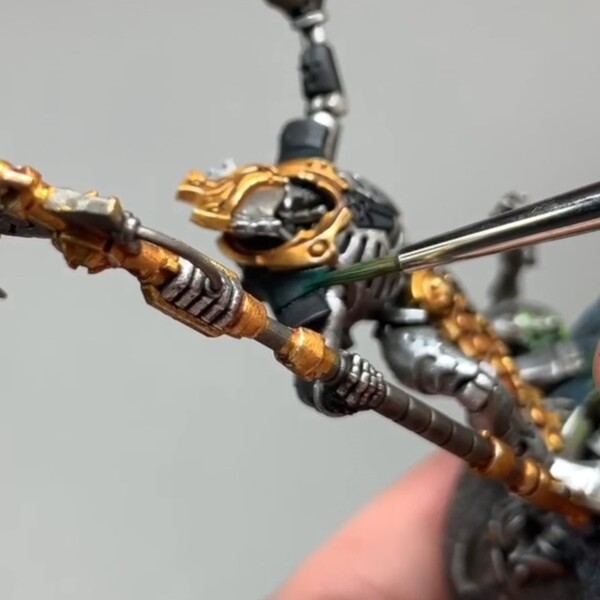 Next edge highlight and glaze towards the edges of these areas with Caliban Green .
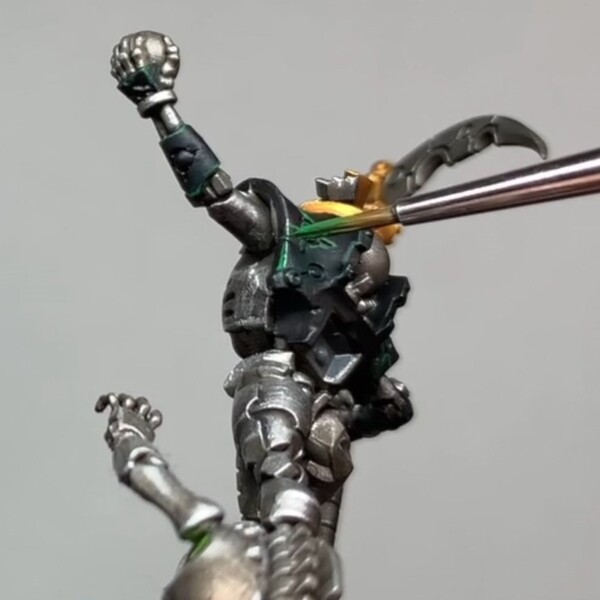 Edge highlight again with Warpstone Glow . You can draw on cracks across the surface at this point if you want some more wear. While i have the colour, I also fully based the symbol on the cartouche.
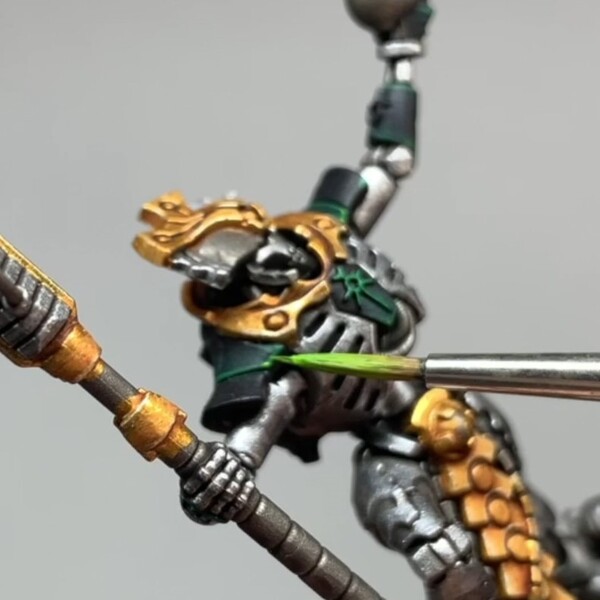 Point highlight with Moot Green .
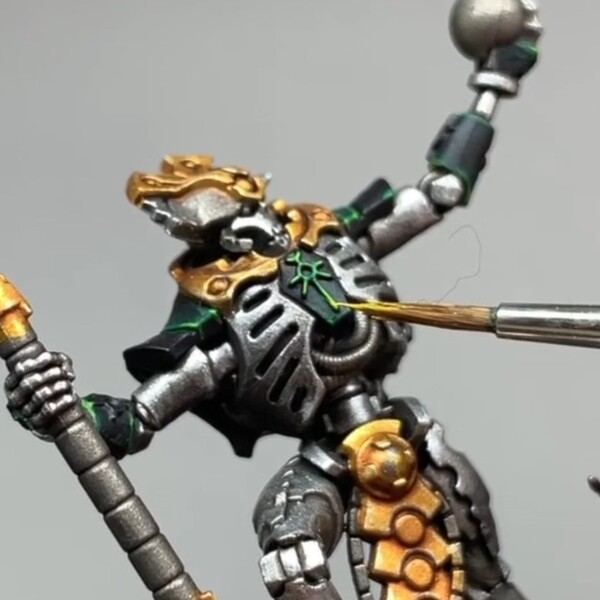 Add one last point highlight to the cartouche symbol with Yriel Yellow .
White
 Base coat the white details with Celestra Grey .
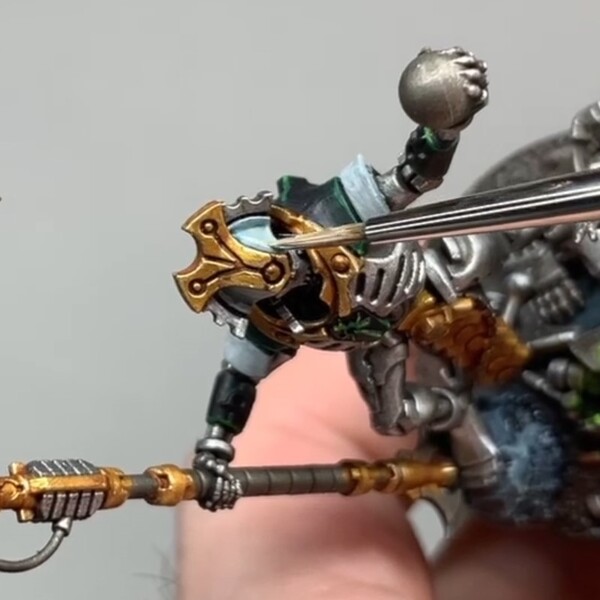 Relayer completely with thinned Ulthuan Grey . Give this a couple passes to build a solid off-white.
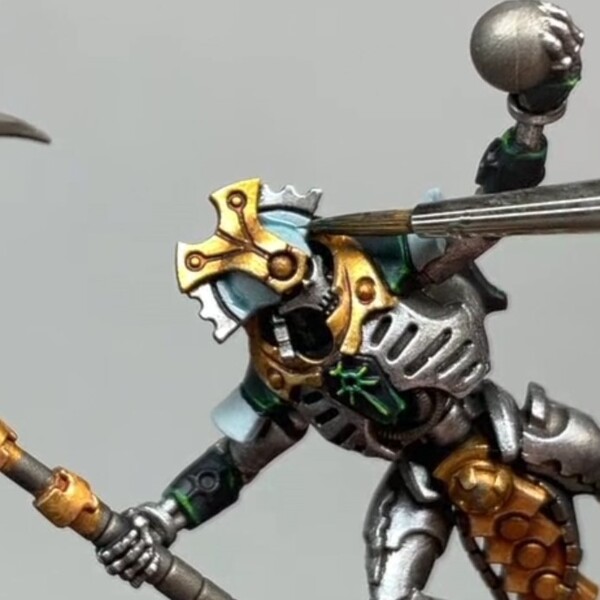 Wash towards recesses and lower sections with thinned Gryph-charger Grey to build a cold shadow. You might want a couple goes with this to get your desired effect, and you can bring back Ulthuan Grey to smooth out the blend if you need to.
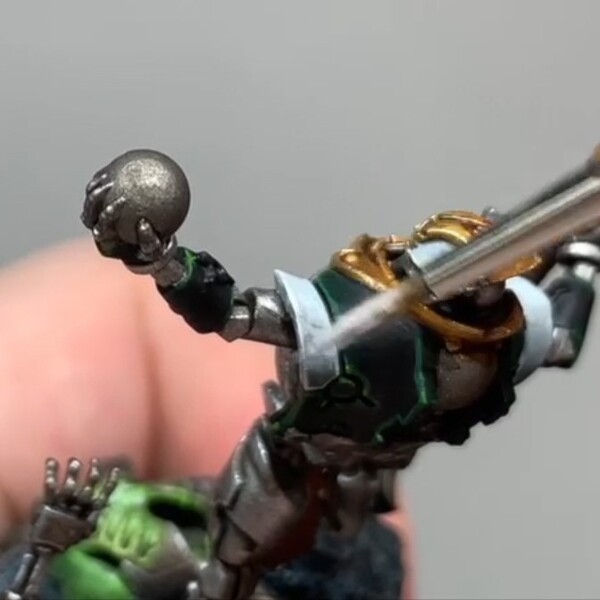 Edge highlight with a pure white. I used White here.
Black Cables
 I based any ribbed cables that I want black with Corax White .
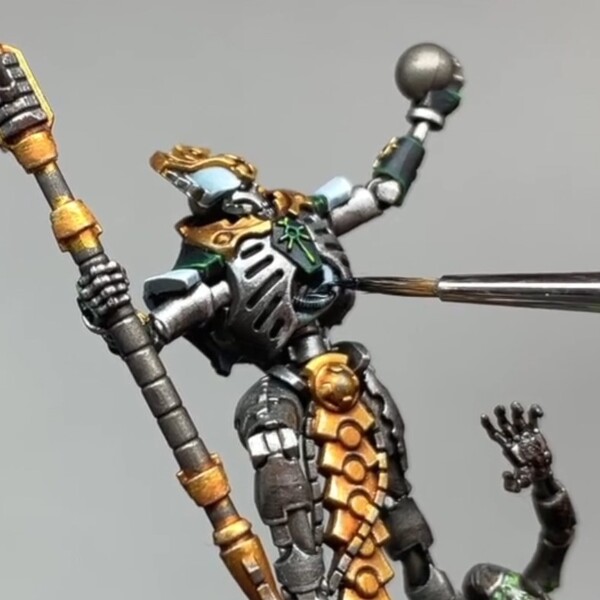 These were then washed completely with Gryph-charger Grey , then with Black Templar . I'm using the nature of Contrast paints here to get a quick cold-black colour, without needing to individually highlight the ribs as many times as I would with layer paint.
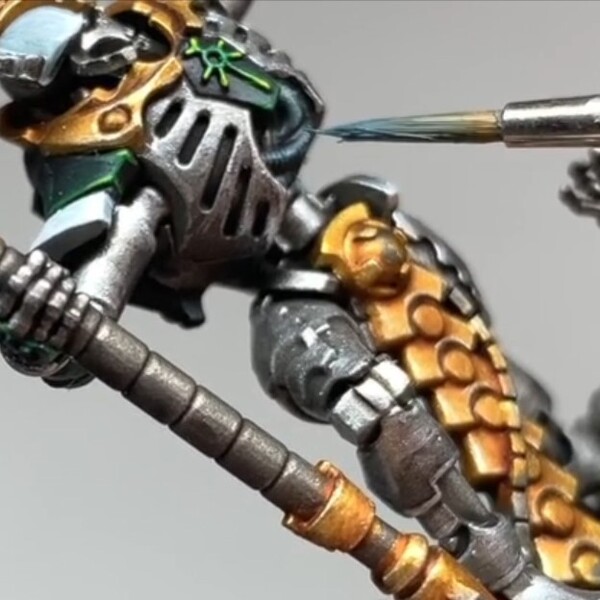 Highlight the ribs with Thunderhawk Blue . If you wick off most of the paint and you're careful, you can run the side of the brush along the ribs to hit these quickly - Can't get paint in the recesses if the brush never gets in there, after all!
 Add a second smaller highlight with Fenrisian Grey .
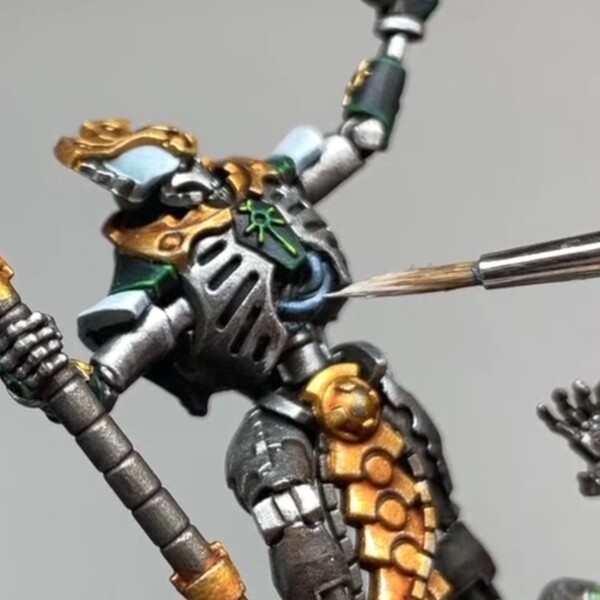 A last line of point highlights with Ulthuan Grey .
Purple Cables
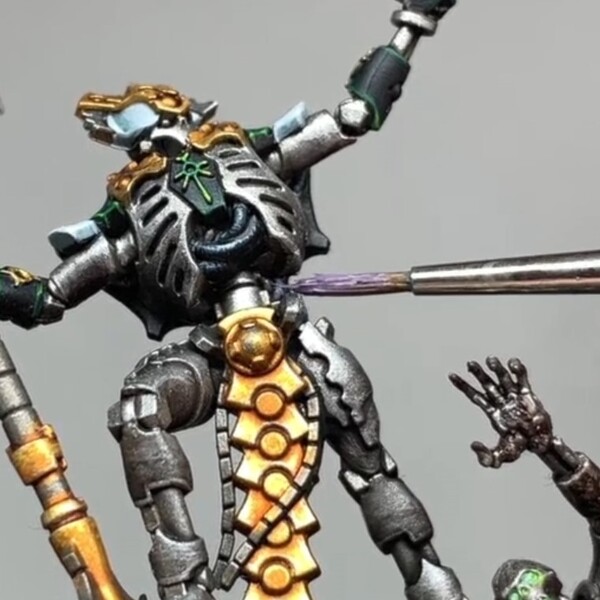 Carefully base in the smooth cables with Daemonette Hide .
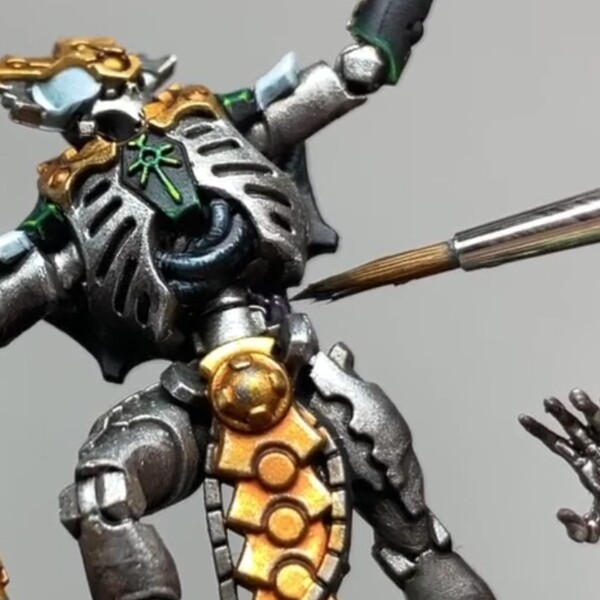 Wash them back with Nuln Oil , pulling the shade towards either end of the cable to add a bit more shading.
 Add a thick highlight with Warpfiend Grey .
 Then one last smaller highlight with Slaanesh Grey .
Blackstone
 For the Blackstone I went with a teal tone, first by basing these details with Incubi Darkness .
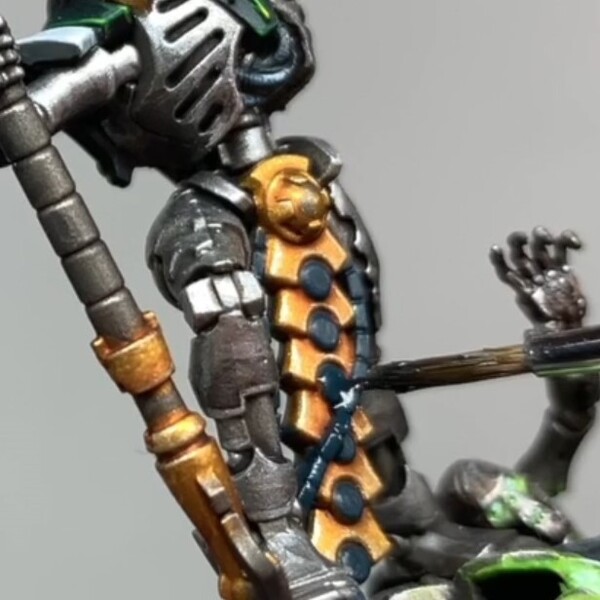 Wash it back with Nuln Oil .
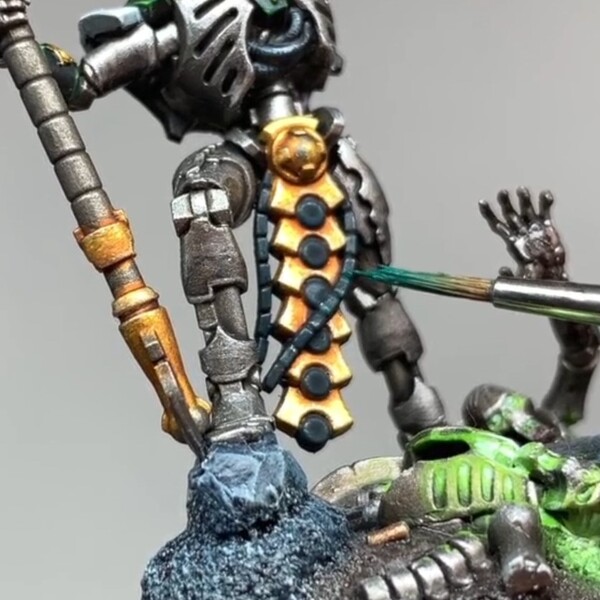 Add an edge highlight with Kabalite Green .
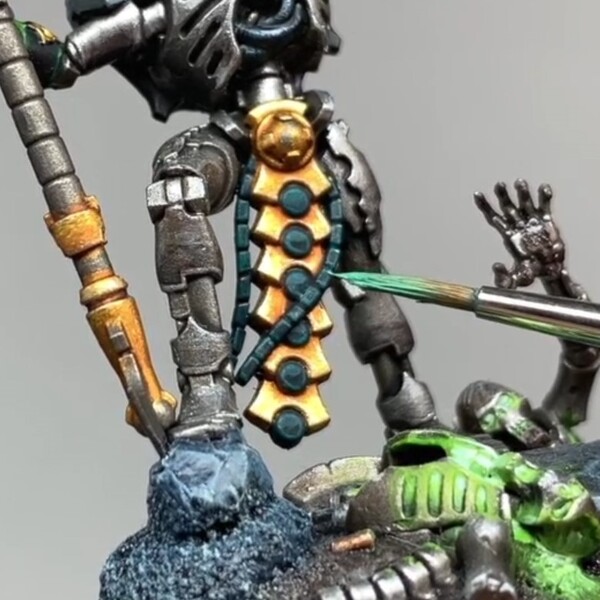 Finally, point highlight with Sybarite Green .
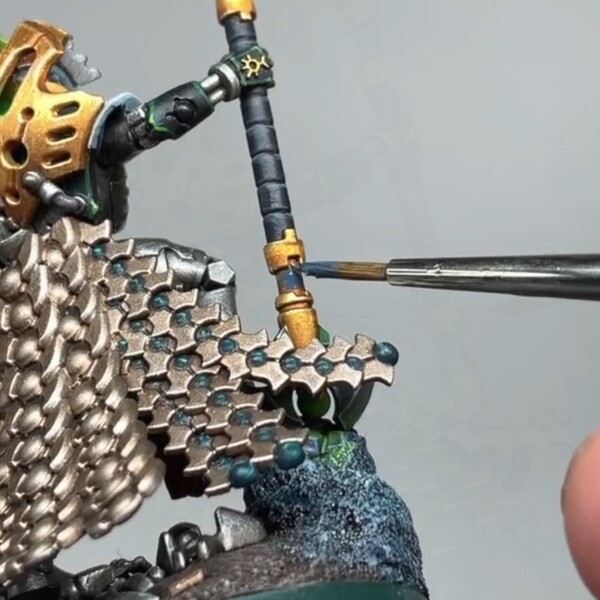
Brass
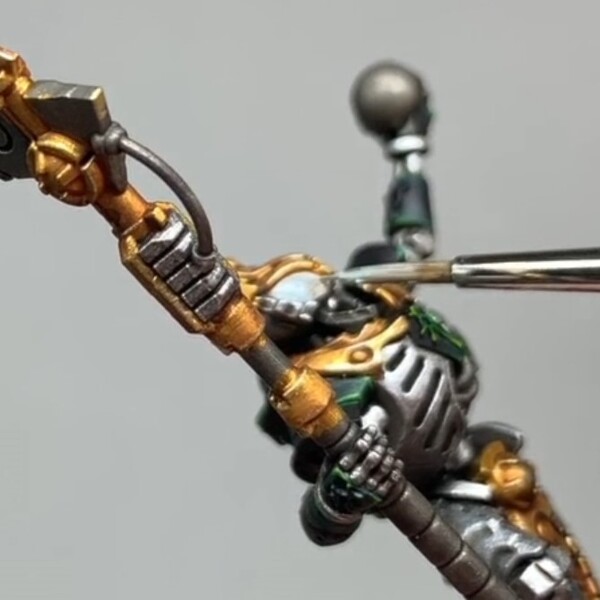
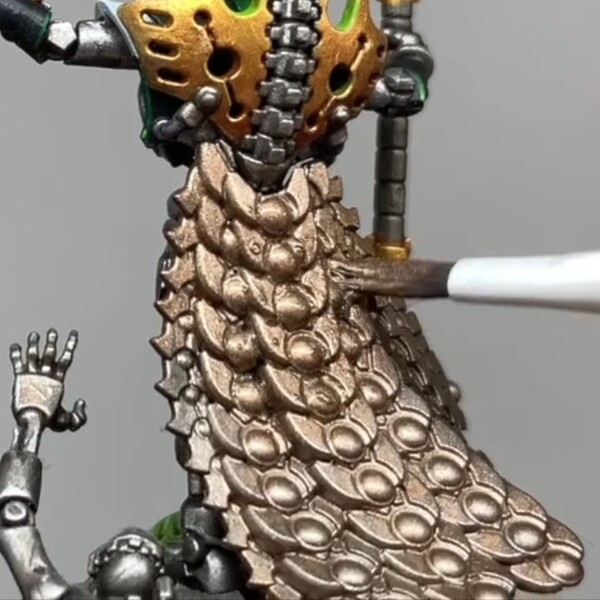 Base any brass details with a couple coats of Runelord Brass .
 Give it a good wash with Agrax Earthshade .
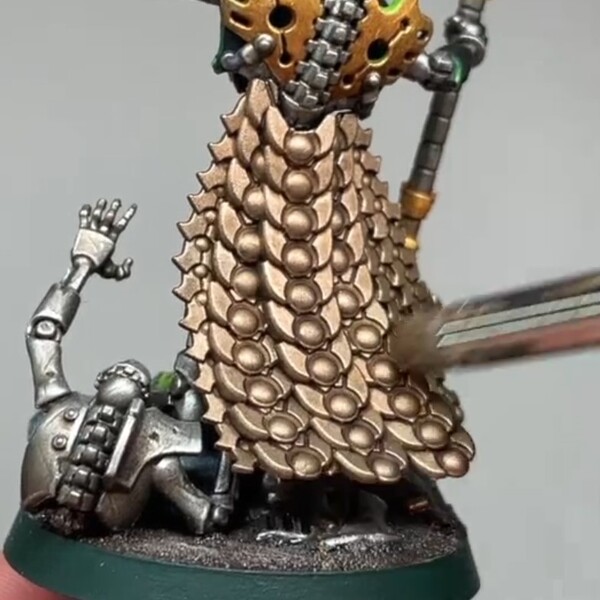 I brought back Runelord Brass to highlight next. In the video I used drybrushing to highlight, as the area was big and open enough to do so, if it's going to be difficult to so though just use a comfy brush to hit the edges.
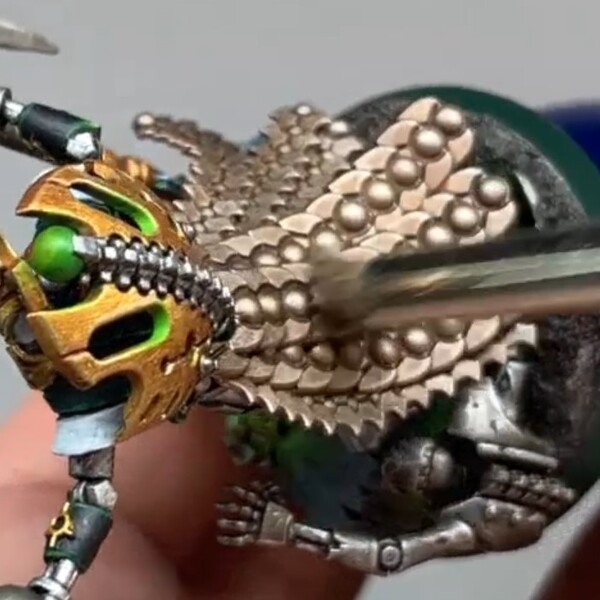 One last lighter pass with Canoptek Alloy for the top highlight. Again, I drybrush this on in the video, but if a brush would do it then go ahead and just hit top facing edges and points/corners.
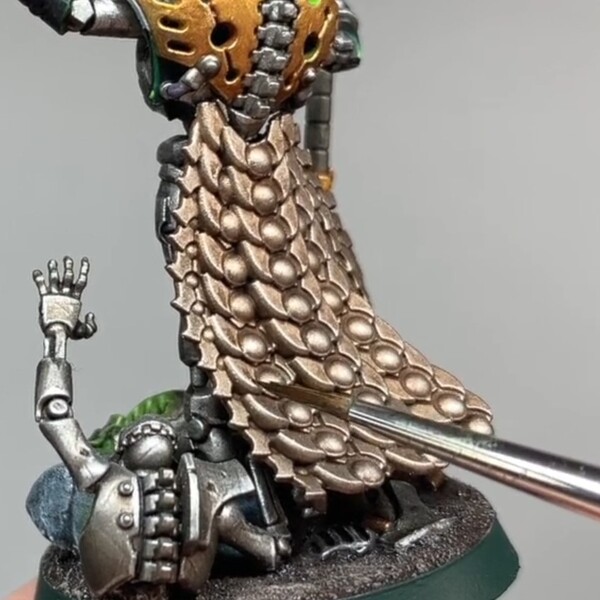 I bring back Agrax Earthshade to reintroduce the gradient towards the bottom of the panels. I'd do this if I brushed the highlights on as well, though it was more necessary from drybrushing in the last steps.
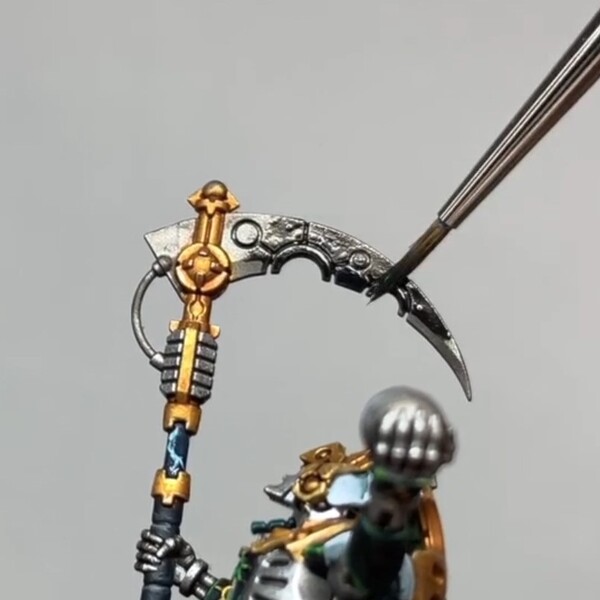
Weapon Handle
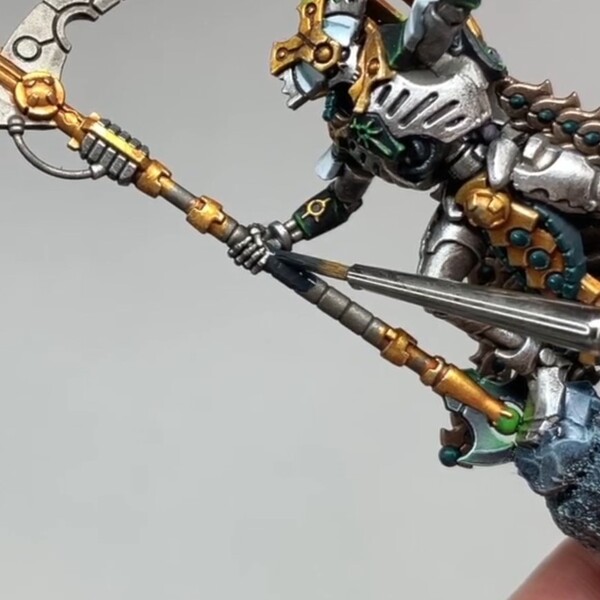 I carefully based the weapon handle in with Corvus Black . Careful around the hands and your finished details, would be a shame to have to repaint anything now!
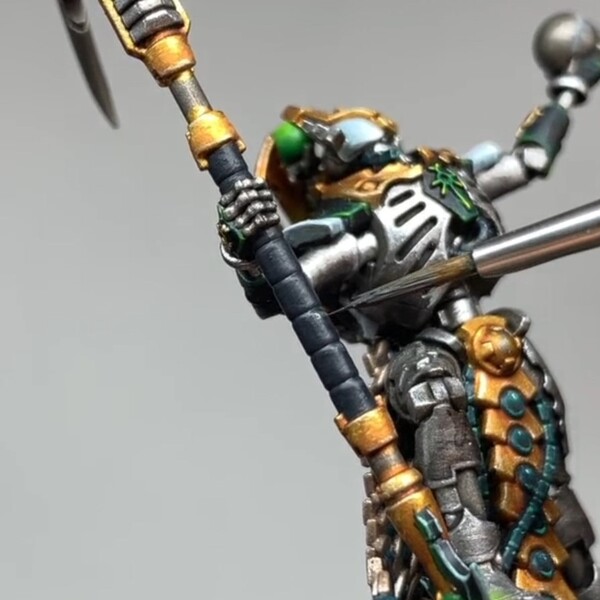 I gave each ridge on the handle an edge highlight with Eshin Grey .
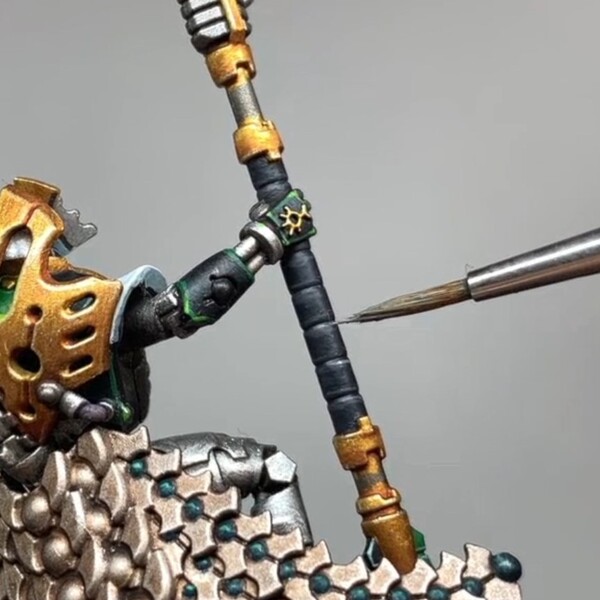 Lastly a thinner edge highlight on the upper facing edges with Dawnstone .
Lightning Details
 I liked the idea of having some lightning details on the weapon, as a nod to the Sautekh Phaeron. The smooth pipe-like sections seemed like a good place to break things up a bit, so based those in with Dark Reaper .
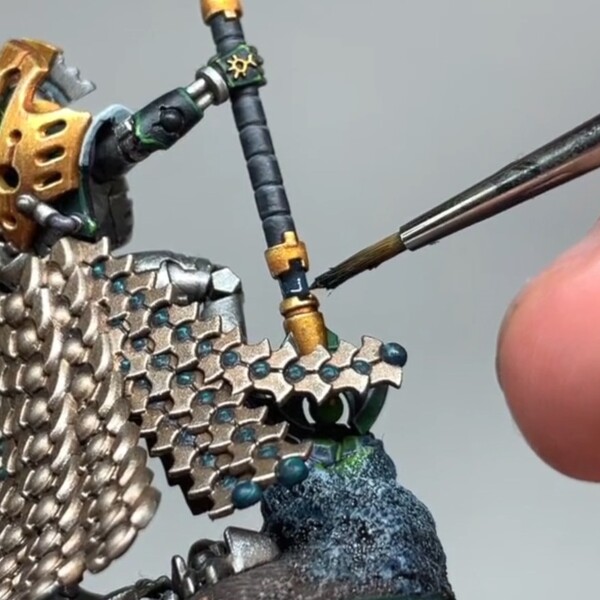 These got a couple washes with Nuln Oil - First all over, pushing the shade to the top and bottom for better separation, then again towards the lower half to put a darker gradient on there.
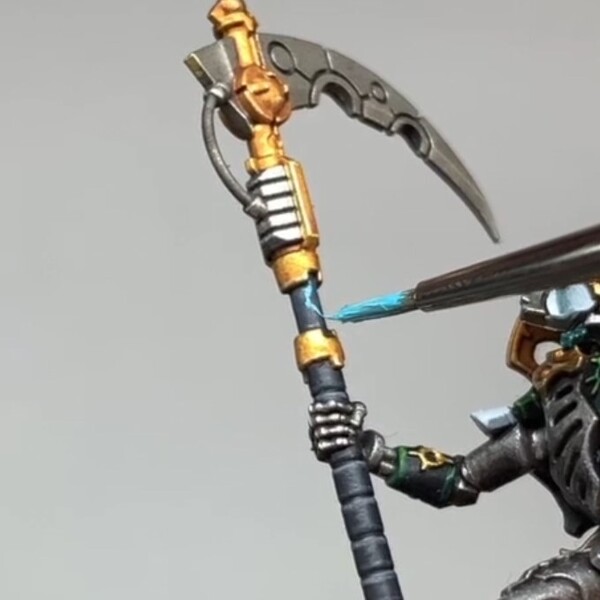 Next use thin Baharroth Blue to draw some lightning forks along these areas.
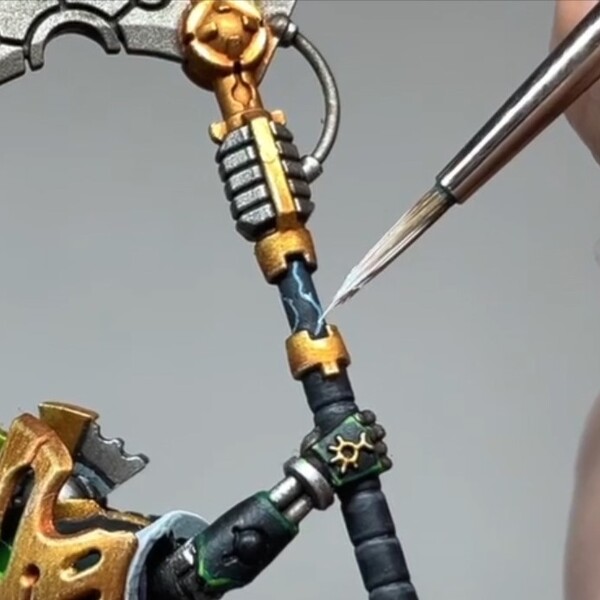 Highlight the the lightning at the separations in the fork with white (Again, I'm using White ).
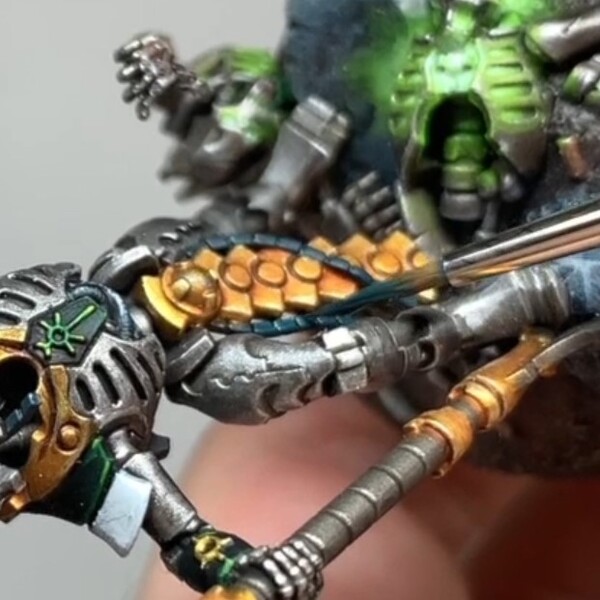
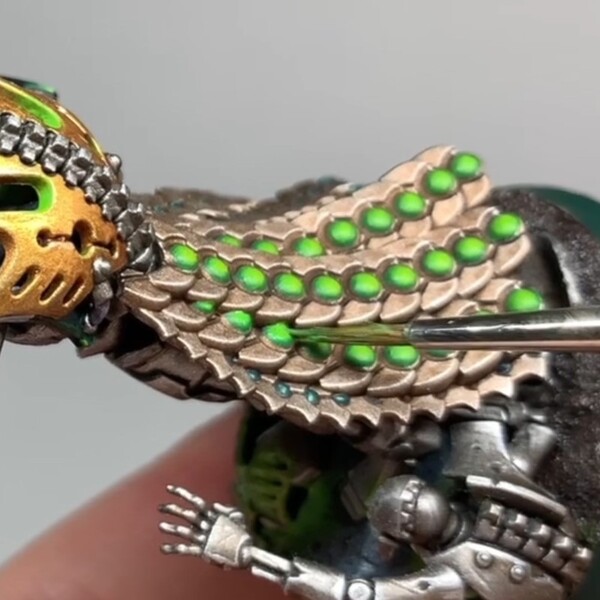
Energy Blades, Glowing Cables and Decorative Orbs
 Base the weapon blades and any cables you want to 'glow' green with black (Again, I'm using Matt Black here).
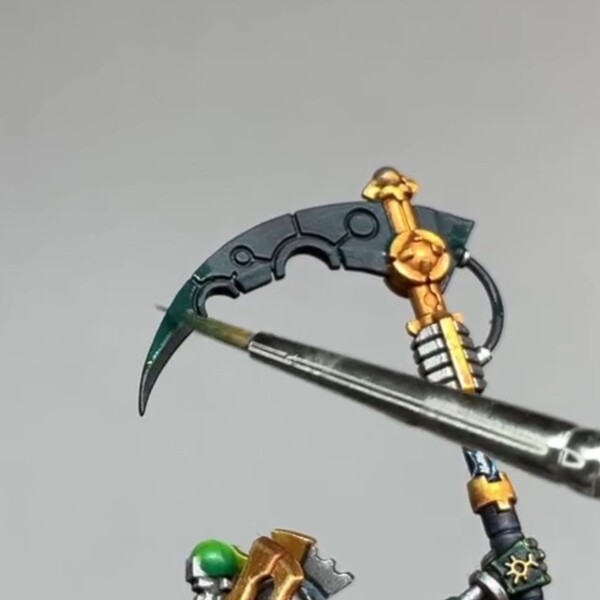 Glaze on your first colour with Caliban Green . Drag the brush from the darkest areas and lift the brush where you want the colour the most concentrated. On the blade I follow a TMM pattern, flipping where I put the glaze on to mimic a metallic sheen.
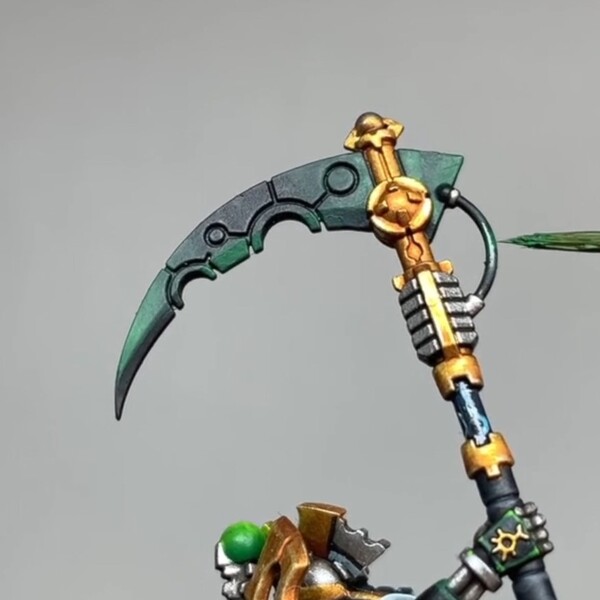 Repeat the process over a smaller area with Warpstone Glow .
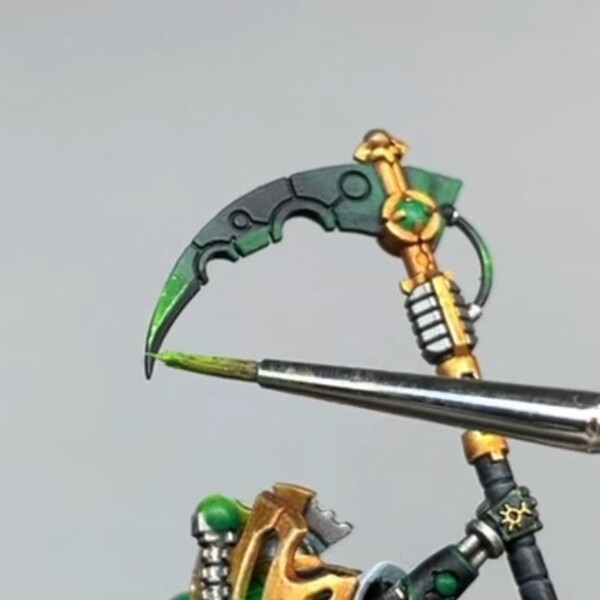 Then again with Moot Green . I use medium to thin Moot Green, as it ends up a little patchy with just water.
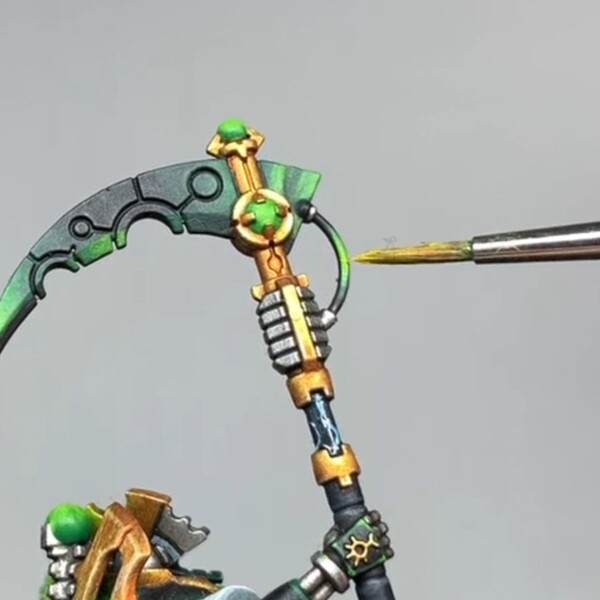 I finish the cables off with a small amount of Yriel Yellow . I put literally a brush tip of yellow into a drop of medium for this, you don't need much.
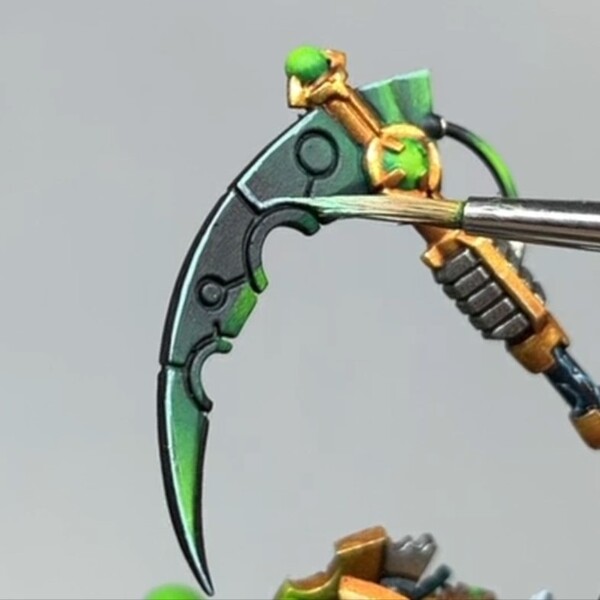 To finish off the blade I edge highlight with Gauss Blaster Green . Use the edge of the brush around the outer edges of the blade and nearer the tip for internal edges, angling the brush so the tip goes into any wells on the blade. It's way easier to clean up these recesses by dropping some black in there than it is to have to repaint a section of the blade (Trust me).
Resurrection Orb and Decorative Orbs
So as a heads up here, I wasn't happy with my orb in video. I'm a little inexperienced with painting something like this, and after filming the video I went out of my way to try and get this down. I'll detail what I did here for the purposes of detailing my video, but just a fair warn that you might want to look into others explanation of how to do a more convincing OSL.
 I started with a couple basecoats of Warpstone Glow over the orbs, as well as thinning this colour down and running it into the eye sockets and rib segments.
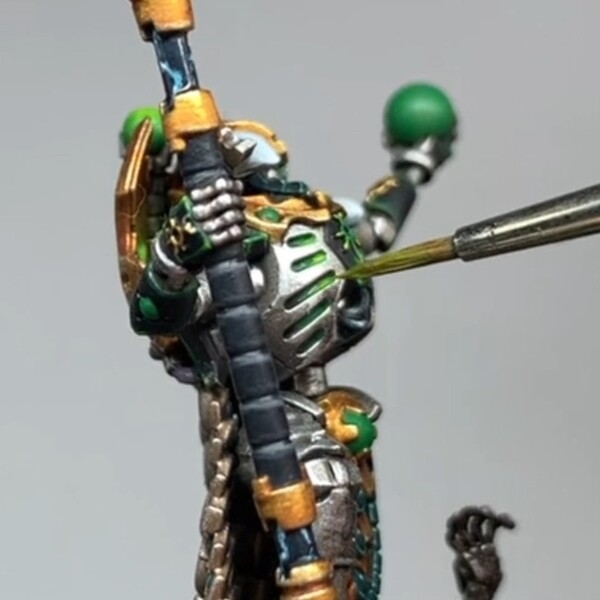 I relayered up with thinned Moot Green , taking care to get a smooth finish on the colour. I also started the cast light effect by adding this around the hand and any details along the forearm that would have light bounced off it, as well as fully basing in the eyes.
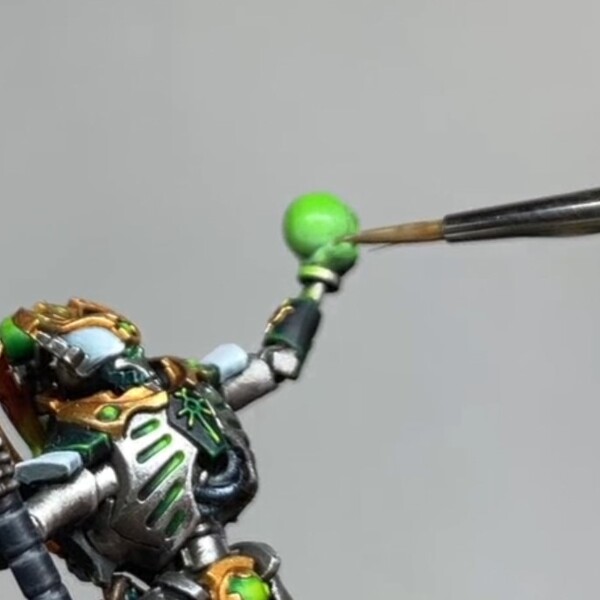 Repeat this step just on the Res Orb with Gauss Blaster Green , covering a smaller area and having the source of the light be the brightest. I wanted the light to be strongest at the bottom of the orb, so pulled the colour towards there. While the colour's there, I also dotted his eyes.
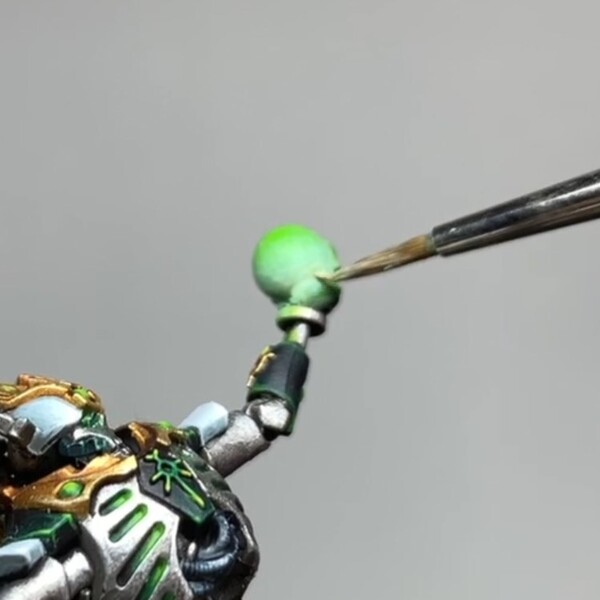 For the brightest point of the light I mixed Gauss Blaster Green and White to get a green off-white colour, then repeated the glazing but on a smaller area than before.
- To finish the decorative orbs I used a touch of Yriel Yellow to warm up the hot spot.
 I finished these with a coat of Green Fluorescent for some blacklight bling.

Adz
HowAdzPaints
I'm a casual mini painter who's fallen into the tutorial space. Documenting my progress and recipes as I go!
Citadel Painting System 36
Base 8
- Caliban Green
- Celestra Grey
- Corax White
- Corvus Black
- Daemonette Hide
- Incubi Darkness
- Retributor Armour
- Runelord Brass
Shade 3
- Agrax Earthshade
- Nuln Oil
- Reikland Fleshshade
Layer 20
- Auric Armour Gold
- Baharroth Blue
- Canoptek Alloy
- Dark Reaper
- Dawnstone
- Eshin Grey
- Fenrisian Grey
- Gauss Blaster Green
- Ironbreaker
- Kabalite Green
- Liberator Gold
- Moot Green
- Slaanesh Grey
- Stormhost Silver
- Sybarite Green
- Thunderhawk Blue
- Ulthuan Grey
- Warpfiend Grey
- Warpstone Glow
- Yriel Yellow
Spray 1
- Leadbelcher
Contrast 4
- Basilicanum Grey
- Black Templar
- Gryph-charger Grey
- Wyldwood
Daler-Rowney
FW Acrylic Ink 1
- White
The Army Painter Warpaints
Acrylic 1
- Matt Black
Vallejo Model Color
Fluorescent 1
- 70.737 Green Fluorescent
.jpg)