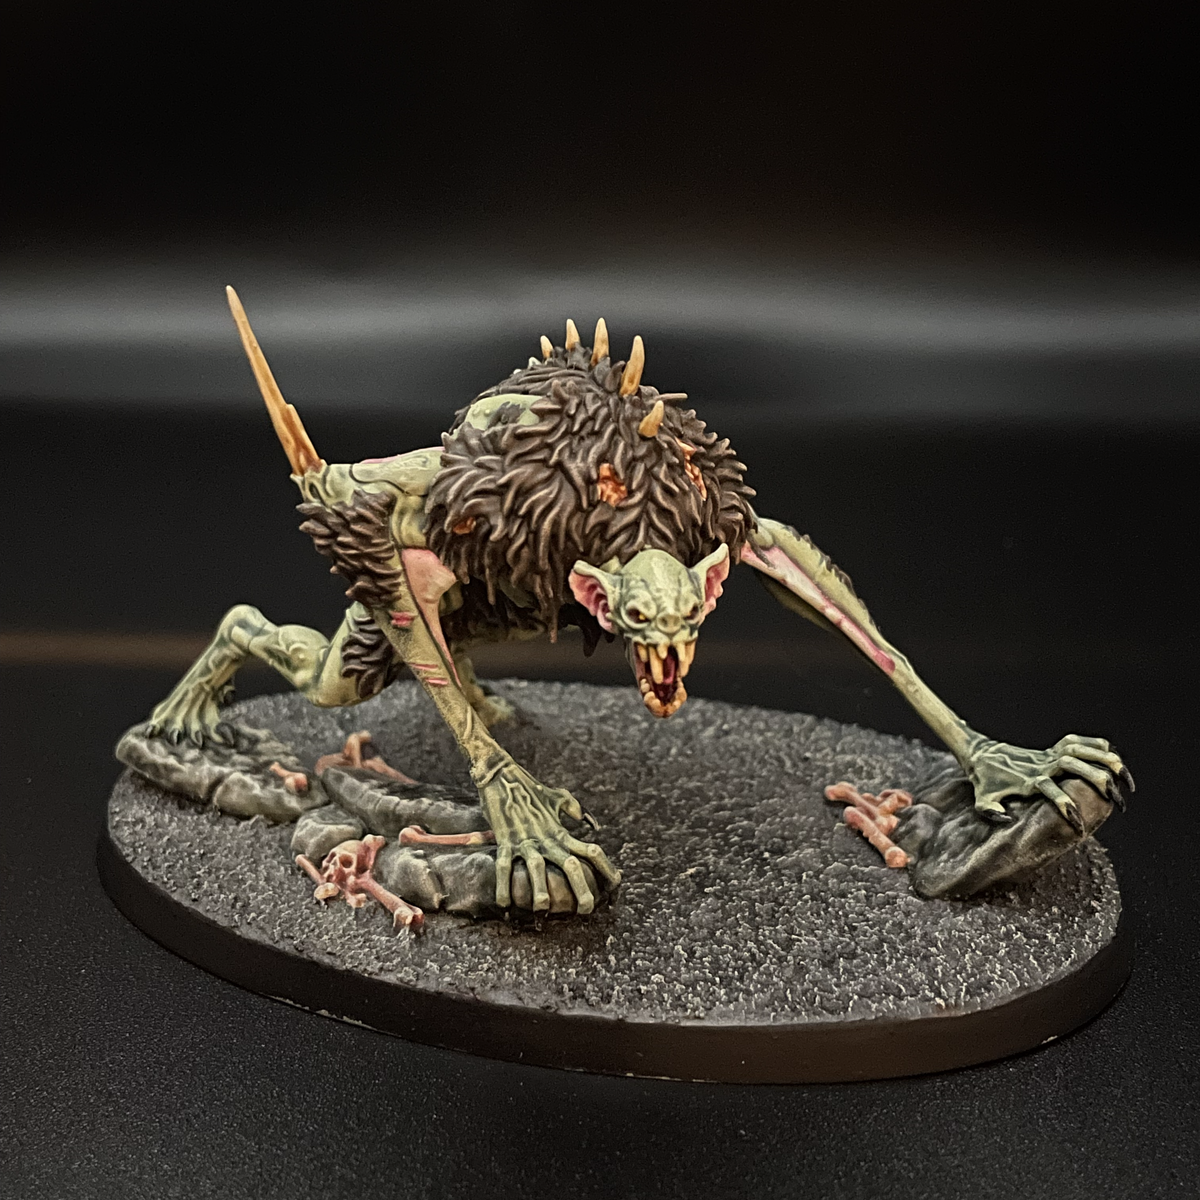
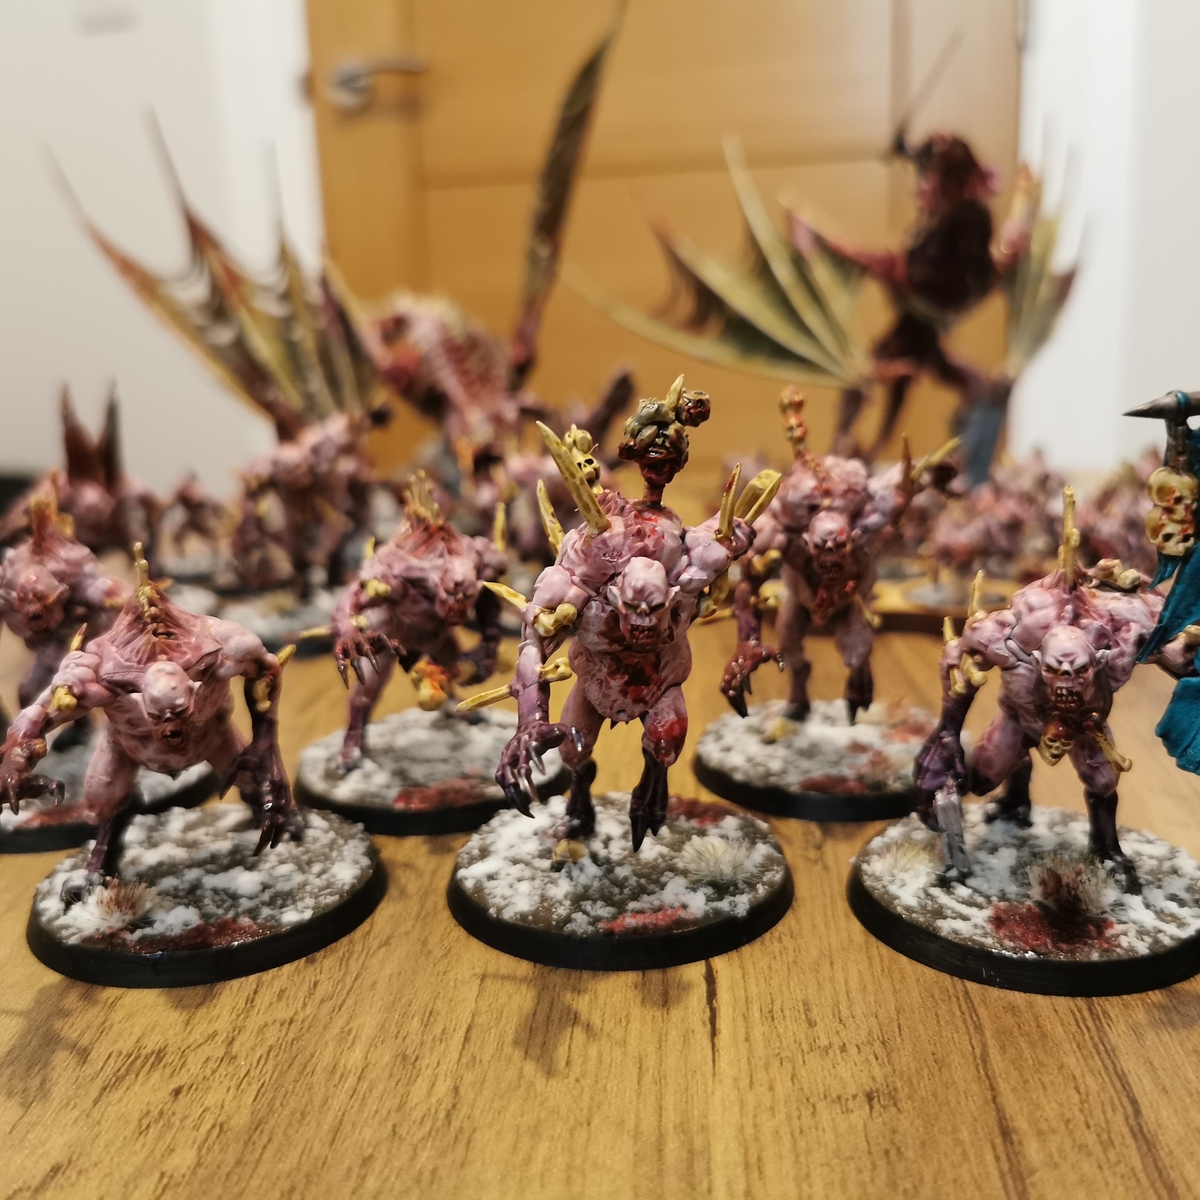
- Prime using Necrotic Flesh spray and use the Colour Match Necrotic Flesh Warpaint to tidy up any areas missing basecoat.
Green Flesh
- Make a 50:50 mix of Gryph-charger Grey and Contrast Medium and apply all over the flesh. If the paint doesn't contrast well in some areas, or if you want the colour to be stronger on e.g. the hands, apply a second or even a third thin coat in those places to reinforce the colour.
- Drybrush all the flesh with Nurgling Green avoiding all the recessed and darkest areas.
- Drybrush the flesh with Ionrach Skin focusing on the upper parts of the miniature.
- Very gently drybrush the flesh with Deepkin Flesh in the most prominent places like the face. This step is completely optional.
Fur
- Basecoat all the fur with Dryad Bark .
- Shade all the fur with Agrax Earthshade .
- Heavy drybrush the fur with Gorthor Brown being careful not to hit the flesh.
- Drybrush all the fur with Baneblade Brown focusing towards the upper parts.
- Drybrush the fur with Karak Stone focusing on the highest parts of the fur.
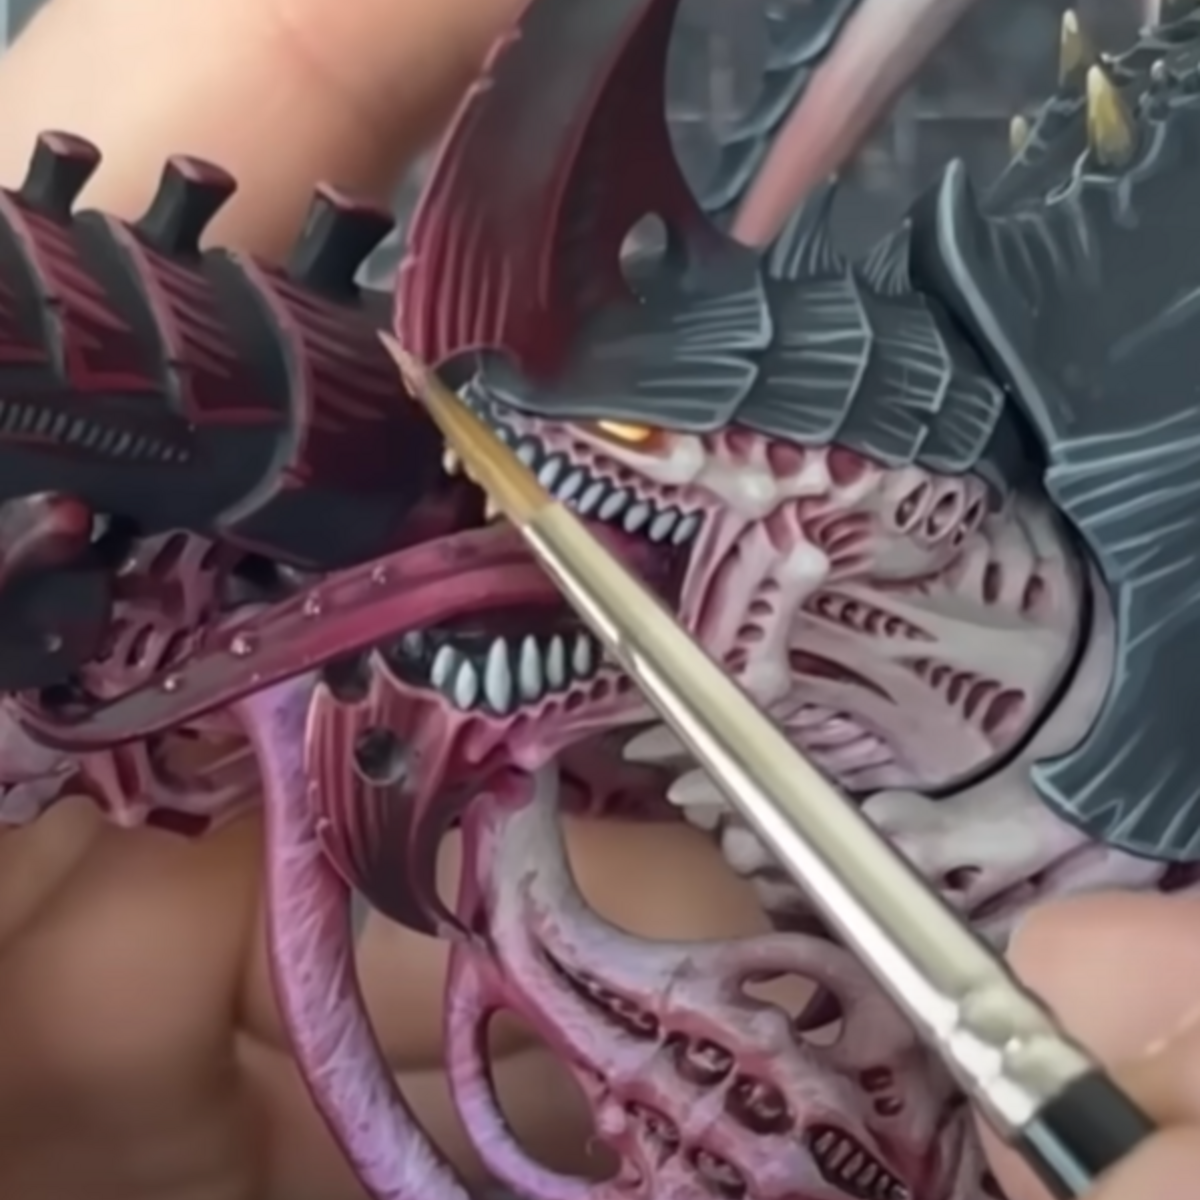
Pink fleshy parts
- Basecoat all the following areas with Wraithbone : membranes between the arms, mouth, wounds, inner ears, teeths, bones.
- For the pink membranes, cuts on the arms and legs, mouth, wounds in the fur and inner ears, make a mix of 1 part Volupus Pink and 6 parts Contrast Medium . Apply it as a single layer over the Wraithbone . For the mouth apply a second thin undiluted layer of Volupus Pink .
- Drybrush the pink membranes with Ionrach Skin leaving the inner areas untouched and drybrushing from the center and towards the edge. Also drybrush the edge of the ears, leaving the inner parts pink.
- You can optionally add a final highlight of Deepkin Flesh to the sharpest edge.
- For the wounds / pustules in the fur, apply a little bit of Wraithbone to the highest points and cover the wound with a thin layer of Seraphim Sepia . This will give it a yellowish tone, while keeping the red wound in the recesses.
Bones and teeth
- For the bones and teeth, apply a couple of thin layers of Seraphim Sepia . Start with a thin layer covering all the Wraithbone , and then focus subsequent layers further towards the bottom (where the bone connects to the body / mouth) until you are happy with the result.
Eyes
- For the eyes, apply a single layer of Volupus Pink in the eye socket, and add a small dot of Flash Gitz Yellow on the eye itself.
Claws
- Paint the claws on hands and feet any black. I used VMC Black . You can highlight it with Thunderhawk Blue or similar if you really want to, but its optional.
Base
- Cover the base in Astrogranite or similar. Paint the Astrogranite and rocks with Mechanicus Standard Grey .
- Layer the rocks with Administratum Grey .
- Shade the rocks with Athonian Camoshade .
- Shade the rocks with Gryph-charger Grey .
- Shade the rocks and Astrogranite with Nuln Oil .
- Drybrush the rocks with Dawnstone .
- Paint all the bones with Wraithbone .
- Shade the bones with Seraphim Sepia .
- Apply a heavily dilluted mix Carroburg Crimson and water to the bones.
- Drybrush everything with Ionrach Skin ( Astrogranite , rocks and bones).
- Paint the rim black (I used VMC Black )
Base
4
-
Dryad Bark
-
Ionrach Skin
-
Mechanicus Standard Grey
-
Wraithbone
Shade
5
-
Agrax Earthshade
-
Athonian Camoshade
-
Carroburg Crimson
-
Nuln Oil
-
Seraphim Sepia
Layer
9
-
Administratum Grey
-
Baneblade Brown
-
Dawnstone
-
Deepkin Flesh
-
Flash Gitz Yellow
-
Gorthor Brown
-
Karak Stone
-
Nurgling Green
-
Thunderhawk Blue
Contrast
2
-
Gryph-charger Grey
-
Volupus Pink
Sign up to compare these recipe requirements to your own paint collection