How to paint blood angels Ballistus dreadnought

The following is a guide on how to paint the Ballistus dreadnought from the leviathan box set in the colours of Baal.
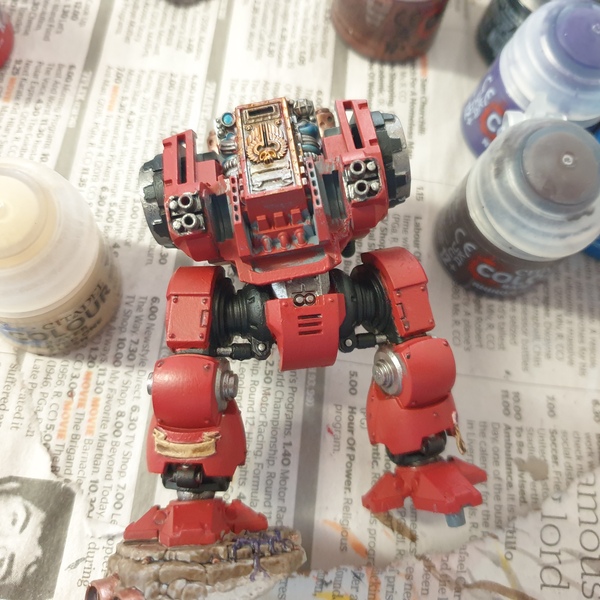
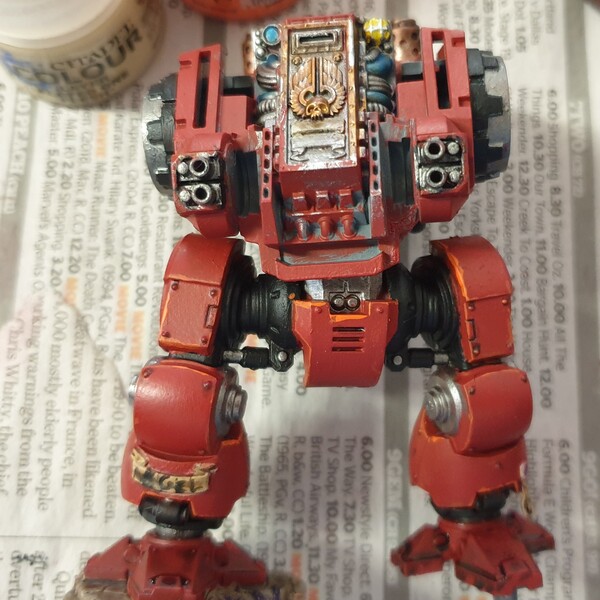
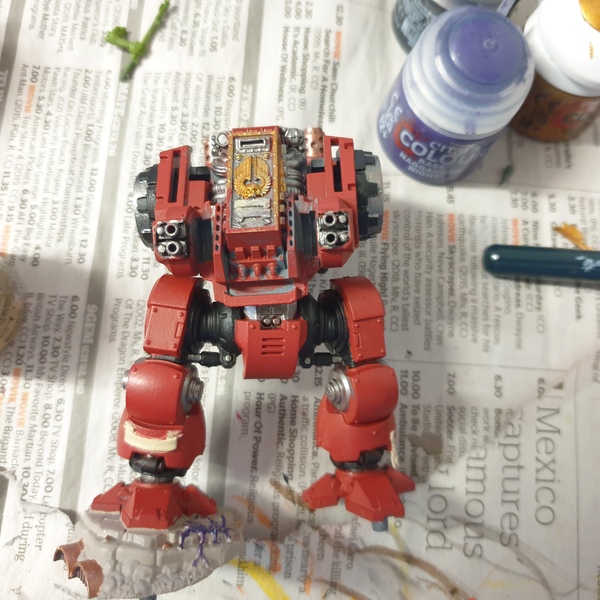 Basecoat main body + legs
- Start by undercoating the model with Mephiston Red . This can also be done as a spray.
- Basecoat any black parts with Abaddon Black . Make sure to slightly thin it with water so it gets onto the model smoother.
- Basecoat any silver metal parts with Leadbelcher . Refer to the image for help.
- Basecoat the rock the dreadnought is standing on with Rakarth Flesh . Paint the entire rock with this.
- Paint any purity seals and parchment with Wraithbone . Also paint the wax head.
- Basecoat the exhaust pipes on the back of the model with Balthasar Gold . Also include the pipes and bullet shells on the rock too.
- Paint the sarcophagus with Retributor Armour . Refer to the image for help.
- Basecoat the light on the dreadnought with Corax White . Any white works for this.
- Paint the tyranid things on the base with Naggaroth Night . Try to avoid the Rakarth Flesh as much as possible.
 Shading main body + legs
- Recess shade the red armour with Agrax Earthshade . Use the tip of your smallest brush for this.
- Wash the top 2 thirds of the exhaust pipes with Agrax Earthshade . Leave the lowest third.
- Wash the rock with Agrax Earthshade . Also include the pipes and shells.
- Wash the purity seals and parchment with Agrax Earthshade . Try to avoid spilling the paint onto the rest of the model.
- Shade the sarcophagus and pipes with Agrax Earthshade . It is fine if you accidentally paint the silver.
- Shade all the Leadbelcher with Nuln Oil . Avoid the red armour as much as possible.
- Wash the rock with Nuln Oil to darken it.
- Shade the topmost third of the exhaust pipes with Nuln Oil . You may have to do a few coats to see a difference.
- Wash the light and some pipes with Frostheart . Aim for every second pipe.
- Wash the wax on the purity seals with Magos Purple . Avoid the parchment on the seals.
 Layering and highlighting main body + legs
- Edge highlight all the red armour with Troll Slayer Orange . Use the edge of your brush for this.
- Edge highlight all silver metal and gold parts with Stormhost Silver . Optionally use this paint to highlight the black. Include any parts painted with Balthasar Gold .
- Paint thinned Yriel Yellow onto the light that is split into 9 sections.
- Carefully paint lettering onto the parchment on the dreadnought's leg with Abaddon Black . This can be very difficult though.
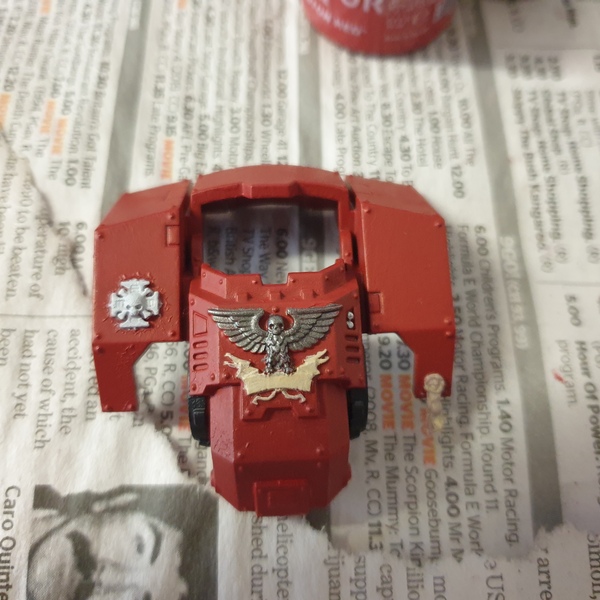 Basecoat front
- Undercoat the sub section with Mephiston Red . This can also be applied using a spray.
- Paint the black part with Abaddon Black . Thin with water for a smoother application.
- Basecoat the parchment and purity seals with Wraithbone . At this point my Wraithbone paint dried out so I swapped to using Flayed One Flesh . I got an almost identical result.
- Basecoat the crux terminatus with Corax White . Be very careful not to accidentally paint the red armour.
- Paint the aquila with a 1:1 mix of Abaddon Black and Leadbelcher . Darker silver paints also work.
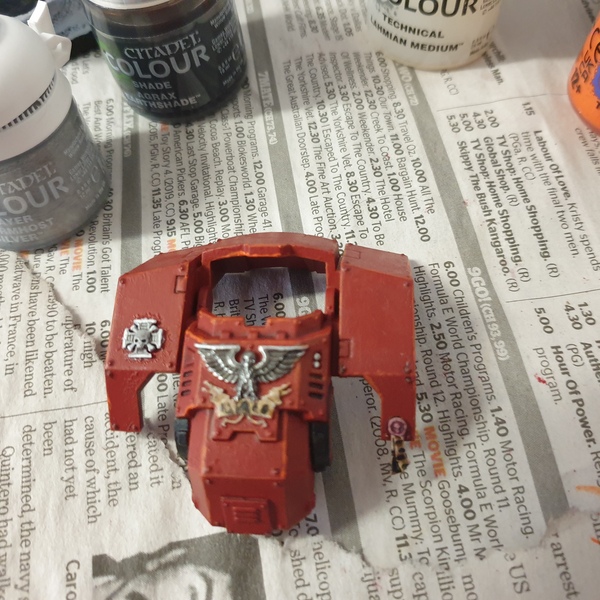
 Shading front
- Recess shade the red armour with Agrax Earthshade . You will need a thin brush for this.
- Shade the parchment and purity seals with Agrax Earthshade .
- Shade the crux terminatus with Nuln Oil . You may have to apply this twice to get the darkness your looking for.
- Wash the aquila with Nuln Oil . Be sure it doesn't fill in the recesses to much.
- Paint the wax head on the purity seals with Magos Purple . Avoid the parchment.
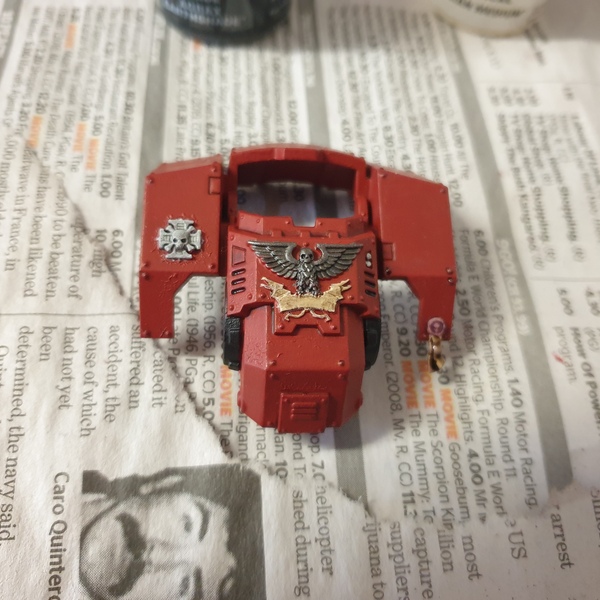
 Layering and highlighting front
- Edge highlight the red armour with Troll Slayer Orange . Apply twice for a brighter orange.
- Edge highlight the aquila with Stormhost Silver . This can also be done as a careful drybrush.
- Edge highlight the crux terminatus with White Scar .
- Use thinned Abaddon Black to add lettering and detail onto the parchment. Do this with the parchment on the purity seal too.
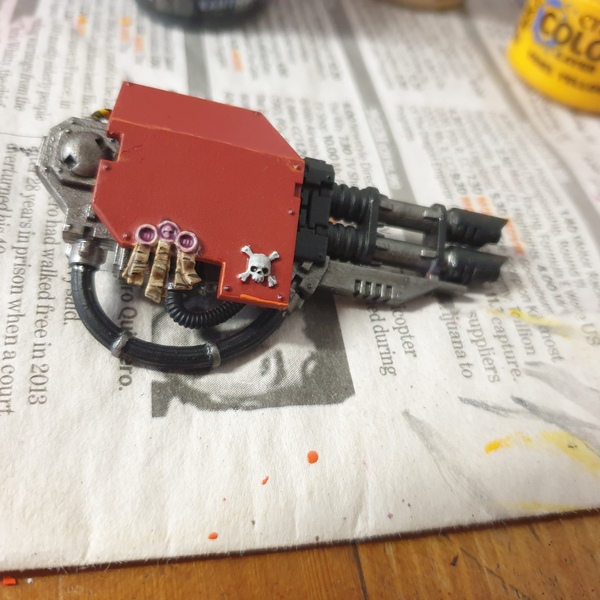
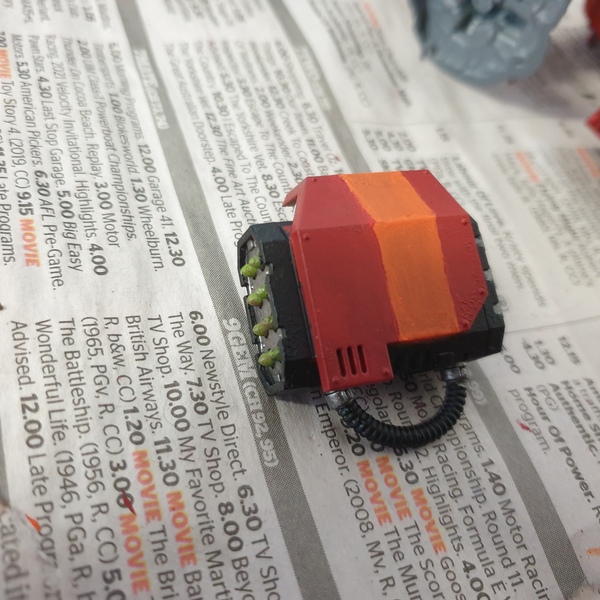 Basecoat grenade launcher
- Undercoat the sub section with Mephiston Red . Like the other parts this can be done as a spray.
- Basecoat all the black parts with Abaddon Black . Try to avoid the red armour.
- Paint Leadbelcher onto the silver metal parts.
- Basecoat the missiles with Orruk Flesh . Any light-ish green works.
- Paint Troll Slayer Orange onto the armour panel. Use the image and masking tape for help. You will need to do multiple coats.
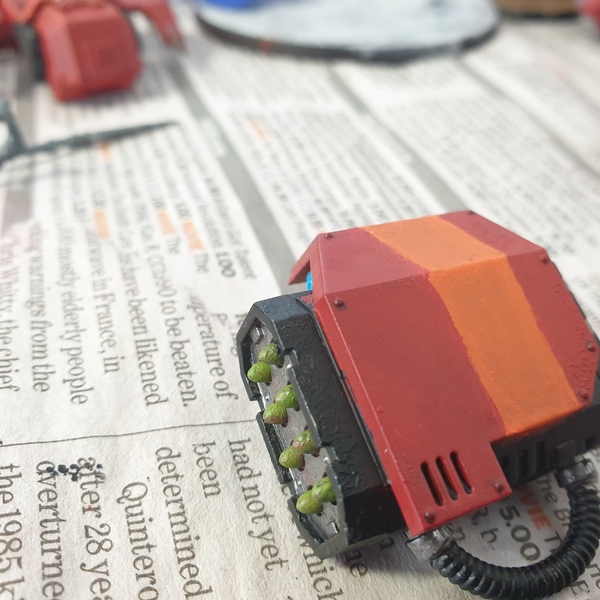 Shading grenade launcher
- Recess shade the red armour with Agrax Earthshade .
- Wash the silver metal with Nuln Oil . Do this twice for a darker colour.
- Paint the blue light with Frostheart .
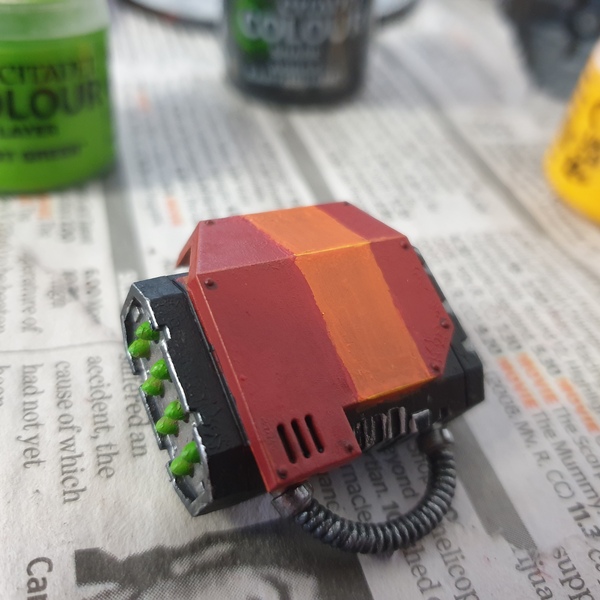 Layering and highlighting grenade launcher
- Edge highlight all the red armour with Troll Slayer Orange . Use the edge of your brush.
- Edge highlight all the silver metal and black parts with Stormhost Silver .
- Lightly dry brush the black cable with Stormhost Silver . Avoid the red armour.
- Layer Moot Green onto of the Orruk Flesh . Thin the paint with water for a smoother transition.
- Edge highlight the orange stripe with Yriel Yellow . Be very careful not to smudge the paint.
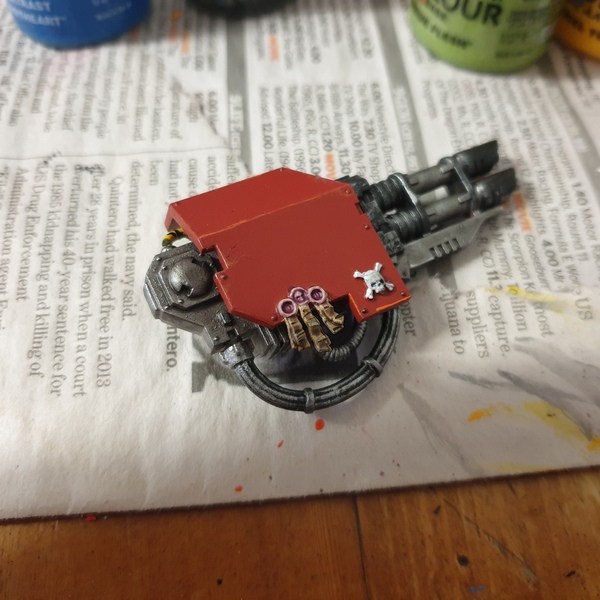
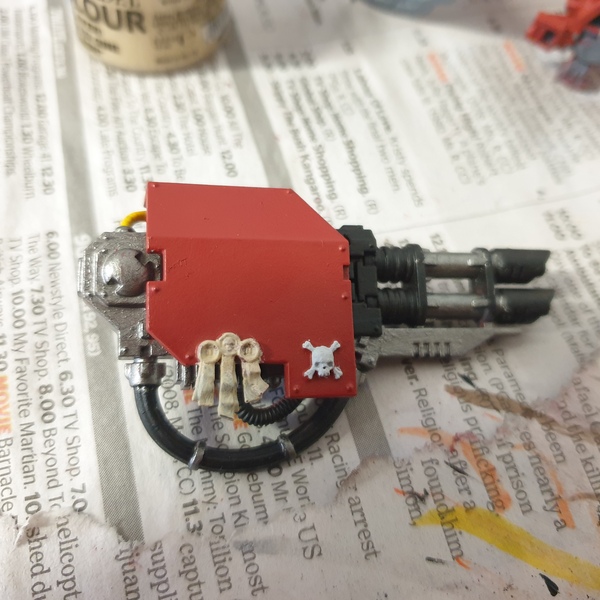 Basecoat laser cannon
- Like with all the other parts, basecoat this with Mephiston Red .
- Basecoat all the black parts with Abaddon Black . Thin this paint with water slightly otherwise it'll be to chunky.
- Paint the silver metal parts with Leadbelcher . Avoid the black and the red as best as you can.
- Paint the parchment with Wraithbone or an equivalent of your choice ( R.I.P. Wraithbone ).
- Basecoat the skull and cross bones with Corax White . Apply 2 coats for a more solid colour.
 Shading laser cannon
- Recess shade the red armour with Agrax Earthshade .
- Wash the parchment with Agrax Earthshade . Try to make it create lines going horizontally across the parchment to help later on.
- Wash the silver metal with Nuln Oil .
- Shade the skull and cross bones with Nuln Oil .
- Paint the wax on the purity seals with Magos Purple .
 Layering and highlighting laser cannon
- Edge highlight the red armour with Troll Slayer Orange . Use the edge of your brush.
- Drybrush both the black and silver metal parts with Stormhost Silver . This can be done as an edge highlight but drybrushing is alot quicker. Avoid the other colours!
- Edge highlight the skull and cross bones with White Scar .
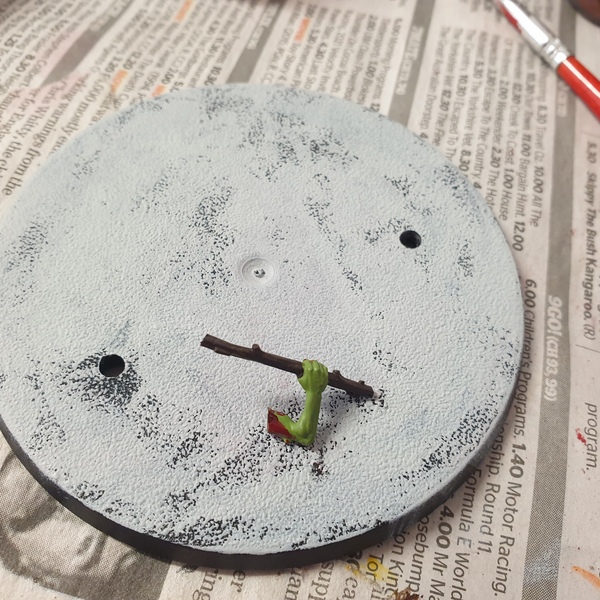 The base
- Paint the entire base with Corax White .
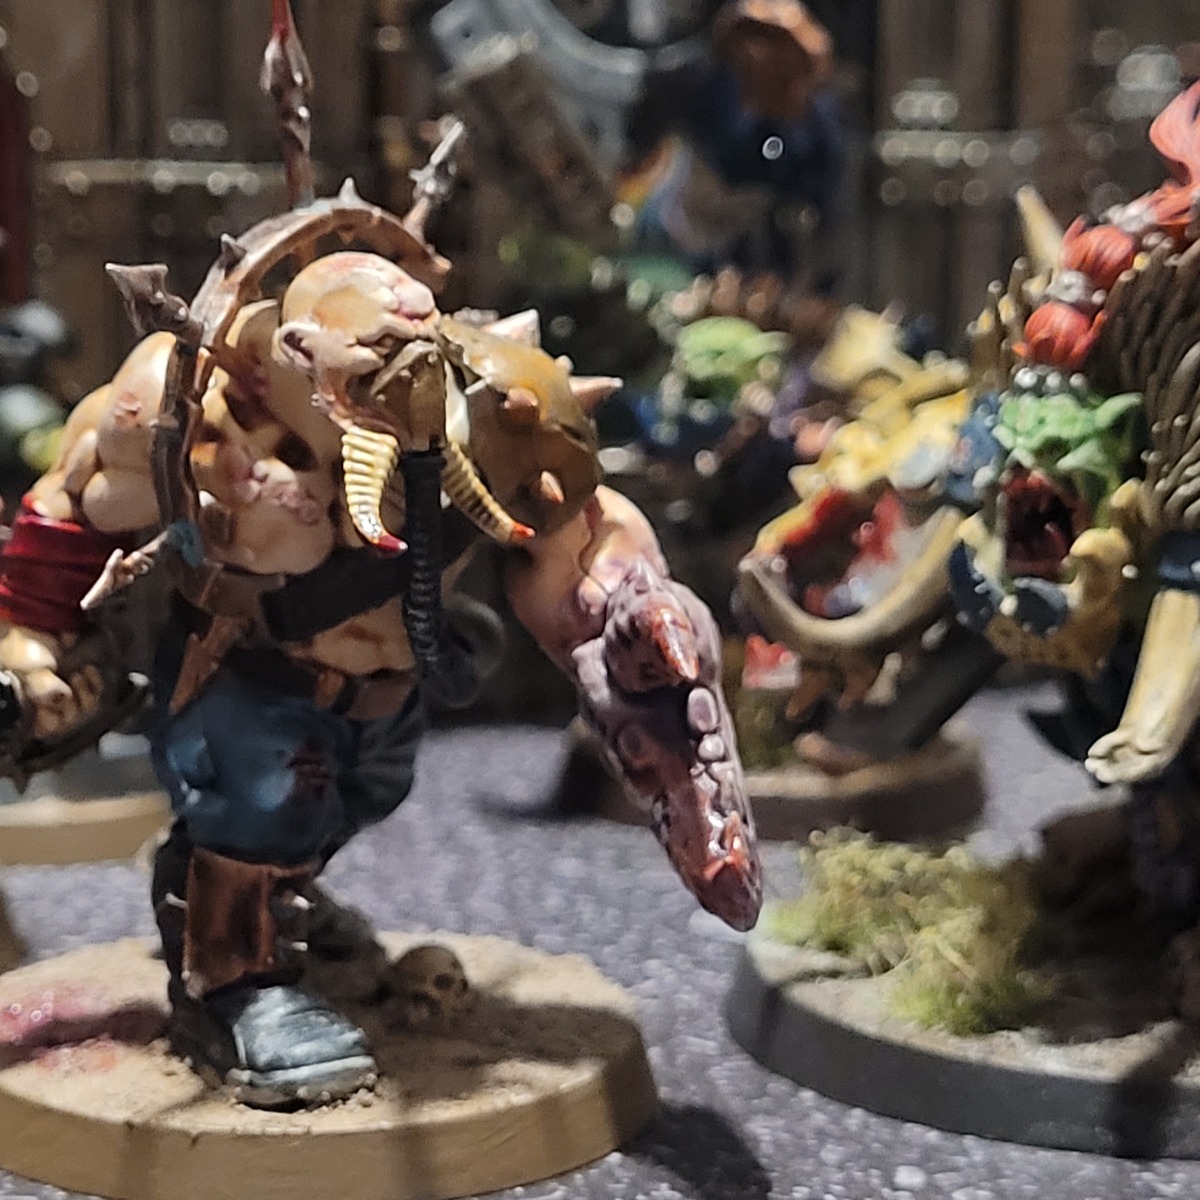
- I added an age of sigmar Kruleboyz Gutrippa's arm to the base of my dreadnought. The arm was basecoated with Orruk Flesh .
- The stick the Gutrippa is holding was basecoated with Rhinox Hide .
- I selectively painted some Blood For The Blood God onto the arm and hand. Don't go over board with how much you add.
- Paint the rim of the base with Eshin Grey .
- Paint a whole load of Valhallan Blizzard onto the base. You may need to do this twice to get the depth you want. You may also need to get another pot of Valhallan Blizzard because it is a big base.
darthcosicat
Hello :) Paint a wide variety of Miniatures using Citadel paints, make tutorials mainly so I remember how I paint my models. Hope you enjoy.
Citadel Painting System 24
Base 11
- Abaddon Black
- Balthasar Gold
- Corax White
- Leadbelcher
- Mephiston Red
- Naggaroth Night
- Orruk Flesh
- Rakarth Flesh
- Retributor Armour
- Rhinox Hide
- Wraithbone
Shade 2
- Agrax Earthshade
- Nuln Oil
Layer 7
- Eshin Grey
- Flayed One Flesh
- Moot Green
- Stormhost Silver
- Troll Slayer Orange
- White Scar
- Yriel Yellow
Technical 1
- Blood For The Blood God
Texture 1
- Valhallan Blizzard
Contrast 2
- Frostheart
- Magos Purple