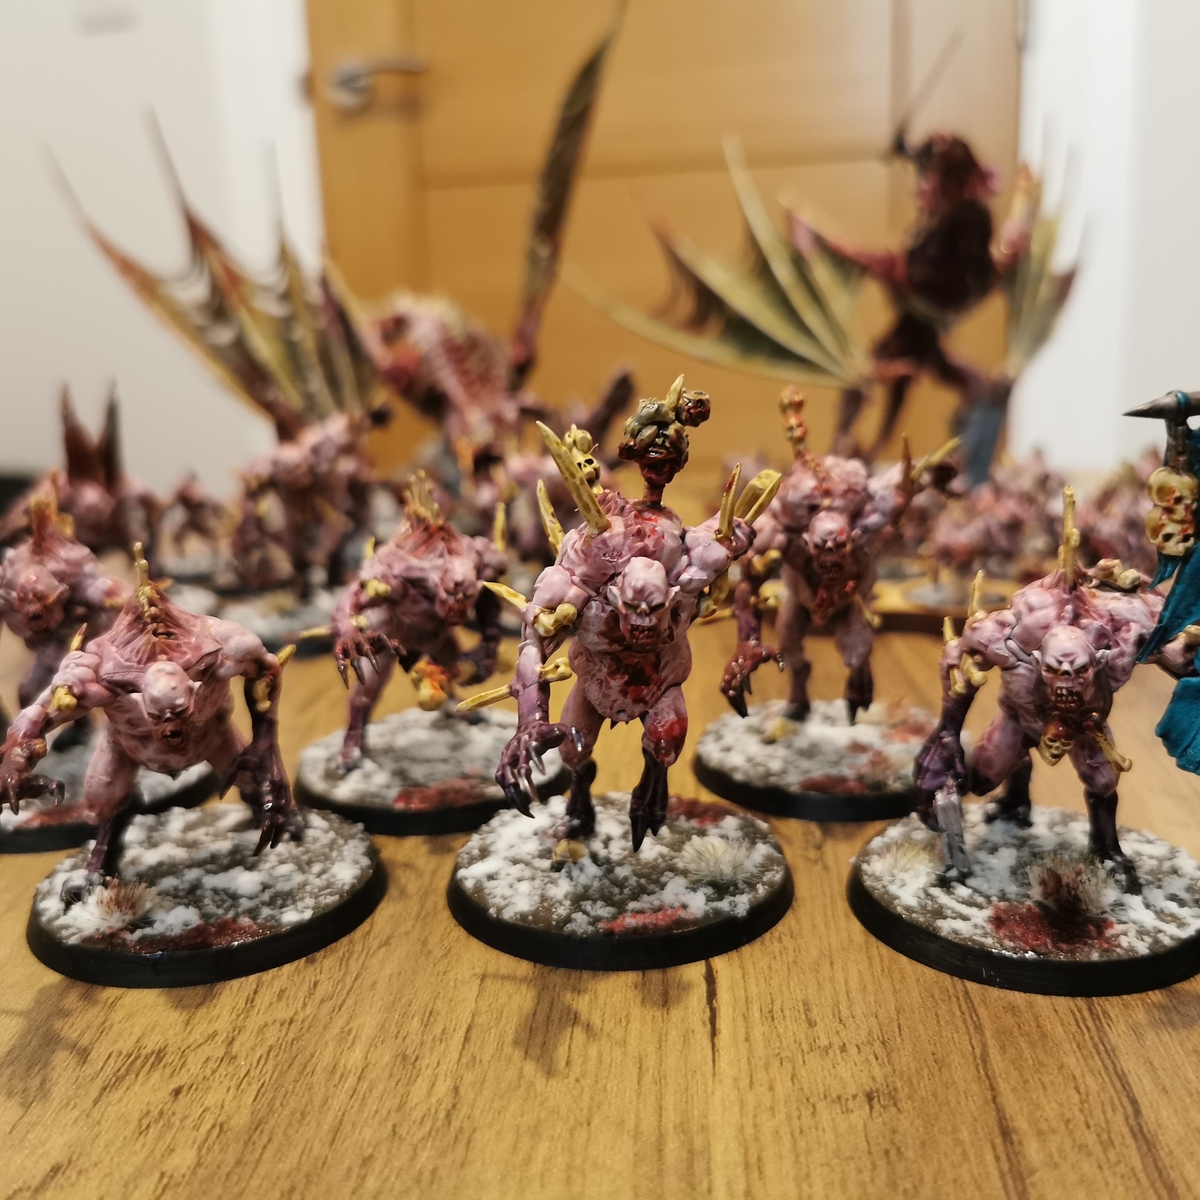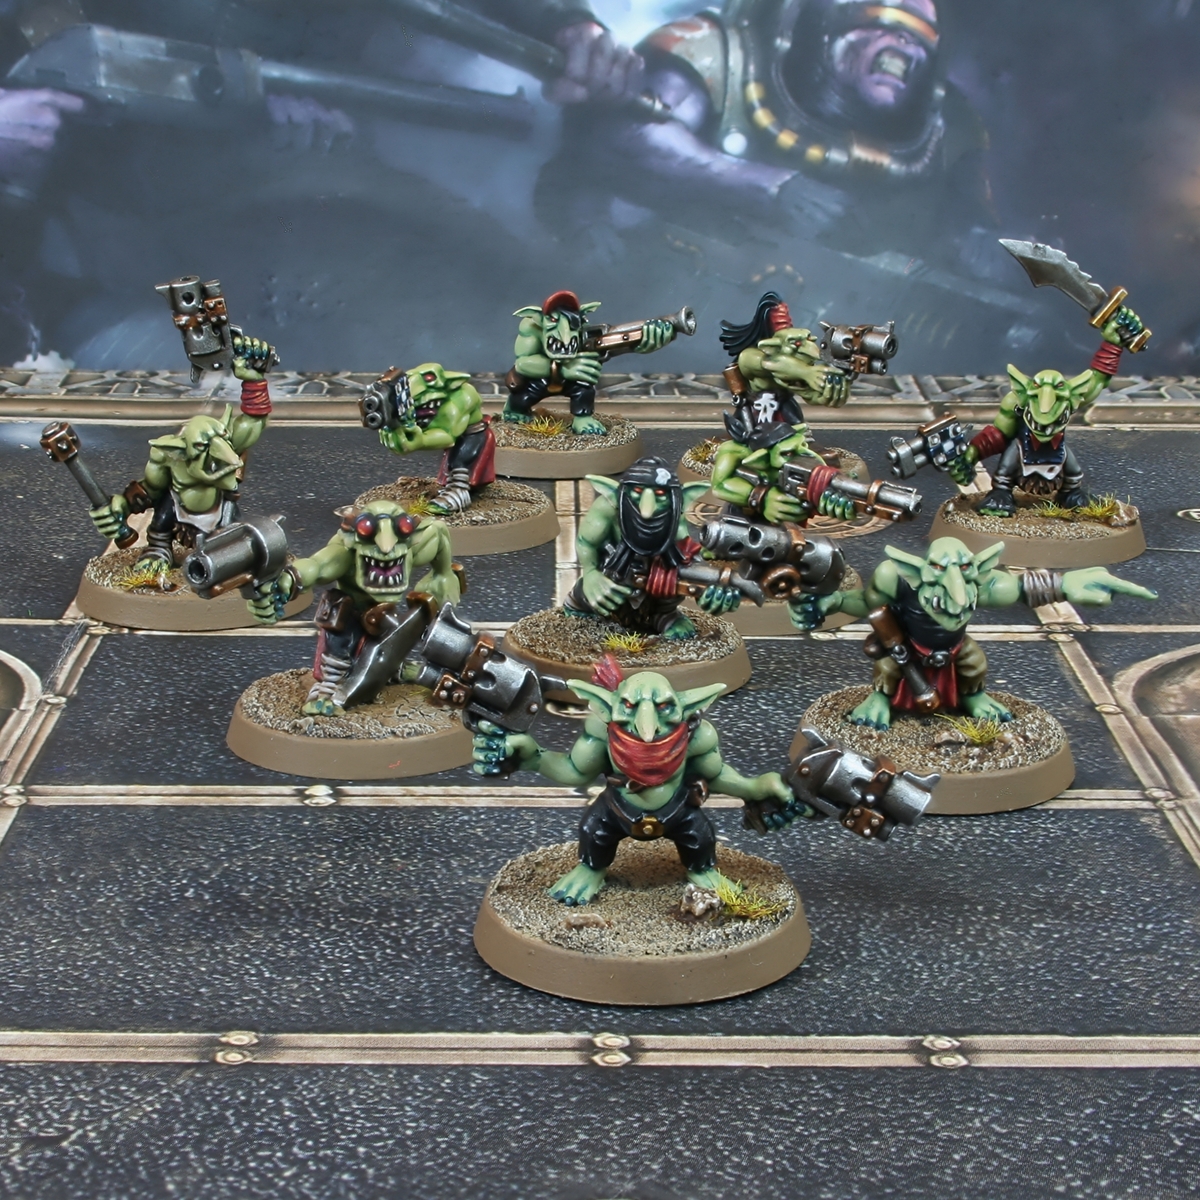

In this guide I will being focusing on the main colours I have been using for the Gretchin in my Ork Goffs Kill Team. I like to vary the skin tones of my Gretchin, so if you are interested in this in particular you may want to check out my "Gretchin/Goblin Skin Tone Collection" also available on this site.
If however, you like to keep things simple, here is my go to skin tone for most 40k Orks.
Traditional Ork
- Basecoat with a mix of Averland Sunset and Skarsnik Green . I make the ratio about 1:1, but add a little more Skarsnik Green , so it reads as green and not yellow.
- Shade recesses with Biel-Tan Green . Use a combination of glazing and traditional recess shading.
- Run small amounts of Coelia Greenshade into deep recesses with a fine brush. Mix in a little Contrast Medium if you want to make it easier to handle.
- Add general highlights to the skin with Ogryn Camo .
- How apply fine highlights with Krieg Khaki .
- Add final selective and specular highlights of 1:1 Screaming Skull and White .
This recipe is based strongly on the "40k Ork Skin" recipe, from eavy-archive.com.
Red Eyes
- Basecoat with Khorne Red .
- Paint the inner part of the eye with Evil Sunz Scarlet .
- Paint a small highlight of Troll Slayer Orange in the middle of the eye, to represent the iris.
- Finish with an even smaller, specular highlight of Dorn Yellow in the centre, to represent the pupil.
Teeth
- Basecoat with Rhinox Hide .
- Pick out the teeth with XV-88 .
- Highlight with Ushabti Bone coverring a smaller area.
- Spectively highlight with Screaming Skull .
- Mix a little White into your Screaming Skull and add a specular highlight on the point.
Claws and Nails
- Basecoat with Incubi Darkness .
- Highlight with Kabalite Green .
- Add selective highlight of Sybarite Green .
- Put specular highlight of Deepkin Flesh on the points only.
Black Cloth
- Basecoat with Abaddon Black .
- Apply chunky highlights with 1:1 Abaddon Black & Rhinox Hide .
- Fine highlight edges with Stormvermin Fur .
- Selectively highlight with 2:1 Stormvermin Fur and White .
- Apply specular highlights of 1:2 Stormvermin Fur and White on points, folds and rough looking areas.
Red Cloth
- Basecoat with Mephiston Red .
- Shade recesses with thinned 1:1 Mephiston Red and Incubi Darkness .
- In very deep recesses, add some Abaddon Black to the mix above and shade with fine lines.
- Highlight with 1:1 Mephiston Red and Wild Rider Red .
- Apply fine highlights of Wild Rider Red .
- Selectively highlight with Fire Dragon Bright .
- Apply small/specular highlights of 1:1 Fire Dragon Bright and Ice Yellow . Alternatively, feel free to use Lugganath Orange .
Khaki Cloth
- Basecoat with Tallarn Sand .
- Shade with a 1:1 mix of Tallarn Sand and Rhinox Hide .
- Deep shade with fine lines of Rhinox Hide .
- Add chunky highlights of 2:1 Tallarn Sand and Screaming Skull .
- Highlight a smaller area with fine highlights of 1:2 Tallarn Sand and Screaming Skull .
- Where relevant, apply specular highlights of Screaming Skull .
Grey Cloth
- Basecoat with Stormvermin Fur .
- Recess shade with Stormvermin Fur , Abaddon Black and Incubi Darkness mixed 2:2:1.
- Highlight with 2:1 Stormvermin Fur and Administratum Grey .
- Increase the amount of the light grey, so it is roughly 1:2 Stormvermin Fur and Administratum Grey and add finer highlights.
- Selectively highlight with Administratum Grey .
- Finish off with very small highlights with a mix or Administratum Grey and White . I would recommend keeping these highlights to points that are very exposed to light.
Brown Fur Scraps
- Basecoat with Rakarth Flesh .
- Overbrush the fur portion with White .
- Apply a layer of Cygor Brown over the fur part, leaving the smooth skin parts untouched.
- Wash the skin parts with Reikland Fleshshade .
- Highlight the fur selectively towards the point with XV-88 .
- Mix some Wraithbone or a similar colour into your XV-88 and pick out fur points.
- Mix your Rakarth Flesh 1:1 with Pallid Wych Flesh and egde highlight the skin parts.
- Selectively highlight the skin with Pallid Wych Flesh .
- Finish off the skin with very small/specular highlights of White on points.
Dark Brown Leather
- Basecoat the leather area with Rhinox Hide .
- Glaze most of the leather with thinned Mournfang Brown . Use quite a small brush and drag towards edges in rough lines. This should create some extra texture.
- Add a chunky edge highlight of Skrag Brown to all edges.
- Highlight everything again, this time with a fine line of Skrag Brown and Ushabti Bone mixed 1:1. This is a good mix to throw in occasional fine lines as scratches too.
- With pure Ushabti Bone , selectively highlight corners and exposed edges of the leather. Put a dot of this colour where the additional scratched above meet edges too.
- Add a little pure white (like Dead White ) to your Ushabti Bone and add dot highlights to corners.
Bandages
- Basecoat with Rakarth Flesh .
- Wash with Agrax Earthshade .
- Highlight with 1:1 Rakarth Flesh and Pallid Wych Flesh .
- Selectively highlight with Pallid Wych Flesh .
- Add small/specular highlights with 1:1 Pallid Wych Flesh and White . Be very selective with this step.
Steel
- Basecoat with Leadbelcher .
- Wash with Nuln Oil .
- Glaze Agrax Earthshade in areas where dirt could collect.
- Add highlights with Ironbreaker .
- Now selectively highlight with Vallejo Model Air Silver RLM01 Metallic .
If you wanted to add some additional weathering, consider glazes of Rhinox Hide , Mournfang Brown and small patches of Skrag Brown .
Brass
- Basecoat with Brass Scorpion .
- Wash with Agrax Earthshade .
- Mix increasing amounts of Silver RLM01 Metallic into the Brass Scorpion and highlight smaller ans smaller. You should be looking to end with dots of pure Silver RLM01 Metallic .
Dirty Gold
- Basecoat with Retributor Armour .
- Wash with Agrax Earthshade .
- Mix increasing amounts of Silver RLM01 Metallic into the Retributor Armour , then highlight smaller and smaller. You should be looking to end with dots of pure Silver RLM01 Metallic .
Chequered Pattern
- Basecoat with Black .
- Sketch out the pattern with Dawnstone and a fine brush. Fill in the white squares with thes colour when you are happy.
- Brighten the white squares with Pallid Wych Flesh .
- Now is a good time to shade around rivets with thin Baneblade Brown and enhance with very precise shading of Dryad Bark .
- Highlight with small amounts of White .
- Tidy up black squares with Black .
- Edge highlight with The Fang .
- Apply selective highlights of Blue Horror if/where needed.
I used these same paint for a few other small details on the models, like black armour panels and white buckles. Mostly to streamline my painting process a little, with me already having the paints on my palette.

Rookie Brushes
RookieBrushes
Aspiring miniature painter and biscuit enthusiast. Here to share my hobby and help where I can.
Citadel Painting System 45
Base 14
- Abaddon Black
- Averland Sunset
- Dryad Bark
- Incubi Darkness
- Khorne Red
- Leadbelcher
- Mephiston Red
- Mournfang Brown
- Rakarth Flesh
- Retributor Armour
- Rhinox Hide
- The Fang
- Wraithbone
- XV-88
Shade 5
- Agrax Earthshade
- Biel-Tan Green
- Coelia Greenshade
- Nuln Oil
- Reikland Fleshshade
Layer 24
- Administratum Grey
- Baneblade Brown
- Blue Horror
- Brass Scorpion
- Dawnstone
- Deepkin Flesh
- Dorn Yellow
- Evil Sunz Scarlet
- Fire Dragon Bright
- Ironbreaker
- Kabalite Green
- Krieg Khaki
- Lugganath Orange
- Ogryn Camo
- Pallid Wych Flesh
- Screaming Skull
- Skarsnik Green
- Skrag Brown
- Stormvermin Fur
- Sybarite Green
- Tallarn Sand
- Troll Slayer Orange
- Ushabti Bone
- Wild Rider Red
Technical 1
- Contrast Medium
Contrast 1
- Cygor Brown
Vallejo Game Color
Base 1
- 72.001 Dead White
Vallejo Model Air
Base 1
- 71.063 Silver RLM01 Metallic
Vallejo Model Color
Base 3
- 70.858 Ice Yellow
- 70.950 Black
- 70.951 White