Farsight Enclaves Battlesuits
Shiny red candy coat for Battlesuits
Candy Coat Process
- Sir Coates Silver
- Clear Red 4-6 times depending on required depth/richness of coat
Detail Base Coat
Base coat the rest of the details as follows:
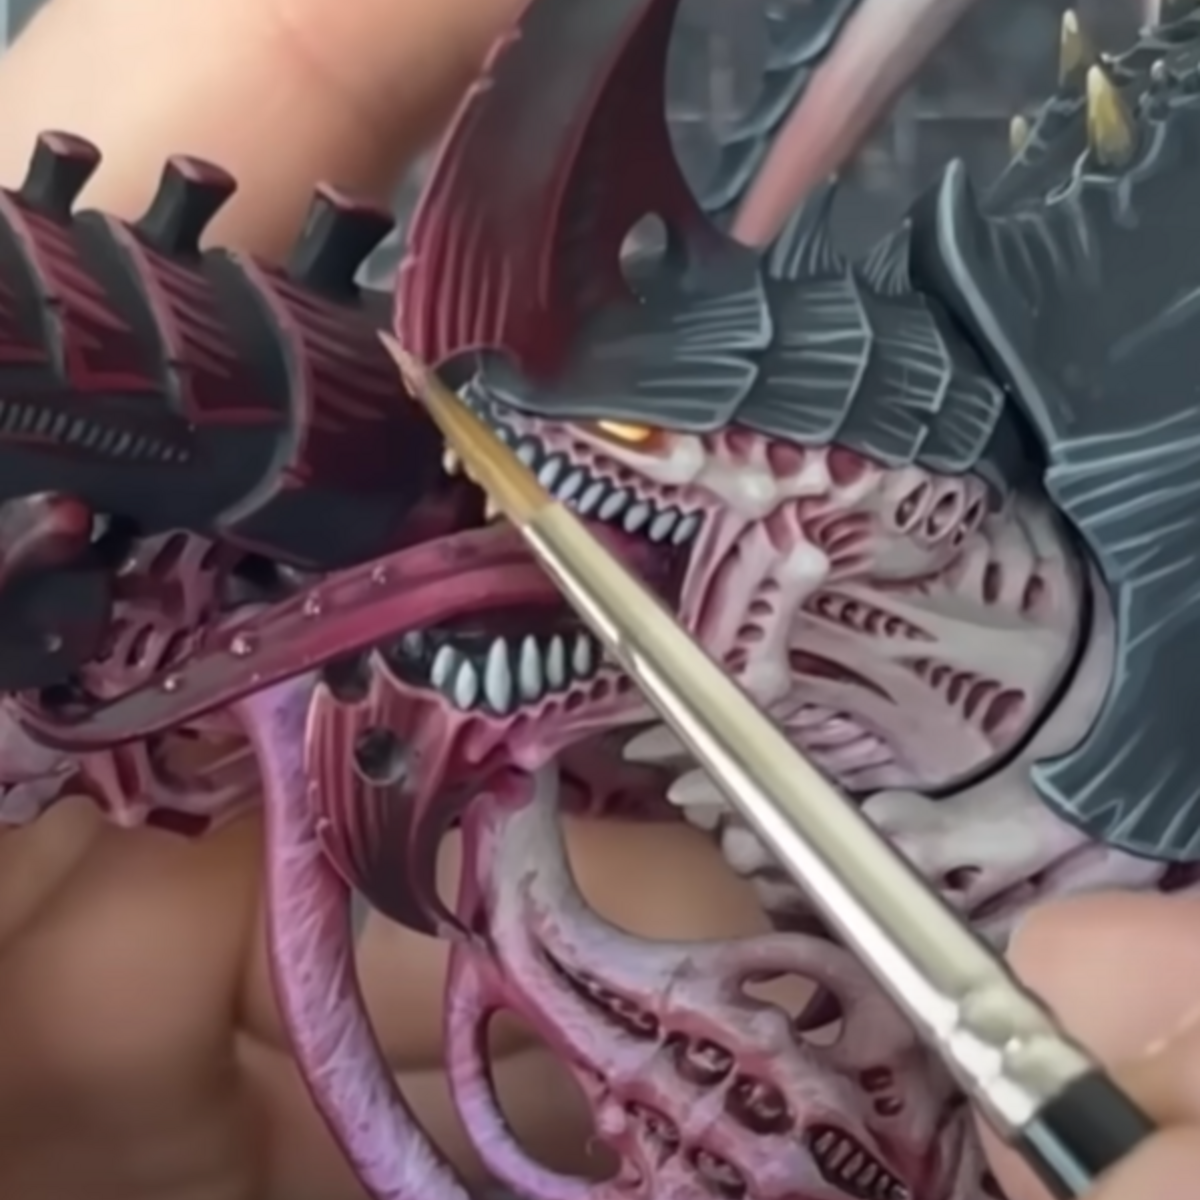
- Death Reaper for covering the mechanical bits, vents, lenses, and other small details as appropriate. Avoid major armor panel areas, these stay candy coated.
- Evil Sunz Scarlet to cover the tips of missiles on any missile pods
- Troll Slayer Orange as a smaller dot on the tips of the missiles
- Trooper White on the very tip of the missiles
- Trooper White for helmet and some armor panel markings
- Skeleton Legion for cloth on bond knives/other fabrics
- Screaming Bell on T'au insignias and stabilizers on weapons/armor
Lenses
- Crystal Blue initial blob in the lower half of the lens, keeping edges of Death Reaper showing around it still
- Shieldwall Blue as a smaller dot within the Crystal Blue region, as well as a very small dot in the upper half of the lens
- Bold Titanium White as a smaller dot inside both Crystal Blue regions
- Talassar Blue across whole lens for blue tint
Flight Vents, Fusion cores, and exhaust plumes
- Crystal Blue as a base
- Shieldwall Blue to start building gradient
- Bold Titanium White : for hottest parts of each region
- Shieldwall Blue glaze (1:5 Shieldwall Blue to Warpaints Stabilizer ) over the whole region to make the blend smoother
Highlights
- Sir Coates Silver on Death Reaper portions that are not body-suits.
- Fenrisian Grey for body-suits
- Pale Sand for Skeleton Legion cloth
- Bold Titanium White on Trooper White portions
- True Copper for insignia and stabilizers
Wash/shade
- Apothecary White on Trooper White portions
- Agrax Earthshade on Skeleton Legion cloth
- Nuln Oil wash on Screaming Bell and as a panel lining color
Base
- AK interactive desert sand texture paste
- Populate as you see fit with dry-looking grass tufts/desert flowers
- Skeleton Legion dry brush to bring out edges
- Sepia Tone 1:1 with Warpaints Stabilizer to shade sand
- Flayed One Flesh airbrush dusting on lower portions to produce dusty look. Want it to seem like sand and dust has settled on the lower panels, like a dirty car
Citadel Painting System 9
Base 1
- Screaming Bell
Shade 2
- Agrax Earthshade
- Nuln Oil
Layer 4
- Evil Sunz Scarlet
- Fenrisian Grey
- Flayed One Flesh
- Troll Slayer Orange
Contrast 2
- Apothecary White
- Talassar Blue
Monument Hobbies Pro Acryl
Base 1
- 001 Bold Titanium White
Tamiya
Acrylic gloss 1
- X-27 Clear Red
The Army Painter Warpaints Fanatic 6
Acrylic 3
- Crystal Blue
- Pale Sand
- Shieldwall Blue
Effect 1
- Warpaints Stabilizer
Metallic 1
- True Copper
Wash 1
- Sepia Tone
Two Thin Coats 4
Shade 1
- Sir Coates Silver
Midtone 2
- Death Reaper
- Skeleton Legion
Highlight 1
- Trooper White