
Step by step on how I painted Ghazghkull Thraka and Makari.
The Head
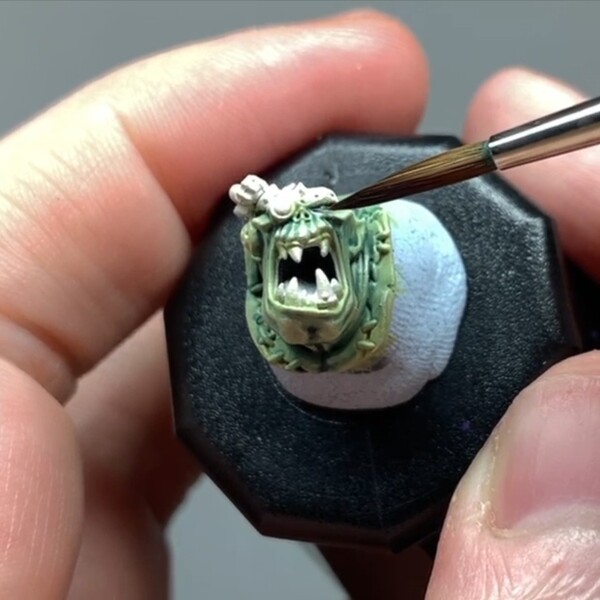 I started the flesh by basing the skin in with Skarsnik Green in a couple coats for the best coverage. I glazed in Waaagh! Flesh , followed by Caliban Green to the recesses to add some depth, before highlighting up with Skarsnik Green and Flayed One Flesh (Mixed 1:1), then pure Flayed One Flesh . I washed Druchii Violet around the eyes and cheeks for a bit of life.
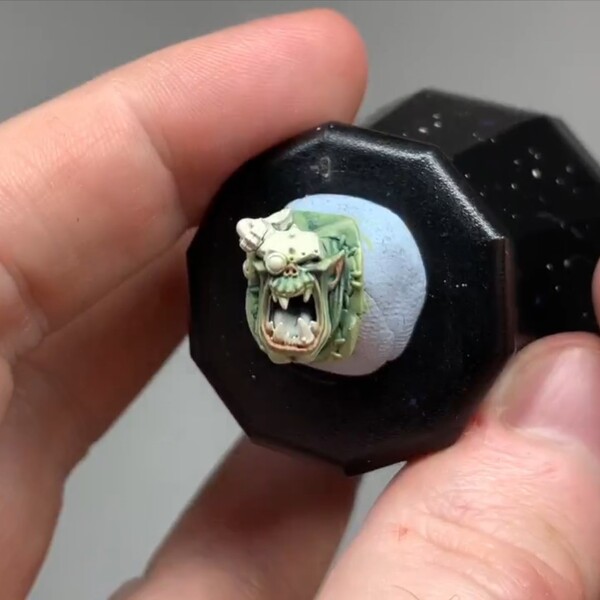 The lips, nose and ear tips were based with a few glazes of Bugman's Glow to make the transition a bit less stark, then highlighted up with Cadian Fleshtone and lastly Kislev Flesh .
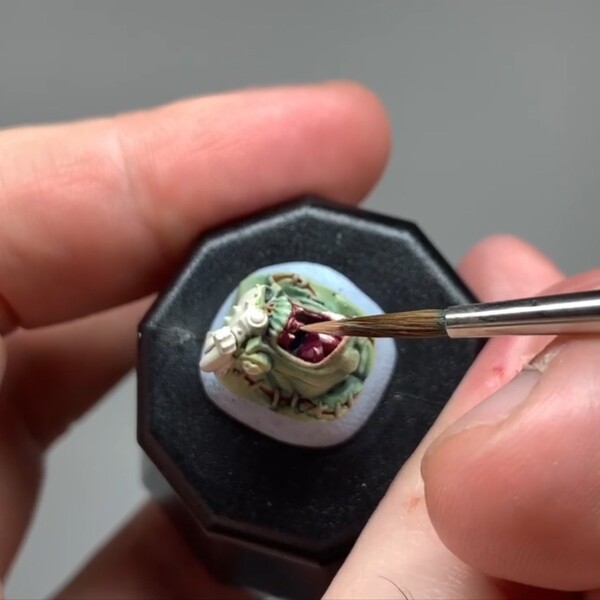 The inside of the mouth was based super carefully with Screamer Pink and washed with Druchii Violet . They were highlighted with Pink Horror , then Kislev Flesh .
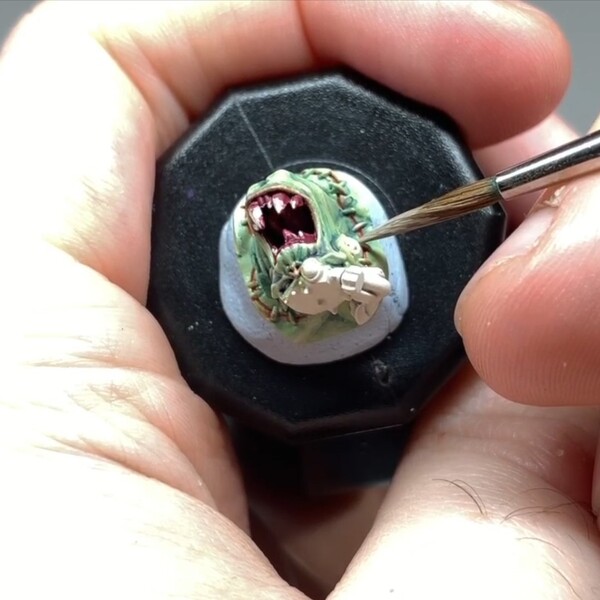 The scar around his head was washed with well thinned Bugman's Glow to get some skintone around it. I then based the stitches around his head with Rakarth Flesh and highlighted them with Pallid Wych Flesh .
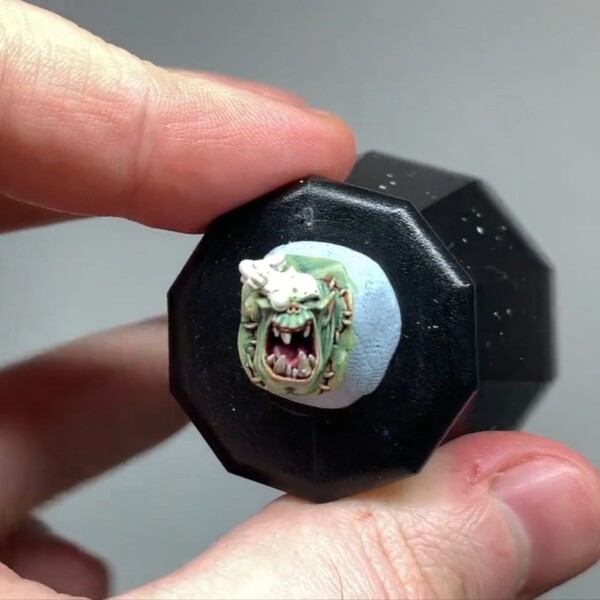 His teeth were also based with Rakarth Flesh before being washed over generously with Agrax Earthshade . I then highlighted them up with Pallid Wych Flesh , painting in lines to make some growth striation patterns.
 The silver sections were based with Iron Warriors and washed back with Nuln Oil . I then highlighted with Ironbreaker and Stormhost Silver , adding faint scratching to the metal in this step. To finish, I heavily watered down Skrag Brown and washed around recesses and onto anything I wanted to look rusty.
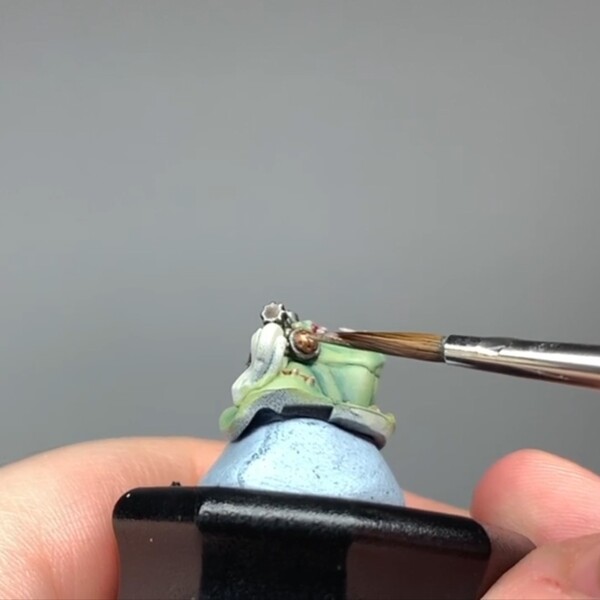 To break up the silver I added some copper with a Balthasar Gold base, washing back with Agrax Earthshade . I relayered with Gehenna's Gold , then highlighted with a 1:1 mix of Gehenna's Gold and Stormhost Silver . Finally, a touch or two of Nihilakh Oxide to oxidise the copper and give it some age.
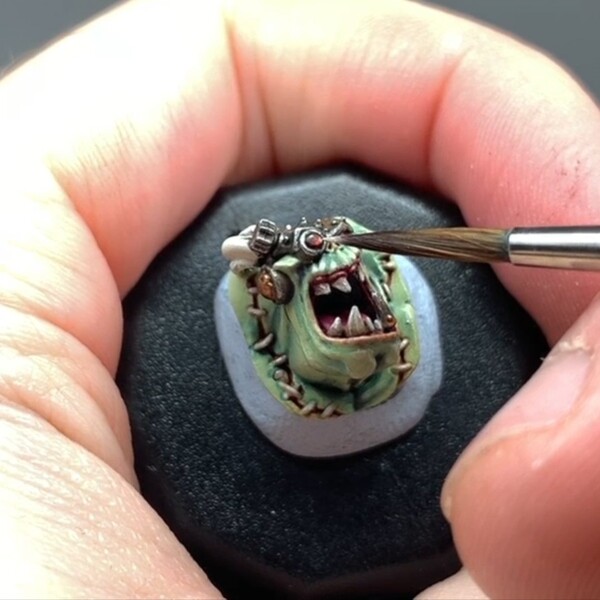 For his eyes I used the same red colours, just applied differently. For his 'good' eye, I based the whole eyeball with Khorne Red before touching a brighter pupil on with Evil Sunz Scarlet .
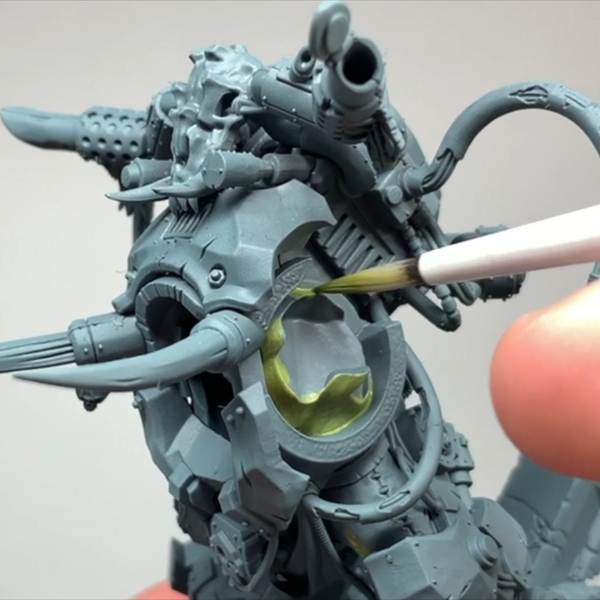
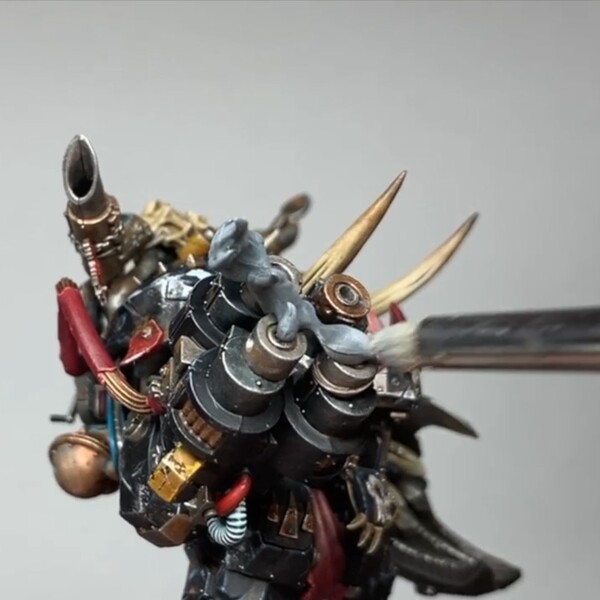
The lens of the mechanical eye was based with Doom Death Black , then painting on a thick crescent moon shape to the lower right with Khorne Red . I then painted a series of smaller crescents inside of that one, with Evil Sunz Scarlet , Wild Rider Red and Fire Dragon Bright . Lastly I dotted over the last highlight and in the upper left corner with White .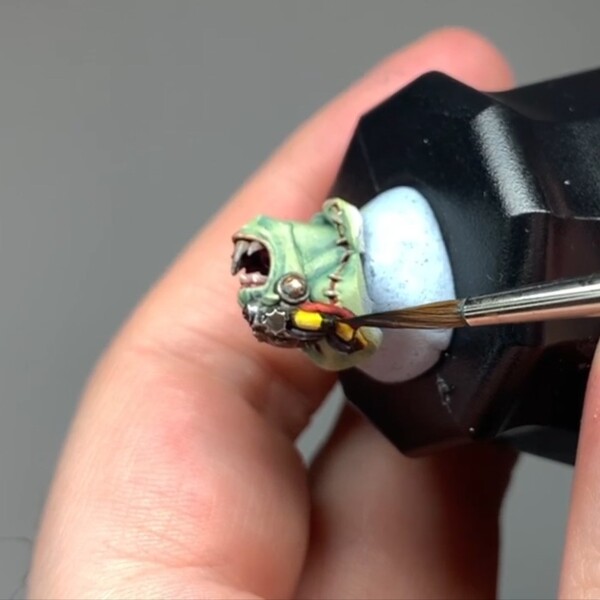 The cables coming out of his head were done a in different ways: The black cables were done with a basecoat of Corax White , layered over completely with Gryph-charger Grey and Black Templar , then highlighted with Thunderhawk Blue , Fenrisian Grey and Ulthuan Grey . The other cables were based in Averland Sunset and Mephiston Red and washed with Agrax Earthshade . The red cable was highlighted with Evil Sunz Scarlet and Wild Rider Red , and the yellow cable was relalyered with Yriel Yellow and highlighted with Pallid Wych Flesh . I then freehanded the hazard stripes on with Doom Death Black and highlighted those with Dawnstone and Administratum Grey . Head done!
Body Flesh
 The body I wanted to have a more lively skin tone, so based with Elysian Green . I applied Kabalite Green and Caliban Green to the recesses to add depth, before highlighting up with Elysian Green and Ogryn Camo mixed 1:1, and Ogryn Camo and Flayed One Flesh mixed 1:1.
Pants
 Ghaz's pants were based with Baneblade Brown , washing back with Agrax Earthshade a couple times for depth, then relayered with Baneblade Brown , and finally stippled and highlighted with Karak Stone . Be careful of the holes in the pants, you don't want to mess up the little spots of skin showing through.
Black Armour
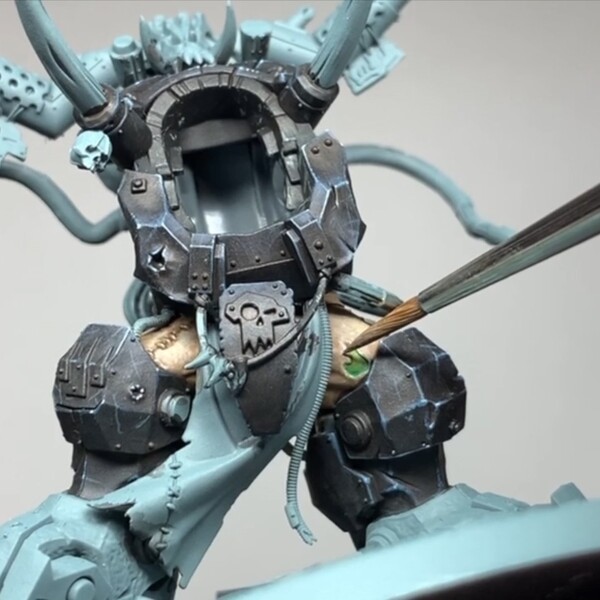
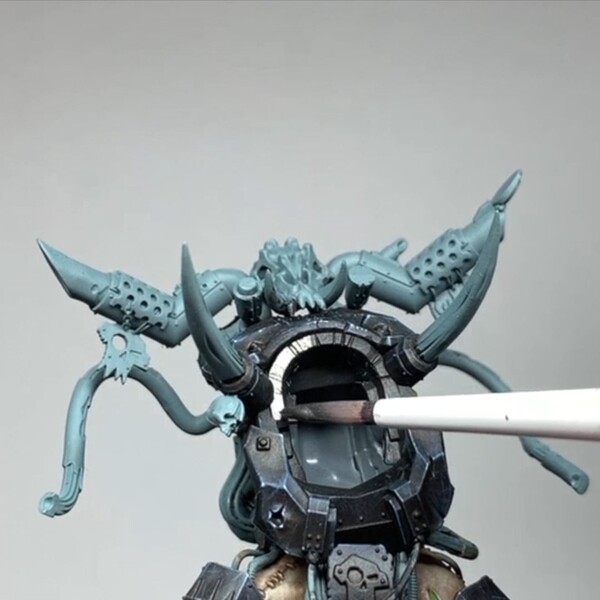
 The black armour panels were carefully based with Doom Death Black . I then applied very thin Rhinox Hide to the recesses to add some interest and weathering, as we can't wash black after all. The black is all then highlighted with edge highlights and glazes where necessary, first with Dark Reaper , then Thunderhawk Blue and finally Fenrisian Grey .
Metallics
 I started by basing all the silver areas with Leadbelcher - Both the bare silver and the black metallic areas.
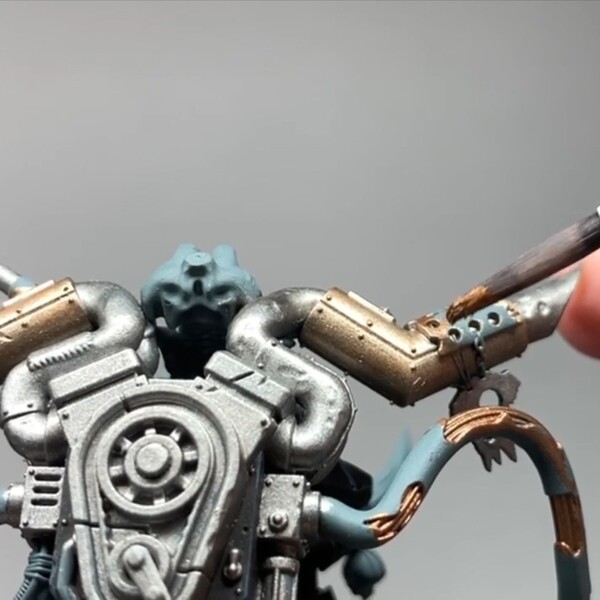 I varied up parts in the metals by basing some areas with Balthasar Gold and Runelord Brass .
 The black metallic areas were then relayered with a couple coats of Black Templar and Contrast Medium 1:1. I thinned the Contrast here to have full control over how opaque the end result is - I want a little metallic shimmer still there.
I mixed that mix and added 1 part of Leadbelcher to it, dry brushing over the black metallic areas to add a little highlight, then edge highlighted with Ironbreaker.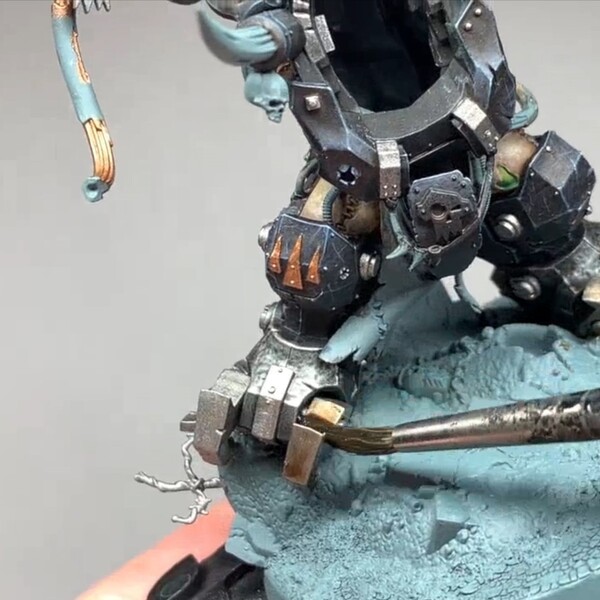 Now's the time to clean up any overspill, then wash -all- of the metallic areas with Agrax Earthshade . I went quite heavy to give the metals a grimy look.
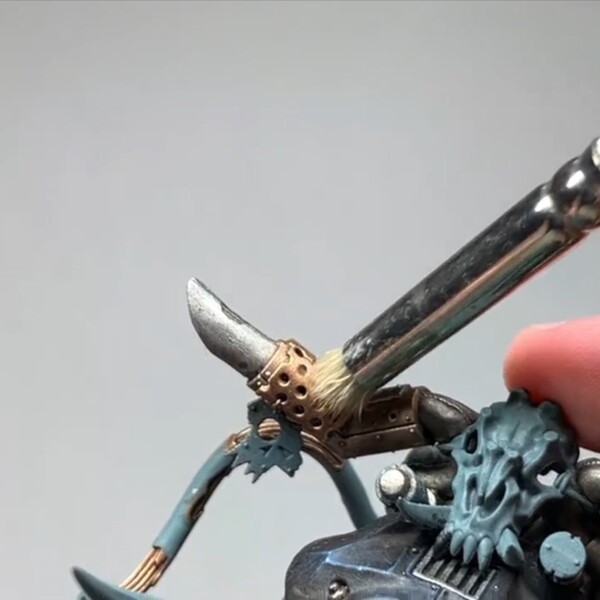 When it was dry, I drybrushed, edge highlighted and added scuffs into the metallics:
The silver was brought up with Ironbreaker and Runefang Steel
The copper was brought up with Hashut Copper and a 1:1 mix of Hashut Copper and Canoptek Alloy
The brass was brought up with Runelord Brass and Canoptek Alloy
Painted Metals
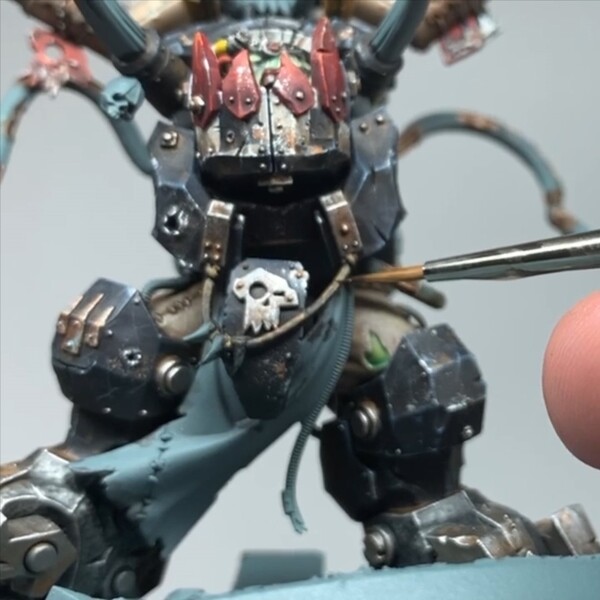
 White areas were based with Celestra Grey , relayered all over with Ulthuan Grey , washed with Agrax Earthshade , carefully relayered with Ulthuan Grey again while trying to keep some of the Agrax around, and edge highlighted with White .
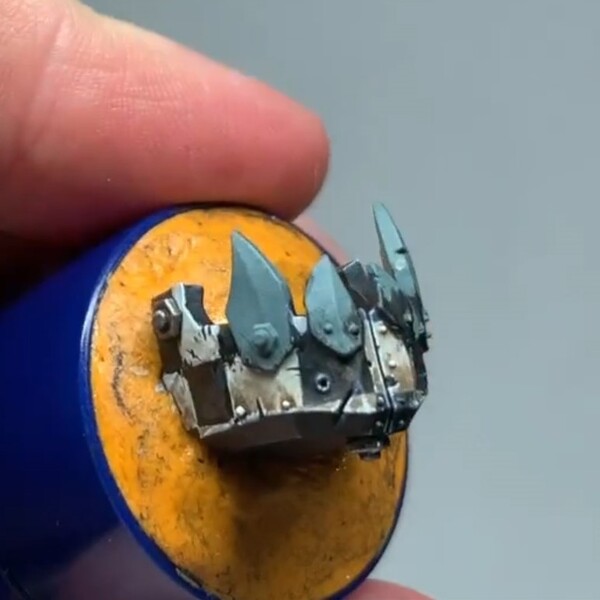 I used the same colour scale to freehand the check pattern on the Gob, drawing a grid with thinned Celestra Grey and filling in alternating squares, relayering those with Ulthuan Grey , washing with Agrax Earthshade and highlighting around the edges with White . I also cut back into some of the squares with Doom Death Black to scuff them up a bit, make them look worn.
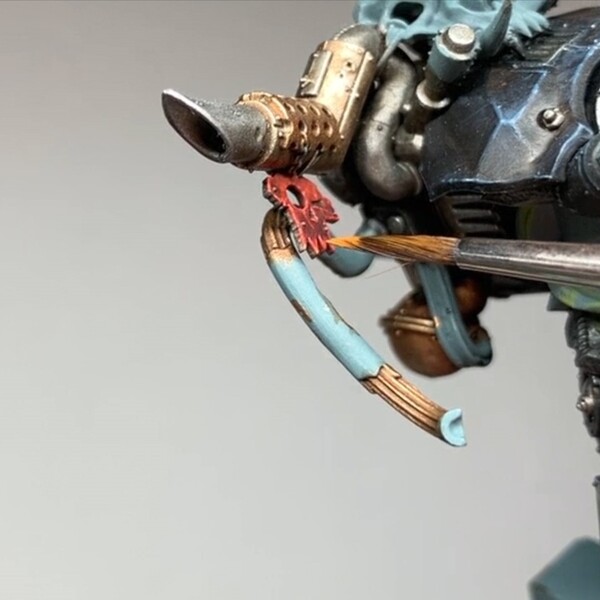 Red areas were based with Khorne Red , washed a couple times with Agrax Earthshade , glazed towards the top of panels with Khorne Red to get a gradient, then again with Evil Sunz Scarlet , once more plus an edge highlight with Wild Rider Red and a last point highlight with Fire Dragon Bright .
I use the same method I did on the Gob to draw the checks on the back of Gork's Klaw, only using the reds listed above in place of the white colours.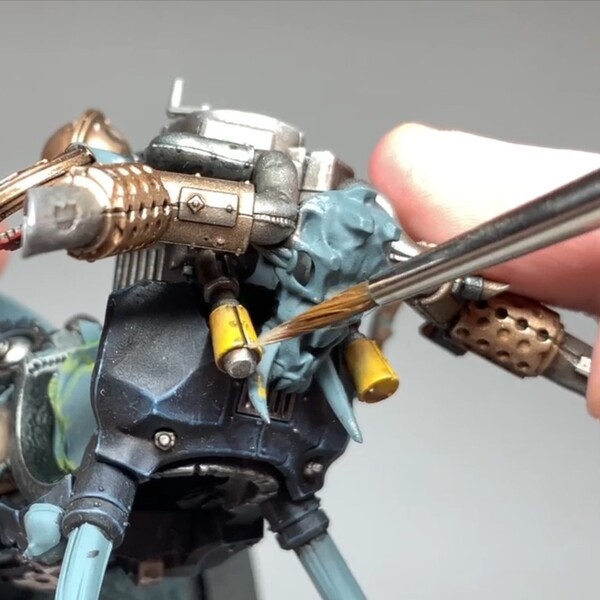 Yellow areas were based with Averland Sunset , washed back with Agrax Earthshade , glazed towards the top of panels with Averland Sunset to get a gradient, then again plus an edge highlight with Yriel Yellow and a last point highlight with Ushabti Bone .
Weathering
- Firstly, if there's any additional freehands or transfers that you want to add on, now is the time.
 I cut a corner off of a kitchen sponge, dip it in Leadbelcher and remove the excess so it leaves a small random pattern, then dab around the areas I want to chip some paint away from. Nothing too excessive, just a dab here and there for some interest on the flatter areas.
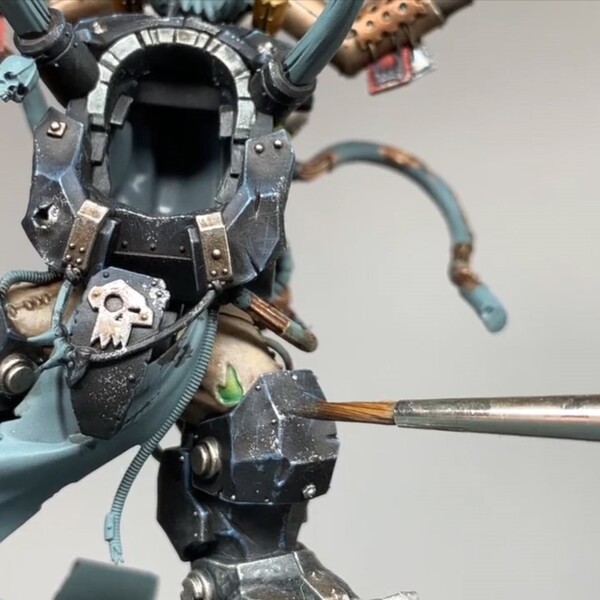 I did the same with Runefang Steel , hitting the same areas to add some shine. I also used a brush to pad out some of the finer sponged patterns, just to vary it up.
 The silvers were then rusted up with very watered down Skrag Brown , washing into recesses and dabbing onto flatter areas at random.
The copper and brass was weathered with Nihilakh Oxide , paying attention to areas that would catch rain and moisture.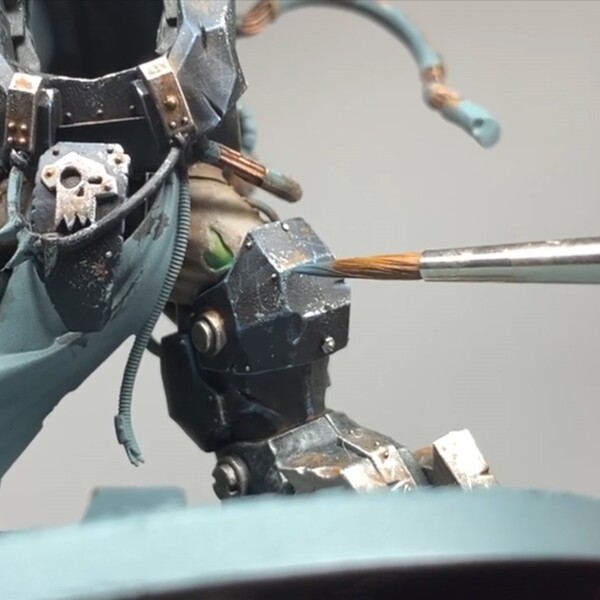 Any larger gaps made with the sponging I added a highlight along the bottom with the relevant colour to give it the appearance of chipping paint:
Black: Thunderhawk Blue / White: White / Red: Wild Rider Red / Yellow: Ushabti Bone
Missing Details
Time for a quick pass over what I've got to make sure I didn't miss anything. Spoiler: I did.
 I missed the belt fan on the engine, so gave it a quick, careful basecoat of Doom Death Black and a highlight of Dawnstone .
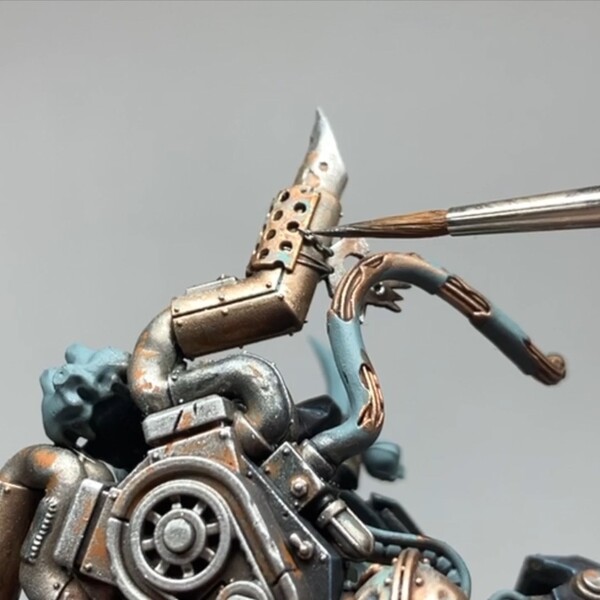 There was also a chain or two that I skipped so as not to mess them up with other colours, so just used the same silver paints and wash to hit those.
 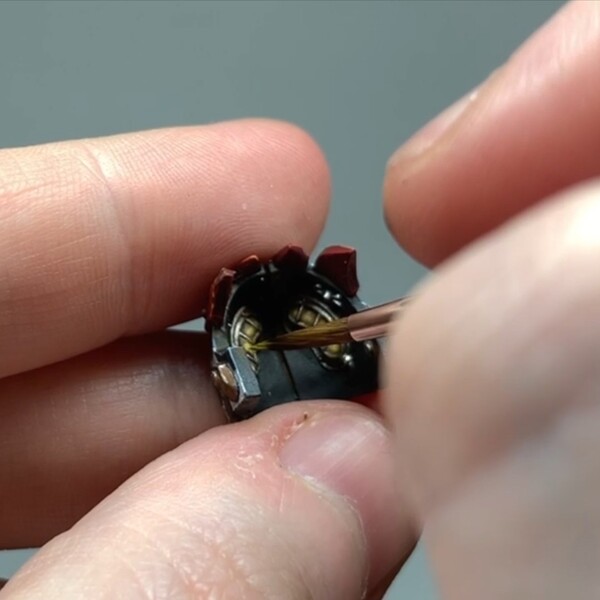 The lamps in the Gob I'd wanted to be casting a yellow light, but didn't manage to catch the effect I wanted. Regardless, I painted the metal housing in the same way as the other silvers - Leadbelcher , Agrax Earthshade , Runefang Steel and Skrag Brown .
The glass was based with Averland Sunset , washed with Agrax Earthshade , then stippled with Averland Sunset and Yriel Yellow . I used Yriel Yellow to paint some reflected light around his jaw and chin, but after putting the head and Gob into the body realised you can barely see it, so ended up washing the glass with Earthshade again to make it look duller.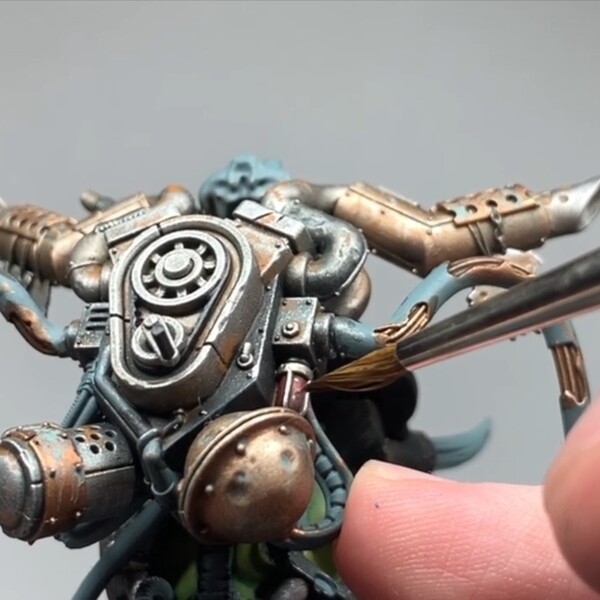 There's also a light on the engine, which I did with Khorne Red , Agrax Earthshade a relayer of Khorne Red making a gradient from shaded red to brighter red. I left it there to look like it wasn't on, just adding some reflected light with White .
Soft Materials
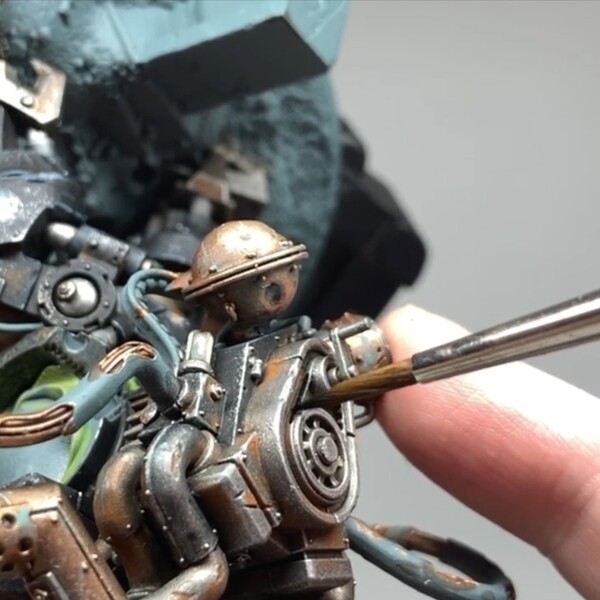
 I picked out the couple of leather sections with a 1:1 mix of Rhinox Hide and Doom Death Black . This was relayered with straight Rhinox Hide , leaving some of the base tone towards the recesses. A couple highlights of Mournfang Brown , Skrag Brown and XV-88 were added, before neatening up with Rhinox Hide and washing towards the recesses with a 1:1 mix of Nuln Oil and Agrax Earthshade .
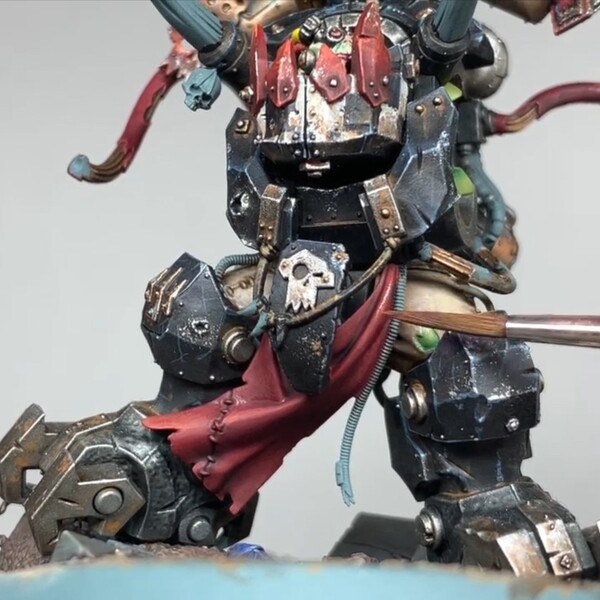 The soft red details were based with Khorne Red and washed back with Nuln Oil . These were brought back up with Khorne Red , Wazdakka Red and Squig Orange . The cable housings were simple glazes and edge highlights, the loincloth I took more time over to try and make it look like material - I used my desk light to show were the light falls and highlighted there, and painted small scratches as I went to add texture.
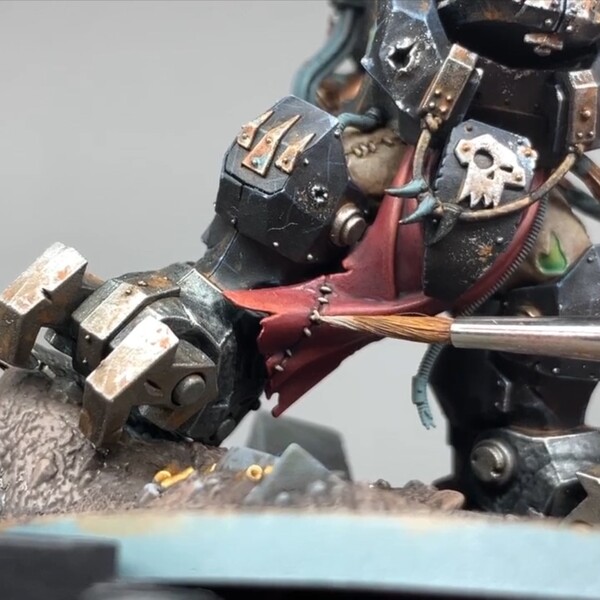 I went after the stitches in the pants, any twine and the rags tying the cables together next, painting them in the same was the stitches around his head: Basing them with Rakarth Flesh , washing back with Agrax Earthshade , relayering with Rakarth Flesh and highlighting with Pallid Wych Flesh
 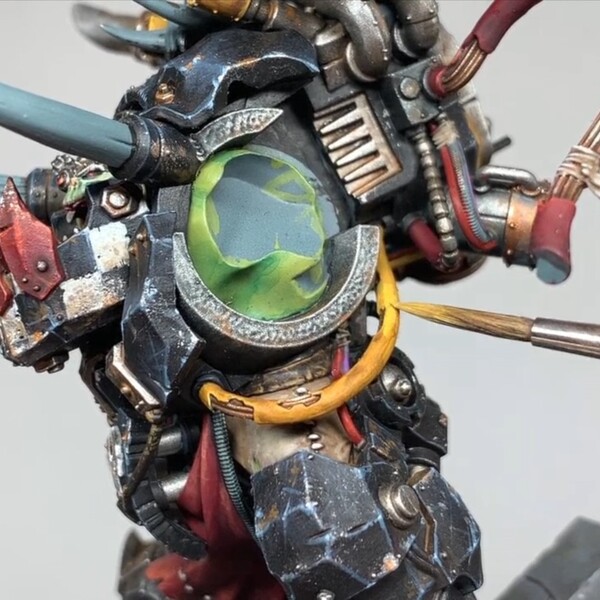 The remaining cables were hit next. I used the same colours as on the head - Black, red and yellow with hazard stripes. To break up what might be big bundles of red cables though I also introduced blue and purple cables, using Ahriman Blue and Temple Guard Blue for the blue ones and Genestealer Purple and Dechala Lilac for the purple ones.
Bones
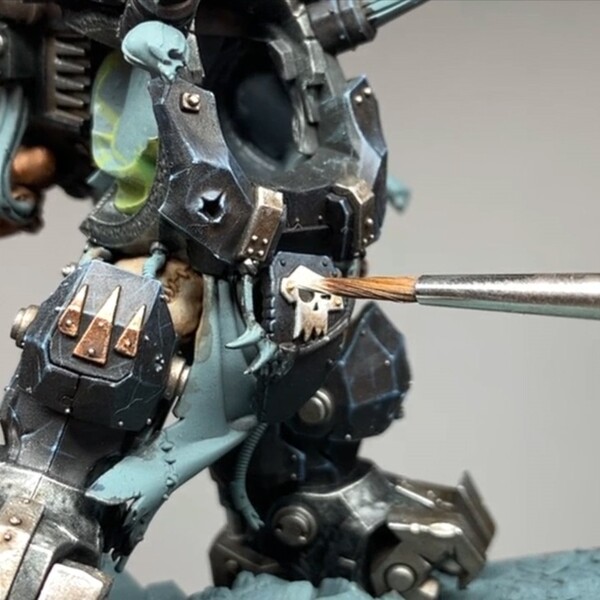
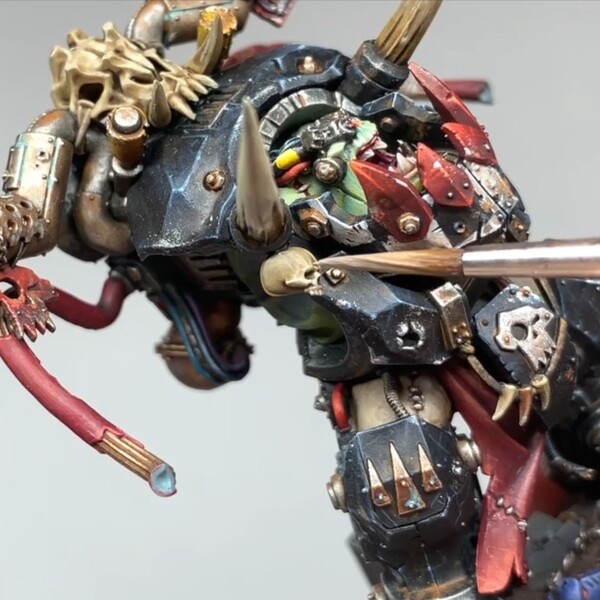 I based the bone trophies littered around the mini with Zandri Dust , with the exception of one of the teeth which I based with Mournfang Brown . They all get a wash of Agrax Earthshade , relayered with Zandri Dust , and highlighted with Ushabti Bone , Screaming Skull and Pallid Wych Flesh . I try to paint in lines on the tusks to mimic bone growth, and when done I wash towards the tip with thinned Agrax Earthshade to make them look aged. A last wash of Nuln Oil at the very tip really darkens the tip.
Smoke
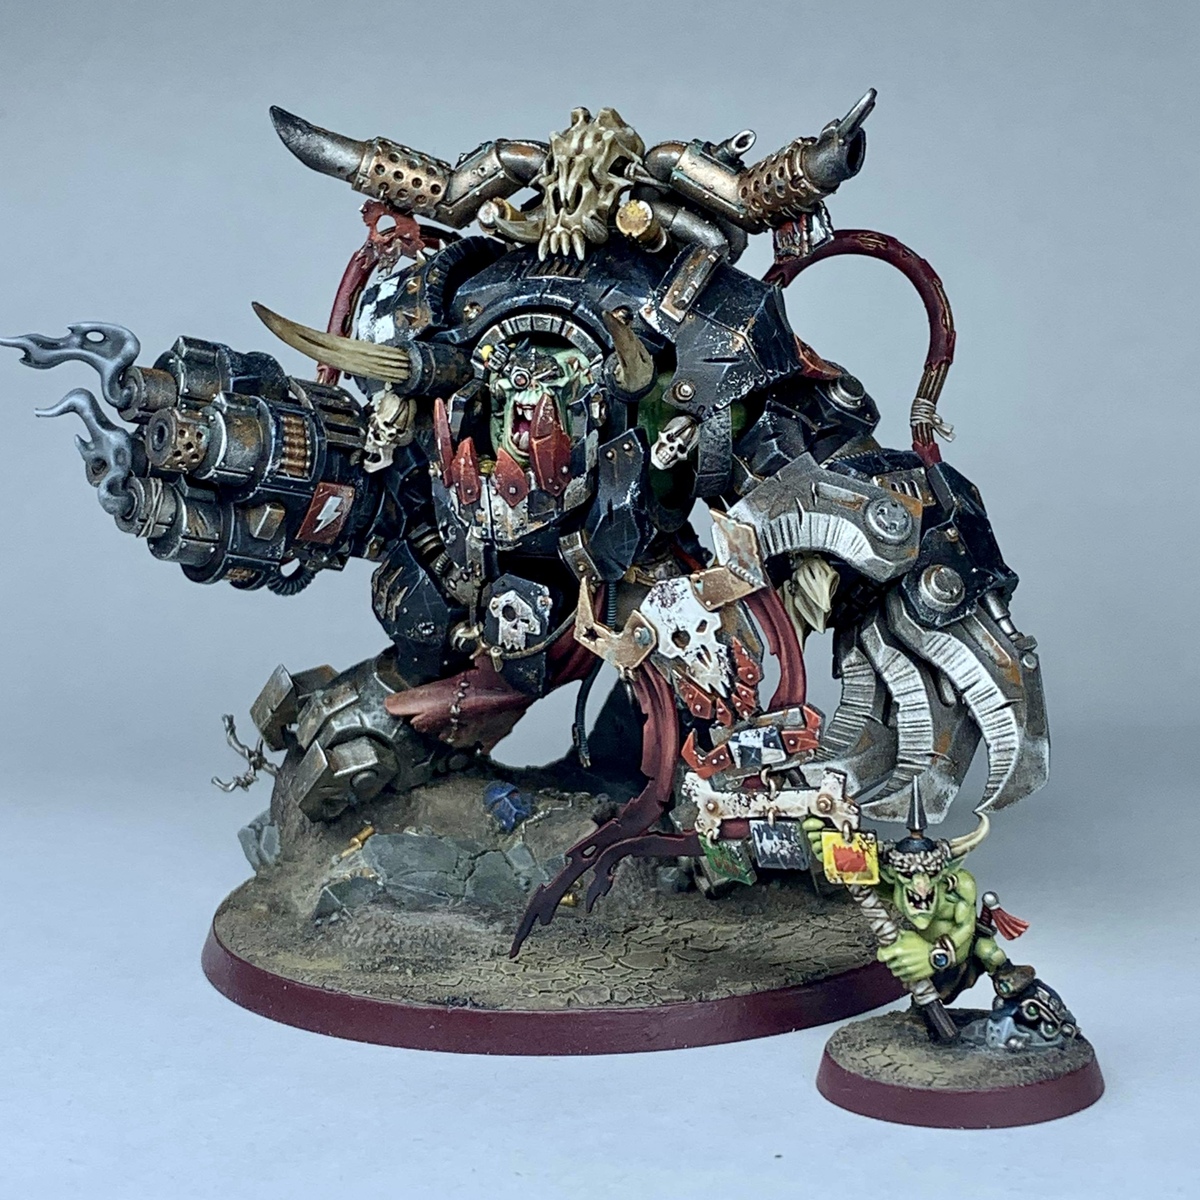
 The final thing to do was the smoke billowing out of Mork's Roar, which I built onto my Ghaz - If you've not, you can skip this! Went simple on this, basing with Mechanicus Standard Grey , washing with Nuln Oil and drybrushing up with Mechanicus Standard Grey , Dawnstone and Administratum Grey .
Weathering Powders
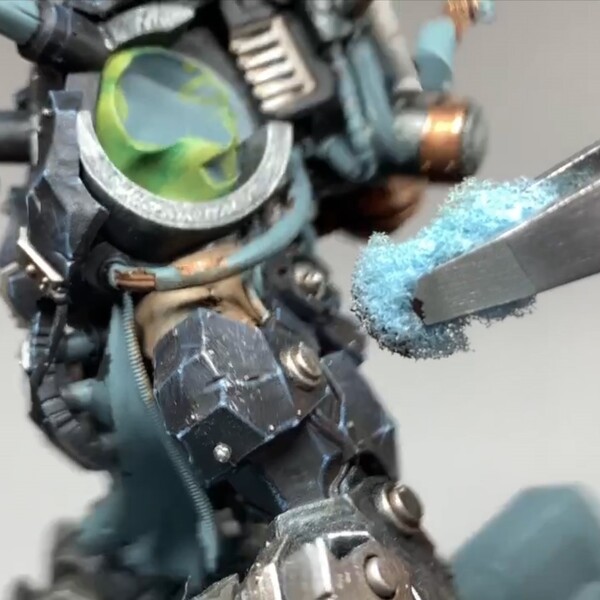
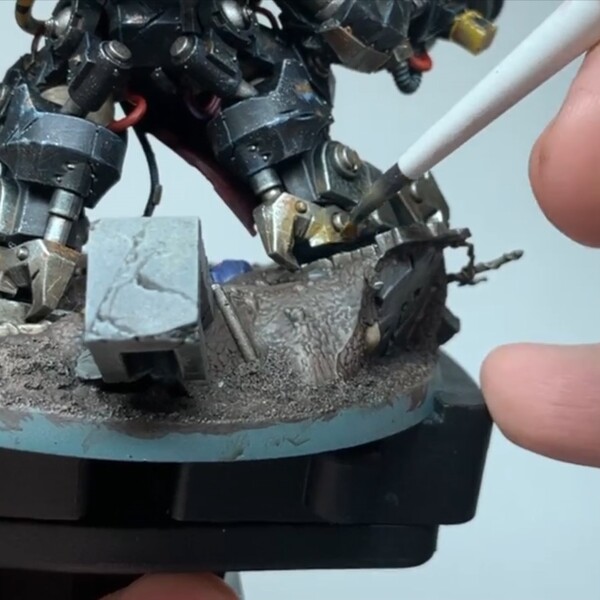 Once the base was finished I used crushed up pastels like weathering powders to dust him up. I used browns that matched my main textures and grey for around the concrete bits. I tried black for around the exhaust and guns, but it wouldn't stick, so used Corvus Black and stippled those areas instead.
...oh! Makari!
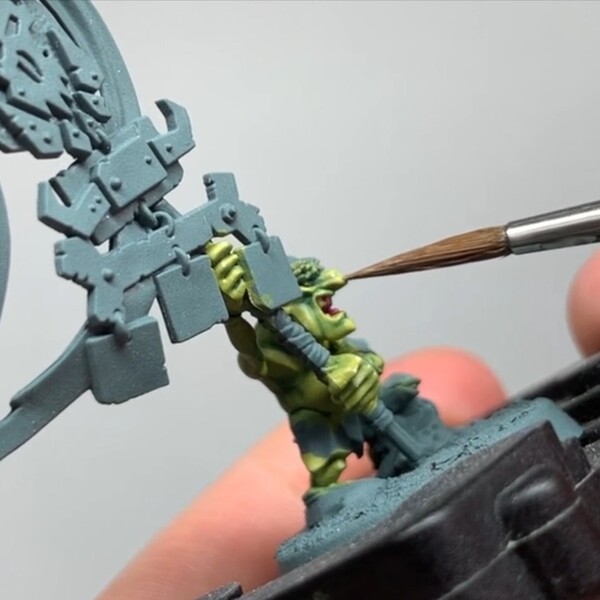 Makari's skin I painted differently - In my head Grot green skin is different to Ork green skin, I guess! I based the flesh all over with a 1:1 mix of Skarsnik Green and Averland Sunset to get a yellower skin tone than Ghaz's. I washed into the recesses with Waaagh! Flesh and Incubi Darkness to add depth, before highlighting up with Skarsnik Green and Averland Sunset 1:1 again, then adding 1 part of Screaming Skull to that mix, and lastly with just pure Screaming Skull .
- I paint in his teeth at this point - Same recipe as Ghaz's; Rakarth Flesh , Agrax Earthshade , Rakarth Flesh and Pallid Wych Flesh . I'll then glaze Kislev Flesh onto the lip until that's built a nice solid gradient to the mouth.
- Continuing the trend of using the same colour recipes as on Ghaz, I painted in the leather, deep and vibrant reds, dirty silver and black metallics, brass and the bone all using the same recipes as before.
- The only additions here - The fuzzy rim of his fancy hat was painted the same as Ghaz's stitches ( Rakarth Flesh base, Agrax Earthshade wash, relayer with Rakarth Flesh and highlight with Pallid Wych Flesh ). The lucky blue gem on his wrist was a Doom Death Black basecoat, a crescent of Thousand Sons Blue painted in the lower right, then again but smaller with Ahriman Blue , again with Temple Guard Blue , and a couple dots of White for sheen.
- The banner pole was based with Dryad Bark , washed with Nuln Oil , then highlighted thinly with Gorthor Brown and Baneblade Brown . Nothing too fancy.
- The straps on the pole were done the same as the stitches and helmet rim ( Rakarth Flesh through Pallid Wych Flesh ).
- The back and sides of the banner were painted like the dirty silvers on Ghaz ( Leadbelcher , Agrax Earthshade , Runefang Steel ) and the copper was done the same as well ( Balthasar Gold , Agrax Earthshade , Hashut Copper , 1:1 Hashut Copper and Canoptek Alloy ).
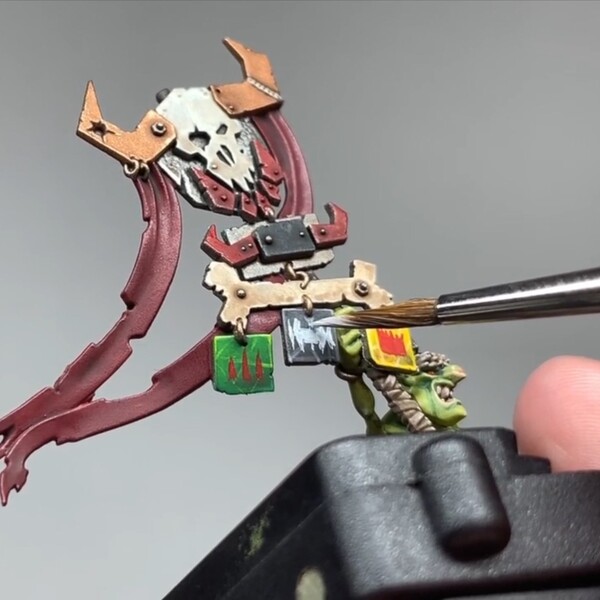 The bright reds, whites and black and white checks on the front were all done the same as on Ghaz. I added a cream colour for the bone ( Wraithbone , Agrax Earthshade , Wraithbone , Pallid Wych Flesh ), a vibrant green ( Caliban Green , Agrax Earthshade , thin Warpstone Glow , Moot Green , 1:1 Moot Green and Yriel Yellow ) and a bright yellow ( Averland Sunset , Agrax Earthshade , Averland Sunset , Yriel Yellow , Flash Gitz Yellow , Ushabti Bone ) to the dangling plates. Then I freehanded the symbols (Gor, Waagh! and Mor) with the same reds and whites, before weathering all the banner metallics the same as on Ghaz (Sponge chipping with Rhinox Hide and Runefang Steel , rust wash with Skrag Brown and oxide with Nihilakh Oxide ).
- The long banners were done the same as Ghaz's loincloth - Khorne Red , washes twice with Agrax Earthshade , glazed with Khorne Red , then 1:1 Khorne Red and Wazdakka Red , pure Wazdakka Red , 1:1 Wazdakka Red and Squig Orange , and pure Squig Orange . The only extra is I glazed Corvus Black from about half way along towards the end to give it that dirty, sooty look. Be sure to edge highlight these with Khorne Red and Wazdakka Red to tie them in!

Adz
HowAdzPaints
I'm a casual mini painter who's fallen into the tutorial space. Documenting my progress and recipes as I go!
Citadel Painting System 71
Base 24
- Averland Sunset
- Balthasar Gold
- Bugman's Glow
- Caliban Green
- Celestra Grey
- Corax White
- Corvus Black
- Dryad Bark
- Incubi Darkness
- Iron Warriors
- Khorne Red
- Leadbelcher
- Mechanicus Standard Grey
- Mephiston Red
- Mournfang Brown
- Rakarth Flesh
- Rhinox Hide
- Runelord Brass
- Screamer Pink
- Thousand Sons Blue
- Waaagh! Flesh
- Wraithbone
- XV-88
- Zandri Dust
Shade 3
- Agrax Earthshade
- Druchii Violet
- Nuln Oil
Layer 40
- Administratum Grey
- Ahriman Blue
- Baneblade Brown
- Cadian Fleshtone
- Canoptek Alloy
- Dark Reaper
- Dawnstone
- Dechala Lilac
- Elysian Green
- Evil Sunz Scarlet
- Fenrisian Grey
- Fire Dragon Bright
- Flash Gitz Yellow
- Flayed One Flesh
- Gehenna's Gold
- Genestealer Purple
- Gorthor Brown
- Hashut Copper
- Ironbreaker
- Kabalite Green
- Karak Stone
- Kislev Flesh
- Moot Green
- Ogryn Camo
- Pallid Wych Flesh
- Pink Horror
- Runefang Steel
- Screaming Skull
- Skarsnik Green
- Skrag Brown
- Squig Orange
- Stormhost Silver
- Temple Guard Blue
- Thunderhawk Blue
- Ulthuan Grey
- Ushabti Bone
- Warpstone Glow
- Wazdakka Red
- Wild Rider Red
- Yriel Yellow
Technical 2
- Contrast Medium
- Nihilakh Oxide
Contrast 2
- Black Templar
- Gryph-charger Grey
Daler-Rowney
FW Acrylic Ink 1
- White
Two Thin Coats
Shade 1
- Doom Death Black
.jpg)